A restaurant frosted zipper Bags Packaging Insert Checklist keeps the order practical before anything goes to press. It helps define the message, the fit, and the approval path so the insert works inside the bag, on the production line, and at delivery. On paper, the job looks simple. In practice, the insert has to match the bag size, the fill level, the zipper track, the artwork, and the way staff pack orders under time pressure.
The checklist is more than a design note. It controls packaging design, branded packaging, and final sign-off by locking in dimensions, copy, stock, finishing, insertion method, and approval ownership. That matters because restaurants use inserts for promo codes, loyalty offers, allergen notices, menu highlights, and seasonal messaging. The frosted zipper bag has limited space; the insert often carries the message the outer pack cannot.
If you are comparing formats, the Custom Packaging Products catalog is a useful starting point before you commit. A clear insert spec usually means fewer revisions, a tighter quote, and less waste when the same pack-out repeats across locations or campaigns.
What a restaurant frosted zipper bags packaging insert checklist covers
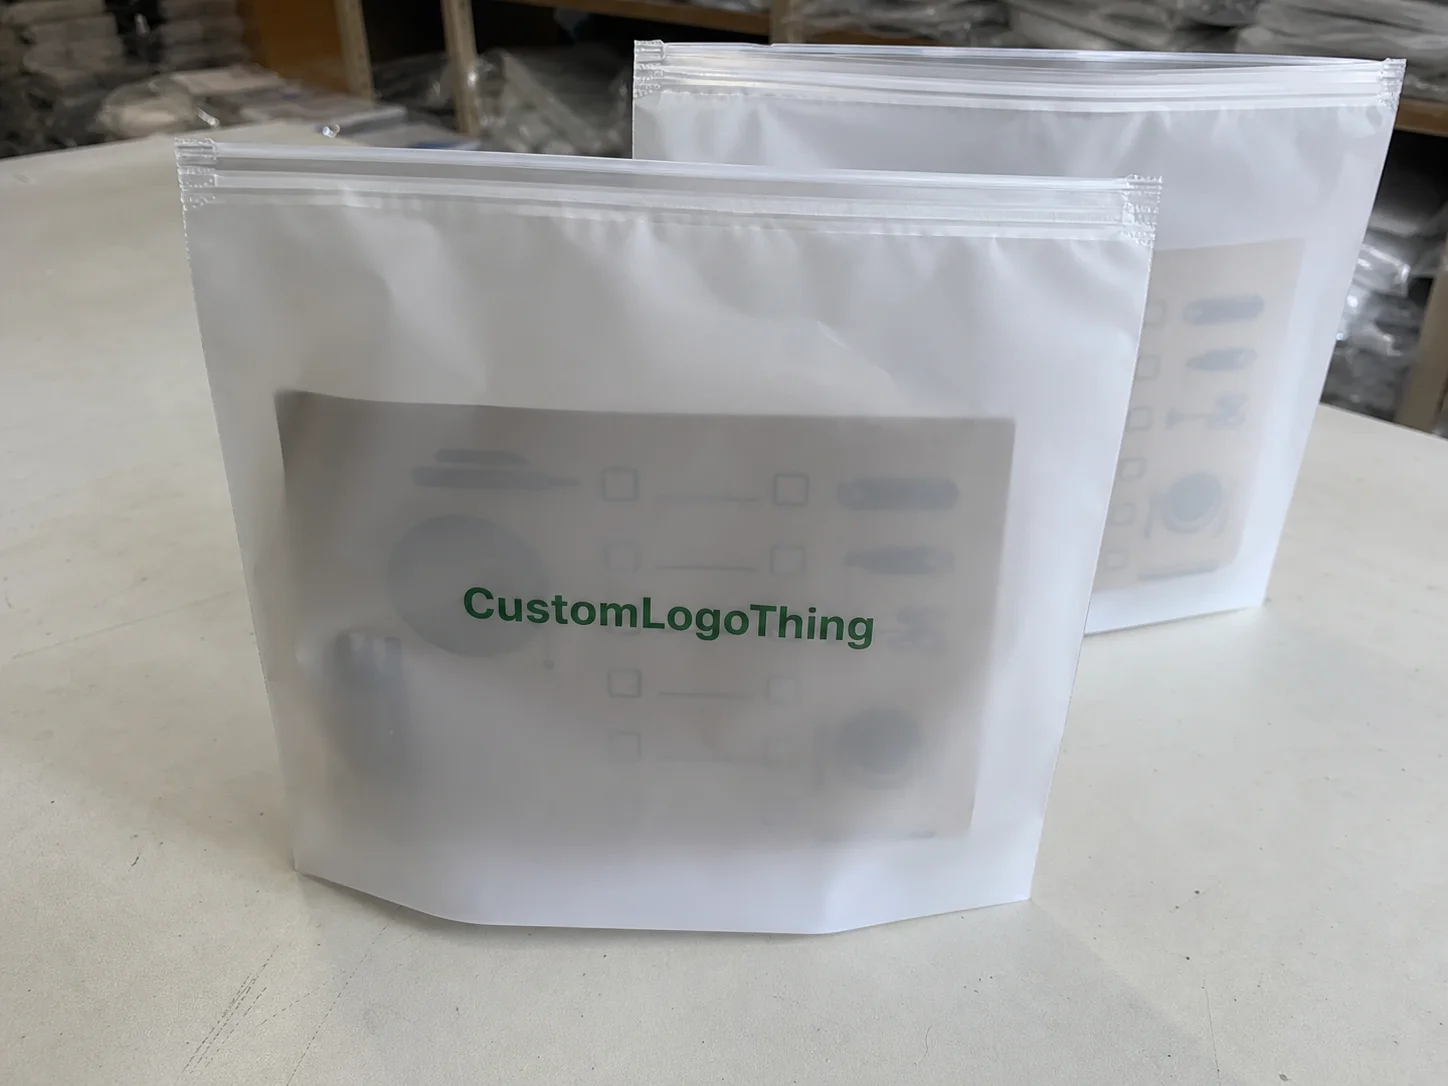
The checklist should define what the insert must do, how it fits, and what needs approval before print. At minimum, it should cover final trim size, fold style if any, copy points, artwork specs, finishing, proof approval, and how the insert will sit inside the bag without interfering with the zipper closure.
Restaurants use inserts for different goals. A lunch promotion may need a QR code and a reorder incentive. A limited-time menu may need a short story and a product image. A loyalty card may only need one clear call to action. In every case, the best inserts are easy to scan, easy to pack, and easy to understand in a few seconds.
The point of the checklist is to stop the order from drifting. When the bag format, insert format, and message are defined early, the buyer gets fewer revisions and a more accurate quote. The production team also has a better chance of hitting the schedule without last-minute changes. That is the practical value: turn a loose creative idea into a printable component with known constraints.
Buyer reality: if the insert is not sized against the filled bag, not just the flat bag dimensions, the spec is incomplete.
From a buyer’s point of view, the best checklist is the one that makes the final package easier to explain. That applies to takeaway kits, retail packaging, and any program where the insert carries brand storytelling the outer pack cannot hold alone. If the insert is part of the package branding, treat it as a production component, not an accessory.
How the insert works inside the bag without blocking the zipper
The insert is a separate printed component, not decoration. In the simplest version, it sits flat behind the product or alongside the contents and stays clear of the zipper path. In a folded version, the front panel shows the offer while the inside panels carry details such as ingredients, care steps, or a short brand story. The key issue is workflow: the insert must move through packing without slowing the team.
There are three common layouts. A full-card insert gives the strongest presentation and works well for offers, gift sets, or higher-margin bundles. A slim reminder card is more compact and easier to pack quickly. A folded sheet gives more room for copy, but it adds handling and more chances for setup mistakes, especially if the bag is filled before the insert goes in. The right choice depends on how orders are packed, not how the mockup looks.
Thickness matters. A stiff 16pt sheet can look premium, but if it takes too much room, it can curl, buckle near the zipper, or make the finished pack look crowded. A lighter stock often performs better in restaurant workflows because it lies flatter and drops in more cleanly. Corner shape matters too. Sharp corners can catch on the bag, while rounded corners usually move in more smoothly.
The real test is simple: does the insert support the pack-out, or slow it down? If staff have to fight the piece into place, the promotion becomes a friction point. If it drops in naturally, it improves packing speed and makes the package feel more organized.
For restaurants running seasonal campaigns or multiple locations, the insert can also support consistency across formats. A well-sized card can move between a frosted zipper bag, a sleeve, or a small carton if the program changes later. That flexibility matters when the same message has to work across more than one package style.
Key material, size, and artwork factors that change results
Material choice sets the tone. For inserts that will be handled often, a coated cover stock or a durable uncoated stock can work depending on the look you want. Common options include 100 lb cover, 14pt C1S, and 16pt SBS. If the insert may touch condensation, sauce residue, or chilled items, a light aqueous coating or lamination can help keep the print readable. Some brands prefer a softer, more editorial finish instead of a harder sales flyer look.
Size is just as important. An insert that is too large will fight the available space and may curl. One that is too small can feel accidental and shift around in transit, which weakens the presentation. Start with the filled bag, not the empty bag, and leave enough clearance so the piece lies flat after the contents go in.
Artwork needs the same discipline. Logo clarity, minimum type size, contrast, and bleed all matter. QR codes should be large enough to scan under store lighting, not just on a screen. If the insert carries allergen or ingredient information, the copy needs room. Tiny legal notes squeezed into a corner are a common failure point.
Brand consistency matters too. A premium frosted zipper bag paired with a low-resolution insert looks mismatched immediately. The insert should align with the rest of the package branding, including any custom printed boxes, labels, or outer sleeves in the same program. Inconsistent typography and color can make the whole system feel pieced together.
If you want a broader reference point for handling and transit, the Packaging Institute and the International Safe Transit Association are useful. They are not restaurant-specific, but they reinforce a practical standard: packaging should survive handling, transport, and customer use, not just look good in a mockup.
Cost, pricing, and unit cost: what moves the quote
Pricing for a restaurant Frosted Zipper Bags Packaging Insert order usually comes down to a small set of variables: insert size, number of print colors, stock selection, finish, quantity, fold complexity, and any die-cut or rounded-corner work. The larger the print area and the more finishing steps involved, the higher the quote tends to be. Buyers often get tripped up when they compare prices built on different assumptions.
Setup charges matter too. A low-quantity order may carry the same prepress review, proofing, and file-prep work as a larger one. Once the order moves into repeat volume, the unit cost usually drops. For a restaurant running recurring promotions, a slightly larger run can make more sense than a tiny test batch because it lowers the per-piece cost and reduces reorder friction.
| Insert type | Typical use | Typical unit cost at 5,000 pieces | Main benefit | Main tradeoff |
|---|---|---|---|---|
| Single-sided card | Promo code, loyalty note, short brand message | $0.06-$0.11 | Fast to print, easy to pack | Limited space for copy |
| Double-sided card | Offer plus details, menu highlight, QR code | $0.08-$0.14 | Better message density | Needs tighter artwork control |
| Folded insert | Seasonal story, multi-item menu, instructions | $0.10-$0.18 | More room without increasing trim size much | More finishing steps, more handling |
| Specialty die-cut insert | Premium launch, gift program, signature campaign | $0.14-$0.25 | Distinctive presentation | Higher setup and tighter tolerances |
Those numbers only help if you compare them fairly. Ask whether the quote includes prepress review, a proof, shipping, carton packing, and any bundling by location. A lower quote may simply be missing one of those pieces. That is especially true when the order is tied to a launch date, because rush work and reproofs can add cost quickly.
If the insert will be reused across campaigns, the economics shift again. A durable stock, cleaner file setup, and more careful proofing can save money on the second and third order. In packaging, consistency usually costs less than improvisation.
Process and timeline: from proof to production to ship date
A solid checklist should map the process in order: request specs, submit artwork, receive proof, review revisions, approve final files, move to production, then confirm packing and shipping. The jobs that stay on schedule are the ones where nobody has to guess who owns the next move.
Delays usually come from a short list of issues: missing bleed, low-resolution images, unclear copy, no named approver, or finishing that was not discussed until after the proof came back. Special coatings, rounded corners, and folding can all add setup time. If the insert has to line up with other package components, that adds another layer of checking.
Lead time depends on complexity. Simple inserts usually move faster than folded or specialty versions. A straightforward run may move from final approval into production quickly, while a more detailed job needs more time for setup, inspection, and finishing. Shipping time is separate from production time, so a launch date should include both.
That buffer matters most for holiday menus, seasonal offers, and opening week. A missed insert is not just a missing printed piece. It can change the customer experience on day one. If the bag arrives without the correct insert, the package still functions, but the message and brand impression are weaker than planned.
For food-service buyers, planning discipline pays off. A clean process protects product packaging, reduces admin churn, and keeps the order moving without constant follow-up. It also makes supplier comparisons more honest, because you are comparing like for like instead of adjusting for hidden assumptions.
Common mistakes that trigger reprints, delays, or weak presentation
The most expensive mistake is approving artwork before checking the insert against the actual bag dimensions and fill level. A design can look right on a flat screen and still fail when the bag is packed. That is especially true for Frosted Zipper Bags, where the translucent material can make the insert’s position and contrast more noticeable than expected.
Weak contrast is another common problem. Light gray text on a pale background may look refined in a mockup, but it can disappear under restaurant lighting or in a customer’s car. Dense copy is another trap. If the card is overloaded, people do not read it. They skim the headline, miss the call to action, and toss it away.
Operational mistakes are just as costly. No version control means old files can get approved by accident. No final sign-off means nobody owns the risk when a wrong phone number or expired promo appears in print. If the team has not agreed on who approves color, content, and timing, the project tends to drift. The fix is simple: define the approval chain before the first proof goes out.
Material testing is often skipped as well. Then the buyer discovers the insert bends too easily, smudges under handling, or feels too thin next to the bag’s premium look. That mismatch matters. A frosted zipper bag may signal a polished presentation, but if the insert looks flimsy, the entire package loses credibility. This is where package branding becomes less about logos and more about material consistency.
If you are running multiple channels, keep the insert aligned with other branded packaging pieces. A restaurant takeaway sleeve, a loyalty card, and the bag insert should feel like they belong to the same system. If not, customers notice the inconsistency even if they cannot explain why. They just feel that the package is less finished.
Expert tips and next steps for a cleaner order
Use one spec sheet and keep it tight. Lock in the bag size, insert dimensions, stock, finish, quantity, file format, and target ship date before asking for quotes. One clear document cuts down on confusion better than a long email thread. It also gives suppliers a clean basis for pricing, which is the quickest path to numbers you can compare.
Ask for a proof that shows the insert in context, not only by itself. A flat proof is useful for prepress, but a comparison against the final bag mockup tells you whether the message, scale, and color still work as a complete presentation. For restaurants, that context check is worth more than a slightly prettier standalone PDF.
For repeat programs, keep the approved file, the final stock choice, the delivered unit cost, and the ship date in one place. That record becomes a better buying tool than memory. On the next promotion, you can decide whether the same structure still works or whether the format needs a revision.
There is a simple rule worth using: if the insert is meant to recur, spend a little more on the first order so the next one is easy to repeat. A cleaner approval, a better stock match, and a clear file archive usually beat a lower short-term quote. If you are still narrowing your broader pack line, the Custom Packaging Products page is a useful starting point for comparing formats that may sit alongside inserts in the same program.
Before placing the order, revisit the restaurant Frosted Zipper Bags Packaging Insert checklist and confirm the final approvals, quantities, delivery timing, and artwork ownership. That last pass is usually the difference between a smooth launch and preventable noise.
What should a restaurant frosted zipper bags packaging insert checklist include?
It should include bag dimensions, insert dimensions, how the insert will sit inside the bag, paper stock, finish, quantity, ship date, final copy, artwork files, and the named approval owner.
How do I size an insert so it does not curl inside a frosted zipper bag?
Start with the space available after the bag is filled, not just the flat bag size. Leave clearance at the edges so the card can lie flat near the zipper area, and choose a stock weight that stays straight without feeling overly rigid.
What affects pricing for frosted zipper bag inserts in restaurant orders?
Quantity, print colors, stock type, and finishing are the main drivers. Setup charges, proofing, and custom die-cuts can raise the initial quote on smaller runs, while unit cost usually improves as volume rises.
How long does the process usually take from proof to delivery?
Simple insert orders usually move faster than folded, coated, or specialty formats. The biggest delays come from revisions, missing file details, and slow approvals, so it helps to build extra buffer time before store launches or menu changes.
What files and approvals should I prepare before placing the order?
Have final logo files, print-ready artwork, and any legal or menu disclaimers ready. Confirm the exact size specs for the insert and frosted zipper bag, the preferred quantity, and a named approver so proof review does not stall.


