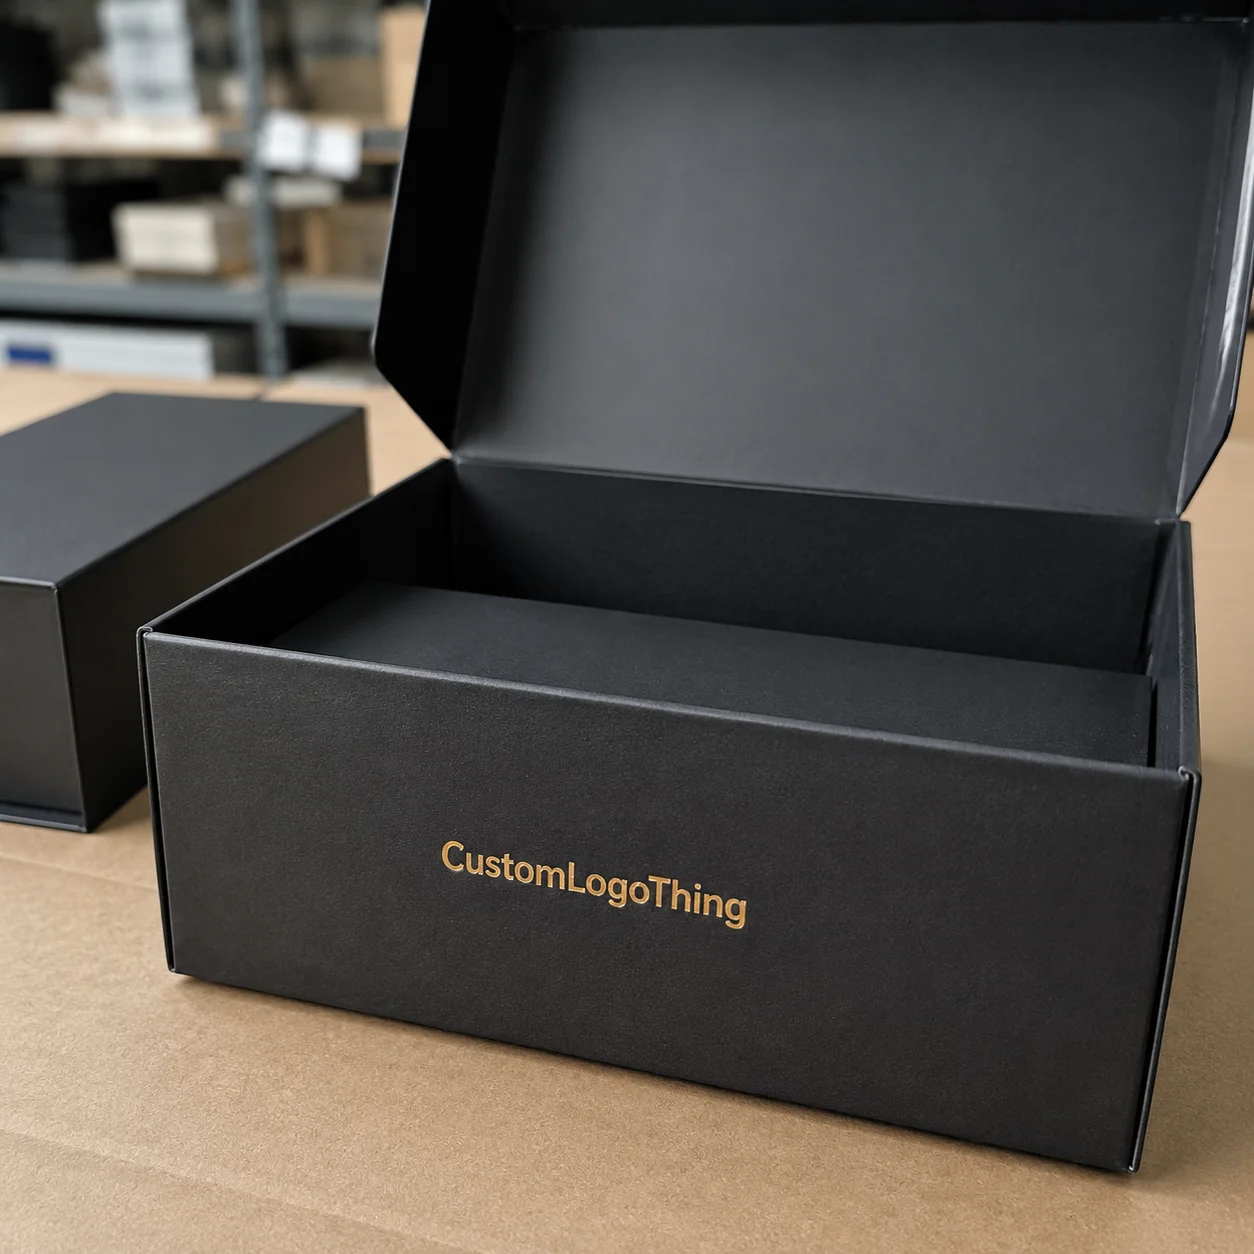
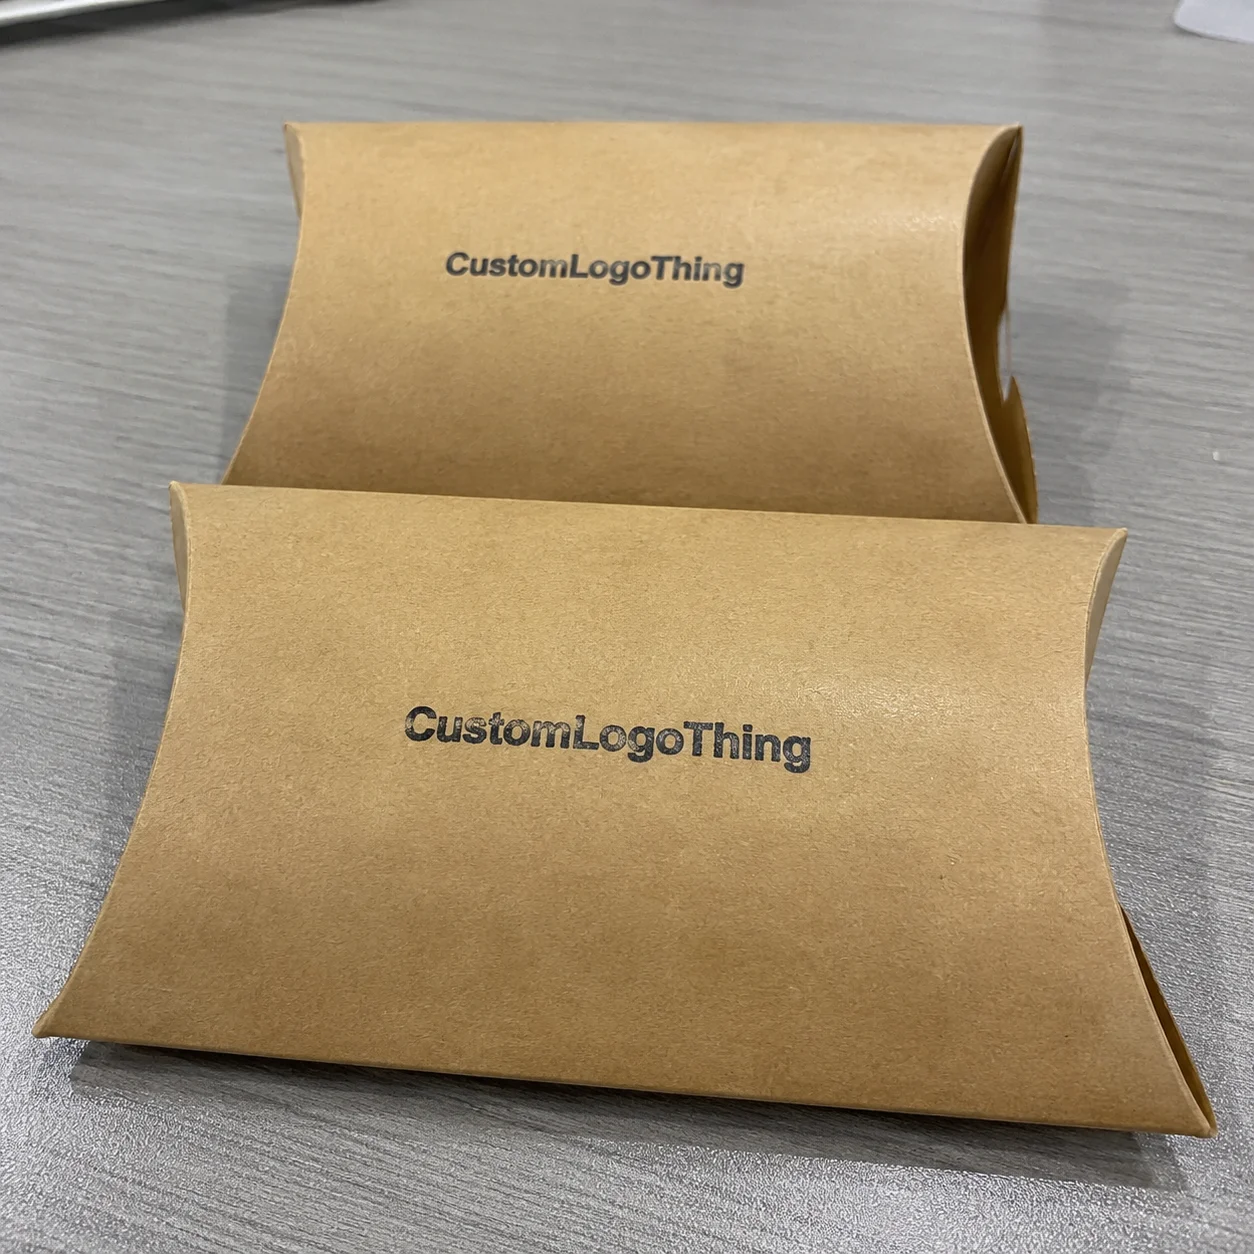
Building a toy pvc garment Bags Packaging Insert Checklist usually exposes the same problem: the artwork is fine, but the structure is not. A bag can look clean on a screen and still fail in hand if the insert bends, curls, shifts, or lands a few millimeters out of position. That small mismatch is enough to make a package look rushed, even when the print quality is good.
The insert inside a toy PVC Garment Bag has to do more than sit behind the product. It keeps the package upright, carries the product details, and gives the buyer a clear face to read at a glance. If it is too thin, the bag slumps. If it is too large, the PVC fights the board and the package bulges. If the copy is crowded, the whole thing reads like a compromise.
The work is practical, not glamorous. Packaging buyers are usually trying to protect three things at once: shelf appearance, compliance, and production speed. That combination leaves little room for guesses. The safest path is to treat the insert as a technical component, not an afterthought attached to the graphics file.
Why toy packaging inserts fail when the bag spec is "almost right"
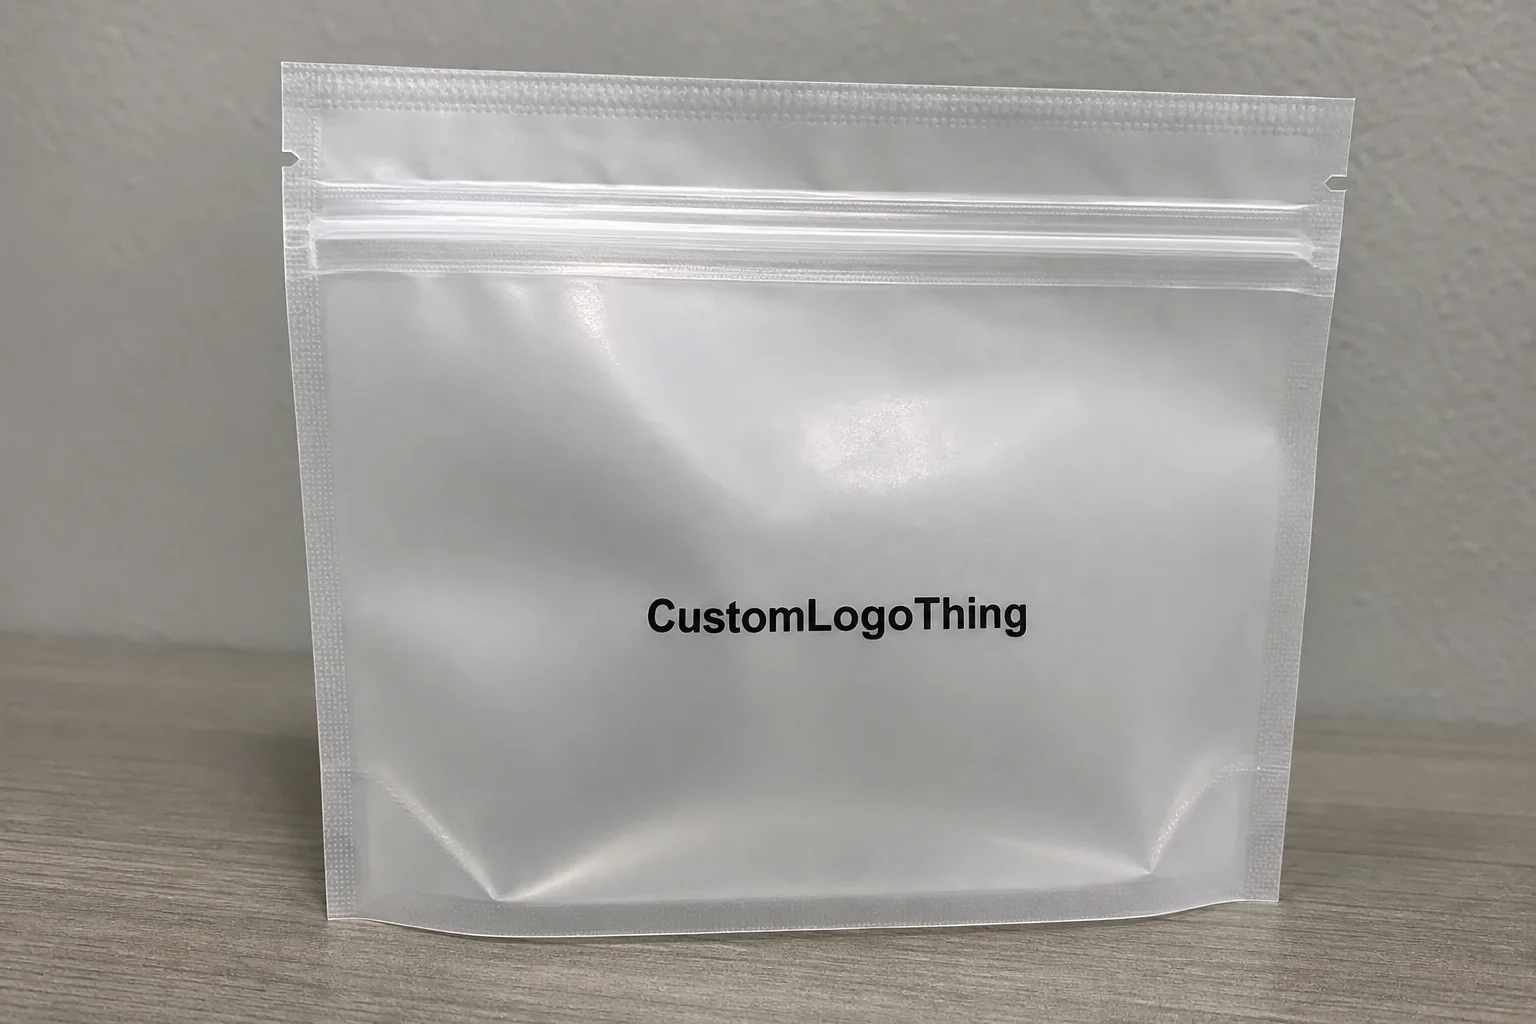
Most failures begin with a version of the same assumption: the bag size is approved, so the insert will fit well enough. It will not. A garment bag may appear forgiving in CAD or on a flat mockup, but once the insert is inside clear PVC, every tolerance issue becomes visible. The package shows wrinkles, corner lift, or a slight bow, and the product starts looking less intentional.
The insert is not decoration. In toy packaging, it acts as the backer that keeps the front panel readable, the carrier for barcodes and warnings, and the stabilizer that prevents the product from floating around inside the bag. Because PVC is transparent, the insert also becomes the visual field behind the toy. Any imbalance in size, fold location, or print placement is obvious under retail lighting.
Corner clearance and fold direction matter more than many buyers expect. A 350gsm board and a 500gsm board may sound close in conversation, but the extra stiffness can change how the bag closes and how the top hangs. Hanger hole placement also needs to line up cleanly with the bag opening and any closure method. If the hole is too high, the top edge can buckle. If it is too low, the display hangs oddly on the rack.
Toy packaging adds more pressure than a basic apparel insert because the copy burden is usually heavier. Age grading, safety warnings, UPCs, country of origin, and multilingual text often need to live on the same piece. That is hard to fit if the insert was sized from a guess instead of a measured bag sample. A package that looks fine in proof can become awkward the moment it is assembled.
The practical takeaway is simple: the insert has to match the bag, the toy, and the retail environment. A good fit is measured in millimeters, not optimism.
How the insert works inside PVC garment bag packaging
The insert performs a few jobs at once. It supports the package structure, creates a clean background behind the toy, and keeps the contents from shifting. That sounds straightforward. In PVC garment bag packaging, though, the clear plastic reveals every weak point, including board curl, waviness, and sloppy alignment.
Size needs to be checked in context. The bag's internal dimensions, seam allowance, hanger opening, and closure method all affect the final spec. If the bag uses a zip, snap, adhesive strip, or heat seal, the insert has to clear that area without pinching. A few millimeters can decide whether the package sits flat or presses against itself in storage.
Different insert formats solve different problems:
- Single card insert - the simplest option, useful for clean presentation and lower cost.
- Folded card - better when there is more copy to fit without increasing the outside footprint.
- Belly band style insert - useful for accessory bundles or sets that need a defined wrap.
- Instruction sheet - a practical choice when setup, care, or warning copy needs more space.
- Header-supported insert - adds stiffness near the top and can improve peg display stability.
Finish changes how the package reads. Matte stock reduces glare and usually improves readability under bright retail lighting. Gloss can push color harder, but it also shows scuffs and handling marks sooner. Soft-touch or coated finishes can feel more premium, though they should be tested against the actual shipping and display conditions. If the insert is packed flat and handled several times before shelf placement, durability matters more than surface effect.
For buyers managing a broader packaging program, consistency is often more valuable than novelty. The insert should visually belong with the rest of the line. If you are also working on cartons, sleeves, or printed boxes, keep the same basic color logic and brand hierarchy across all components. That helps the package feel deliberate rather than assembled from separate decisions.
Key specs that control fit, durability, and readability
Good packaging rarely depends on one dramatic choice. It comes from a set of smaller decisions that agree with each other. For inserts, those decisions are dimensions, material, readability, structure, and compliance layout. If one of those drifts, the rest of the piece has to compensate, and that usually shows.
Start with the dimensions. Buyers should lock down the open size, folded size, trim size, bleed, safe zone, and tolerance before moving to print. A realistic trim tolerance for many runs is around +/-1 to 2 mm, though the final range depends on the printer, the stock, and the finishing method. That may sound small, but barcode placement and warning text can be affected fast when the copy sits too close to the edge.
Material choice affects both look and performance. Common options include SBS paperboard, coated stock, and heavier cover stock. A 250-300gsm insert can work for light product and simple layouts. For more stiffness, 350-400gsm is a more dependable range. If the insert has to resist curl, moisture, or frequent handling, a coated surface or lamination may be worth the added cost.
Readability deserves more attention than it often gets. Tiny type, weak contrast, and crowded icons can turn a clean package into a compliance problem. The front panel should carry the key visual and the product identity. The back or inside panel can handle instructions, warnings, and less prominent copy. If the layout forces everything into one side, the design is probably trying to do too much.
Structure matters because PVC exposes movement. Static, friction, and humidity can make thin board look tired quickly. That does not always mean laminate everything. Lamination improves stiffness and helps the package hold up, but it also changes cost and can reduce recyclability. The right choice depends on whether the package will sit on a shelf for a short promotional run or stay in inventory longer.
For packaging guidance and transit practices, industry references such as the International Safe Transit Association and the Institute of Packaging Professionals are useful. When sustainability is part of the brief, the Forest Stewardship Council remains a common certification reference buyers ask about. Those references do not replace production testing, but they help anchor the spec conversation.
| Insert option | Typical stock | Best use | Tradeoff |
|---|---|---|---|
| Economy single card | 250-300gsm coated stock | Simple toy bags, short copy | Lowest cost, least stiffness |
| Mid-range folded insert | 300-350gsm SBS | More text, barcode, warnings | More setup, better structure |
| Premium retail-ready insert | 350-400gsm with matte or gloss coating | High-visibility retail packaging | Higher unit price, stronger shelf impact |
toy pvc garment bags packaging insert checklist: production steps and timeline
A reliable process is a chain of approvals, not a single send-and-print moment. The toy PVC Garment Bags Packaging Insert checklist should move through quote request, dieline confirmation, artwork setup, proof review, sample approval, mass production, and packing. If one step is skipped, the next one usually uncovers the problem in a more expensive form.
Before print starts, lock these items:
- Exact bag size and closure method.
- Insert size, open size, and folded size.
- Stock choice and finish.
- Quantity and MOQ.
- Fold style, nesting method, or die-cut details.
- Final copy, including warnings and barcode data.
Lead time depends on the job, but simple inserts with finished artwork can often move in 10-15 business days after proof approval. Add custom folding, lamination, multiple proof rounds, or late-stage compliance edits, and the schedule grows quickly. "Urgent" is not a spec. It usually means the file was not ready earlier.
Revisions should be expected. A straightforward branded packaging insert may only need one proof cycle, but toy packaging often requires signoff from product, compliance, and marketing. If the age grade is still changing, or the warning copy is still under review, the job is not ready for mass production. Printing early only creates a second round of approvals after money has already been spent.
A workable timeline often looks like this:
- Day 1-2: measurement confirmation and quote request.
- Day 3-5: dieline setup and first proof.
- Day 6-8: internal review and copy corrections.
- Day 9-11: final proof approval or sample signoff.
- Day 12-20: production, finishing, packing, and dispatch.
That schedule is not universal. Quantity, printer capacity, and file quality all affect the outcome. Still, it is a realistic planning frame for buyers who need product packaging ready before a launch window closes.
Cost, pricing, and MOQ tradeoffs buyers should expect
Insert pricing is driven by size, quantity, print coverage, stock, finish, fold complexity, and setup requirements. Buyers often ask for a quote before confirming those details, which makes pricing almost meaningless. A 3x5 insert and an 8x11 insert are not the same job, even if both are just one sheet of printed board.
For rough budgeting, a simple economy insert in moderate volume can often land around $0.08-$0.18 per unit, depending on quantity and coverage. A mid-range branded packaging insert with better stock and finishing may sit around $0.15-$0.32 per unit. Premium retail-ready versions with heavier material, coating, or more complex folding can climb to $0.30-$0.60+ per unit. Those numbers are planning ranges, not commitments.
MOQ changes the picture. Lower runs usually cost more per unit because the setup cost is spread over fewer pieces. Larger runs reduce unit cost but increase inventory exposure. If the toy line changes often, a large print run can leave you with useful packaging for the wrong version of the product.
There are also indirect costs that get missed in early budgeting:
- Die setup or file prep for custom shapes and folds.
- Proof shipping or courier charges for physical samples.
- Color correction when source files arrive in poor condition.
- Correction reprints after approval mistakes.
- Special packing for flat delivery or kitting.
The cheapest insert is rarely the cheapest outcome. A weak board that curls, a print that misses the safe zone, or a layout that fails barcode checks can create reprints and delays that cost more than the original savings. Buyers usually get a better result by paying for the right stock and the right proof process first.
Common insert mistakes that cause reprints and delays
Some mistakes appear in almost every packaging review. They are not complicated, just expensive.
- Missing bleed or safe margins, which puts logos, warnings, or barcodes at risk during trim.
- Choosing stock that is too thick and forcing the bag to bulge or close poorly.
- Ignoring the toy's actual shape, especially when the product is bulkier than expected.
- Sending artwork before final copy approval, then discovering the legal text changed after proofing.
- Folding the insert the wrong way, which hides key information inside the package.
Another common problem is assuming one insert spec will fit multiple bag sizes. The visual style may carry across a product family, but the physical spec often will not. Even a small change in width can move the fold position, alter text scaling, or shift the barcode into an unsafe area. If those checks are skipped, the package may still print fine and still fail in use.
Barcode placement deserves special attention. A barcode too close to a fold or seam can scan poorly, and a scan failure turns into a retail problem very quickly. That issue rarely looks urgent during prepress, but it becomes visible at the warehouse, at the register, or during receiving. By then the only fix may be reprint.
Expert tips for cleaner approvals and better shelf impact
Assign one person to measurements, one person to copy, and one person to final approval. Shared responsibility sounds efficient until no one knows who owns the revision. Packaging files have a habit of drifting when too many people are editing from memory instead of from a locked spec.
Request a physical sample whenever the insert needs to align tightly with the bag or with a toy that has unusual proportions. A PDF cannot show stiffness, curl, or how the board sits behind a semi-rigid item. On the production floor, the sample usually settles the argument faster than a long email thread.
Keep the front panel restrained. Product name, age grade, one clear benefit, and one strong visual are usually enough. The back can carry the warnings and instructions. When the front is overloaded, the shelf message weakens and the package starts to feel noisy rather than premium.
Version control matters more than teams like to admit. Put the revision number and approval status in the filename. That small habit prevents the classic problem of several nearly identical PDFs being sent around as "final." Printing the wrong file is still one of the fastest ways to lose a week.
Ask for preflight review of barcode contrast, fold lines, and safe zones before approval. These are basic checks, but they catch the errors that are easiest to miss on screen. A careful production partner should also flag text that sits too close to a fold, artwork that disappears on coated stock, and any area where the layout looks fine digitally but becomes cramped once trimmed.
"A good insert does not just fit the bag. It fits the copy, the production process, and the shelf."
If you are building a broader product packaging line, keep the insert style aligned with the rest of the branded system. The color language, logo scale, and finish should feel like they belong together. That matters even more when the packaging also includes cartons, sleeves, or printed boxes.
Next steps for ordering the right insert
Start by measuring the bag and the product together. Not separately. Together. That one step catches more sizing mistakes than most teams expect, especially when the product shape is deeper than a standard flat insert would suggest.
Then gather the final copy, barcode data, warning text, and brand assets in one place before asking for a quote. If legal text is still being edited, the job is not ready. A print quote based on unfinished copy usually turns into a revision cycle later.
Choose material and finish based on handling, shelf life, and budget. The lowest-cost option is not automatically the right one. For a toy line with stronger display expectations, a slightly heavier board and a cleaner finish often justify the cost because the package holds its shape and reads better from a distance.
Build in time for at least one proof review and a correction buffer if compliance text may still change. That buffer is part of production planning. It is not wasted time, and it is usually cheaper than emergency reprints.
Use the toy pvc garment Bags Packaging Insert Checklist line by line when comparing suppliers. Check fit, pricing, timeline, proof process, and stock spec before you place the order. If those elements line up with your launch schedule, the job is likely ready. If not, keep adjusting. The cheapest version on paper is not the cheapest version once delays, waste, and reprints are counted.
What should be on a toy PVC garment bags packaging insert checklist?
Include bag size, insert size, material, finish, fold style, artwork specs, barcode placement, and any required safety or compliance text. Also confirm quantity, timeline, proof needs, and who signs off on final copy before production begins.
How do I choose the right insert thickness for PVC garment bags?
Use a thicker stock if the insert needs stiffness, a premium feel, or extra durability during shipping. Keep it slimmer if the bag is tight or the toy is bulky, because over-thick inserts can cause bulging and poor closure.
What affects the price of custom inserts the most?
The biggest pricing drivers are size, quantity, print complexity, coating, fold structure, and whether special setup is required. Small runs usually cost more per unit, while larger runs lower unit cost but require more inventory planning.
How long does production usually take for toy packaging inserts?
Simple inserts can move quickly if artwork is final and specs are clear. Expect more time when you need custom folds, compliance edits, samples, or multiple proof rounds.
Can I use the same insert design for different toy PVC garment bag sizes?
Not safely. Even small size changes can affect fold position, text fit, and how the insert sits inside the bag. A shared visual style is fine, but each bag size should be checked for fit and readability before printing.
The short version is straightforward: the best toy PVC garment Bags Packaging Insert Checklist protects fit, readability, and compliance before the first sheet is printed. Get those right, and the insert supports the bag instead of fighting it. That is how you avoid reprints, reduce waste, and keep the package looking ready for retail.