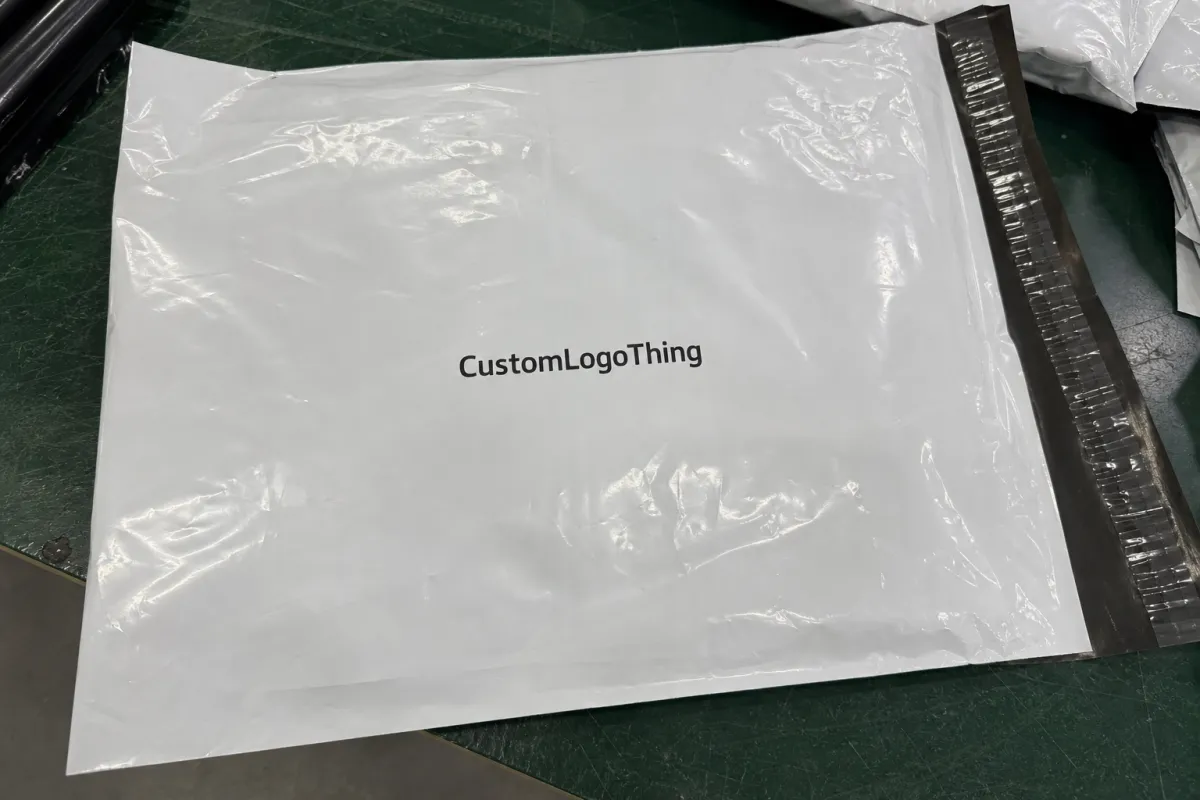
ecommerce brand Custom Poly Mailer Bags Print Method Comparison: Flexographic vs. Digital vs. Gravure
The real question behind an ecommerce brand Custom Poly Mailer Bags print method comparison is not whether the logo looks clean on a mockup. It is whether that same bag still looks intentional after it has been stuffed, sealed, scanned, stacked, and thrown onto a delivery truck. That is a harder test than most first-time buyers expect.
Print method changes the outcome in ways that are easy to miss from a screen. Ink density, registration, white-ink coverage, and film finish all influence whether the design reads as premium or merely printed. A simple two-color mark can look sharp on one process and soft, dull, or slightly off-center on another.
For most brands, the decision comes down to four variables: order size, artwork complexity, reorder frequency, and how much visual polish the bag needs to carry. A startup shipping 500 units a month does not need the same process as a brand that reorders 30,000 bags every quarter. That difference shapes cost, turnaround, and the level of production risk a buyer can tolerate.
The cheapest printed mailer is not always the least expensive order. A delayed launch, a weak white underprint, or a color shift on dark film can erase the savings very quickly.
Why the Print Method Changes the Buying Decision
Printed Poly Mailers are flexible packaging, which means they behave differently from paperboard or labels. The material moves under pressure, stretches slightly during handling, and responds to heat and friction. That matters because the print has to survive the same journey as the product.
A glossy film reflects more light and can make light-colored artwork look brighter, but it also shows scuffs and fingerprints more easily. Matte film hides wear better, though tiny details sometimes lose a little edge on it. Dark films need strong white underprint if the brand colors are supposed to stay vivid. Skip that step and even expensive artwork can look washed out.
The process also changes the economics. A method with a lower per-unit quote can still be the wrong choice if it carries high setup fees, a longer lead time, or a higher scrap rate. Buyers usually notice that only after the first reorder, when margins are already being tracked more closely.
There is also a warehouse reality that rarely appears in mockups. Bags are often grabbed by the corners, slid across tables, and stacked by the carton. If the artwork sits too close to a seal line or fold, the image may distort. If the logo depends on delicate gradients or thin reverse type, the process has to be capable of holding that detail consistently across the full run.
That is why the print method deserves the same attention as size, thickness, and adhesive quality. The decoration is not separate from the package. It is part of how the package performs.
How Flexographic, Digital, and Gravure Printing Differ
Flexographic printing uses flexible plates mounted on cylinders to transfer ink to the film. There is setup work up front, but once the press is running, it handles repeat artwork efficiently. For simple logos, spot colors, and steady replenishment orders, flexo often gives the best balance of cost and consistency.
Digital printing skips the plate stage and prints directly from the file. That makes it useful for shorter runs, seasonal drops, test launches, and brands that rotate artwork frequently. The biggest appeal is speed. The second is flexibility. If the artwork changes often, digital can save time and prevent the waste of remaking plates for every revision.
Gravure printing relies on engraved cylinders and a heavier setup investment. It is rarely the first choice for small orders, but at very large volumes it can produce strong color consistency and efficient unit economics. The setup cost is high enough that it only makes sense once the run size is large enough to spread that cost out.
The output differences are practical, not just technical. Flexo is strong on solid colors and straightforward branding. Digital is usually better for frequent file changes and complex art that would be expensive to retool. Gravure can handle rich coverage well and tends to become attractive when the same design will be repeated over and over at scale.
What matters most is the interaction between the art and the film. A glossy white mailer with a two-color logo is an easy job. A matte black mailer with fine type, a white underprint, and a gradient background is a more demanding one. The same PDF can produce very different results depending on which of those processes is used.
For buyers who want a broader frame on packaging standards, the Institute of Packaging Professionals at packaging.org is a useful reference. Mailers may look simple, but the same rule applies across packaging categories: artwork, substrate, and process have to agree with each other.
What Buyers Should Compare Before Choosing a Method
The first comparison should be the artwork itself. Thin strokes, small reversed text, and soft gradients all demand more from the press than a bold logo with two spot colors. If the design relies on photographic elements or layered color transitions, digital often gives more control. If the art is mostly flat brand color, flexo usually makes more sense.
Next comes volume. A 1,000-piece test order and a 25,000-piece replenishment run live in different cost worlds. Short runs usually favor lower setup friction. Higher runs usually reward a process that spreads plate or cylinder costs across more units. That sounds obvious, but many buying mistakes happen when a short-run decision is copied into a long-run program.
Film structure matters as much as the ink method. White opaque film, clear-tinted film, and black gloss film do not reproduce color in the same way. Thickness also affects print behavior. A thinner film may be more sensitive to handling marks and stretching, while a heavier film can hold up better under load but may require more careful press control. The material spec is not a side note. It changes the print result.
Warehousing deserves a seat in the decision. If the bag is handled on a fast fulfillment line, the artwork has to survive abrasion from labels, repeated gripping, and carton packing. If the mailer is part of a premium direct-to-consumer experience, the brand may care more about crispness, scuff resistance, and how the print looks under warehouse lighting. Those are different standards, and they should be treated that way.
- Artwork complexity: gradients, fine lines, and reversed type point to different print methods.
- Run size: higher quantities can justify higher setup investment.
- Film finish: matte, gloss, tinted, and opaque films change color appearance.
- White ink need: dark films usually need a controlled underprint.
- Reorder pattern: frequent artwork changes favor methods with lower setup friction.
One practical buyer habit saves money more often than haggling over the unit price: compare the method against the design, not against the quote alone. A slightly more expensive process can be cheaper if it avoids reprints, rejects, or a launch delay.
Production Timelines: From File to Freight
Printed mailer production usually follows the same sequence: spec confirmation, artwork cleanup, proofing, setup, printing, curing, finishing, carton packing, and freight booking. The method changes the length of each stage, but not the order.
Digital printing tends to move fastest once the files are clean. There is no plate or cylinder creation step, so it can be a better fit for urgent launches and short test runs. Flexo and gravure need more front-end preparation, which adds time before the press even starts. In practice, a clean digital job may ship a few days faster than a comparable setup-heavy job if the plant schedule is open.
For many standard mailer programs, a planning window of about 10-15 business days after proof approval is a sensible baseline for flexo jobs, while gravure often needs more lead time because of cylinder production and scheduling. Digital can sometimes come in faster, especially on smaller orders, but the queue matters as much as the technology. A plant with a packed production calendar will still be slow, even if the method itself is quick.
File changes are the most common source of delay. Late shifts in artwork, missing bleed, low-resolution logos, and unclear white-ink instructions all push the schedule back. Freight is the second trap. A bag can finish on time and still miss a launch if the shipping booking was not locked early enough.
QC should happen at more than one point. Buyers should ask how the proof is checked, what counts as color approval, and whether the first cartons are inspected against the approved sample before the run is fully released. That sounds cautious because it is. Printed film is less forgiving than paper in a few key areas, and a bad run tends to stay bad all the way through the press.
Cost, MOQ, and Landed Price Tradeoffs
Quotes only become meaningful when the buyer knows what is inside them. Setup charges, print fees, bag material, finishing, packing, and freight all change the landed price. A low per-unit number can hide a high plate fee or a freight bill that erases the savings.
The table below gives a practical comparison for common ecommerce mailer programs. Real pricing shifts with bag size, color count, coverage, finish, and the supplier’s production load, but the structure of the economics stays fairly consistent.
| Method | Typical Setup Cost | Practical MOQ Range | Best Fit | Unit Cost Tendency | Buyer Watchout |
|---|---|---|---|---|---|
| Flexographic | $250-$900 for plates and setup | 3,000-50,000+ | Simple logos, stable artwork, spot-color branding | Often strongest at mid-to-high volume | Less efficient for frequent art changes or fine gradients |
| Digital | $0-$150 in many cases | 100-5,000 | Short runs, seasonal art, test programs, many SKUs | Usually higher at larger volume | Coverage-heavy artwork can push cost up quickly |
| Gravure | $1,500-$5,000+ for cylinders | 25,000-100,000+ | High-volume repeat production, tight color consistency | Can become very competitive at scale | High upfront investment makes small reruns hard to justify |
For rough budget planning, a simple one- or two-color mailer may land around $0.11-$0.22 per unit at 5,000-plus pieces in flexo, depending on size and coverage. Digital often lands closer to $0.18-$0.32 on shorter runs, sometimes more if the artwork uses heavy coverage or white ink. Gravure can become the lowest-cost option at very high volume, but only after the setup cost is spread across enough pieces to matter.
That last point matters more than buyers usually admit. A quote that saves a penny or two per bag can still lose money if it creates reprint risk, a longer launch delay, or a rush freight charge. Landed cost is the real number. Everything else is partial.
Brands that compare mailers alongside other packaging items, such as Custom Packaging Products, usually see this faster because they already know how setup costs behave in print production. Flexible film is different from paperboard, but the economics are just as unforgiving.
Ordering Mistakes That Create Waste or Delays
One common mistake is approving artwork before checking the press limits. A line that looks elegant on a monitor can disappear on flexible film, especially if the design crosses a seal line or lands too close to the trim edge. Small reversed text is another frequent problem. It often looks legible in a PDF and fails once ink hits film.
A second mistake is choosing the method based on habit. A brand may default to flexo because that is what it used before, even if the next order is only 800 pieces and the design changes every month. The reverse happens too: a company that starts with digital may never revisit the lower unit cost available through flexo once the design stabilizes.
- Missing bag specs: size, thickness, seal style, finish, and adhesive details all affect the quote.
- Weak file prep: low-resolution files, missing dielines, and unclear bleed create proof delays.
- Color assumptions: screen color rarely matches print on film without a real proof.
- Poor use-case detail: warehouse handling, label placement, and folding pattern should be disclosed early.
Color is another area where buyers get surprised. A deep black on a monitor does not behave the same way on a 2.5-mil film, and a bright green brand color can shift depending on whether the film is glossy, matte, opaque, or translucent. White underprint makes a major difference on dark substrates, and it needs to be specified rather than assumed.
There is a simple reason these mistakes repeat: packaging is often ordered near the end of the launch process, when the team is focused on the product, the photos, and the campaign. That leaves the mailer treated like a commodity. It is not a commodity once the brand name is printed across the front.
Practical Tips for Sharper Artwork and Better Reorders
Design for the press, not just for the screen. Strong contrast, generous safe zones, and simple geometry tend to print more cleanly than delicate effects. Keep critical text away from the seal and trim areas. If a legal line or small mark matters, verify that it still reads once the bag is filled and photographed.
A master spec sheet is one of the most useful buyer tools. Include the bag size, film thickness, finish, ink colors, white-ink requirement, approved proof, previous run date, and any notes about label placement or warehouse handling. That record shortens future reorder cycles and reduces the chance that someone recreates the wrong version from memory.
Ask for realistic sample photos when the finish matters. A matte black soft-touch mailer behaves differently from a glossy white one, and the difference is not subtle under warehouse lighting. If the brand is sensitive to how the package reads on camera, ask how the print was checked and what lighting conditions were used during approval.
Reorder planning matters more than many teams expect. A design that works well for one hero product may become inefficient once the assortment expands into colorways, regional versions, or seasonal drops. A process chosen for one order should still make sense after the third reorder. That is where many packaging programs either gain stability or become annoyingly expensive.
A useful rule: if the artwork is simple and the design will stay stable, choose the process that rewards volume. If the artwork changes often and the schedule is tight, choose the process that minimizes setup friction. That filter is not elegant, but it avoids a lot of waste.
How to Prepare a Usable Quote Request
Before requesting pricing, gather a brief that actually supports comparison. The supplier needs the bag size, material, thickness, finish, artwork files, quantity range, shipping destination, and the date the bags must arrive. If the design needs white ink, a hang hole, a tear strip, or a specific seal style, include that too.
Ask every vendor to quote the same specification. If one quote changes the film gauge, alters the packing format, or reduces the print coverage, the lower number is misleading. Comparisons work only when the inputs are the same.
Clarify the proof process in writing. Ask whether the first proof is digital only, whether a physical sample is available, and what counts as final approval. Then decide which matters more for the first order: speed, cost, or visual precision. Those priorities are often different on a launch order than they are on a reorder.
For teams that manage multiple packaging formats, it helps to compare the mailer against the rest of the packaging system, not in isolation. A shipping bag should support the brand, but it also needs to fit the warehouse rhythm, the product margin, and the reorder calendar. If it fights any of those, the program becomes harder to run than it needs to be.
Used that way, an ecommerce brand Custom Poly Mailer Bags print method comparison becomes a production decision instead of a branding exercise. The strongest choice is the one that fits the art, the quantity, the timeline, and the handling conditions without making the next reorder harder than the last.
Which print method is usually best for ecommerce poly mailer bags?
Flexographic printing is often the best fit for stable, mid-to-high volume orders with simple branding. Digital printing is usually stronger for short runs, frequent art changes, and multi-SKU programs. Gravure becomes attractive only when volumes are large enough to absorb the setup cost.
How should I compare pricing across print methods?
Compare setup charges, unit price, freight, MOQ, and packing format on the same quote sheet. Make sure every vendor is using the same bag size, thickness, finish, and color count. The landed cost matters more than the quoted print price alone.
How long does production usually take?
Digital jobs can move quickly once the files are approved. Flexo and gravure usually need more time for setup and verification. A clean file package and a locked spec sheet are the fastest ways to protect the schedule.
Can full-color artwork be printed on poly mailer bags?
Yes, but the result depends on the print method, the film finish, and how detailed the artwork is. Gradients, small text, and dark-film white underprints need closer review than a simple two-color logo.
What should I send with a quote request?
Send the bag dimensions, material, thickness, finish, artwork files, quantity range, shipping location, and target delivery date. Add any requirements for white ink, hang holes, tear strips, or special packing instructions. The more complete the brief, the cleaner the quote comparison.

