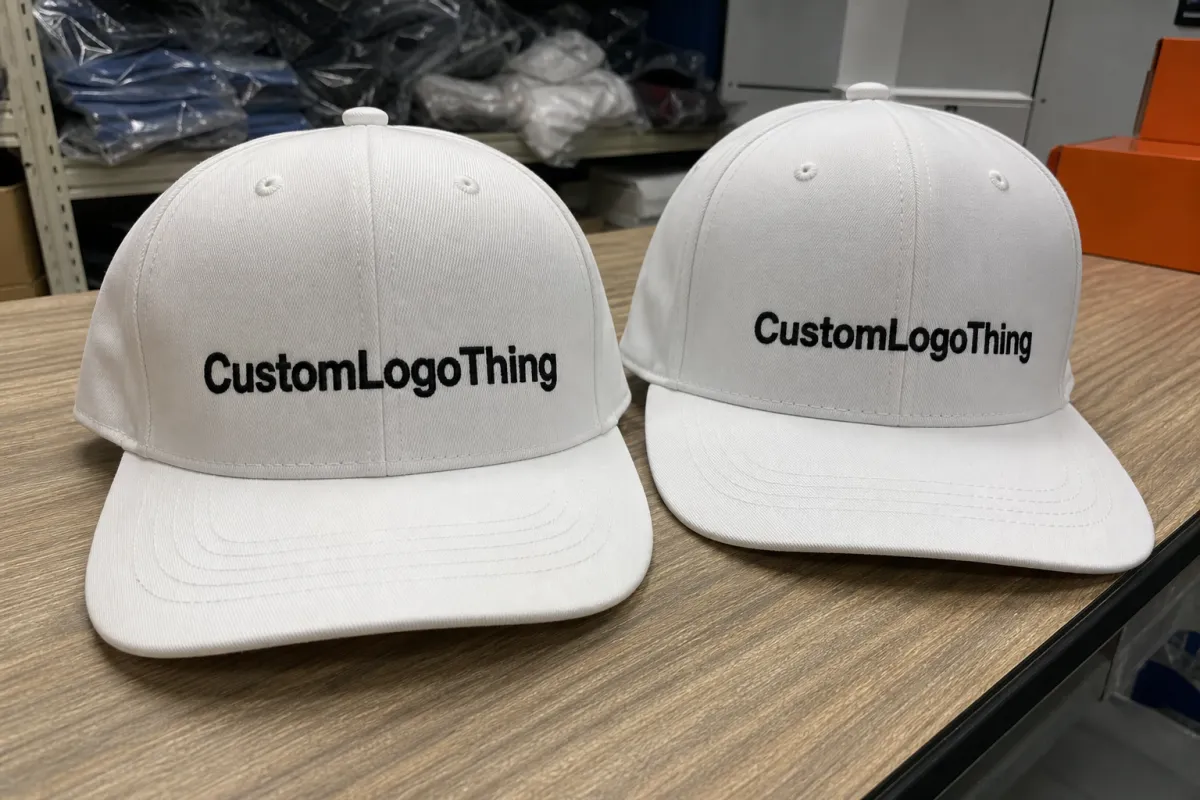
The Custom Event Hats artwork file setup is usually the point where an order either stays simple or starts collecting problems. The hat itself is rarely the issue. The file is. Curved crowns, seams, small imprint zones, and decoration limits do not care that the logo looks polished on a laptop screen.
That is the part buyers learn after one or two rushed orders. A logo that works on a website banner can fall apart on a six-panel cap. Thin type disappears, gradients turn muddy, and a design that felt balanced on a flat artboard suddenly sits awkwardly on a curved surface. Good file setup is not decorative admin. It is the difference between clean production and a proof cycle that drags on for days.
Production rule: if the decoration team has to guess where the logo sits on the crown, the artwork is not ready yet. It still needs clarification.
Why custom event hats artwork file setup breaks orders
Hat orders do not usually fail because the cap is bad. They fail because the artwork file cannot survive the decoration method. Embroidery wants clean shapes and manageable stitch counts. Woven patches need crisp edges and enough contrast to hold detail at small size. Printed patches and heat transfers can carry more nuance, but only when the source art is clean and the size is realistic.
The imprint area on a hat is compact, and the crown is curved. A front decoration may only allow about 2.25 to 3.5 inches of workable width before seams and panel breaks start interfering. Side placements are tighter still. If the logo was built for a website header or a social graphic, it often needs cleanup before it can be digitized, patched, or printed. That is why a strong Custom Event Hats artwork file setup protects the design from being crushed by the product.
What a vendor actually needs is more than "send the logo." A clean handoff should include:
- File type: AI, EPS, editable PDF, or a high-resolution transparent PNG when the decoration method allows it.
- Finished size: the actual decoration width and height, not the full hat.
- Color callouts: Pantone references, CMYK values, or a note that color must be matched visually.
- Placement: front, side, back, woven label, patch position, or secondary mark.
- Safe space: enough room so letters and icons do not get pinched by seams or closures.
The fastest orders are the ones where the file is already built for production. The slow ones usually start with a screenshot, a flattened image, or a logo saved in a format that looks acceptable on screen but gives the shop very little to work with. Once the art team has to reconstruct text or redraw shapes, the clock starts moving in the wrong direction.
If the hats are part of a larger branded packaging or event kit, the same discipline applies. The cap should feel connected to the rest of the package branding, not like a separate project that happened to arrive at the same time. If the order also includes cartons, inserts, or mailers, the broader Custom Packaging Products catalog is worth reviewing before the final budget is locked.
Process and timeline: from artwork handoff to approved proof
A normal artwork workflow is straightforward, but it does have a sequence. Skip a step and the schedule stretches. Send the wrong file and it stretches more. The sequence usually looks like this:
- Quote request: quantity, hat style, decoration method, and basic artwork are reviewed.
- File check: the artwork team confirms whether the logo is usable or needs cleanup.
- Setup notes: size, placement, color count, and stitch or print constraints are confirmed.
- Digital proof: a mockup shows how the decoration will sit on the hat.
- Revision round: spelling, layout, color, and placement changes are handled.
- Approval: the buyer signs off on the proof.
- Production release: the order moves to the shop floor.
With a clean vector logo and clear placement instructions, proofing can move quickly. Same-day proofing is possible on simple orders, and next-business-day turnaround is common. If the file is low resolution, the font is missing, or the color needs matching, expect one to three extra business days before approval. If the buyer does not respond to proof comments, the delay is not mysterious. It is just calendar math.
Rush orders can still work, but only when the artwork is already organized. A rush order is not magic; it is just the same process with less room for corrections. That makes the cut-off time important. Ask for three things up front: proof ETA, production lead time, and the exact time of day when same-day corrections stop counting as same-day.
For higher-complexity event kits that include boxes or inserts, timing discipline matters there too. Testing and paper sourcing are not side notes when shipping cartons travel with the hats. Standards from ISTA testing standards and FSC certification become relevant when the project includes heavier branded packaging components.
If the buyer sends a complete package on day one, the proof usually moves faster than expected. If the buyer sends a screenshot, a partial logo, and a deadline that was already yesterday, the process becomes a scavenger hunt. That is not a production problem. It is an information problem.
Pricing factors that change cost, quote, and unit cost
The quote for hats is not just "hat plus logo." Decoration method, number of colors, stitch count, placement count, and hat style all affect the number. File quality matters too. A clean logo is quicker to price and quicker to produce. A messy one can turn into a redraw, and redraws cost money because somebody has to rebuild the art before production can begin.
There are usually three hidden cost centers: cleanup, extra proof rounds, and re-quoting after the art changes. That is especially true if the file starts as a screenshot or a flattened social graphic. Once the shop has to reconstruct the logo, the order is paying for production labor before production even starts.
Typical pricing varies by decoration method and quantity, but a few broad patterns show up often:
- Digitizing or setup fees: commonly a fixed charge for embroidery, often around $20 to $75 per logo depending on complexity.
- Short-run unit cost: smaller runs usually carry a higher per-hat price, especially under 24 to 48 pieces.
- Embroidery detail: dense stitch counts, tiny lettering, and multiple thread colors can raise the price quickly.
- Patch construction: woven, printed, and heat-applied options each price differently based on edge shape, color count, and material.
Small runs almost always cost more per hat than larger event orders because setup does not scale down politely. A 24-piece order with embroidery will usually cost more per unit than a 250-piece event order, even if the logo is identical. The setup work is similar; the cost is simply spread across fewer pieces.
| Decoration option | Best file type | Typical setup effort | Usual price impact |
|---|---|---|---|
| Embroidery | AI, EPS, editable PDF | Medium, especially if the logo needs digitizing | Often the highest unit cost for tiny runs; stitch count matters |
| Woven patch | Vector art or a clean high-res source | Medium to high for detail-heavy designs | Moderate setup, good for small text that embroidery would lose |
| Printed patch or transfer | Vector, PDF, or high-res transparent PNG | Low to medium if the art is already clean | Usually friendlier on short runs with full-color graphics |
| Heat-applied applique | Vector preferred | Medium, depending on layers and cut lines | Can rise if the design has too many tiny details |
Here is the blunt version. Simple shapes, one or two colors, and clean vector files are cheaper to handle. Complicated gradients, tiny type, and multiple placements are not. If the goal is to control budget, simplify the art before asking the production team to tame it.
For broader packaging design work, the same rule holds. Clean art saves time whether you are ordering hats, custom printed boxes, or retail packaging. If the event kit includes inserts or outer cartons, it is worth checking the broader Custom Packaging Products range before finalizing the budget.
Step-by-step artwork setup for hats that actually prints clean
Start with the best source file available. Ideally that is AI, EPS, or an editable PDF with live text. A high-resolution transparent PNG can work for some print methods, but it is not a substitute for vector art. If the logo was built in Canva, Photoshop, or a web editor, keep the original working file untouched and export a production copy separately.
Next, size the logo for the decoration area, not for the whole hat. A front logo that looks balanced at 4 inches wide may need to be reduced to 2.75 inches once seam lines and crown curvature are taken into account. Side logos are smaller still. The hat does not adapt to the layout; the layout has to adapt to the hat.
Then clean up the vector work. Convert fonts to outlines. Expand strokes. Remove hidden layers and stray points. Use Pantone references when possible, or clear CMYK/RGB calls if the decoration method depends on them. Do not leave color guessing to the proof stage. Guessing creates delays and usually leads to a second round of corrections.
Line weight matters more than many buyers expect. Tiny text, hairline rules, and crowded icon details can disappear once they become thread, patch construction, or transfer film. A practical test helps: if the smallest text is hard to read at arm's length on screen, it will be worse on a cap. Build for real viewing distance, not file preview size.
Use this setup checklist before sending anything:
- Attach the editable source file and a flattened review file.
- Label the decoration method clearly.
- Note the exact placement and finished size.
- Spell every word twice, then check it again.
- Confirm whether the file is for embroidery, woven patch, print, or heat transfer.
That last step matters because the art that works for one method can be wrong for another. A design with thin script might survive a printed patch and fail in embroidery. A logo with tiny cutouts may look excellent as vector art and still be too fragile for a stitched version. The method should drive the artwork, not the other way around.
For buyers who also manage retail packaging or custom printed boxes, the logic is familiar. The structure has to support the graphic, and the graphic has to respect the structure. Hats just have less flat space and more seam interference.
Common mistakes that trigger delays and extra charges
The quickest way to slow down Custom Event Hats artwork file setup is to send a screenshot and hope someone can work with it. Sometimes they can. More often, they have to rebuild the logo from scratch. Low-res JPEGs, compressed social graphics, and tiny web logos are classic troublemakers.
Another expensive mistake is treating print color and thread color as if they behave the same way. Screen colors are not physical thread spools. Pantone matching helps, but it is not always exact on every substrate. If the order uses embroidery, expect a thread palette rather than a perfect screen match. If the order uses patches or transfers, the color conversation changes again. Proof approval is the place to catch that difference.
Placement errors create their own mess. Buyers approve a front logo, then realize too late that they also wanted a side mark, a back hit, or a woven label. Add a second placement after approval and the price usually changes. The same goes for spelling edits after sign-off. A proof is not a suggestion box. It is the last clean checkpoint before production.
The mistakes show up in familiar forms:
- Sending a screenshot, JPEG, or flattened graphic instead of a usable source file.
- Forgetting to mention front, side, back, or label placement.
- Using tiny type that breaks once it hits thread or patch construction.
- Approving a proof without checking spelling and logo scale against the actual hat style.
- Assuming print colors and thread colors behave the same way.
There is also the committee problem. One person wants the logo bigger. Another wants the tagline smaller. A third wants the hat to match the event banner. Now the art file has become a group project. One decision-maker, or at least one final approver, keeps the proof from bouncing around until half the day is gone.
For a broader brand rollout, the same clarity helps across package branding too. If the order includes hats, mailers, inserts, and other Custom Packaging Products for the event, a single approval path keeps the whole kit moving instead of creating a chain of small delays.
Expert tips and next steps for a clean handoff
Create a one-page art brief before asking for a quote. Keep it plain: logo file, decoration method, hat style, quantity, color references, deadline, and placement map. That one page prevents most of the back-and-forth that slows down Custom Event Hats artwork file setup. It also gives the vendor something concrete to price against, which is far better than vague optimism.
Ask for a preflight check before the quote is final. A good supplier should flag missing fonts, low-res art, unclear colors, and risky placement before the order is locked in. If the design will be embroidered, ask whether stitch count could push the price up. If it is a printed patch, ask whether edge shape or background color changes the cost. Those are normal questions.
If the event date is tight, simplify the art now. Fewer colors. Bigger type. Cleaner placement. Less detail near seams. That is how you buy time without scrambling for it later. In practical production terms, it is the same move you make when you trim a packaging layout so the schedule stays realistic.
It also helps to check the broader logistics early. If the hats are shipping with other branded packaging pieces, the file plan should match the kit plan. For paper components, FSC sourcing may matter. For transit, ISTA testing may matter. The same documentation habit shows up across production work: write the detail down, do not expect someone else to infer it later.
My short checklist before release is simple:
- Source file attached and editable version saved.
- Spelling checked by a second pair of eyes.
- Placement confirmed against the actual hat style.
- Colors approved for the chosen decoration method.
- One person signs off, not five.
If those five items are tight, the order usually moves cleanly. If the hats are part of a larger event kit with boxes, inserts, or giveaways, the same discipline keeps the whole project from turning into guesswork. That is the practical value of custom event hats artwork file setup: fewer revisions, fewer surprises, and a finished piece that looks intentional because the file was built with production in mind.
FAQ
What file is best for custom event hats artwork file setup?
Best case is editable vector art like AI, EPS, or a clean PDF with live text. That gives the production team the most control for sizing, color separation, and cleanup. If you only have a PNG, make sure it is high resolution and transparent where needed. Screenshots and low-res social graphics are the files that usually get rebuilt from scratch.
Can I send a JPG for hat artwork setup?
Yes, but only if it is large, sharp, and not compressed into mush. A JPG can be fine for a quick visual reference or some print methods, but embroidery and patch work usually still need cleanup or a redraw. If the logo has text, vector first is the smarter move. JPG last, if at all.
How long does artwork approval usually take for event hats?
Clean files can be proofed quickly, sometimes the same day. Missing details, color questions, or poor files usually add at least one revision round, which pushes the schedule out by a day or more. If the event date is tight, send the art early and answer proof comments fast. Slow replies are how simple orders become late orders.
What changes make custom event hat pricing go up?
More colors, more placements, and more complex decoration usually raise the quote. Extra cleanup, redraws, and proof revisions can add hidden labor costs too. Small orders often cost more per hat than larger runs because setup does not scale down politely. That is not a trick. It is production math.
What should I check before approving the final proof?
Check spelling, logo placement, size, and hat color against the actual order. Confirm thread, print, or patch colors before production starts. Make sure the proof matches the decoration method you actually want, not the one somebody guessed. One missed detail here is far cheaper to fix before approval than after the shop has already started.

