What a Custom OPP Bags Supplier Private Label Actually Does
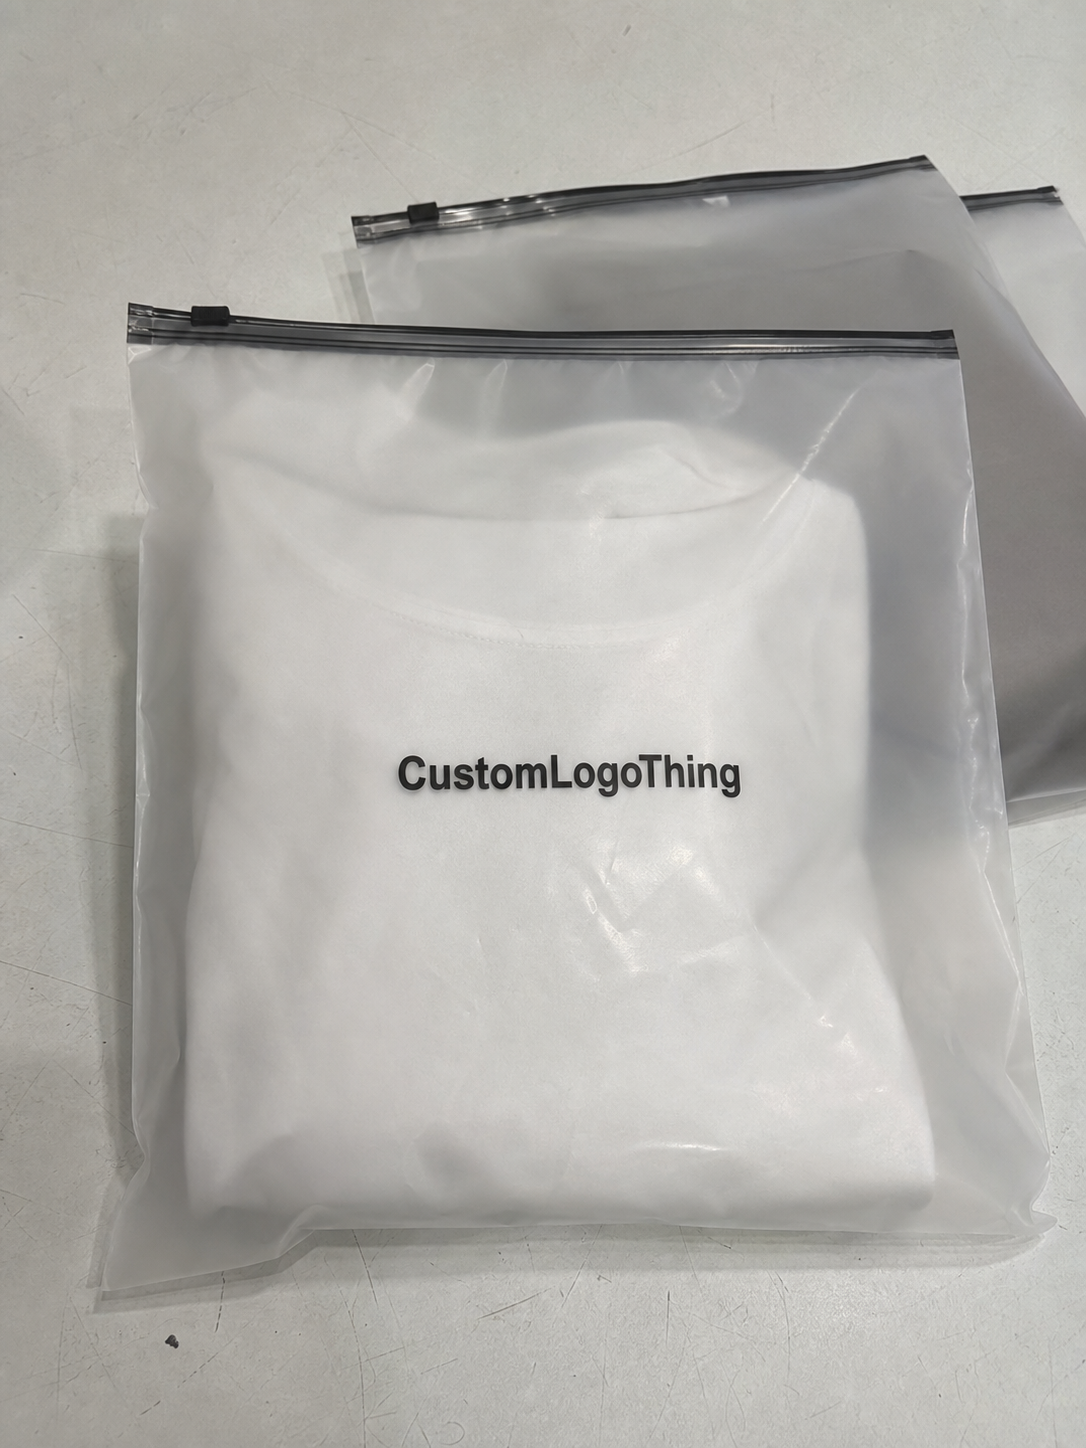
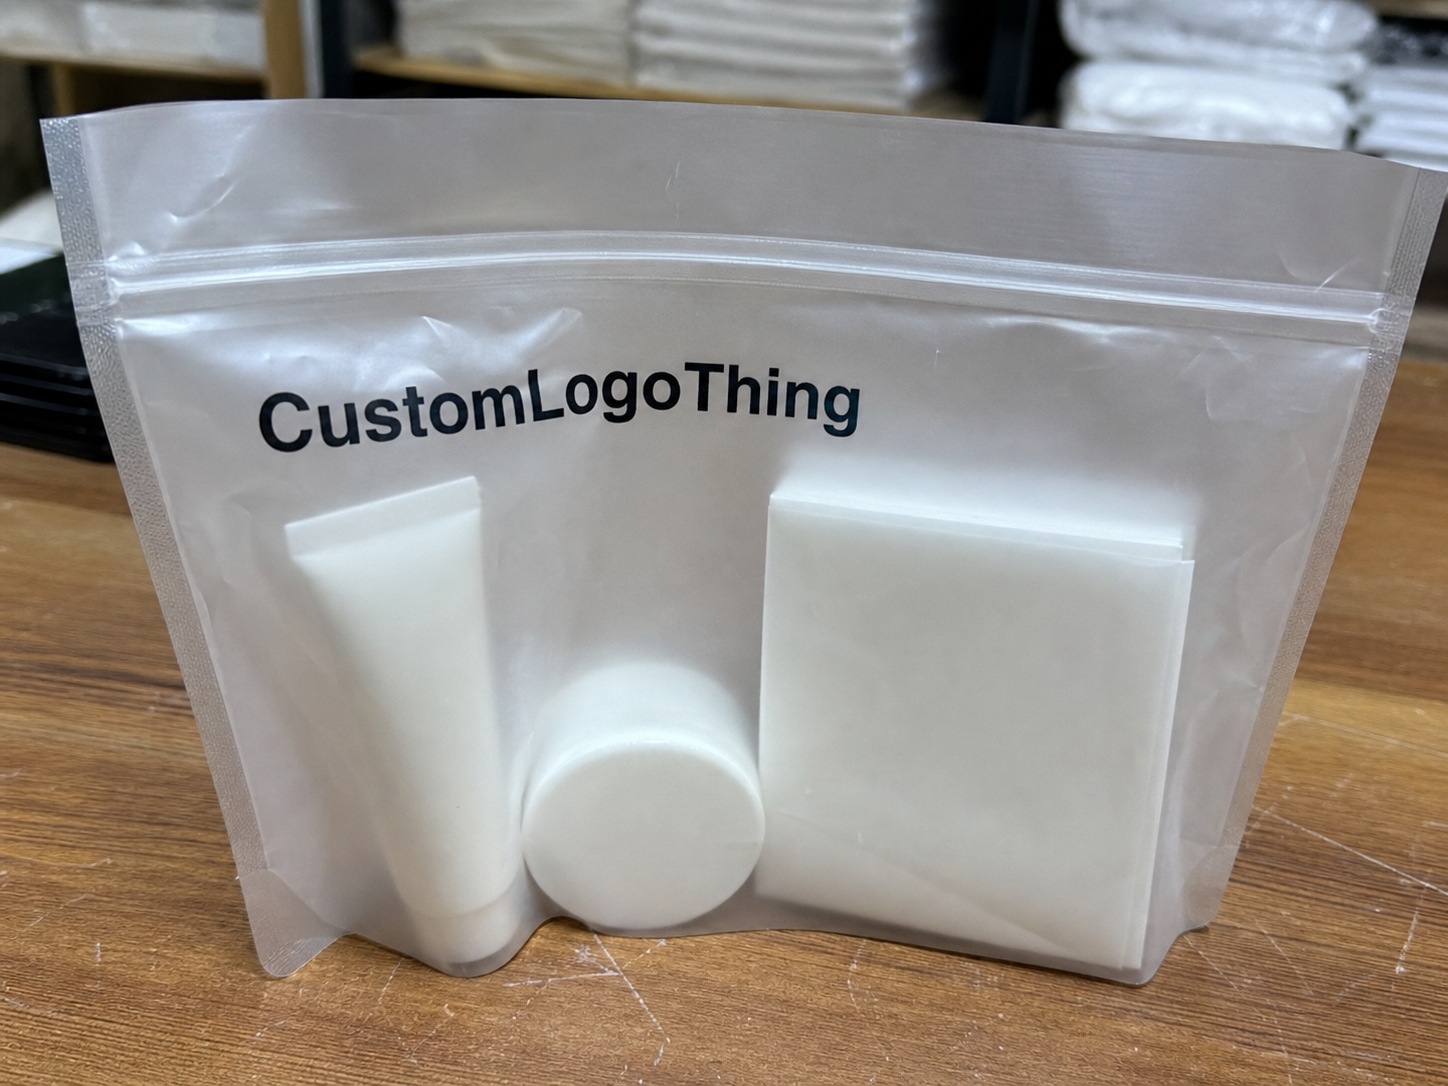
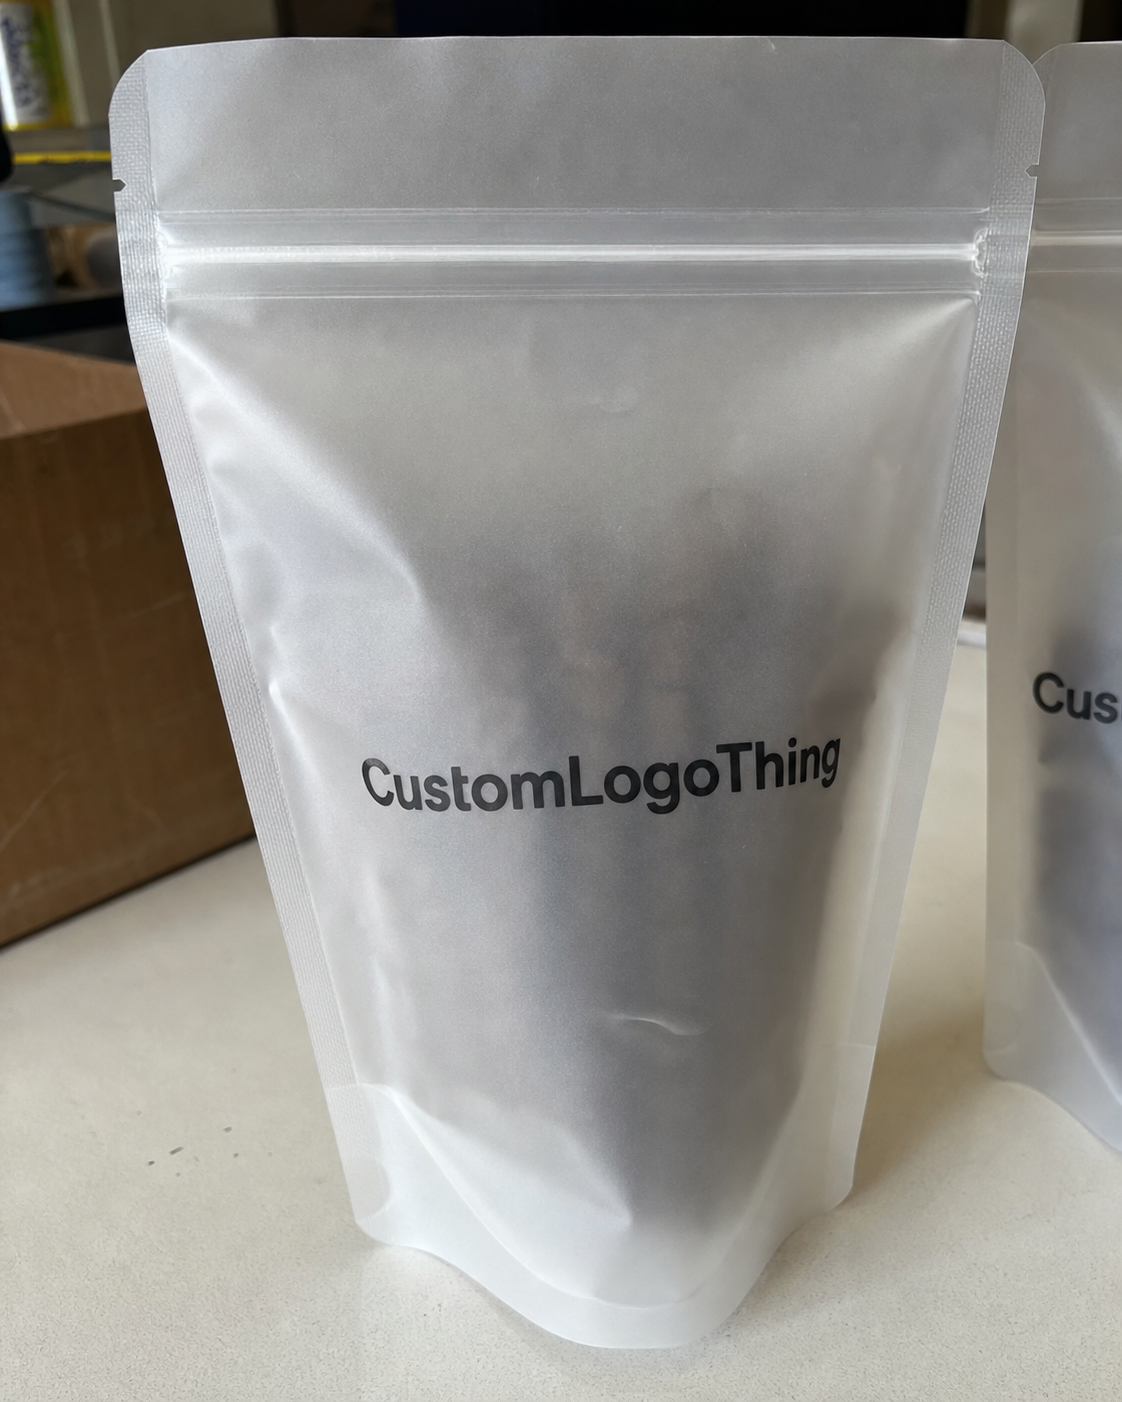
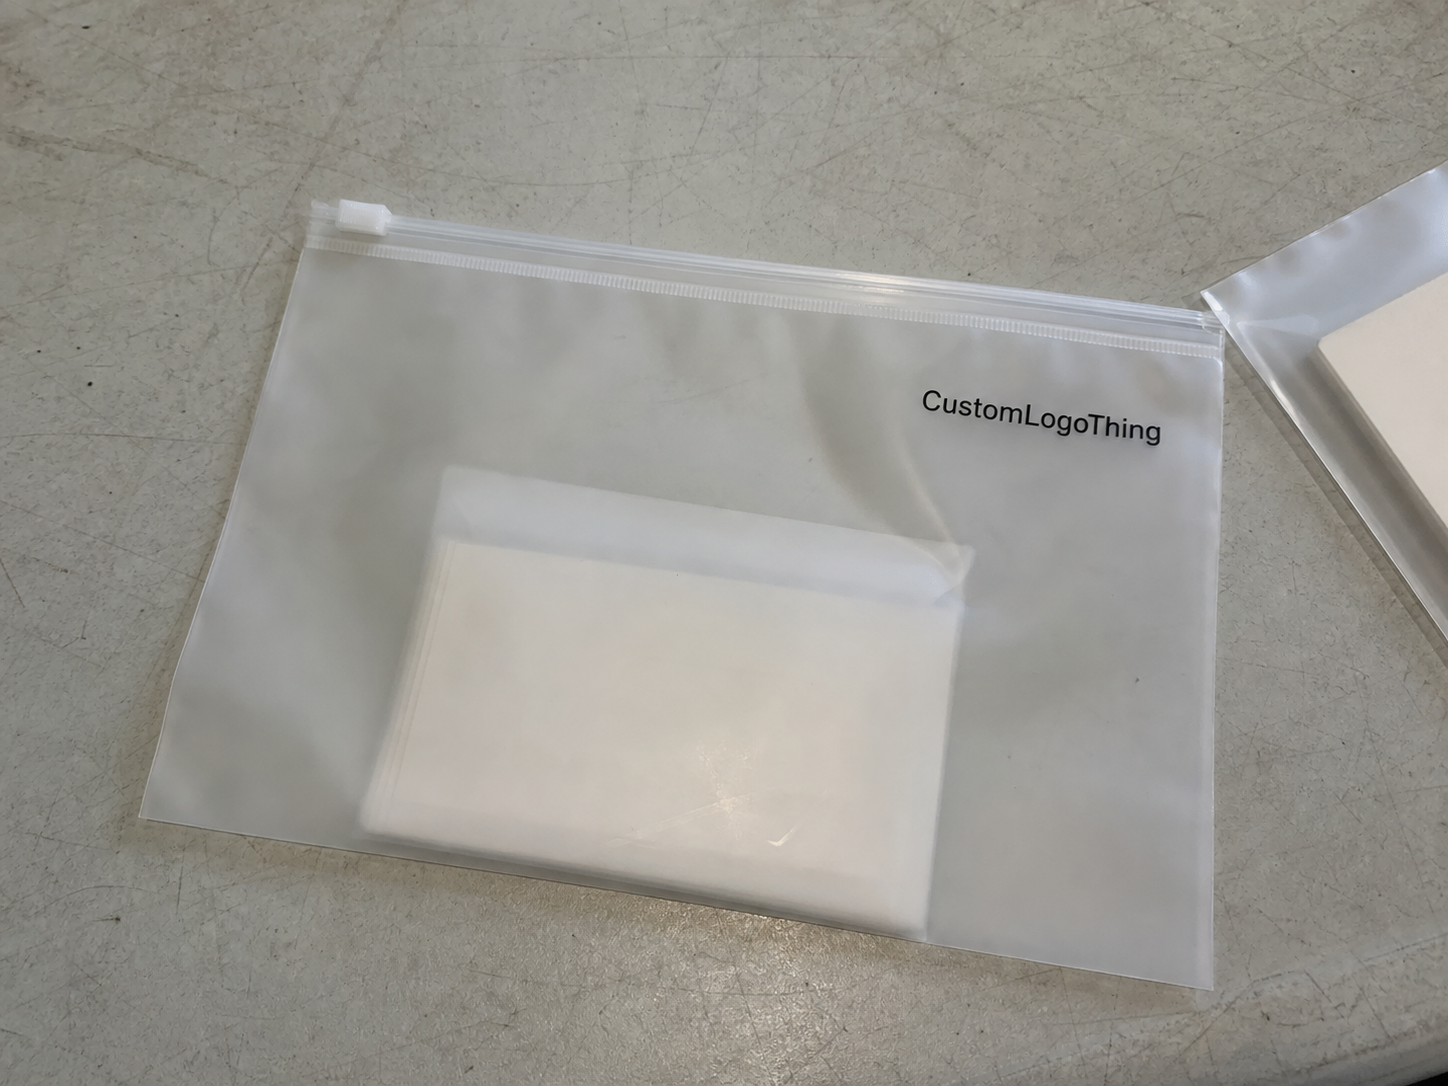
A clear OPP bag can make a modest product look ready for retail. A cloudy one with a weak seal does the opposite. Packaging is blunt like that. A custom opp bags Supplier Private Label buyers work with does more than print plastic. They help match film, size, closure, print, and packing format to the product and the sales channel.
OPP stands for oriented polypropylene. It is a crisp, glossy film used for retail packaging across apparel, stationery, cards, dry snacks, accessories, cosmetics, and small shelf items. Buyers choose it because it shows the product clearly and keeps the pack lightweight. That matters when every gram of shipping weight gets charged back to somebody.
The private label part is the brand layer. It turns a generic sleeve into packaging that carries your logo, barcode, warning text, care instructions, recycling mark, or retail artwork. For a lot of small items, the bag is the first branded surface a customer touches. Not glamorous. Still important.
A good supplier should guide you through material choice, size recommendations, adhesive flap options, vent holes, hang holes, suffocation warnings, carton packing, and repeat-order consistency. They should also keep your spec history clean so reorder number two does not become a detective story.
OPP works well for visibility and cost control. It is not the right answer for everything. Sharp hardware, oily products, hot-filled food, heavy parts, and moisture-sensitive items may need PE, CPP, laminated film, paperboard sleeves, or a different structure entirely. The bag should fit the product, not the other way around.
How Private Label OPP Bag Production Steps Work
Before a carton of bags reaches your warehouse, the spec has to be nailed down. There is no shortcut around that. The process usually runs through measurements, artwork, proofing, sampling, production, inspection, packing, and freight.
Start with the packed product, not the flat product. A folded T-shirt, a bundle of cards, or a boxed cosmetic set all need extra clearance once folds, inserts, and tags are included. A shirt that measures 250 mm by 300 mm on a table may need a bag closer to 280 mm by 360 mm with a flap allowance, depending on how tightly it is folded and how much air sits inside the pack.
Artwork comes next. Vector files are best: AI, EPS, or PDF with outlined fonts, barcode files, Pantone or CMYK targets, exact placement notes, and any required warning copy. A screenshot from a pitch deck is not print-ready art. It might be fine for internal discussion. It will not survive a press check.
Sampling comes in layers. A digital mockup is fast and useful for layout. A physical sample costs more and takes longer, but it tells you how the film looks in hand, whether the seal is strong, how the flap behaves, and whether the product actually fits without a fight. For launch packaging or anything color-sensitive, pay for the sample.
- Confirm product dimensions and packing method.
- Choose bag size, thickness, closure, and print area.
- Approve artwork proof and color target.
- Review sample or pre-production proof if needed.
- Produce film, print, cut, fold, seal, inspect, bundle, and carton pack.
Lead times vary, but simple printed OPP bags often take about 2 to 4 weeks after artwork approval. Custom sizes, larger runs, specialty finishes, and heavier print coverage can stretch to 4 to 8 weeks plus freight time. Most delays come from avoidable issues: incomplete artwork, changing bag dimensions after sampling, missing compliance text, or late approval on the proof.
Material, Thickness, and Closure Specs That Matter
Quality is decided before printing starts. A perfect logo on the wrong film is still the wrong bag.
Common OPP thickness runs from about 25 to 60 microns, sometimes more depending on the application. Lightweight inserts, cards, and flat stationery may work around 25 to 30 microns. Apparel, accessories, and cosmetics often land around 35 to 50 microns. Heavier boxed items or products with sharp corners may need 50 to 60 microns, or a different material if the risk of tearing is too high.
Clarity matters more than buyers expect. High-clarity OPP gives that clean retail look. Lower-grade film can haze out, scratch too easily, or feel flimsy even if the print itself looks fine. For premium product packaging, ask for a real film sample in the target thickness. A spec sheet only tells part of the story.
Closure choice affects appearance and packing speed. Peel-and-seal adhesive flaps are common for apparel, cards, and stationery. Resealable adhesive works if customers need to open and close the bag more than once. Heat seals can improve tamper resistance, but they require equipment or supplier-side sealing. Header holes and hang holes are useful for peg display, especially for accessories and craft items.
Practical rule: measure the product as it is packed, not as it sits on a table. Folds, insert cards, depth, and tags can add 10 to 30 mm of real clearance need very quickly.
Ventilation is a decision, not an afterthought. Small air holes can reduce ballooning during packing and shipping, especially for apparel. They are a poor choice for dust-sensitive, moisture-sensitive, scented, or food-contact goods. For food use, ask for documented compliance rather than assuming the film is fine because the sample looked clean.
Suffocation warnings may be required in certain markets and for certain bag sizes. Retailers can also ask for specific font sizes, language, warning placement, or recycling marks. Annoying? Yes. Cheaper than relabeling a shipment by hand? Also yes.
If the bag is part of a broader packaging system, ask how it behaves with cartons, inserts, and shipping conditions. Standards and test methods vary by market, but references such as ASTM International can help buyers understand how packaging properties are measured. That matters when the pack needs to survive handling, not just sit pretty in a product photo.
Printing Options for Logos, Barcodes, and Retail Details
Printing can be straightforward or fussy. A one-color logo on a clear bag is usually easy. Multi-color artwork, barcode placement, instruction text, and warning copy need tighter control.
Flexographic printing is common for larger OPP runs because it handles repeat production efficiently. Screen or spot printing can suit simpler jobs with limited colors. Stickers or labels can work for short runs and internal tests, but they usually look less polished and add labor during packing. If the bag is part of your retail packaging, direct print usually wins on appearance.
Color matching on glossy clear film is not the same as color on paper. Pantone targets still help, but the product behind the film changes how the color reads. A red logo over a black garment will not look the same as that logo over a white insert. That is not a defect. It is how transparent packaging behaves.
White ink backing solves part of that problem. If a logo needs to stay solid on clear film, a white base layer can be printed underneath the color. It adds setup and cost, but it keeps the mark from disappearing into the product below it.
Barcodes deserve more care than they usually get. They need contrast, quiet space, the right size, and placement away from wrinkles, seams, and curved product areas. Printing a tiny barcode over a bulging sock bundle is a great way to annoy warehouse staff and retailers at the same time.
| Print Option | Best Fit | Typical Tradeoff | Buyer Note |
|---|---|---|---|
| One-color logo print | Simple private label bags and basic brand marking | Lower setup cost, limited visual impact | Good for clean launches and repeat orders |
| Multi-color direct print | Retail-facing artwork, icons, and brand colors | Higher setup cost and tighter proofing | Ask for color targets and tolerance limits |
| White ink backing | Logos that need solid color on clear film | Extra plate or setup cost | Useful when the product color varies |
| Sticker or label | Small tests, short runs, seasonal SKUs | More hand labor and a less polished finish | Pair with Custom Labels & Tags for low-risk testing |
More ink, more colors, tighter registration, and larger coverage usually mean more setup cost and more room for variance. Keep the artwork clean unless the product really needs full-panel graphics.
Cost, MOQ, and Quote Details Buyers Should Compare
OPP bag pricing is not one neat number. Size, thickness, print coverage, color count, quantity, closure type, packing method, freight, and sampling all move the unit cost. A Custom OPP Bags Supplier private label buyers can trust should show those variables clearly instead of tossing out one vague price and hoping nobody asks questions.
As a rough range, simple custom printed OPP bags may land around $0.03 to $0.12 per piece in higher-volume runs. Smaller quantities, thicker film, larger sizes, multi-color print, or specialty closures can push the price into the $0.12 to $0.35 per piece range or higher. Very small tests often look expensive on a unit basis because setup costs are spread across fewer bags. That is not always a markup problem. Sometimes it is just arithmetic.
Larger bags use more film. Thicker bags cost more. Multi-color printing adds setup and run cost. Custom dimensions can bring tooling or machine adjustment charges. Freight can also change the real landed cost, especially for packaging that is light by weight but bulky by volume.
A proper quote should include bag dimensions, film thickness, material type, closure style, print colors, print area, quantity breaks, tooling or plate charges, sample fees, lead time, carton packing, and shipping terms. If freight is excluded, that needs to be obvious. Otherwise the cheapest quote becomes a scavenger hunt.
- Ask for 3 to 4 quantity breaks: 2,000, 5,000, 10,000, and 25,000 pieces usually show where the price starts to settle.
- Separate setup from unit cost: plate fees and sample charges should not hide inside fuzzy math.
- Confirm the film: a lower quote may simply mean thinner material.
- Check packing details: bundles of 100 or 1,000 pieces affect warehouse handling and storage.
Budget for samples, artwork revisions, import duties if they apply, storage space, and reorder timing. A lot of buyers miss the last one, then pay rush freight because the final carton disappears during a product launch. Packaging never cares about panic.
Step-by-Step Guide to Vetting an OPP Bag Manufacturer
Start with your own spec sheet before you contact anyone. Include product dimensions, target bag size, thickness, closure type, logo placement, quantity, retail channel, delivery date, barcode needs, and any compliance copy. A supplier cannot quote accurately from “small clear bag with logo.” That phrase belongs in a junk drawer.
Ask for examples that match your use case. A supplier who does well with bakery-style treat bags may not be the right fit for folded apparel bags with barcode placement and resealable flaps. If your product is cosmetics, ask for cosmetic-style examples. If it is stationery, ask for flat-pack examples with clean seal alignment.
Get material and print details in writing. Film type, thickness tolerance, adhesive type, print method, number of colors, sample material, production material, packing count per carton, and inspection method all matter. Written specs protect both sides because memory is not a quality control system.
Communication quality tells you a lot. A good supplier asks annoying but useful questions: flap direction, product depth, barcode size, storage temperature, warning copy, and whether bags will be machine packed or hand packed. A weak supplier says yes to everything and figures out the problem during production.
Review samples like a buyer, not a fan. Check clarity, cut consistency, flap alignment, adhesive strength, print sharpness, odor, static, carton packing, and whether staff can pack the product at a normal pace. If 50 sample bags are awkward to use, 10,000 bags will not get better on their own.
Ask about quality control. How are dimensions inspected? What color tolerance is allowed? How do they check print registration, seal strength, adhesive placement, defect rate, and carton labeling before shipment? For broader packaging testing, organizations such as ISTA publish useful protocols. That is especially helpful when the OPP bag is part of a shipping system with cartons or inserts.
Private Label Buyers also need repeatable records. Saved artwork, version control, reorder notes, and clear payment terms matter. Your second order should match the first unless you changed the spec on purpose. If it does not, someone dropped the ball.
Common Mistakes That Make Custom OPP Bags Look Cheap
Mistake one: choosing a bag that is too large because the product was measured loosely. Oversized OPP wrinkles, shifts, traps air, and makes the product look less intentional. On small goods, a 20 mm sizing error can be visible immediately.
Mistake two: using film that is too thin. Thin film can tear, distort, or feel flimsy, especially with apparel, boxed accessories, and items with corners. Saving half a cent per bag is not a win if the pack looks tired before it reaches the customer.
Mistake three: ignoring flap direction and packing workflow. If staff have to rotate every product, fight static, or peel liners from the wrong side, the bag is technically custom and practically annoying.
Mistake four: placing logos where folds, seams, barcodes, or product bulges distort them. Artwork placement should follow how the product sits inside the bag, not just what looks centered on a flat dieline. Flat art lies. Packed product tells the truth.
Mistake five: approving color from a screen only. Screen approval is fine for layout, not final brand color on clear plastic. For serious packaging design, ask for a printed sample or a production proof with stated tolerances.
Mistake six: skipping compliance copy. Suffocation warnings, recycling marks, country-specific language, retailer-required labels, and food-contact statements can decide whether the order is accepted. If FSC-certified paper inserts or header cards are part of the pack, verify claims through sources such as FSC rather than decorating the package with symbols you cannot support.
Mistake seven: ordering exactly enough bags for launch. Defects, packing errors, product photos, retailer samples, and repacks happen. A 5% to 10% buffer is sensible for most launches. More if the item is hand packed by a new team. Less if you enjoy reordering under pressure.
Next Steps Before You Request Samples or Place an Order
Measure the product exactly as it will ship or sit on shelf. Add realistic clearance for depth, folds, inserts, hang tags, and the adhesive flap. Measuring the naked product and ignoring fabric, air, and gravity is how bad bag sizes get approved.
Create a simple spec sheet before contacting suppliers. Include bag width, bag height, flap size, thickness, material, closure, print colors, artwork size, quantity, packing requirement, target delivery date, barcode placement, and warning text. A one-page spec sheet can save days of email ping-pong.
Prepare artwork properly. Send a vector logo, barcode files, Pantone or CMYK references, warning copy, and a placement mockup. If the bag needs to coordinate with custom printed boxes, labels, or inserts, share those references too so the brand system looks planned instead of assembled between meetings.
Ask for two quote paths. One should meet the current order need. The other should show a larger reorder quantity, such as 10,000 or 25,000 pieces, so you can compare unit cost against cash flow and storage reality. Cheap inventory that fills half your office is still a problem.
Request production-matched samples for any order tied to a launch, a retail buyer, or a color-sensitive brand. A random stock sample tells you film feel. It does not prove the print, closure, size, or barcode will work.
Set a reorder trigger before stock gets tight. If production takes 3 to 6 weeks plus freight, reorder before the last carton is opened. Use average weekly usage, upcoming promotions, and a defect buffer to set the point. For many small brands, reordering with 30% remaining inventory is safer than waiting until someone says, “We only have two bundles left.”
Choosing a Custom OPP Bags Supplier private label brands can rely on comes down to clear specs, realistic timelines, and checking the boring details before they turn expensive. Film thickness, flap direction, barcode placement, warning copy, and carton packing are not flashy. They are the difference between packaging that works and packaging that creates work.
FAQ
What should I ask a custom OPP bags supplier for private label packaging?
Ask for material type, thickness, size tolerance, closure style, print method, color count, MOQ, sample options, lead time, quality control process, carton packing, and freight terms. Send product dimensions, packed photos, and retail requirements so the supplier can recommend a realistic size instead of guessing from a vague description.
What is the usual MOQ for private label OPP bags?
MOQ depends on size, print method, and supplier setup. Custom printed OPP bags often become more cost-effective at higher quantities because setup costs are spread across the run. For small tests, ask whether stock sizes with simple logo printing are available before committing to a fully custom size.
How long does custom OPP bag production usually take?
Simple printed OPP bags often take about 2 to 4 weeks after artwork and sample approval. Custom sizes, heavier print coverage, or large orders can take 4 to 8 weeks plus shipping. Most delays come from unclear artwork, late approvals, changing specs after sampling, or freight timing.
Are OPP bags good for food, apparel, or cosmetic private label products?
OPP bags are commonly used for apparel, stationery, accessories, bakery-style dry goods, and small retail items. Food-contact use needs confirmed compliant material. For oily, hot, sharp, heavy, or moisture-sensitive products, ask the supplier whether OPP is suitable or whether another film structure is safer.
How can I lower the unit cost of custom printed OPP bags without making them look cheap?
Use standard sizes where possible, limit unnecessary print colors, order at sensible quantity breaks, avoid over-thick film if the product does not need it, and keep artwork clean. Do not cut cost by choosing film that is too thin, skipping samples, or removing required warning text. Cheap mistakes are still expensive.