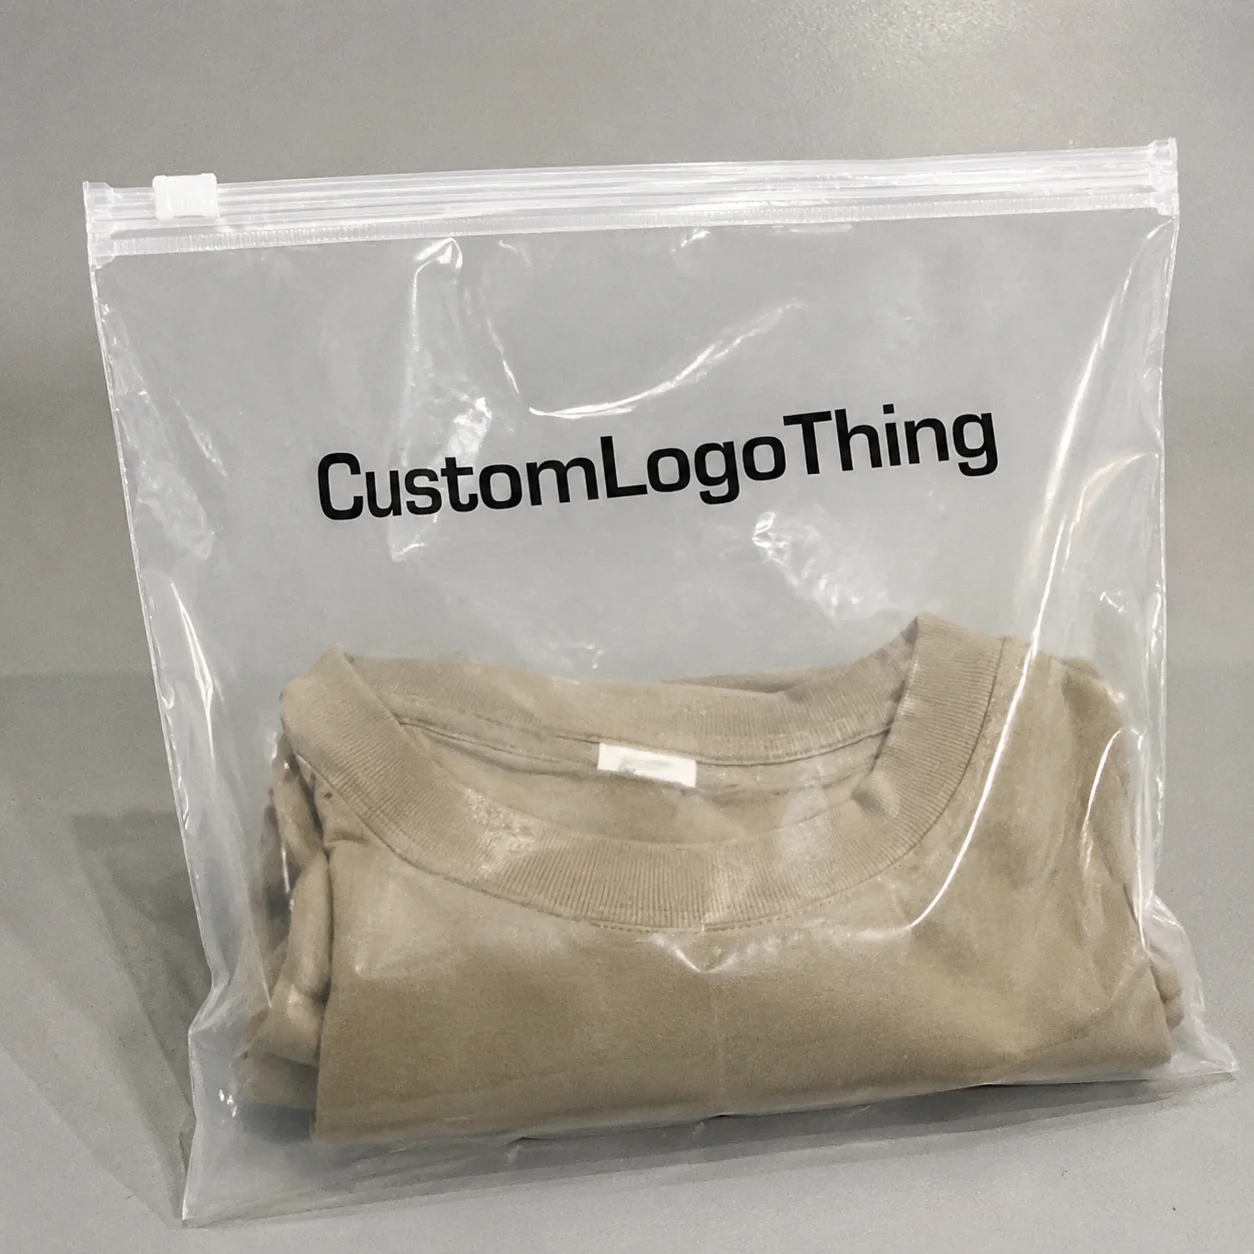
Custom Plastic Bags for logo patches can do a lot of quiet work. They protect stitched borders from scuffing, keep molded details from rubbing against carton walls, and turn a loose patch into something that feels ready for retail, resale, or a sample kit. The bag is not just a wrapper. It is part of how the product is judged before anyone opens it.
That matters because patch buyers tend to make decisions quickly. They see clarity, fit, print quality, seal finish, and whether the package looks engineered or improvised. A patch with strong thread work can still lose value if it is sitting in a cloudy sleeve that wrinkles across the face. By contrast, a well-sized package can make a modest product look much more intentional.
For Brands That Sell embroidered, PVC, woven, or mixed-material patches, the packaging often has three jobs at once: protect the item, support retail packaging, and reinforce package branding without stealing attention from the patch itself. Those jobs are related, but they are not identical. A bag that looks attractive may still be wrong if it slows packing, raises reject rates, or adds cost that the margin cannot absorb.
Why Patch Packaging Changes the First Impression Fast
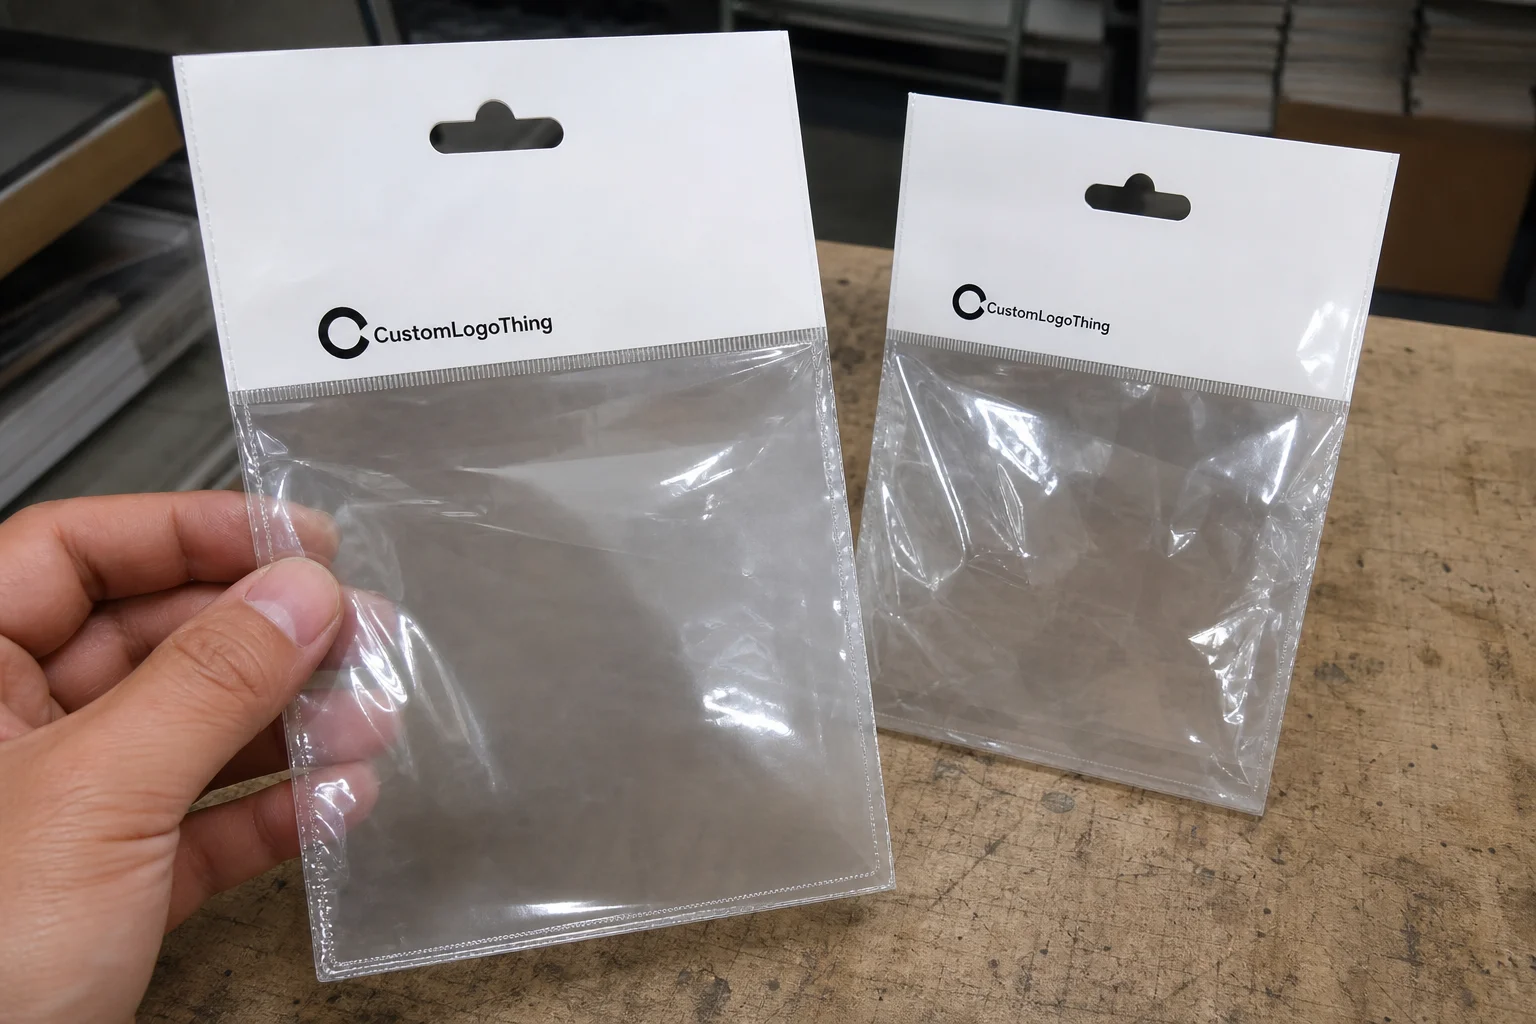
A logo patch can be high quality and still look underwhelming in the wrong packaging. Thin film glare can flatten embroidery detail. A crooked seal can make the whole item feel rushed. A bag that is too large can let the patch slide around and arrive with a less polished face than it had leaving production.
Custom Plastic Bags for logo patches influence more than appearance. They help control dust, reduce edge wear, and keep the patch legible in transit and on the shelf. For retail, that visual control matters because the package is often the first thing buyers touch, compare, and photograph. In wholesale sampling, it matters for a different reason: teams need to sort, count, and identify SKUs quickly without opening every piece.
There is also a small but real psychological effect. Packaging quality signals product value. A crisp, clear bag with a clean seal suggests planning. A bag with cloudy film, wrinkled corners, or inconsistent dimensions suggests the opposite. Buyers do not always say that out loud, but they react to it.
A patch can survive a rough bag. The brand usually cannot survive the impression it creates.
That is why packaging should be treated as part of the product spec, not as a last-minute consumable. If the patch is meant to sell individually, the bag needs to support shelf presence. If it is meant for fulfillment, the bag needs to support speed, consistency, and low damage rates. Different use cases, different priorities.
How the Bag, Patch, and Insert Work Together
The starting point is the patch itself. A flat embroidered patch behaves differently from a thick PVC patch. A woven patch with a soft back does not need the same interior clearance as a patch with a stiff adhesive backing or a molded edge. Size the package to the real object, not to a generic dimension that seemed close enough in a quote sheet.
Once an insert card enters the picture, the package becomes a small system. The outer film has to fit the card and the patch. The card has to support the artwork without warping. The seal needs enough space to close cleanly without compressing the contents. Miss any one of those and the presentation starts slipping.
Clarity is the obvious requirement, but rigidity matters too. A flimsy sleeve may collapse around the patch face, making the design look distorted. A little structure helps the item sit flat, especially for patches with metallic thread, raised embroidery, or sharp border lines. When the packaging keeps the patch in place, it also reduces friction, edge curl, and dust pickup during handling.
In practice, the best fit usually leaves a bit of breathing room without letting the patch float around. Too tight and the edges get stressed. Too loose and the item drifts out of alignment. Either way, presentation suffers. The ideal package is snug, flat, and easy to stack.
- Flat embroidered patch — usually fits well in a clear sleeve with a backing card.
- PVC or molded patch — benefits from extra clearance and a film that holds shape better.
- Multi-piece set — often needs a larger bag, insert card, or resealable closure.
- Premium retail item — usually looks stronger with printed branding or a more rigid insert.
Some buyers use the bag only as a protective layer because the patch sits inside another package system, such as mailers, cartons, or Custom Packaging Products built for broader fulfillment. Others want the bag to do the retail heavy lifting on its own. The packaging spec should match that job, or it will either overperform at extra cost or underperform where it matters most.
Material, Thickness, and Closure Choices That Actually Matter
Material selection sounds straightforward until you compare clarity, stiffness, sealing behavior, and price. For patch packaging, the common choices are poly bags, LDPE, CPP, and OPP. Each has tradeoffs.
OPP usually gives the sharpest look. It is the film many buyers choose when they want higher clarity and a cleaner retail read. LDPE is softer and more forgiving, which can be helpful for internal kits or less display-driven uses. CPP is often selected for its smoother feel and good seal window. “Poly bag” is really a broad category rather than one exact film type, so the specific structure matters more than the label alone.
Thickness changes both protection and presentation. Very light film, often around 1.5 to 2 mil for simple applications, can be enough for dust protection and low-cost packing. Heavier gauges, roughly 2.5 to 4 mil depending on construction, feel more substantial, resist tearing better, and hold a flatter shape. That added body can improve shelf presence, but it also adds cost, and in some cases it creates extra stiffness that is not ideal for small patch packs.
| Option | Typical feel | Best use | Cost impact |
|---|---|---|---|
| LDPE clear bag | Softer, flexible, slightly cloudy depending on grade | Basic protection, mailers, internal kits | Usually lower |
| OPP bag | Crisp, high clarity, more retail-friendly | Display packaging, premium patch presentation | Moderate |
| CPP film | Smoother, more seal-friendly, good clarity | Heat-sealed packs, mixed-use retail packaging | Moderate |
| Laminated or printed pouch | More structured, branded, presentation-focused | Sets, premium launches, strong package branding | Higher |
Closure choice changes how the package works in the field. A heat seal gives a neat, tamper-evident finish and usually keeps unit cost lower on higher-volume runs. A resealable flap or zipper makes more sense if the patch will be handled repeatedly, reviewed in a sales kit, or bundled with accessories. Header cards and hang holes help the package sit upright on a peg hook, while adhesive flaps can work but vary in consistency. Weak adhesive is one of those small problems that becomes obvious at the wrong moment, usually in returns or store handling.
Print deserves the same practical treatment. Some buyers want the bag to stay almost invisible so the patch remains the focal point. Others want a small logo, product name, or band of text to connect the package to the brand system. Matte finishes reduce glare. Gloss finishes can look brighter under lights, but they also show reflections more easily. Ink coverage, opacity, and registration need real testing, especially if the print sits near the fold or seal line.
For buyers comparing Custom Packaging Products across different product lines, the best material choice usually comes down to use case, handling environment, and the value of the patch itself. The lowest-cost film is not always the best option if it distorts the design or tears during fulfillment.
Cost, Pricing, MOQ, and Quote Variables You Need to Know
Pricing for Custom Plastic Bags for logo patches usually moves with a short list of variables: size, thickness, print count, closure style, finish, and whether the bag needs a custom shape or die-cut feature. Add a hang hole, zipper, header, or extra print pass, and the quote changes. Even modest dimension changes can affect film yield, packing density, and freight efficiency.
MOQ, or minimum order quantity, exists because setup work has to be spread across enough units to make production workable. Larger runs often lower the unit cost because the setup burden is shared over more pieces. Smaller runs can still make sense for new designs, limited releases, or testing a product line, but the unit price is usually higher because the same setup work is being absorbed by fewer bags.
Quote comparisons are easiest when they include the same assumptions. A quote for a clear sleeve is not comparable to a quote for a printed pouch with a hang hole and backing card. The more precise the spec, the less room there is for unpleasant surprises later.
- Bag dimensions determine material consumption and layout efficiency.
- Thickness affects raw material cost and hand feel.
- Print coverage adds setup, ink, and sometimes plate charges.
- Special features such as zipper, header card, or die-cut shape raise the price.
- Freight and inserts can move the landed cost more than the bag itself.
Unit price is only one part of the story. A bag that looks a few cents cheaper can end up more expensive if it slows packing, creates rejects, or forces a reorder because the size was wrong. Labor and shrinkage matter. So does damage rate. A quote that wins on paper but fails in handling is the wrong quote.
For many patch programs, the sweet spot is simple: high enough clarity to show the patch accurately, enough structure to prevent distortion, and no decorative feature that the product value cannot support. A premium molded patch does not always need a premium pouch. Sometimes a clean clear sleeve with a well-cut insert delivers the best balance of cost and presentation.
Production Steps, Timeline, and Lead Time From Spec to Ship
The production path usually starts with dimensions and artwork, then moves to proofing, bulk production, packing, and freight booking. If the spec is unclear, everything slows down. The fastest jobs usually come from buyers who provide the patch dimensions at the widest point, quantity, closure preference, insert details, and print files in a usable format from the start.
Delays usually come from a handful of predictable places. Incomplete specs create back-and-forth. Slow proof approval stops the order from moving. Last-minute size changes can force a new layout or alter material usage. Nonstandard shapes, custom finishes, and specialty closures add setup time because the production line has more to configure before bulk work begins.
For straightforward clear bags, a realistic turnaround is often around 10 to 15 business days after proof approval, depending on plant capacity and freight method. Printed or more specialized patch packaging can run 15 to 25 business days, especially if inserts, custom printing, or unusual sealing methods are involved. Those are practical ranges, not guarantees. Season, order volume, and approval speed can move them in either direction.
One scheduling mistake shows up again and again: waiting to order the bag until the patch is already finished. That sequence creates pressure on both sides. Packaging should be ready to receive the finished patch, not sitting in the queue while product waits for a container it should have had earlier.
The cleanest schedule respects lead time twice: once for the patch run and once for the packaging run. If the two timelines do not talk to each other, cost and stress usually go up together.
Coordinating the packaging timeline with the product timeline also makes quality control easier. Teams can check fit with actual samples, verify seal strength, and inspect shelf appearance under normal lighting before moving into bulk. That is a better use of time than discovering late that the bag is too narrow, too cloudy, or too stiff for the patch inside it.
Common Mistakes That Hurt Presentation and Margin
Undersizing is probably the most expensive mistake because it affects both appearance and yield. A tight bag can bend the patch, crowd the seal line, and make the product look stressed before it reaches a customer. That is especially noticeable with patches that have foam backing, layered material, or a stiff border.
Over-specifying is the opposite trap. Some buyers request thick film, multiple print colors, special finishes, and custom shapes even when the patch price does not justify that level of packaging spend. Beautiful? Yes. Efficient? Not always. If the item is inexpensive or promotional, ornate packaging can squeeze the margin without improving sell-through.
Presentation problems are often smaller than people expect, but they show. Foggy film dulls the patch. Heavy crinkles make the bag feel cheap in hand. Weak sealing leaves rough edges. Poor hole placement makes the package hang crooked. Artwork that competes with the patch instead of framing it can reduce shelf appeal rather than improve it.
Operational errors cost money too. Late orders compress the schedule. Forgetting insert dimensions can throw off fit. Ignoring shipping cube can raise freight and storage costs. That last point is easy to miss, especially in higher-volume retail packaging programs, where a small increase in bag size can affect carton efficiency and pallet planning across the entire run.
Packaging should also coordinate with the rest of the system. If the patch is part of a broader set that includes labels, mailers, or Custom Packaging Products such as branded cartons or custom printed boxes, the bag should look like it belongs there. Mismatched finishes and unrelated print styles make the line look assembled rather than designed.
Next Steps for Specifying a Better Patch Pack
A useful spec sheet does not need to be elaborate. It should include patch dimensions at the widest point, quantity, closure type, insert requirements, preferred finish, artwork files, and whether the bag needs to hang, stack, or reseal. If the patch has an odd contour or a stiff backing, say so early. That single detail often changes the recommended clearance more than the buyer expects.
Ask for a sample or prototype if the shape is unusual or the presentation matters. A sample tells you whether the patch fits flat, whether the seal looks clean, and whether the bag reads well under normal lighting. A spec sheet can predict a lot, but it cannot replace seeing the actual product in the actual package.
Then compare cost, lead time, and waste together. A slightly higher unit price can still be the better business choice if it reduces rejects, speeds packing, or prevents a second order for replacement bags. The lowest quote is not useful if the package arrives late or forces repacking because the fit is off.
For buyers evaluating custom plastic bags for logo patches for retail launches, wholesale kits, or fulfillment programs, the practical order of operations is simple: size first, material second, volume third. Once those three are aligned, proofing becomes easier and the final package looks deliberate rather than improvised.
For broader packaging context, some teams also review industry guidance from sources such as the ISTA test community, the EPA, and the FSC when insert cards or paper components are part of the pack. Those references will not choose the film for you, but they do help frame durability and material decisions inside a larger packaging plan.
What size custom plastic bag works best for logo patches?
Measure the patch at its widest point, then add room for flat placement, seal clearance, and any insert card. If the patch has a stiff backing or an uneven outline, allow extra width so the edges do not crease. For unusual shapes, a sample fit is the safest way to confirm dimensions before bulk production.
Are custom plastic bags for logo patches good for retail display?
Yes, as long as the bag stays clear, lies flat, and uses a seal or header that keeps the item aligned. Retail display works best when the patch is easy to see and the film does not fog, glare too heavily, or wrinkle under store lights. A backing card often helps the patch read more cleanly on a peg hook or counter display.
How do MOQ and unit cost affect patch packaging quotes?
Higher quantities usually lower unit cost because setup, tooling, and print prep are spread across more bags. MOQ can decide whether a small patch run is practical or whether it is better to wait until demand is proven. The lowest unit price is not always the best quote if it creates excess inventory or higher freight costs.
What slows down production lead time for printed patch bags?
Slow artwork approval, size changes, and material substitutions are the most common causes of delay. Custom printing, special finishes, and tooling requests add time compared with standard clear bags. Clear specs and fast proof approval are usually the simplest ways to keep turnaround under control.
Should I use resealable bags or heat-sealed bags for logo patches?
Use resealable bags when the patch may be handled repeatedly, reviewed, or bundled into kits. Use heat-sealed bags when you want a lower-cost, tamper-evident package with a cleaner retail finish. The better choice depends on how the patch will ship, display, and be opened by the end buyer.