The Custom Plastic Garment Bags unit cost for jewelry often looks higher than it should until the spec is split into the parts that actually drive production: film width, bag length, gauge, print coverage, closure style, and packing count. Once those variables are laid out clearly, a bag that protects delicate merchandise and still looks clean on display can land at a practical price point.
That is the core buying problem for jewelry packaging. The product is valuable, the presentation has to stay tidy, and the packaging cannot absorb margin through unnecessary features. A well-built quote is rarely the one with the lowest headline number. It is the one that matches the use case, runs predictably, and avoids waste in both material and handling.
The cheapest bag on paper can become the most expensive option once film failure, rework, or inconsistent print quality starts showing up in the receiving room or on the sales floor.
For teams building a broader packaging program, the bag should fit the item, the hanger or tray, the carton, and the store handling flow. Keeping those parts aligned matters more than chasing an isolated price break on one SKU. It also helps maintain consistency across related items such as Custom Packaging Products without forcing each component to behave like a separate project.
Why jewelry buyers are surprised by bag unit cost
The first surprise is that a smaller bag does not always cost much less. The unit cost is driven more by film width, sealing method, and print setup than by the simple idea that a shorter bag should be cheap. Once a run is converted, a narrow format can actually be efficient because the material path is controlled and the cut pattern is straightforward.
Buyers often expect a premium because the merchandise is valuable. That expectation is reasonable, but the bag itself does not need to be expensive to look polished. A clear poly sleeve, a neat hanger hole, and a restrained logo can produce a clean presentation without pushing the order into unnecessary cost.
The real question is how the bag will be used. A dust cover for boxed rings, a sleeve for soft accessories displayed near jewelry, and a garment-style cover used in retail storage are not the same packaging problem. If the bag is only protecting against dust and handling marks, there is no reason to pay for heavy-duty features that belong in freight packaging or export protection.
Repeatability matters more than many teams expect. A spec that can be rerun cleanly from order to order usually costs less over time than a highly customized shape that needs special setup every time a collection changes. Standard dimensions, fixed artwork placement, and stable carton pack counts usually lower the long-term unit cost more effectively than chasing a one-off discount.
For jewelry programs, the most useful question is not how cheap the bag can be. It is which spec protects the product, supports the shelf presentation, and stays repeatable without creating scrap or delays. That is where packaging becomes a cost control tool instead of a cosmetic add-on.
Bag formats and presentation details that fit jewelry lines
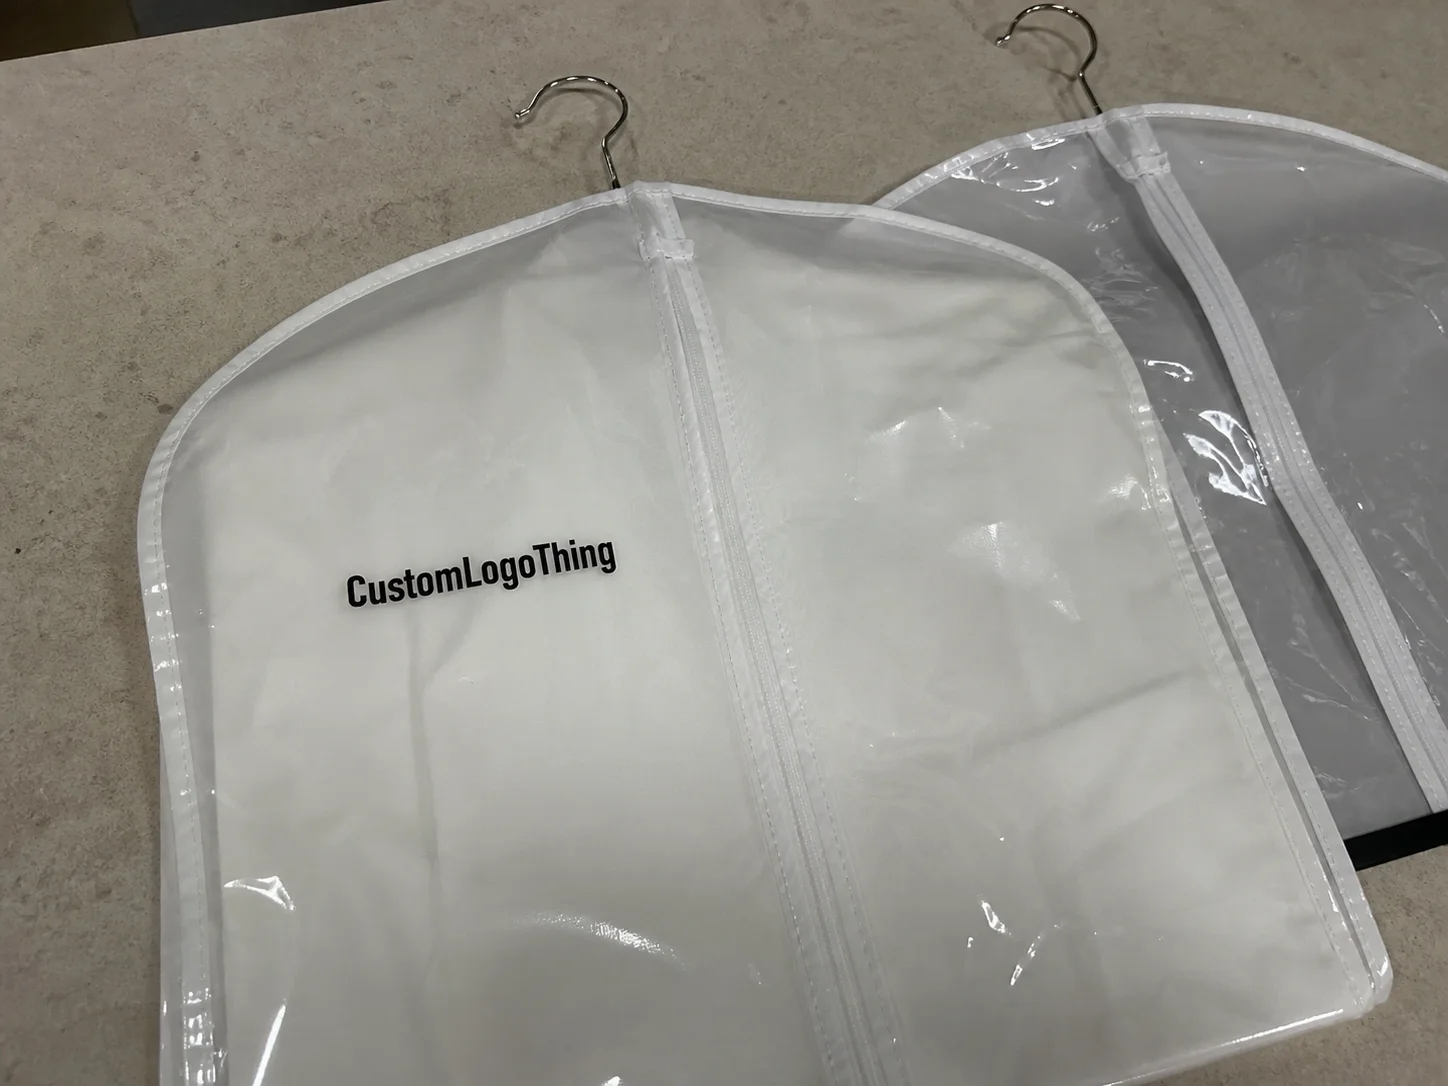
Most jewelry-related packaging programs rely on a few practical formats. Flat poly garment bags, hang-ready covers, and protective sleeves are the most common. Each one solves a slightly different handling problem, so the right choice depends on how the item is stored, shown, and shipped.
- Flat poly garment bags work well for dust protection, stacking, and clean carton packing.
- Hang-ready covers make sense when the item moves from warehouse to retail rack with little extra handling.
- Protective sleeves help keep surfaces clean while preserving visibility for inspection and display.
Clarity is often more valuable than teams expect. A high-clarity bag lets buyers or store associates inspect the item without opening the package, which is useful for jewelry displays and any retail packaging that needs to stay orderly on the shelf. A glossy finish reads brighter and more retail-forward, while a frosted finish can feel softer and hide light scuffs better.
That finish choice also affects operations. Clear film shows dust, scratches, and print flaws more easily, but it gives the strongest product visibility. Frosted or matte-looking film can improve the perceived quality of the package, though it can slightly soften the image of the item inside. The better choice depends on whether the program values inspection, presentation, or a balance of both.
Closure style matters as well. An open-top sleeve is inexpensive and quick to pack. A flap, adhesive strip, or hang-hole conversion adds utility, but it also adds material or extra conversion steps. For jewelry lines that stay on a hanger or sit in a presentation tray, the opening should be easy to use without making the bag loose enough to shift in storage.
Storage behavior is easy to ignore and costly to ignore later. A good bag should stack flat, hold its fold, and sit neatly in finished cartons without curling. In retail packaging, the bag often spends more time in storage and handling than in active use, so clean handling is part of the package's job, not a nice extra.
Specifications that control protection, print quality, and handling
The main spec decisions are film gauge, bag dimensions, seal strength, punch style, and whether the bag needs anti-static or moisture-resistant performance. For many jewelry applications, the lightest film that still resists puncture and abrasion is the right starting point. Too thin, and the bag can tear near the hanger cut or folded edge. Too heavy, and the cost rises without a visible benefit.
Film thickness is usually the first place to compare offers. A lighter clear poly film can be enough for dust control and retail presentation, while a heavier gauge gives more puncture resistance near sharp hangers, box corners, clips, or accessory hardware. If the bags will travel with harder-edged product packaging, a modest increase in gauge can reduce repacking and avoid damage claims.
Print quality depends on how much of the bag is covered and where the logo sits. One-color branding on a small panel is usually the lowest-cost option and often the smartest one for jewelry. Full-width print, multiple colors, or a large solid ink area adds setup complexity and changes how the film behaves during production. The more ink coverage you ask for, the more attention the run needs for drying, registration, and visual consistency.
Some buyers want a clear window or a partially printed panel so the item stays visible. That can work well for retail packaging where the customer still needs to inspect details through the cover. The tradeoff is that larger print areas create more variables during production, which can affect both schedule and unit cost.
Handling performance deserves equal attention. If the bag will move through distribution, the film needs enough strength to survive carton edges and contact with other items. For transit-related expectations, it helps to align with recognized testing language such as ISTA testing guidance. If your team is also reviewing material efficiency or disposal impact, EPA packaging and waste resources are a useful reference point.
There is no universal best spec. The right answer depends on the value of the jewelry, how the bag is used, and whether the order is a seasonal run or part of a recurring packaging system. Accurate spec matching usually matters more than any single cost-saving trick.
Custom plastic garment bags unit cost for jewelry: pricing, MOQ, and quote math
This is where most buyers need clear numbers. The Custom Plastic Garment Bags unit cost for jewelry usually moves with six variables: size, film thickness, print colors, bag style, pack configuration, and whether the order needs special finishing or custom die work. If those inputs are not matched across vendors, the quotes are not truly comparable.
For a standard run, a simple clear bag with one-color branding might land around $0.18 to $0.32 per unit at 5,000 pieces, depending on width, length, and gauge. A thicker bag, a frosted finish, or more complex print coverage can push that closer to $0.34 to $0.58 per unit. Smaller runs usually cost more per piece because setup, film conversion, and press time are spread over fewer units.
MOQ is one of the main reasons the pricing curve changes. A supplier may accept a sample-friendly quantity, but the unit cost rises because the same production setup is being amortized over a shorter run. If the order is a test of design, that is normal. If the order is for a recurring SKU, a slightly higher MOQ can reduce total landed cost enough to matter.
| Option | Typical MOQ | Indicative unit cost | Best fit | Main tradeoff |
|---|---|---|---|---|
| Clear flat bag, one-color logo | 3,000-5,000 pcs | $0.18-$0.32 | Simple jewelry presentation and dust protection | Limited print impact |
| Thicker gauge, one- or two-color print | 5,000-10,000 pcs | $0.28-$0.46 | Better puncture resistance and stronger retail presence | Higher setup and material cost |
| Frosted or specialty finish, custom conversion | 10,000+ pcs | $0.38-$0.58+ | Premium visual effect and brand differentiation | More production variables |
Those numbers only help if the quote is built on the same assumptions. Ask for inside dimensions, film gauge, print count, pack count, freight terms, and any setup or plate charges. Confirm overrun and underrun tolerances too, because a quote that looks cheaper may hide a wider production allowance that changes the effective cost.
Another common mistake is comparing a quote with freight included against another that excludes freight, duties, or local delivery. Packing configuration matters as well. If one supplier packs 500 units per carton and another packs 1,000, shipping and warehouse costs can change even when the bag price looks similar. Real quote math needs a landed-cost view, not just a piece price.
For buyers coordinating a wider packaging program, it can help to work with a supplier that handles both bags and custom printed boxes. Keeping color, material feel, and print style aligned across components usually makes approval simpler and lowers the chance of mismatched packaging inside the same collection.
Process, lead time, and approval steps from artwork to shipment
The production flow is straightforward, but every step matters. It usually starts with spec confirmation, then artwork review, material sourcing, sample approval, conversion, packing, and shipment release. If any one of those steps is unclear, the schedule slips. The fastest orders are usually the ones with the fewest open questions.
Lead time depends on whether the bag is a repeat spec or a new development. A repeat run with approved artwork can move faster, while a new spec may need extra time for film selection, proofing, and sample sign-off. In many programs, a clean approval process and available material can place the order in roughly 12 to 18 business days after final approval, though more complex work can run longer.
The main delay points are predictable. Missing dimensions, unclear print placement, unresolved color targets, and undecided pack counts all add back-and-forth. The cleanest projects usually arrive with a finished measurement sheet, a logo file in the right format, a specific target gauge, and a confirmed shipping method before the run starts.
Sampling deserves a real budget line, especially for jewelry inventory. One approved sample or prototype can answer the questions that matter: does the bag fit correctly, does it hang cleanly, does the print look balanced, and does the film feel right in hand? That one step often prevents a larger correction later.
For teams that want a formal reference point on packaging expectations and documentation, the educational material at packaging.org is a useful source for aligning internal review language. It helps buyers and suppliers use the same technical terms instead of guessing through the order.
The best process is usually the least dramatic one. Clear drawings, written approvals, named contacts, and one record of the final spec keep retail packaging projects on schedule and make reorders predictable.
What to look for in a packaging partner for jewelry programs
For jewelry packaging, vague answers are a warning sign. A supplier should be able to discuss film thickness, seal options, print tolerances, and conversion limits without hand-waving. If the answer is always “we can do anything,” the buyer often ends up holding the risk later through inconsistent quality or avoidable cost creep.
Consistency matters as much as price. A good partner should be able to repeat the same shade, the same dimensions, and the same pack count across multiple collections. That becomes especially important if the bag is part of a larger package branding system spanning tags, inserts, bags, and cartons.
Good quoting is also a useful signal. Strong suppliers explain where the cost comes from instead of tossing out one number and hoping it sticks. If premium features are not needed, a useful partner should be willing to recommend a lower-cost spec that still protects the product and preserves the look of the line.
This is also where a supplier that understands related packaging categories can help. A partner who handles branded packaging and adjacent formats can keep color, material feel, and print style aligned across the program instead of treating each component as an isolated order.
Trust is built through details: written measurements, sample approval records, realistic lead times, and clear documentation of what is included in the quote. The better the paper trail, the easier it is to protect margin and reorder without surprises.
Next steps to lock in the right spec and order quantity
Start with the minimum inputs a supplier actually needs: inside dimensions, target gauge, print count, closure style, pack count, and expected monthly or quarterly demand. Those details are enough to produce a quote that means something. Without them, price comparisons are mostly noise.
If the bag will hold valuable jewelry inventory, order one approved sample or prototype before committing volume. That allows the team to check clarity, feel, fit, folding behavior, and print placement under real handling conditions. A small test run is usually less expensive than correcting an entire production lot.
Then compare two or three written quotes on the same basis. Check whether setup charges, sample charges, freight assumptions, and overrun tolerances are all listed. If they are not, the lower price may not be the better price. The best unit cost is the one that survives the full order, not just the first line of the estimate.
Finally, decide whether the bag should be optimized for presentation, protection, or a blend of both. Once that choice is clear, the spec usually becomes easier to trim. In many cases, the Custom Plastic Garment Bags unit cost for jewelry comes down faster by standardizing dimensions and limiting print coverage than by chasing a different supplier. Confirm the final spec, verify the landed cost, and make sure the Custom Plastic Garment Bags Unit cost for jewelry fits the margin before the order is released.
What affects custom plastic garment bag pricing for jewelry the most?
Bag size, film gauge, print coverage, and MOQ usually have the biggest impact on unit cost. Special finishes, custom die work, and low-volume runs can raise pricing faster than simple artwork changes.
How do I compare quotes for custom plastic garment bags for jewelry fairly?
Compare the same spec on each quote: dimensions, thickness, print colors, pack count, and freight terms. Also check whether setup charges, overrun tolerances, and sampling costs are included or billed separately.
What MOQ should I expect for jewelry garment bag orders?
MOQ depends on size, print method, and whether the bag uses a standard or custom conversion setup. Smaller MOQ can work, but unit cost is usually higher because setup and production time are spread across fewer pieces.
How long does production usually take after artwork approval?
Lead time depends on sample approval, material availability, and whether the order is a repeat run or a new spec. A clean approval process usually shortens the schedule more than any single production change.
Can I reduce the unit cost without lowering quality?
Yes, by standardizing dimensions, limiting print coverage, and choosing the lightest gauge that still protects the product. Matching the spec to the actual use case is usually the fastest way to lower cost without sacrificing appearance or function.


