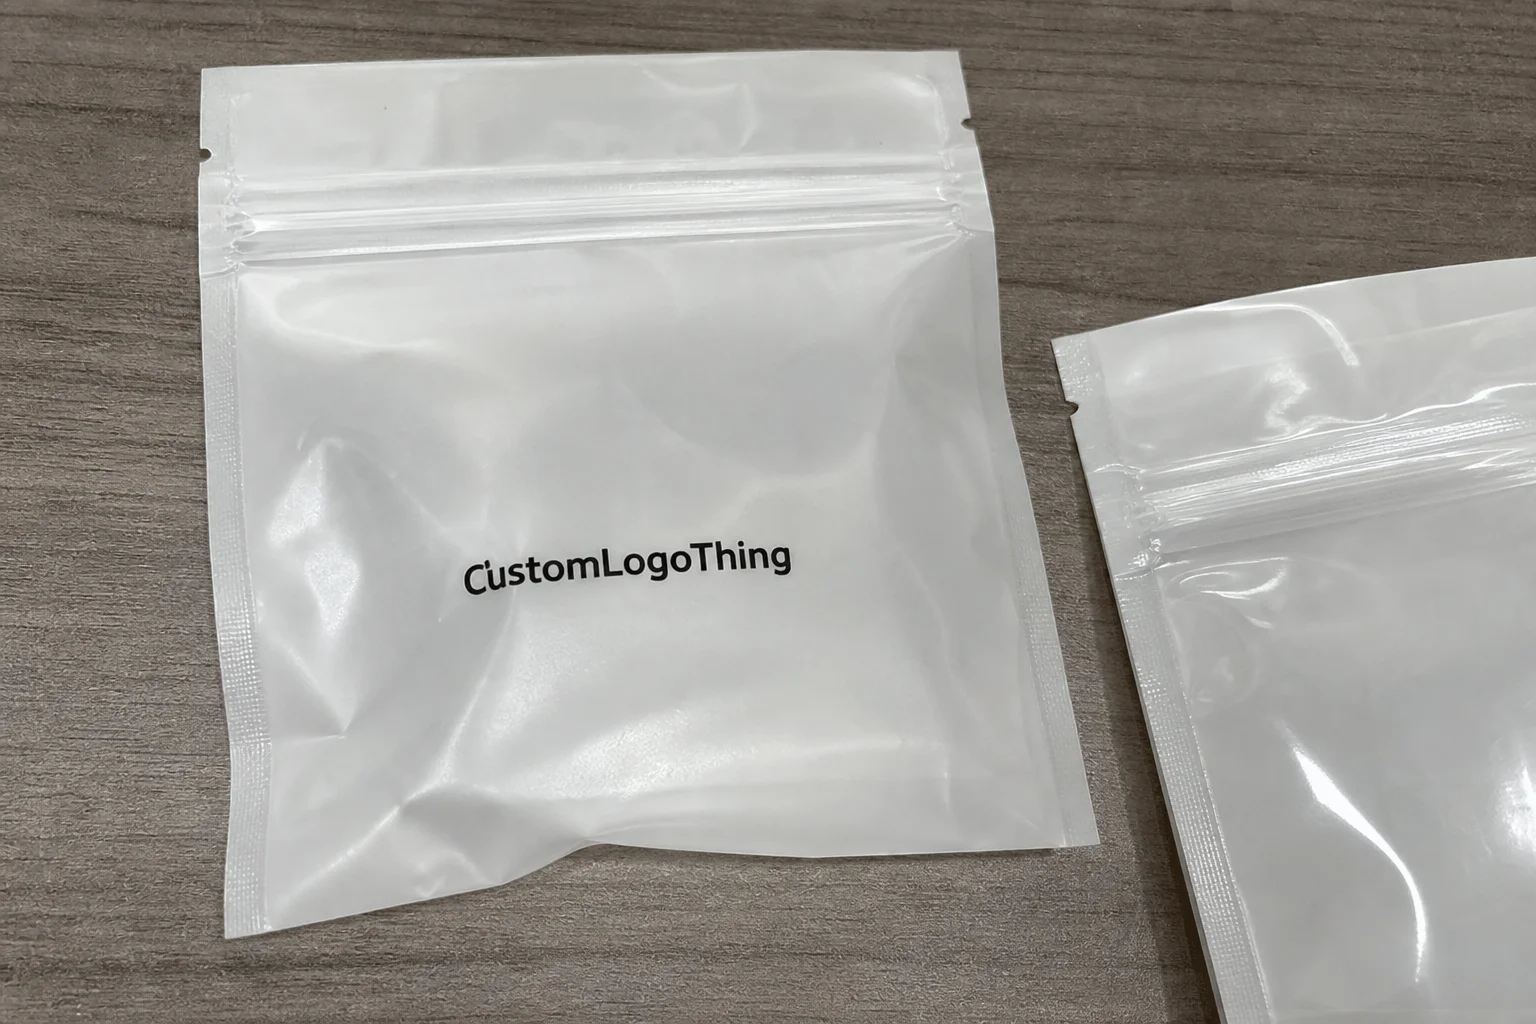
Digital Printed Stand Up Pouches: Request the Right Quote
digital Printed Stand Up pouches are a practical option for brands that need shelf impact without locking into plates, labels, or heavy inventory. The artwork prints directly on the film, the pouch stands on its own, and the path from proof to production is usually shorter than a conventional printed pack. That matters if the launch is moving fast or the SKU mix keeps changing.
The format is strongest in categories that live on frequent updates: snacks, coffee, pet treats, supplements, frozen foods, and seasonal runs. The real value is not just visual. It is operational. Shorter runs are easier to justify, version changes are simpler to manage, and the brand can test demand before committing to a large inventory block.
The catch is obvious to anyone who has dealt with packaging before: a good-looking pouch still needs the right construction. Film choice, barrier level, zipper type, seal width, and quantity break all affect whether the order runs cleanly. Miss one of those pieces and the quote that looked efficient can become a rework cycle with delays attached.
What Changes When Brands Switch to Digital Print
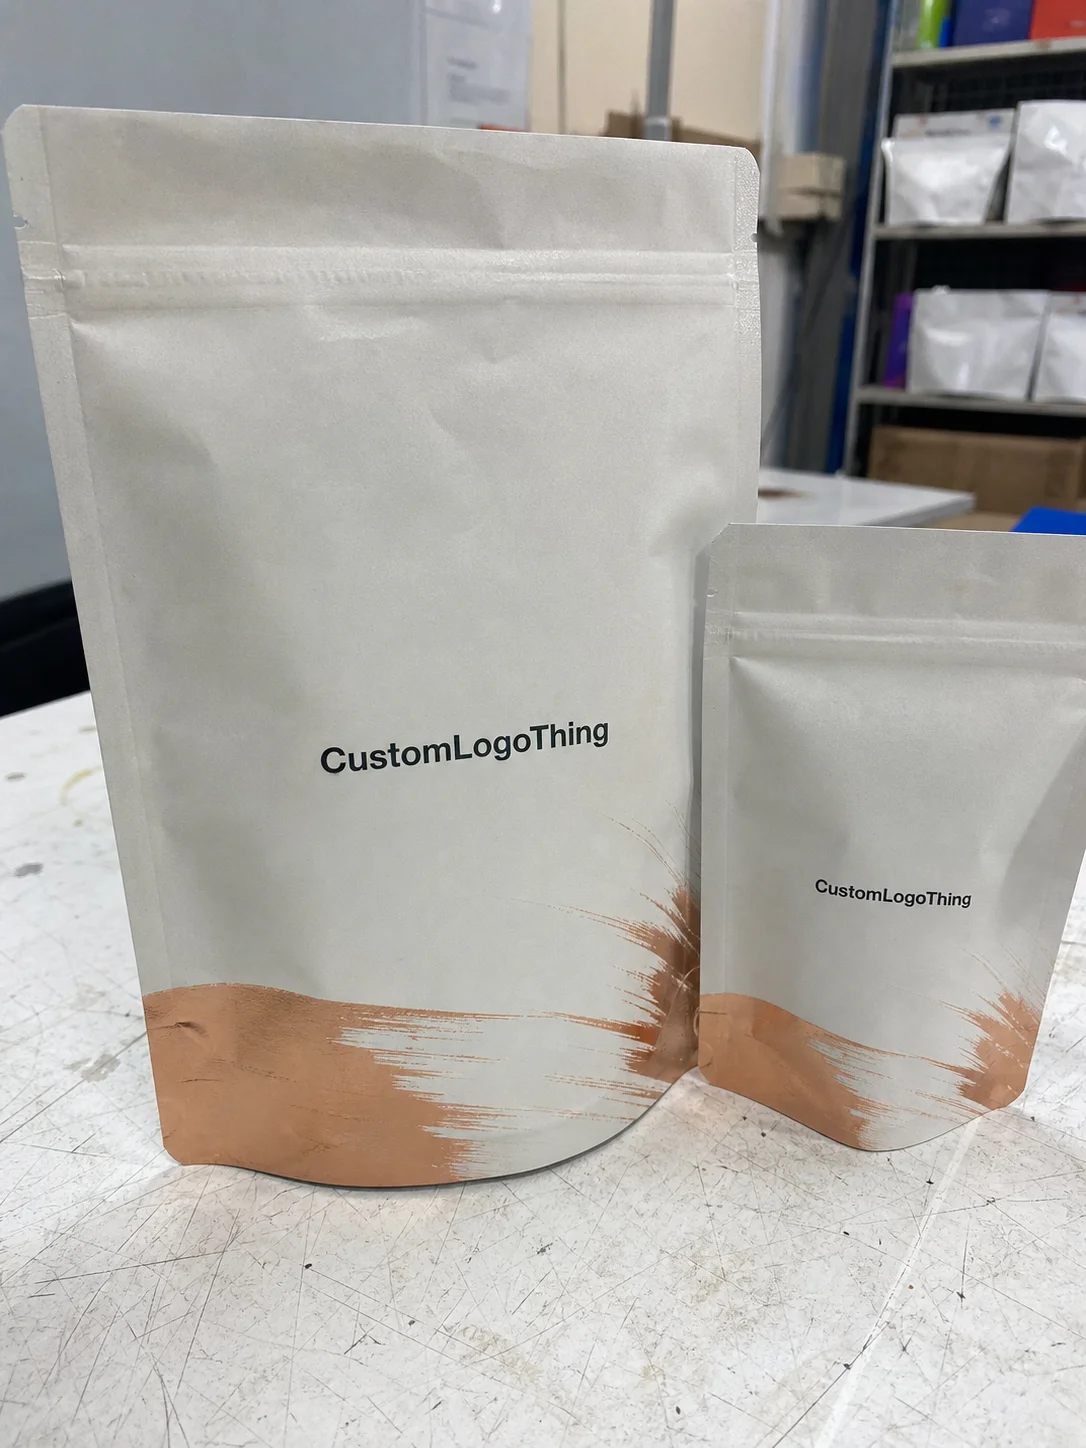
The biggest shift is that the artwork becomes part of the pouch itself instead of a separate label. That usually gives the package a cleaner look and removes one extra handling step from production. There is less chance of label skew, fewer manual applications, and a finished pouch that often looks more expensive than the run size suggests.
That flexibility helps brands with multiple flavors or fast-changing claims. One pouch body can carry a consistent system while the copy, color coding, or imagery changes from SKU to SKU. Limited editions, regional versions, and small market tests all benefit from that setup because the artwork can change without rebuilding the entire packaging strategy.
The economics are different too. Digital print avoids plate costs and a lot of setup-heavy tooling, which is why it tends to work well for short runs and multi-SKU programs. It is not a cure-all. But it does reduce the friction between a marketing decision and a physical package.
For first orders, that matters more than people expect. A brand can test a product, watch sell-through, then adjust the design without being stuck with a warehouse full of outdated film. That is usually the point where digital Printed Stand Up Pouches stop being a nice idea and start looking like the safer option.
The expensive mistake is usually not the print itself. It is approving a pouch spec that cannot hold the product, run on the line, or survive the trip from plant to shelf.
How the Artwork Moves From File to Finished Pouch
The production path looks simple on paper. It starts with a dieline, moves through artwork prep and proofing, then into print, lamination, slitting, and conversion. Each step is routine on its own. Together, they leave room for small errors that become expensive when they are discovered late.
The cleanest jobs start with a file built for the actual pouch, not for a generic package template. Bleed, quiet zones, barcode placement, overprint settings, and finish assumptions need to be correct before the proof is issued. If the file is sloppy, the press team can still print it, but the revision loop will eat the time saved by digital production.
Color control deserves real attention. Digital proofing helps, but a proof is not a promise unless it is compared against the brand standard and the intended substrate. Color reads differently on matte film than it does on gloss. Soft-touch finishes mute contrast a bit. Metallic effects change how the eye reads the layout under store lighting. Those are not cosmetic details. They affect perception at shelf distance.
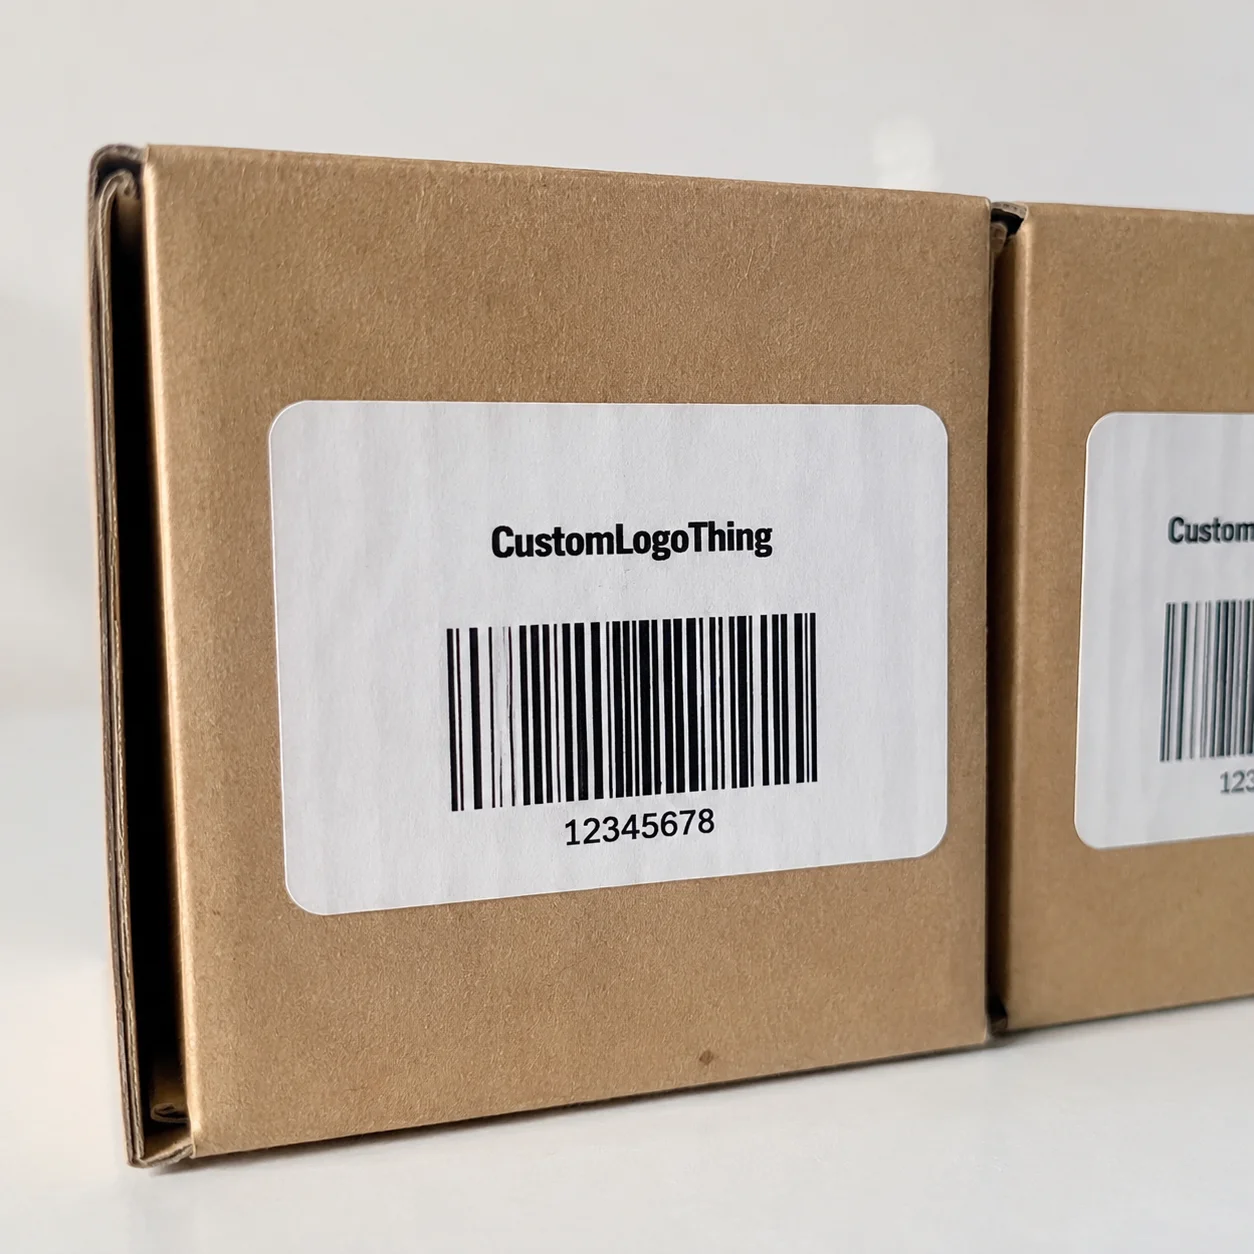
Registration and code placement matter for operations too. A barcode that sits too close to a fold or a seal can become unreadable. Lot codes and expiry information need enough open space to print cleanly during production. If the pouch is going through a coder or a filler, that line requirement should be in the brief before the file is approved.
For brands that need basic packaging references, the Institute of Packaging Professionals is a useful source for terminology and standards context. If the package will ship through a defined distribution route, common transit testing from ISTA is worth reviewing before the design is locked.
If the team is still comparing pouch options, the Manufacturing Capabilities overview is a better starting point than guessing at specs. It is easier to build a sound file when the production limits are already visible.
Digital Printed Stand Up Pouches: Film, Barrier, and Seal Specs That Matter
The pouch structure does the real work. The print layer carries the design, but the film stack protects the product. A typical structure includes an outer printable layer, a barrier layer, and a sealant layer. Depending on the job, that stack might be a simple PET/PE build, a BOPP-based structure, or a more complex laminate with aluminum or high-barrier film. The right choice depends on what the product needs to block and how long it needs to hold.
Moisture-sensitive powders need a different pouch than oily snacks or aroma-heavy coffee. Coffee usually pushes the conversation toward oxygen barrier and, in some cases, a degassing valve. Pet treats may need grease resistance and odor control. Supplements can be more sensitive to moisture and seal integrity than the artwork makes them look. The technical question is basic: what is the product trying to resist, and for how long?
Closures should be chosen with the barrier, not after it. Zippers, tear notches, hang holes, spouts, windows, and valves all affect performance and user experience. A zipper that feels premium can still add friction on the fill line. A window may help sell the product but reduce protection if it is placed without regard to the barrier structure. Even a wider gusset changes how the pouch stands, how it fills, and how much shelf space it takes.
Line compatibility needs to be checked before the order is approved. A pouch can look excellent in hand and still misfeed, wrinkle, or seal inconsistently on an actual machine. That is why sample pouches should be tested on the real fill line, not only reviewed on a desk. If the pouch buckles under product weight or the seal area closes unevenly, the issue is structural, not graphical.
For basic technical review, some teams use seal and package test references such as ASTM F88 for seal strength and ISTA methods for distribution. Those standards do not pick the pouch for you. They do help you ask better questions before a product is packed and shipped.
Size alignment is another place where orders go sideways. Fill weight, headspace, seal width, and pouch dimensions all need to work together. A pouch that is technically large enough can still be awkward if the product sits too high, the zipper crowds the top seal, or the front panel has no room for required copy. That is the kind of mismatch that turns into a reprint.
| Order Band | Typical Unit Price | Best Fit | Main Watchout |
|---|---|---|---|
| 2,500 to 5,000 units | $0.24 to $0.55 | Launches, flavor tests, regional trials | Higher unit cost, but less inventory risk |
| 10,000 to 25,000 units | $0.16 to $0.34 | Proven SKUs with active demand | Spec changes become more expensive |
| 50,000 units and up | $0.10 to $0.22 | Stable programs with predictable volume | More inventory is tied up if the design changes |
Process, Timeline, and Approval Milestones
A clean order starts with a clean brief. Send the product type, fill weight, pouch size, quantity, launch date, closure preference, finish preference, and any machine constraints in one package. Splitting that information across several emails only creates confusion. Packaging teams usually lose time not because the job is hard, but because the inputs arrived piecemeal.
The normal sequence is brief, spec review, dieline confirmation, artwork submission, proofing, revisions, approval, production, and shipping. The bottleneck is usually before the press run begins. Once the file is clean and the spec is settled, digital production moves faster than a traditional plate-based process.
Timing depends on how quickly the approvals move. If the dieline is final, the file is ready, and the structure is clear, a first run often lands in roughly 12 to 15 business days after proof approval. That is a reasonable planning number, not a promise. Special finishes, added components, and missing information can extend the schedule. Rush work is possible, but it leaves little room for correction and usually costs more.
Approval discipline matters. Size, structure, closure, quantity, finish, and regulatory copy should be signed off once by the people who actually own the decision. Marketing usually cares about color and shelf presence. Operations cares about line speed and failure points. Procurement cares about price. Those concerns need to meet before production starts, not after the first pallet ships.
A useful internal checklist looks like this:
- Confirm the final dieline and pouch dimensions.
- Verify fill weight and product density.
- Approve closure type and seal width.
- Check barcode, lot code, and legal copy placement.
- Review whether the finish changes readability or shelf contrast.
Delays are rarely abstract. A launch window closes. The sales team changes the claim language. A co-packer discovers the pouch does not fit the packing flow. Those are the moments where a faster proof cycle would have saved real money.
Cost, Pricing, MOQ, and Quote Variables
Price depends on more than size. The main drivers are pouch dimensions, material structure, barrier level, number of printed sides, finish, and closure options. Larger pouches use more film. Higher barrier materials cost more. Zippers, valves, and specialty windows add material and conversion cost. Premium finishes can also move the number, especially if matte, soft-touch, or metallic effects are part of the design.
MOQ changes the math quickly. Smaller runs carry a higher unit cost because the fixed setup work is spread across fewer pieces. That is still the better call for a test launch or a new product with uncertain demand. Larger runs reduce the unit cost, but they also increase exposure if the SKU changes or the launch underperforms.
Artwork complexity matters even if it never appears as a separate line item. Heavy file cleanup, repeated revision cycles, and special effects all consume time. Time has a cost. A simple print file with clear structure often beats a flashy concept that needs three extra approvals and pushes the schedule.
Brands should compare landed cost, not just unit price. Freight, storage, handling, and the cost of delayed launch can dwarf a small per-piece difference. A pouch that is two cents cheaper but arrives late is not cheaper.
Every quote request should include the same core details:
- Unit pricing at multiple quantities.
- Estimated lead time from proof approval.
- Sample availability or press proof options.
- Any setup, tooling, or changeover fees.
- Clarification on finish, closure, and barrier assumptions.
If you need a cleaner comparison, send the same brief to the contact team with the artwork files and ask for side-by-side pricing at two or three quantity bands. That makes the tradeoffs visible instead of burying them inside one number.
Common Mistakes That Create Waste or Reorders
The first mistake is designing before the pouch structure is final. Artwork can look perfect on a monitor and still fail once it lands on a real dieline. Corners move, folds change, and available space disappears faster than most teams expect. The dieline is the rulebook, not a suggestion.
The second mistake is underestimating barrier needs. If the product needs protection from oxygen, moisture, aroma loss, grease, or light exposure, the structure has to match the risk. Otherwise the product can stale, clump, leak odor, or lose appearance before it reaches the customer. Those failures are not just cosmetic. They hit repeat purchase rates and returns.
Color problems often come from weak proof discipline. A digital proof is useful, but it is not a guarantee that every final pouch will match a monitor or office printout. Serious review means comparing the proof against brand standards, substrate behavior, and the actual finish.
Operational mistakes are common too. The zipper style is wrong. The fill volume was underestimated. The pouch stands fine when empty and collapses under load. The line runs one width well and another poorly. Those issues are usually avoidable if the spec is checked against the machine, not only against the design file.
The most expensive error is a mismatch between brand intent, packaging spec, and production reality. That is the quiet reason many reorders happen. Not because the design was bad. Because it never had a complete technical brief behind it.
Practical test: if the team cannot explain why the structure, closure, and fill size were chosen, the quote is probably not ready for approval.
Expert Tips and Next Steps for First Orders
Start with a brief that covers product behavior, shelf-life target, fill method, quantity, and launch date. That one document does more to improve the quote than a week of vague feedback after the proof arrives. The goal is to remove assumptions before the vendor has to make them for you.
Ask for two or three quote scenarios if possible. Compare structure, finish, and quantity breakpoints side by side. A slightly different film or closure can change both performance and cost. That comparison is more useful than chasing a single low number that may not fit the actual product.
Digital print is strongest where versioning matters. If the brand has multiple flavors, limited editions, or market-specific copy, keep the SKU logic tight and intentional. That reduces version drift and makes scaling easier later.
Sample review should be blunt. Check seal quality, zipper function, color appearance, and whether the pouch stands properly after filling. If the sample looks good empty but behaves badly once loaded, the issue is usually structural. Fix that before volume is approved.
A clean order path usually looks like this:
- Gather product specs and launch targets.
- Request a quote with multiple quantity bands.
- Approve the structure and dieline first.
- Review the proof with operations and marketing together.
- Validate the line before committing to volume.
For brands that need speed without giving up control, digital printed Stand Up Pouches make the most sense when the quote is treated as a technical decision. Get the structure right, keep the approval chain tight, and the format becomes a useful production tool instead of a guess.
Are digital printed stand up pouches a good fit for low-MOQ launches?
Yes. They are often the best option when you need fewer units, several SKUs, or artwork changes without plate costs. That makes them useful for test markets, seasonal flavors, and limited runs. They are less compelling when the design will stay unchanged for a long time and the volume is very high.
How long do digital printed stand up pouch orders usually take?
The schedule is usually driven by proofing, revisions, and approval speed before production starts. A simple order can move in roughly 12 to 15 business days after proof approval if the file and specs are complete. Rush timelines are possible, but they leave less room for correction.
What affects the price of digital printed stand up pouches most?
Size, material structure, barrier level, quantity, and finish are the biggest drivers. Zippers, valves, and specialty windows can raise both material and conversion cost. The cleanest comparison is unit pricing at multiple order quantities, not a single number on its own.
Can digital printed stand up pouches be used for food or supplements?
Yes, but the structure has to match the product’s moisture, aroma, oxygen, and shelf-life needs. Food and supplement applications may also have labeling or compliance considerations. Confirm the sealant layer, barrier level, and closure before the first run is approved.
What information should I send for an accurate quote on digital printed stand up pouches?
Send pouch size, fill weight, product type, quantity, and launch date first. Then include artwork files, closure preferences, finish preferences, and any machine or line requirements. The better the technical brief, the fewer revisions you will need before price and timeline are finalized.