Planning Die Cut Handle Bags for event teams moq planning is less about picking a bag and more about preventing avoidable messes at the registration table. The right carrier speeds up handouts, keeps kits looking tidy, and gives staff one less thing to wrestle with during setup. The wrong one turns into a pile of stretched handles, awkward fills, and somebody saying, “we should have ordered the bigger size,” right after the truck leaves.
For buyers, the useful bag is the one that fits the contents without drama. It should stack flat, print clearly, and carry the load without making staff baby it. That sounds simple. It usually isn’t, because size, film gauge, handle style, print method, and quantity all affect how the order behaves in the real world.
Good event packaging has a specific job: it moves materials from prep to handoff quickly and cleanly. Die Cut Handle Bags do that without the bulk of a rigid gift box or the added parts of a separate handle bag. For welcome kits, sponsor packs, apparel, and giveaway bundles, that balance matters more than flashy packaging ever will.
Why event teams choose die cut handle bags for fast handouts
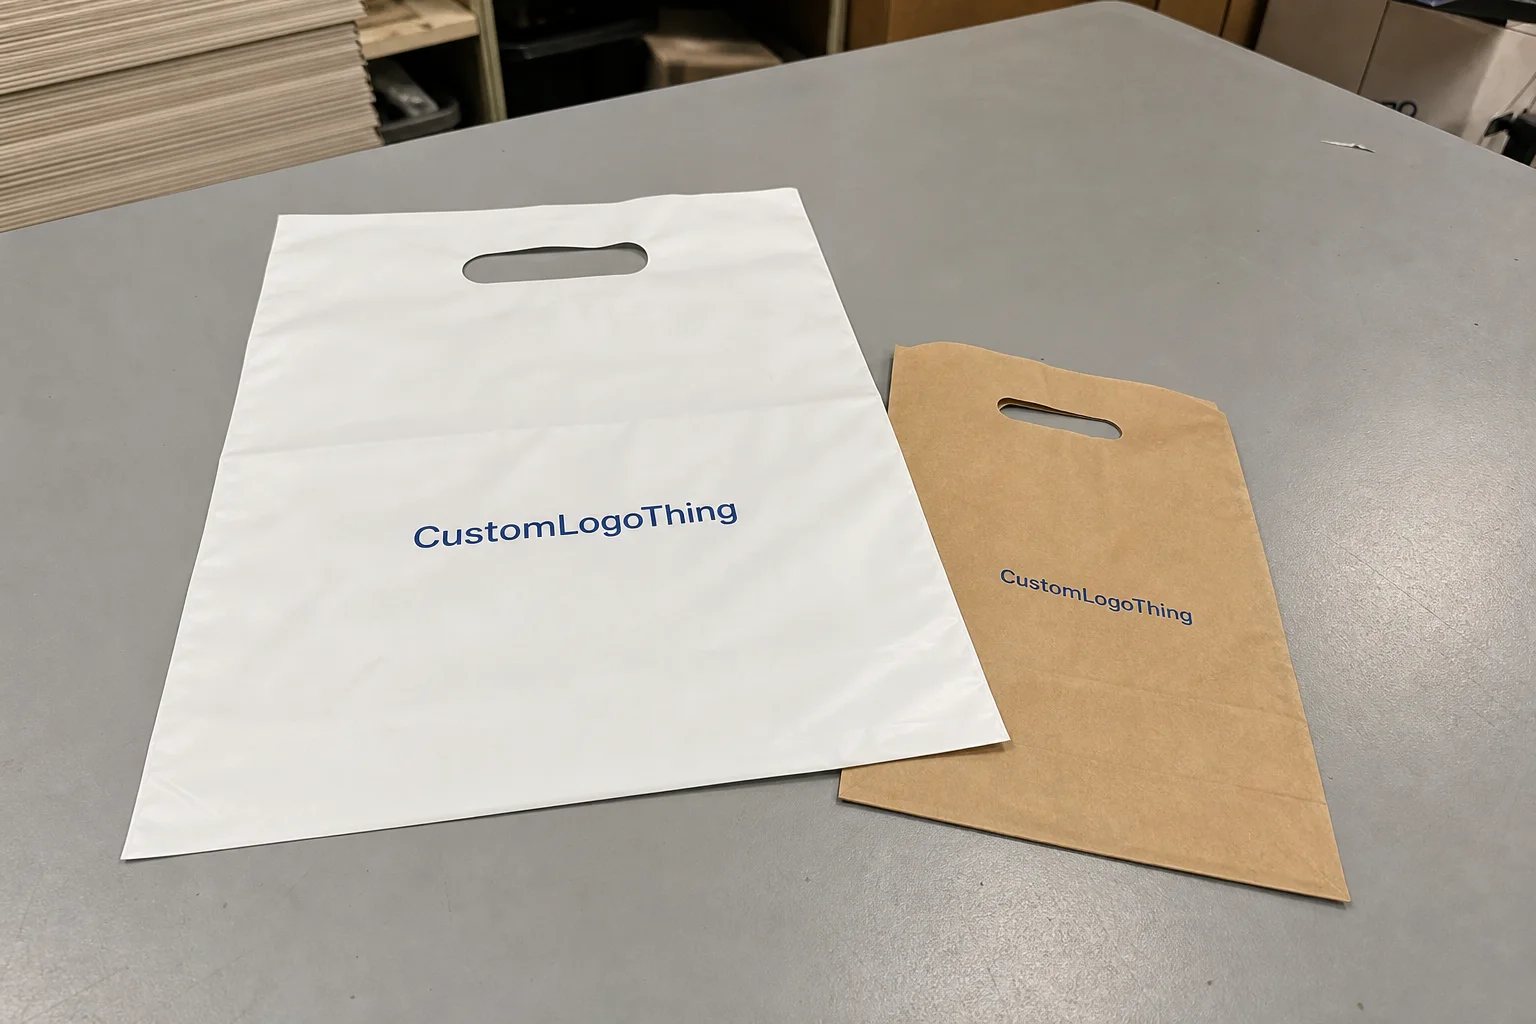
Event distribution happens under pressure. Registration teams are stacking badges, folding inserts, checking names, and trying not to let the line grow legs. A die cut handle bag helps because staff can fill it fast, grab it cleanly, and hand it off without extra steps. That small improvement adds up when the run count is in the hundreds or thousands.
The handle cut itself is part of the value. A built-in die cut handle stays flat in storage, so the bags take up less room and are easier to stage in bulk before the event. That matters for teams assembling kits on folding tables, in convention prep rooms, or in warehouse bays where space is already tight.
There is also a presentation factor that buyers sometimes underestimate. A printed bag with a clear logo or event name works like moving signage. It shows up in check-in lines, hospitality areas, meeting rooms, and sponsor activations. In a crowded venue, that repeated exposure can do more than a small logo buried on a folder insert.
For die cut handle Bags for Event teams moq planning, the real challenge is balancing three things at once: speed at handoff, enough strength for the contents, and a quantity that doesn’t leave a pile of leftovers after the event wraps.
The best event bag disappears into the workflow. It doesn’t ask for attention. It just works.
That is also why these bags are not trying to be Luxury Gift Bags or shipping cartons. They are lightweight presentation carriers. That sounds modest because it is. Modest works well when the job is getting materials into attendees’ hands without slowing the line.
Bag construction, film options, and handle styles that hold up on site
Most custom plastic Die Cut Handle Bags are made from LDPE, HDPE, or a coextruded film. Each one behaves a little differently. LDPE feels softer and more flexible, which can make it a better fit for kits with apparel or mixed items. HDPE is crisper and lighter for its gauge, so it often works well for flat literature packs. Coextruded films combine layers to improve appearance and performance, and they’re often chosen when the bag needs a cleaner presentation or more consistent strength across a larger run.
Film thickness is where a lot of buyers either save money wisely or cut the wrong corner. A lighter gauge can be fine for brochures, agendas, or a slim folder set. Once bottles, boxed items, or folded apparel enter the mix, puncture resistance starts to matter a lot more. If the bag is too thin, the damage usually shows up during staging, not after delivery. Handles stretch. Corners poke through. Someone tries to carry it one-handed and the bag announces its limits loudly.
Reinforced die cut handles are worth considering for heavier kits. A patch reinforcement, extra film in the handle area, or a thicker overall gauge helps the bag survive repeated lifting and setting down at check-in. That matters more than a pretty mock-up. If the contents include a hardback program, water bottle, or premium item with edges, the handle area should be treated like a structural part of the order, not a decoration.
Print method matters too. Flexographic printing is common for plastic bags because it handles larger quantities efficiently and works well with spot colors, clean logos, and broad solid areas. It is less forgiving than a full digital brochure workflow, so the artwork has to respect the process. Vector files, limited color builds, and simple placement usually print better than fine details, tiny type, or fussy gradients. A bag is seen from a few feet away while someone is walking. It doesn’t need to act like a poster.
The table below is a practical way to compare common bag options.
| Bag option | Typical strengths | Best use case | Relative cost impact |
|---|---|---|---|
| LDPE die cut handle bag | Flexible feel, comfortable carry, good print appearance | Apparel, mixed kits, branded giveaways | Moderate |
| HDPE die cut handle bag | Lightweight, crisp, efficient material usage | Literature, flat collateral, simple handouts | Lower to moderate |
| Coextruded film bag | Balanced strength, cleaner presentation, more consistent performance | Premium welcome kits, multi-item packs | Moderate to higher |
| Reinforced handle bag | Better load tolerance, stronger carry feel | Heavier kits, bottles, boxed products | Higher |
If attendees will carry the bag across a venue, size and handle choice should match that trip, not just the item list at the packing table.
Sizing, print area, and load considerations for event team kits
Bag dimensions should start with the contents, not the logo. That sounds obvious until you see a bag chosen because it looked nice on a quote sheet, then discovered to be too shallow for the actual kit. The better sequence is simple: measure the stack, check the widest item, and allow room for easy insertion and a comfortable grip.
Gusset depth changes everything. A flat bag is fine for slim packets, but once the kit includes folded brochures, apparel, or a product box, a gusset helps the bag stand up and fill more cleanly. It also reduces pressure on the handle area because the contents settle in a more natural shape instead of forcing the bag into a stressed, overstuffed profile.
Print area deserves the same practical treatment. A logo that is too small disappears. A sponsor line with too much text becomes unreadable from a few steps away. QR codes need enough quiet space around them to scan properly; otherwise, the film texture and bag curvature create friction nobody asked for. Clean layouts usually outperform busy ones because they’re easier to read quickly in motion.
For planning, I tend to group event bags into four useful buckets:
- Lightweight literature — brochures, agendas, flyers, and badge holders.
- Mixed media kits — paper pieces plus a notebook, pen, or small sample.
- Apparel kits — shirts, hoodies, hats, or folded textiles.
- Higher-load bags — multi-item packs with bottles, boxed items, or premium giveaways.
That framework helps buyers talk about the job without turning the order into a design debate. It also improves die cut handle Bags for Event teams moq planning because the supplier can recommend a size and film gauge that actually match the load.
One simple rule: if the bag is supposed to carry more than a few pounds, test it with the real contents before approving the final spec. Paper mock-ups are useful. They also lie.
MOQ, cost, and quote factors for die cut handle bags
MOQ usually comes down to size, film thickness, print complexity, and whether the order is fully custom or built from a more standard bag format with an imprint. Larger bags use more raw material. Thicker films cost more. More print colors require more setup. Special finishing, banding, or packaging can also push the minimum because the job becomes less efficient at smaller volumes.
The main pricing variables are straightforward, even if the quote sheet looks like it was designed by someone with a grudge. Film gauge affects material cost. Bag dimensions affect raw film usage per unit. Print colors affect plate and setup requirements. Packaging method can matter if the bags need to be banded, poly-bagged, or packed for faster fulfillment. Shipping destination changes landed cost, especially when carton count, pallet count, or expedited freight enters the conversation.
Unit cost usually improves as quantity rises because fixed setup charges are spread across more pieces. That does not mean the biggest order is automatically the smartest one. It just means that 10,000 pieces often price better per bag than 2,500 pieces if the specification stays the same.
Directional pricing can be helpful during early planning, though every project shifts with artwork, size, and transit. Typical ranges often look something like this:
| Approximate quantity | Typical unit cost range | What usually drives the price |
|---|---|---|
| 1,000 to 2,500 | $0.22 to $0.45 | Higher setup charges, fewer pieces to absorb them |
| 5,000 to 7,500 | $0.16 to $0.30 | Better spread of fixed costs, more efficient production |
| 10,000+ | $0.12 to $0.24 | Stronger bulk pricing, lower relative setup burden |
For event teams, the real budgeting question is not just “What is the unit price?” It is “How many bags do we need for attendees, backup stations, VIP kits, sponsor replacements, and unexpected attendance growth?” Ordering exactly to headcount can be risky. Ordering too many can leave storage headaches and stale branding sitting in a closet for two years.
A modest buffer of 5% to 10% usually makes sense, especially if some bags may be held for later activations. That keeps die cut handle bags for event teams moq planning tied to actual use instead of wishful thinking.
If you need a quick reference for packaging basics, our FAQ page covers common questions without the usual sales fog.
Process, timeline, and production steps from artwork to delivery
The normal flow starts with a quote request, then moves to artwork review, proof approval, production scheduling, printing, converting, packing, and shipment. Each step is standard. The delays usually show up when artwork arrives late, the file format is wrong, or someone discovers a missing detail after proof approval. That last one is especially popular for creating unnecessary stress.
Low-resolution logos are one of the most common slowdowns. Missing color references create another. Vector files such as AI, EPS, or editable PDF usually move faster because the lines stay sharp and color separations are cleaner. If raster art has to be used, it should be high resolution and paired with clear color expectations so proofing doesn’t turn into a guessing contest.
Typical lead time depends on quantity, print colors, material availability, and shipping method. A straightforward custom run often lands around 12 to 15 business days after proof approval, but larger quantities or more involved print builds can take longer. Freight speed also matters. Ground shipping may be enough for one order, while air or expedited freight may be the safer move if the event date is tight.
Here’s the part that gets ignored too often: if the bags are part of a kit assembly schedule, they need to arrive before the rest of the materials are staged. Late bags can stall the whole operation even if everything else is already on-site. That is why a buffer for proofing and transit is not a luxury. It is how you avoid late-night repacking.
A practical order sequence looks like this:
- Gather the bag size, content list, quantity, print colors, and delivery deadline.
- Send artwork in a print-ready format with clear color references.
- Approve the proof quickly and confirm the shipping destination.
- Reserve time for receiving, unpacking, and kit assembly.
That sequence reduces backtracking and keeps the order moving through production without the usual drama.
Quality checks, compliance details, and event-ready handling
Quality control for event bags is practical, not glamorous. Teams should check seal strength, handle cut consistency, print alignment, film clarity or opacity, and whether the bags open and stack properly during filling. If the handle cut varies too much, staff notice immediately. If the print drifts, the bag can look off even when the artwork was technically approved.
Compliance questions come up more often now, especially around recycling labels and venue-specific packaging rules. Depending on the material and local program, labeling may matter. Some venues also have packaging restrictions for hospitality zones or restricted-access areas. For broader reference, the EPA recycling resources and industry guidance from the Paperboard Packaging Council can help frame material and recycling conversations, even though they do not replace local venue rules.
Receiving and storage deserve more attention than they usually get. Cartons should be labeled clearly, packed so counting is fast, and palletized in a way that allows safe movement into a warehouse, fulfillment center, or event prep room. If the bags arrive in mixed cases, someone has to sort them before kit assembly starts. That labor is real, even if nobody puts it on the PO.
Plastic bags should be stored flat, dry, and away from direct heat. Excess warmth can make the film tacky or harder to handle, while moisture can create problems in packed cartons. If the bags are going to sit for a while before the event, a clean, controlled storage area helps preserve the finish and keeps the stack usable.
For buyers who care about transport durability, the ISTA testing standards are a useful reference point for packaging performance expectations. Event kits often get touched more than once and moved more than one time, so the bag should survive more than a single handoff in a quiet room.
How to place the right order and avoid costly rework
The cleanest order starts with complete information. Before asking for a quote, gather bag dimensions, intended contents, quantity, number of print colors, artwork files, delivery date, and whether extra inventory is needed for future activations. If the event could grow or sponsors may be added later, that should be part of the spec now, not after proof approval.
Always compare the sample dimensions to the actual event materials. A paper mock-up can help with layout, but a filled sample tells the truth. If the bag is too shallow, it can bow at the seams. If it is too wide, the contents slide around and the presentation feels loose. A few minutes of testing can prevent a lot of expensive rework.
It also helps to define “enough” before the order is placed. Are the bags only for attendees, or are there separate sets for staff, speakers, VIPs, and late arrivals? Do sponsors need replacement kits? Will some bags be held for future roadshows or community activations? Those answers affect MOQ planning and whether a slightly larger order improves the overall economics.
The best orders are usually the boring ones: clear spec, print-ready art, realistic quantity, and a delivery window that leaves room for transit. That is how die cut handle bags for event teams moq planning stays under control instead of becoming a rush job with extra fees attached.
Before moving forward, send the specs, artwork, and target date together. That gives the supplier enough detail to confirm MOQ, pricing, setup charges, and production timing accurately. Event teams do not need guesswork. They need bags that arrive on time, open cleanly, and hold up while people are moving.
What MOQ should event teams expect for die cut handle bags?
MOQ depends on size, film thickness, and print complexity, but custom printed runs usually start higher than stock bags. The best way to control MOQ is to simplify the print, standardize dimensions, and align the quantity with actual event use plus a small buffer.
How do I estimate unit cost for custom die cut handle bags?
Unit cost is driven by quantity, bag size, material gauge, number of print colors, and any special handling or shipping needs. As the run gets larger, setup costs are spread out, so the per-bag price usually improves at higher quantities.
What artwork files work best for die cut handle bag production?
Vector files such as AI, EPS, or editable PDF are preferred because they hold crisp edges and cleaner print separations. If raster artwork is used, it should be high resolution and include clear color references so proofing goes faster.
How long does production usually take after proof approval?
Timeline depends on quantity, print colors, and current material availability, but proof approval is the point where production can be scheduled accurately. Adding buffer time for shipping and kit assembly is important for event work because delivery delays affect the entire setup chain.
What should event teams confirm before placing an order?
Confirm bag dimensions, intended contents, print area, quantity, delivery date, and whether extra inventory is needed for contingencies. Also verify whether the event requires a specific bag look, thickness, or handle style so the final order supports the on-site workflow.


