Most packaging complaints start as insert problems. The electronics Frosted Zipper Bags Packaging Insert checklist exists because the insert controls fit, movement, accessory count, and first impression at the same time. If the insert is off by even a few millimeters, the package starts to look improvised. A cable shifts. A manual curls. Someone on the warehouse floor says it looked fine on the mockup, which usually means the mockup did not have to survive actual packing.
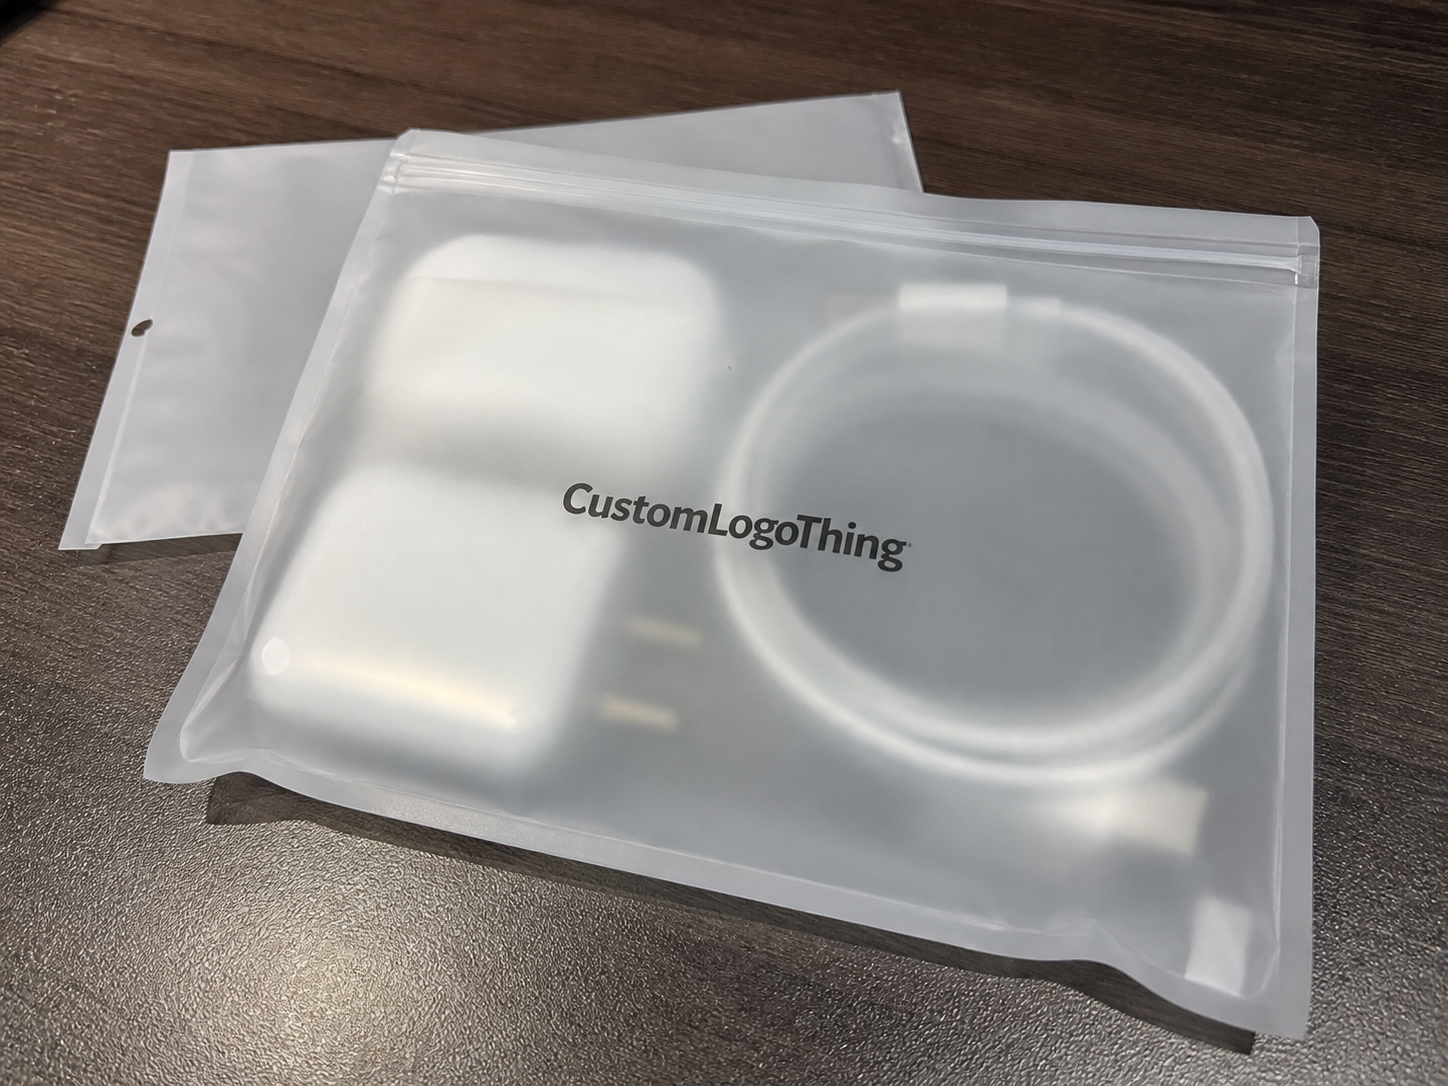
Frosted Zipper Bags are a practical choice for small electronics: cable kits, earbuds, dongles, charging accessories, repair tools, sample sets, and warranty cards. They give you visibility without fully exposing the product, and they cost far less than rigid retail packaging. The bag does one job. The insert does the rest. That division is what keeps the package readable, countable, and easier to assemble at scale.
For teams already using Custom Packaging Products for boxes, sleeves, and inserts, the same logic applies here, only with less material and less room for error. The bag may be simple. The decision-making around it is not.
What the checklist covers
The real value of the checklist is not paperwork. It is risk control. It forces everyone to answer the same questions before a quote turns into a print run. Size, copy, accessory count, barcode placement, fold style, and packout order all need to be fixed early. If one of those is vague, production fills in the gap with a guess. Guessing is expensive in packaging because it spreads downstream: slower assembly, inconsistent presentation, miscounts, and a better-than-average chance of reprint.
A useful checklist should pin down the retail story too. What does the customer need to understand in the first three seconds? What is included? What should they do next? If the package cannot answer those questions quickly, the bag becomes a storage pouch with branding on it. That is not the same thing.
For electronics, Frosted Zipper Bags work especially well for:
- USB cables, charging cords, and adapter sets
- Earbuds, ear tips, and small audio accessories
- Dongles, SD card readers, and plug converters
- Mini repair kits, screws, and tool bundles
- Sample sets, demo units, and warranty literature
If the insert does not answer what the product is, what is included, and what the buyer should do next, the package is carrying confusion instead of information.
That is why the checklist belongs before proofing, not after. By the time the bag and insert are in production, every vague decision has already become a cost.
How the insert works inside frosted zipper bags
Think of the bag as containment and the insert as the organizer, branding surface, and instruction sheet rolled into one. The bag gives you visibility and closure. The insert gives you structure. Without it, small electronics wander, cords twist, and loose parts slide into the bottom seam where they are hard to see and easy to miss.
Common insert formats include a flat card backer, a folded paper insert, a die-cut holder, or a multi-panel sheet. Each format solves a different problem. A flat card backer is the lowest-cost option and works well for simple kits. A folded insert gives more room for setup steps, multilingual copy, or legal notes. Die-cut holders are better for sets with multiple loose parts that need to stay in fixed positions. Multi-panel inserts are useful when the packaging has to carry compatibility notes, installation steps, and warranty information without turning the front panel into a block of tiny text.
The insert also improves production discipline. If you ship several SKUs in similar frosted bags, a standardized insert system reduces mispacks. One color bar, one version code, or one layout change can separate a cable bundle from an adapter bundle even when the bag size stays the same. That matters more than most brand decks admit. Packaging can be a control system, not just a visual one.
There is a customer-side effect too. A tidy insert keeps cables from tangling, prevents loose components from drifting around inside the bag, and makes the opening feel deliberate. The difference between "assembled" and "thrown together" is often one printed card.
For buyers concerned with responsible sourcing, FSC-certified paper is often requested for the insert side, especially when the rest of the program already leans toward recycled or certified materials. If that is part of your spec, start with FSC-certified paper guidance and build the paper choice into the order sheet rather than treating it as an optional note.
Key specs that change fit, protection, and presentation
Fit starts with the usable inside area, not the outer bag dimensions. That distinction sounds obvious until someone orders to the outer size and discovers the insert bows the second it goes in. Leave 2-4 mm of clearance on each side for insertion. Then test the full stack height with the actual product, not just the blank insert. Electronics do not forgive tight tolerances, and zipper closures are less tolerant than most people expect.
Stock choice changes the feel of the package and how clearly the copy reads through the frosted film. For small electronics inserts, 250-350 gsm paper or card stock is a practical starting range. Lighter stock works for simple instructional pieces. Heavier stock gives better structure for retail presentation and helps the insert stay flat inside the bag. Matte and soft-touch finishes usually read better through frosted plastic because glare is lower. Gloss can look bright, but it can also make small type harder to read under warehouse lights or store lighting.
Copy hierarchy matters more than designers want to hear. Product name first. What is included second. Setup or handling steps third. Safety notes and support details after that. If the packaging needs a barcode or QR code, place it where scanning will still work after the bag is handled, folded, or slightly scuffed. For QR codes, 18-22 mm square is a safer starting range when the code will be viewed through frosted film and used by people who do not have perfect lighting or unlimited patience.
One more practical issue: the bag film itself affects readability. A thicker frosted bag softens the image more than a thin one. That means fine lines, hairline copy, and low-contrast colors are riskier than they look on screen. If the design depends on delicate typography, print a hard proof and view it through the actual bag material before approving the job.
| Insert format | Best for | Typical add-on cost | Main tradeoff |
|---|---|---|---|
| Flat card backer | Simple cable kits, earbuds, sample sets | $0.03-$0.08 per unit | Cheap and fast, but limited copy space |
| Folded paper insert | Setup steps, warnings, multi-language copy | $0.05-$0.12 per unit | More information, slightly more assembly |
| Die-cut holder | Loose accessories, mixed components, gift sets | $0.10-$0.22 per unit | Best control, higher tooling and setup cost |
| Multi-panel sheet | Warranty info, install steps, compliance notes | $0.08-$0.18 per unit | Good structure, but needs careful copy editing |
Confirm whether the insert needs folds, perforations, slots, or adhesive tabs before approval. A layout can look perfect flat and still fail when someone assembles it at speed. The same principle applies to any product packaging: if the packout crew has to interpret the design, the spec is not finished.
Production steps, lead time, and proofing checkpoints
The clean path is straightforward: RFQ, dieline review, copy check, digital proof, print approval, finishing, and final packout testing. Straightforward does not mean risk-free. Each stage catches a different kind of mistake. Skip one, and the problem usually appears after freight is booked or inventory is already assigned.
Simple inserts with standard stock and one or two colors can move through proofing and print in roughly 5-10 business days after approval. Add a die-cut, foil, lamination, specialty folding, or late copy changes, and the timeline often stretches into the 2-4 week range. That is not a delay so much as a reality check. The more steps the insert needs, the more time it takes to convert a digital file into a usable physical piece.
Late changes are the real schedule killer. Barcode swaps, compliance text edits, and last-minute wording changes from multiple departments can move a project back more than an elaborate print finish ever will. The most efficient proofing round includes operations, marketing, and someone who actually knows what ships in the bag. That is the difference between a review and a guessing session.
If you are validating transit performance, use the right framework. For distribution testing and drop-vibration expectations, the current resources from ISTA standards and resources are a better guide than a hunch. No one needs to over-engineer a zipper bag insert, but the package should survive normal handling, sorting, and retail movement without opening, shifting, or losing parts.
Packout testing should be practical. Put the actual product, insert, and bag on a table and run ten assemblies with the people who will do the work. Time each one. Watch where fingers slow down. If a step requires too much fiddling, simplify it. A design that saves twelve seconds per unit can matter a great deal over a long run. A design that costs those twelve seconds is a tax on every carton.
Cost, MOQ, and unit-cost tradeoffs
Pricing depends on size, stock, print sides, color count, finishing, die-cut complexity, and total quantity. Each special choice adds setup work on the front end, and setup cost gets spread across the run. That is why MOQ matters. Small runs carry a higher per-unit price because there are fewer pieces to absorb the press prep, proofing, and finishing steps. It is basic print math, not a pricing trick.
In practical terms, 1,000 pieces often look expensive because the setup cost is sitting on top of a small run. At 5,000 pieces, the unit price usually improves enough to make smarter finishing choices possible. By 10,000 pieces, the savings can become meaningful, especially if the layout stays consistent across SKUs. That pattern is common across packaging, not just inserts.
The cheapest insert is not always the cheapest program. A slightly better insert can prevent reprints, reduce mispacks, and lower support complaints. In electronics, one missing cable or one confusing instruction card can trigger enough customer service cost to erase the savings from a cheaper print spec. A few cents more per unit is often less expensive than explaining why the package felt incomplete.
If you want a useful comparison point across packaging formats, the Custom Packaging Products catalog helps show how stock, structure, and finish change handling and appearance. That matters because a card insert, a sleeve, and a more structured retail package are not interchangeable, even if they look similar in a quoting form.
For planning purposes, buyers usually see three spending profiles:
- Best budget control: flat card backer with one-color print and standard finish
- Best balance: folded insert with moderate copy space and matte stock
- Best presentation: die-cut holder or multi-panel system with cleaner product separation
Material choice matters too. A well-printed 300 gsm card can feel more stable than a thicker sheet with a poor coating. Cheap paper that warps inside the bag often costs more in rejected units than the upgrade would have cost at the quoting stage.
Step-by-step checklist before you approve the order
Before sign-off, confirm the exact bag size, usable interior space, and real packed thickness once the product and insert are both inside. Then check the accessory list line by line. Cords, manuals, stickers, warranty cards, adapters, twist ties, screws, spare tips - if it ships, it belongs on the sheet.
- Measure the usable area. Use the inside width and height, then allow 2-4 mm of clearance for insertion.
- List every included item. Include parts that are easy to miss, like twist ties, screws, and spare tips.
- Lock the copy order. Product name first, then setup steps, then warnings, then support details.
- Check scanability. Barcode and QR code placement should be tested at proof stage, not after shipment.
- Confirm finishing. Gloss, matte, soft-touch, fold direction, and perforations should match the assembly method.
- Run a packing test. Use the people who will actually assemble the bags.
Copy hierarchy deserves more attention than it gets. If the first line is legal text, the package loses retail value immediately. Keep the most useful information at the top. Put the support contact where the buyer can find it without unfolding the entire insert. If there is one QR code, make it the one people will actually use.
File naming and version control are unglamorous, but they prevent the most preventable reprints. Three departments can look at three slightly different files and all believe they have the final version. The press will not care which one was intended.
Common mistakes and expert tips that save reprints
The most common mistake is designing to the outer bag size and then discovering the insert buckles once the product goes in. The second is overloading frosted packaging with tiny text and low-contrast graphics that disappear the moment the bag is handled under bright light. Frosted film softens visuals already. There is no reason to make it harder.
Accessory drift causes a different kind of problem. Cable length changes. The included count changes. A sticker set quietly disappears from one SKU but not the others. The insert copy still reflects the old kit. Packaging and product changes rarely move at the same speed, and that gap is where inconsistency starts.
A few habits save money and time:
- Use modular copy blocks so one insert system can support several SKUs.
- Keep the same bag size where possible and vary only the insert artwork.
- Ask for a small pilot run before committing to a larger batch.
- Assign one person to final proof approval, even if several teams want input.
From a buyer's perspective, the best inserts are not the most ornate ones. They are the ones that pack quickly, read clearly, and survive handling. If the package adds friction every time the line starts up, the design is working against the operation. A clean packaging system is usually better than a flashy one that slows everyone down.
If a layout only works on the screen, it is not a packaging solution. It is a mockup with a shipping label.
One more caution: sample approval can hide a structural problem. A single hand-packed sample may sit perfectly, while the same design fails once the line is moving and the packer is trying to maintain speed. That is why a real test needs volume, not just one neat photo.
Final launch checks and next steps for production
Turn the checklist into a clean spec sheet with size, stock, finish, quantity, artwork notes, budget, and target ship date. Put the sample bag, the current insert draft, and the packing instructions in one review packet before asking for final quotes or prepress sign-off. That cuts back-and-forth and keeps everyone aligned on the same version.
Then run a real assembly test. Not a theoretical one. A real one. Use the team that will pack the product and ask them to follow the draft instructions exactly. Watch where they hesitate. Fix those friction points before the full run starts. If the team can assemble ten units without stopping to ask questions, the launch is in much better shape than most.
Finally, lock the final files, confirm inventory buffers, and check the electronics Frosted Zipper Bags Packaging Insert checklist one last time before production starts. A second review takes minutes. A reprint takes much longer. If the insert system still needs options resolved, start with Custom Packaging Products and work backward from the actual packout rather than from a polished render.
Frequently asked questions
What size insert should I use for frosted zipper bags with electronics?
Measure the usable inside width and height, not the outer bag dimensions. Leave 2-4 mm of clearance on each side so the insert slides in without buckling. If the product includes cords or accessories, test the packed thickness too. Tight tolerances create the same kind of problems in packaging that they do in product design.
Should the insert be card stock or coated paper for electronics zipper bags?
Use stiffer stock if you want a more retail-ready feel and better shape inside the bag. Choose a matte or soft-touch finish if glare through frosted plastic is making the copy hard to read. For most small electronics inserts, 250-350 gsm is a practical starting range. The final choice should reflect how much structure the package needs, not just how it looks in a PDF.
How long does production usually take for an electronics bag insert?
Simple inserts often move through proofing and print in roughly 5-10 business days after approval. Die-cuts, special finishes, or late copy changes can push timing into a 2-4 week window. If the bag and insert need to arrive together, build a buffer into the schedule so the carton plan does not collapse around one late component.
What information belongs on a frosted zipper bag insert for electronics?
Include the product name, SKU, accessory list, setup steps, safety notes, support contact, and a QR code if it adds value. Keep the copy short and structured so buyers can scan it quickly during packing or unboxing. Long blocks of legal text usually cost more space than they are worth.
How can I lower unit cost without hurting presentation?
Standardize insert sizes across SKUs, simplify finishes, and order in larger batches when possible. Use one modular layout with small copy changes instead of creating a new insert for every product. That keeps setup costs down and makes packaging easier to manage across the line.
What is the most common reason frosted zipper bag inserts get rejected?
Misfit is the usual culprit. The second most common issue is unreadable copy through the frosted film. Both problems are avoidable if the proof is checked with the actual product inside the actual bag, not just on a flat screen.