If you are choosing an embroidered patches material guide for Farmers Market Sellers, the real question is not whether the patch looks charming in a mockup. It is whether it will survive sun, dirt, folding aprons, tote bags, and customers who grab your booth sign with jam still on their hands. Cheap patches often look acceptable on day one. Give them a few weekends and the edges curl, colors soften, and the whole piece starts looking tired.
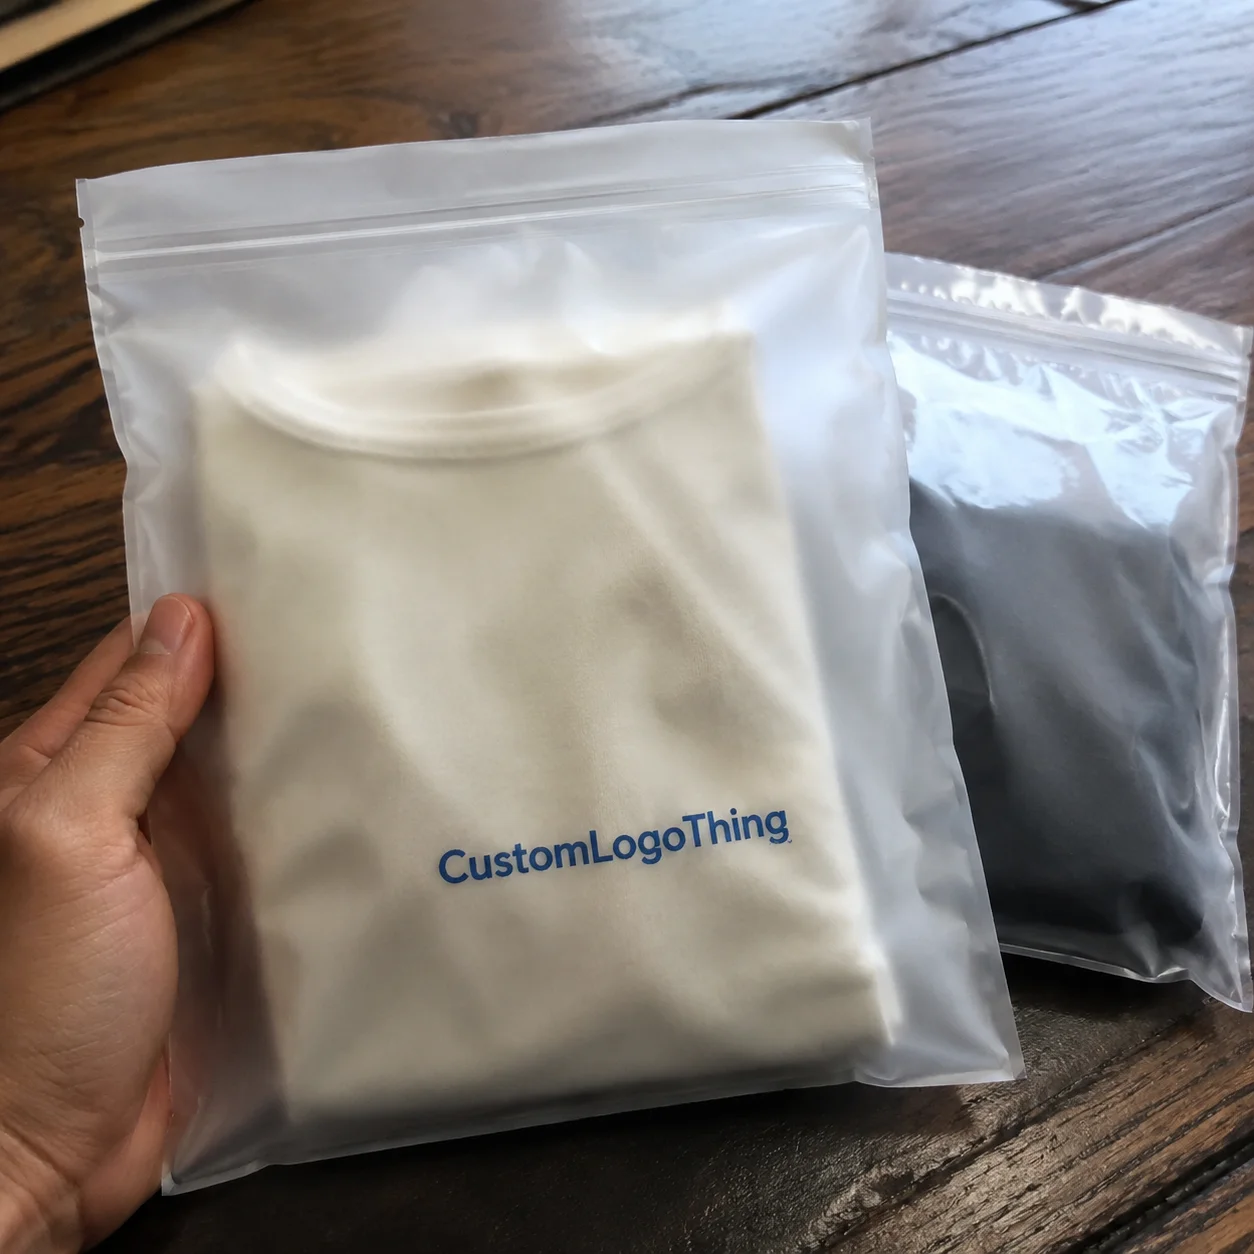
Material choice matters because an embroidered patch is not one thing. It is a stack of decisions: thread, base fabric, backing, and edge finish. Each layer affects how it looks, how it feels, and how long it lasts. For Farmers Market Sellers, that usually means patches on aprons, hats, shirts, tote bags, and staff uniforms that get handled more than most promo products. The sample matters, but only if it reflects real use.
Why Farmers Market Patches Fail Fast If You Pick the Wrong Material
Farmers market gear gets rough treatment. It is stuffed into bins, left in the sun, brushed against tables, and exposed to moisture from coolers, misting systems, and weather that changes faster than a market schedule. A patch that looks premium in a product photo can still fail if the base fabric is too flimsy or the thread is not suited to outdoor wear.
Abrasion is the problem buyers underestimate most. Aprons rub against counters. Tote bags are folded and unfolded all day. Hats soak up sweat. That repeated contact is exactly what reveals weak materials. A patch might hold up for one event, then fuzz at the edges or lift at the corners after a few washes. That is not character. It is a spec problem.
Embroidered patches are fabric emblems made by stitching thread onto a base material, then finishing the shape with backing and edges. The material stack affects the final look as much as the artwork itself. A dense stitch pattern on a tight twill base looks crisp. The same design on a loose or fuzzy base can look blurred even when the artwork is technically correct.
For Farmers Market Sellers, the goal is practical: make the logo readable at a glance and durable enough for real use. A pretty sample that falls apart by week three is just an expensive lesson.
How Embroidered Patch Materials Actually Work
Think of an embroidered patch as a small engineered textile, not a decoration with thread on top. The face fabric is the visible base. The thread creates the artwork. The backing controls attachment. The edge finish keeps the patch from fraying and adds structure.
Common face fabrics include twill, felt, and polyester blends. Twill is the workhorse. It has a tight weave, a smooth surface, and enough structure to support detail without turning blurry. Felt has a softer, more handmade feel, which some brands want. Polyester blends sit in the middle, but quality varies widely. If the surface is too loose, small letters and thin lines sink into the weave and lose definition.
Thread choice matters just as much. Polyester thread usually outperforms cotton for outdoor or high-touch use because it resists fading and handles moisture better. Cotton can work in decorative settings, but for aprons and hats that spend time outside, polyester is usually the safer choice. If you want a patch to survive repeated washing, thread is not a side detail. It is central to the spec.
Backing changes how the patch is used:
- Sew-on: the most permanent option, best for heavy use and frequent washing.
- Iron-on: easier to apply, but not ideal for every fabric or every wash cycle.
- Velcro: useful for removable staff badges or rotating roles.
- Adhesive backing: fine for temporary placement, rarely the best long-term choice.
Stitch density also changes the result. More stitches mean more detail and usually more stiffness. Too sparse, and the logo looks weak. Too dense, and the patch becomes thick and less flexible. Price changes with density too. Manufacturing does not give out extra stitches for free.
Rule of thumb: the more detail you want, the cleaner the base needs to be, and the tighter the digitizing has to be. Tiny text on a textured base is where designs go to die.
Key Material Factors: Durability, Detail, and Washability
Durability is the first filter. Farmers Market Sellers need patches that can handle sunlight, rain, sweat, folding, and abrasion. If the patch sits on an apron pocket or chest area, it should be built for friction. If it lives on a tote bag, it needs to tolerate bending and repeated handling.
Detail matters more than many buyers expect. Small logos, tiny lettering, and thin icon lines may need tighter stitch planning or even a different patch style. If the logo is packed into a 2-inch circle with a leaf, a berry, and three words, something has to give. Usually it is the text. Clean artwork almost always beats crowded artwork in embroidery.
Washability is where backing and fabric choice start to matter. Sew-on patches generally hold up best on aprons and uniforms that get washed regularly. Iron-on can work, but only if the garment fabric can handle the heat and the patch is applied correctly. On soft knit shirts or blended fabrics, iron-on adhesion can weaken over time.
Color retention matters outdoors. Direct sunlight can fade lighter threads and weaken some dyes faster than buyers expect. If your market setup is outside every weekend, ask for thread colors with better UV resistance. That will not make the patch permanent, but it will reduce early fading.
Texture and finish also signal brand positioning. A smooth twill patch with tight satin stitching looks polished and commercial. Felt feels warmer and more handmade. Neither is automatically better. The right choice depends on whether the brand should read as retail-clean or handcrafted.
Environmental fit matters too. Match the material to the item. A soft patch that works on a tote may be wrong for a stiff chef-style apron. And if the brand uses packaging alongside the patch, consistency matters. A patch that feels premium can work well with recycled materials, FSC certified paper, kraft bags, or corrugated display boxes. Branding is a system, not a logo slapped on a surface.
Embroidered Patches Material Guide for Farmers Market Sellers
Here is the practical version of the embroidered patches material guide for farmers market sellers: choose the patch material based on how hard the item works, not just how pretty it looks in mockup form.
For aprons, twill with sew-on backing is usually the safest option. Aprons get washed, folded, and tugged at. Twill stays crisp and gives enough structure for a readable logo. If the apron is worn daily and the patch sits on the chest or pocket, sew-on attachment is the better long-term choice.
For hats, twill is again the strongest option for a polished result. The curved surface rewards simpler designs. Keep the patch size reasonable and avoid tiny text. A 2.5-inch to 3-inch patch often works well on front panels. If the hat fabric is textured, a higher stitch density usually looks better than a lightweight build.
For tote bags, twill or a heavier polyester blend can work. Totes bend and carry weight, so the patch needs enough body to resist distortion. Sew-on is best if the bags are sold as premium merch. For a giveaway item, iron-on can be acceptable, but only after testing on the actual bag material.
For staff identification, Velcro-backed patches make sense when roles change or uniforms are shared. They are not as permanent, but they are practical if you need a name or role badge that can be swapped quickly.
For a softer handmade aesthetic, felt can be useful for low-wash decorative use. Think display-only aprons, signage accessories, or merch that will not be laundered constantly. For daily outdoor use, twill still usually performs better.
| Use case | Best patch material | Recommended backing | Why it works |
|---|---|---|---|
| Aprons | Twill | Sew-on | Best balance of durability, washability, and clean logo detail |
| Hats | Twill | Sew-on or iron-on | Holds shape well on curved, high-contact surfaces |
| Tote bags | Twill or polyester blend | Sew-on | Handles bending and repeated handling better than softer bases |
| Staff badges | Twill or felt | Velcro | Easy to swap for different roles or rotating teams |
| Decorative merch | Felt | Iron-on or sew-on | Soft, handmade look for lighter-use items |
Border style matters too. A merrowed edge gives a classic overlocked look and works well on standard shapes. Laser-cut or stitched borders are better for custom shapes and cleaner outlines. If fraying is a concern, the edge cannot be treated as an afterthought. It is part of the product.
Size matters as well. Small chest patches need simpler artwork and tighter stitching. Medium sleeve patches can carry more detail. Large back or tote patches can support more information, but only if the design was built for that scale. Bigger does not automatically mean better.
Cost, MOQ, and Unit Pricing for Patch Orders
Patch pricing depends on a few blunt variables: size, stitch count, backing, edge finish, and quantity. If one quote is dramatically lower than the others, ask what changed. Usually something got thinner, simpler, or both.
For small custom runs, expect higher per-piece pricing. A low MOQ order might land around $1.20-$2.80 per patch, depending on size and complexity. Larger runs can bring that down significantly, sometimes into the $0.35-$0.95 range for simpler designs at volume. Complex shapes, more colors, and specialty backings will push the price up.
Common cost drivers that surprise first-time buyers:
- Custom shapes instead of standard circles or rectangles.
- High stitch counts from detailed artwork.
- Multiple thread colors, especially if the design has many small accents.
- Special backings like Velcro, adhesive, or extra-thick sew-on support.
- Edge complexity when the patch has irregular outlines.
To compare quotes properly, compare the same spec set every time: same size, same thread colors, same backing, same edge finish, and same quantity. Otherwise you are comparing apples to oranges, and one of those oranges is wearing a tuxedo.
There is always a tradeoff between saving money and getting a patch that survives repeated use. If the item is a one-off event giveaway, the spec can be simpler. If it is going on aprons worn every weekend, do not cut the base quality just to save twenty cents. That math gets expensive once replacements enter the picture.
For buyers who care about packaging standards around the order, ask whether shipping uses industry-standard packaging practices, recycled materials, or biodegradable packaging. Not every patch order needs an eco report, but the supplier should be able to explain how the product is packed and protected in transit.
Production Steps, Process, and Lead Time for Custom Patches
The process is simple on paper, even if the details are not glamorous. First comes artwork review. Then digitizing, which turns the design into a stitch file. Then proof approval. Then production. Then finishing and shipping. If the supplier skips careful digitizing, the patch usually pays for it.
Digitizing is not optional. It controls stitch direction, density, underlay, and where the needle starts and stops. Poor digitizing can make a clean logo look clunky or create thread buildup in small areas. Good digitizing keeps text legible and lines sharp. That is why two patches with the same art can look very different.
Typical turnaround for custom embroidered patches is often 12-15 business days after proof approval, though simple jobs can be faster and complex jobs can take longer. Shipping time comes on top of that. If a patch launch is tied to a festival, opening weekend, or rebrand, do not wait until the last minute.
Things that delay production:
- Artwork changes after proofing.
- Low-stock materials or specialty threads.
- Heavy seasonal demand.
- Slow approval from the buyer side.
- Revisions to size, color count, or backing after quoting.
A practical planning rule: if the patches matter to a launch, place the order at least 3-4 weeks before you need them. That gives room for proofing, production, and a shipping buffer. If the patches are part of a market-season rollout, make sure the timing also works with bags, inserts, or display materials like corrugated cardboard counter displays. One missing piece slows the whole setup.
For production standards, ask whether the supplier follows handling expectations similar to those used by ISTA for transit protection. That does not mean every patch needs lab testing. It does mean the supplier should think about how the product holds up in shipping.
Common Mistakes Farmers Market Sellers Make With Patch Materials
The first mistake is the obvious one: choosing the cheapest material without checking durability or washability. It feels efficient until the patches start looking worn after a few weekends. Then you are buying replacements, which is just a longer way to pay twice.
The second mistake is trying to cram too much detail into a small patch. Tiny text, thin lines, and overly complex icons all get muddy fast. If the patch is 2 inches wide, simplify the artwork. If the artwork will not simplify, the patch size or format may need to change instead.
The third mistake is using the wrong backing. Iron-on is convenient, but it is not always the right answer for items that need regular washing or heavy handling. Sew-on takes more effort, but it holds better. That matters on aprons and uniforms.
Another common miss is ignoring the edge finish. A weak border can fray at the corners and lose shape quickly. Clean edges are not decorative fluff. They protect the investment.
Then there is the classic error of skipping the sample test. Put the patch on the actual garment or accessory before ordering full quantity. A patch that looks great on a flat proof can behave differently on a thick apron seam or a stretchy tote fabric.
Finally, many buyers forget that outdoor branding needs stronger color and UV resistance than indoor promo gear. Farmers market use is not desk use. The environment is harsher, so the material should be chosen accordingly.
Expert Next Steps to Order the Right Patch Material
Start with the item, not the logo. Ask whether the patch is going on an apron, hat, tote, or shirt. That answer drives the material, backing, size, and edge finish. Once the use case is clear, the rest gets easier.
Then simplify the artwork if needed. Small patches cannot carry every detail from a branding deck. Clean shapes, bold lettering, and strong contrast usually perform better than a crowded design. This is one of those cases where restraint improves the result.
Request a sample or proof before full production, especially if the patch will be handled often. Compare at least two quotes using identical specs so the difference is real. One quote may be cheaper because the stitch count is lower or the backing is thinner. That is not a saving. That is delayed regret.
Order early enough to allow for proofing, production, and shipping. If the patches are part of a seasonal rollout, build in a buffer. Farmers market schedules do not care that a supplier was only one day late.
If branding needs to feel consistent across merch and packaging, think about the whole presentation. Recycled materials, FSC certified inserts, kraft paper tags, and biodegradable packaging can support the same handmade-but-professional story that a good embroidered patch tells.
The right choice in an embroidered patches material guide for farmers market sellers balances durability, budget, and easy wear. Cute matters. But performance pays the bills.
FAQs
What is the best embroidered patches material guide for farmers market sellers to follow?
Use a durable base like twill for most aprons, hats, and tote bags. Choose polyester thread for better color retention and wear resistance. Match backing to the item: sew-on for longevity, iron-on for convenience, and Velcro for removable use.
Are felt patches a good choice for farmers market uniforms and aprons?
Felt can work if you want a soft, handmade look. It is usually better for low-wash or decorative use than heavy daily wear. For frequent washing or outdoor exposure, twill usually performs better.
How much do custom embroidered patches usually cost per piece?
Price depends on size, stitch count, shape, backing, and total quantity. Smaller runs cost more per unit, while larger orders usually reduce unit cost. Complex artwork and specialty finishes can push pricing up fast.
What turnaround should farmers market sellers expect for patch orders?
Typical orders move through artwork, digitizing, proofing, production, and shipping. Simple projects can move faster, but custom approvals often add time. Build in extra lead time if the patches are needed for an event, launch, or seasonal market rush.
How do I choose the right backing for embroidered patches on market gear?
Use sew-on backing for the most permanent attachment. Use iron-on if you want easier application on compatible fabrics. Use Velcro if the patch needs to be removable for rotating staff or changing roles.