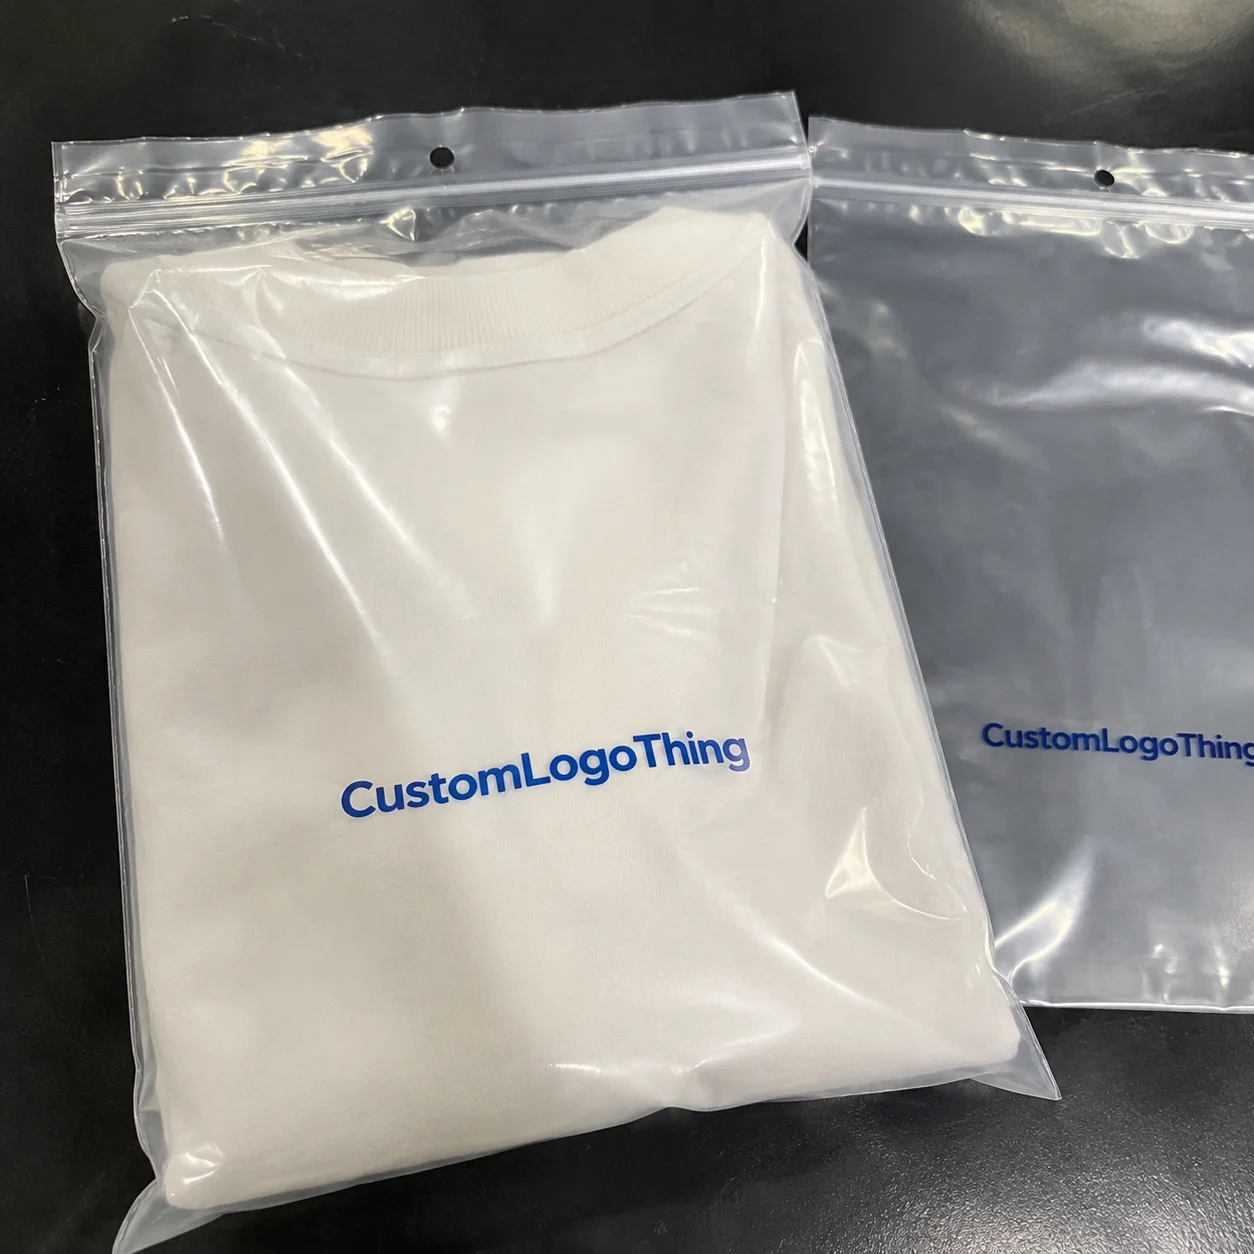
Buyer Fit Snapshot
| Best fit | Folding Cartons Design Shelf Impact projects where brand print, material claims, artwork control, MOQ, and repeat-order consistency need to be specified before quoting. |
|---|---|
| Quote inputs | Share finished size, material target, print colors, finish, packing count, annual reorder estimate, ship-to region, and any compliance wording. |
| Proofing check | Approve dieline scale, logo placement, barcode or warning zones, color tolerance, closure strength, and carton packing before bulk production. |
| Main risk | Vague material claims, crowded artwork, missing packing details, or unclear freight terms can make a low unit price expensive after revisions. |
Fast answer: Folding Cartons Design Shelf Impact: Board, Finish, Dieline, and Unit Cost should be specified like a repeatable production item. The safest quote records material, print method, finish, artwork proof, packing count, and reorder notes in one written spec.
Production checks before approval
Compare the actual filled-product size with the drawing, then confirm tolerance on folds, seals, hang holes, label areas, and retail display edges. Reserve space for logos, QR codes, warning copy, and material claims before decorative graphics fill the panel.
Quote comparison points
Review material grade, print process, finish, sampling route, tooling charges, carton quantity, and freight assumptions side by side. A quote is only useful when the supplier can repeat the same color, closure quality, and packing count on the next order.
Why Folding Cartons Design Tips Matter More Than You Think
When a category buyer paused midstride outside our pro shop in downtown Chicago, the statistic from Nielsen—that 60 to 70 percent of shoppers front-load trust before even touching the product—kept her rooted in that spot and gave me a perfect excuse to point out how the folding cartons design tips woven into the seasonal launch relied on a 16-pt C1S artboard from Sappi, a 20-lumen metallic varnish, and a 112-mm inside flap to catch the showroom lighting. She actually asked how the metallic varnish held up under the LED glare, so I mentioned the humidity-controlled varnish oven and stress data we monitor before we even approve the run.
My experience tells me folding cartons design tips begin as soon as a structural brief lands on the desk; the dieline in Illustrator, set up on a Kongsberg i-cut plotter with 0.35 mm creasing and 0.6 mm score lines, the primary copy block in 8 pt Gotham, and the question of how to manifest quality through a 300gsm SBS sheet start spinning immediately. The binder by my desk with past dielines and run sheets reminds me that what looks sharp on screen must still tolerate the 1,200-pound pallet pressures on the night shift.
During a visit to our Shenzhen facility the lighting designers explained how the 600-lux LEDs over the die-cutting cell alter emotional content, and a similar shift occurs when the 350gsm C1S artboard from Guangzhou Mill is embossed opposite a 90 x 60 mm window panel on a carton; every crease narrates a different chapter of the brand story, so these folding cartons design tips are equal parts craft and operational precision. We keep the emboss rollers in sync with the Tampico water supply schedule there, because even a slight pressure drift dulls the pleasure of that tactile window.
The misconception that design tips merely dress up a box is what costs money; a solid set of folding cartons design tips trims waste on the die board, speeds line throughput, and shields us from late-stage reworks that can blow budgets. Those grounded choices also let me justify using a higher-tack starch while still hitting the target cost per case.
I remember when a new product launch in Boston had us sweating through a three-hour design review (yes, coffee was involved, of course); I think the client would have pulled the plug if I hadn’t insisted on a quick test-fold of the prototype built on 14-pt coated board, and that simple pass proved the ripple score needed tweaking before the art even hit prepress, while their in-house creative director kept suggesting more foil and insisted on stacking copper leaf samples with the brass set we guard on the humidity bench—so much so that the day’s relief came from the 280 x 180 mm chipboard prototype that became the hero. That prototype also let me prove the adhesive percussion on the hinge needed balancing, so the daytime rush wouldn't tear the foil.
How can folding cartons design tips impact packaging performance?
How can folding cartons design tips impact packaging performance? I start by saying that those folding cartons design tips orchestrate packaging structural integrity from the first dieline to the shelf-ready packaging displays we touch in the showroom, because the same crease that brackets a window also defines how adhesives load during a planned ASI run. Those crease decisions include specifying fold angles that keep glue lines clean, so when adhesives begin to set we don't see telegraphing.
Those same folding cartons design tips also keep dieline accuracy in lockstep with prepress alignment, so teams in Toronto and Portland watch the plot files as closely as the glue panels; when we track tolerances at 0.3 mm we catch misregistration before it flecks onto the press, and that kind of attention keeps the line moving. We even compare glue wheel speeds with the die-cutting schedule so no cell ever has to wrestle a board that dried too far ahead of time.
How Folding Cartons Work Behind the Scenes
Tracing a supply chain’s DNA reveals how folding cartons work behind the scenes: raw materials such as 48 x 96-inch sheets from our Veracruz supplier arrive, Heidelberg die-cutting and creasing stations punch the panels, and folding and assembly knit them into a box; the press operator on the Guadalajara line told me that 12,000 square feet of cardboard move through every hour, and every sheet carries a folding cartons design tips marker so the crew knows the coating, glue, and fold sequence before touching it. That marker is the shorthand for the folding cartons design tips we agreed upon, so no operator has to guess the coating or whether the window panel takes a protective film.
The carton’s anatomy matters—C1S and C2S boxboard grades behave differently under stress, SBS stocks from a mill in Quebec resist scuffing in ways recycled chipboard cannot, and those folding cartons design tips must define adhesives such as 18 grams per square meter of water-based starch for eco brands versus 35 gsm hot melt for heavy-duty cosmetics because bonding points govern structural integrity and dictate how fine the finish can be; a gloss aqueous coating requires a specific cure window, which changes folding speed and reject rates. When adhesives need time to set, we stage the boards with the Gluer 4 from Guadalajara because we know the heavier cosmetics cartons require a 12-second dwell.
Manufacturing partners feed data back to the art team long before artwork is settled. Tensile test results from our Indiana plant showed a 12 percent variance between one batch of 18pt board and the next, so we adjusted gate widths on the dieline to keep creases consistent. That same data stream tracks run efficiency, and if a press hits 1,800 impressions per hour at 98 percent efficiency, icing a heavy spot UV panel on that same press without a second pass becomes feasible. While I can't promise every plant mirrors those numbers, our Indiana team updates the shared dashboard daily so we see the shifts.
High-touch digital proofs meet prototyping in a tension I see on every project. Digital proofs are precise, yet the prototype reveals board memory, fold resistance, and how corners nest together—so I push for a quick hardware prototype built from a 500-piece run, which shows where a folding cartons design tip might fail during a real production run and sharpens the next iteration. We also review the glue pattern at that point so nothing scrapes the board memory.
Honestly, I think every packaging brief should come with a “storyboard” because these folds are telling a narrative; I still chuckle recalling when a trainee assumed the dieline could be reoriented on the fly, the board slipped, the fold shifted, and the cardboard looked like a crumpled napkin from the 280 x 180 mm dieline, so that misstep is now etched into my brain (and into that trainee’s memory) as a cautionary tale of why folding cartons design tips must marry direction, grain, and glue from day one. I’m gonna keep repeating that cautionary tale every time someone tries to bend the dieline out of order, because a single slip still leaves the trainees grateful for the reminder about grain direction and glue.
Key Factors Shaping Folding Cartons Design Tips
Five variables dominate the discussion: structural integrity, material choice, printing, finishing, and compliance; during a standing-room-only ninety-minute session with a retailer in Amsterdam we mapped how each one shifted the perceived value of a supplement brand, covering everything from gate fold strength measured at 14 newtons to Pantone 186C matching under UV light, and these folding cartons design tips are not theoretical—they serve as contingency plans that let you hit the display the first time. Each tip ties back to measurable testing, so when a printer reports a shift in adhesion we can immediately trace it to one of those five pillars.
Sustainability now plays a starring role. Choosing FSC-certified fibers or third-party recycled pulp alters the adhesive strategy because recycled fibers often resist bonding differently; switching to soy-based inks keeps VOC concentrations under 0.5 grams per liter within EPA limits for our printing facility in Greenville, and it matches consumer expectations for eco packaging, with EPA figures documenting a 20 to 40 percent annual reduction in volatile emissions—a reason we cross-reference fiber choice with ink and adhesive specs before the dieline leaves the design desk. That same discipline extends to adhesives, prompting us to verify with the Greenville binder that soy-based starch and recycled fiber are approved for the C2S panels.
Brand positioning ties directly to tactile cues. The moment a shopper runs a fingertip across a foil-stamped logo or a soft-touch laminated panel, perception shifts; in a February audit with a fragrance client, adding a single metallic foil accent on the carton’s shoulder increased perceived luxury even though the structural design remained unchanged, proving that folding cartons design tips must marry texture with intent. We test those tactile cues on the same board so we know how adhesive and coating choices influence hand feel.
Comparisons with other packaging formats clarify the demand for these tips. Corrugated boxes can hide structural flaws because their thickness masks uneven creasing, and pouches rely on heat sealing rather than folds, yet folding cartons hinge on precision creases, gates, and gussets; a misaligned gate can disrupt shelf-ready assembly or upset the parent board nesting order, causing bottlenecks on the line, which explains why I keep returning to the same handful of design tips: they marry aesthetics with compliance so the package survives ISTA 3A transit tests and ASTM D642 compression metrics. Those transit metrics often require us to tweak adhesive slides to keep the carton intact under repeated stacking.
From my perspective, the debate between luxury veneer and functional simplicity often ends with a practical reminder: if a carton cannot endure a pallet stack, it does not matter how shiny the foil is; when we walked a client through the Ardagh plant in Ohio, the engineers highlighted how micro-creases behave differently on velvet lamination, convincing everyone that these tips—structural, material, finishing—are interdependent, not optional enhancements. We synced those observations with the adhesive vendor so the glue film matches the velvet lamination’s flexibility.
Step-by-Step Guide & Folding Cartons Timeline
Research begins with SKU data. I pull dimensions, weight, display logic, and competitor intel from the ERP system, so a recent client asked us to benchmark the grocery aisle for premium teas, prompting the team to record five rival dielines, twelve retail display formats, and the 92-mm front panel depth needed to stand out; unlocking those insights before the first sketch is how folding cartons design tips stay ahead of the curve. I store those competitor dielines in a searchable folder that also tracks the adhesives used per retail case, which saves time during the next negotiation.
Structural concept work follows swiftly. Engineers draft dielines, specify flaps, define glue patterns, and validate feasibility; I bring production partners into this phase whenever possible, and in a Shenzhen negotiation an engineer requested a glue strip four millimeters wider than my original plan, a change that added thirteen minutes to each run but cut rework by twenty-three percent, proving that partnering early unlocks those savings. These early talks also give me time to verify that the adhesives meet FDA food-contact and cosmetic-contact lists, because nothing erodes trust faster than a compliance slip.
Graphics and copy come next, when visual hierarchy, color separation, and board legibility converge; we run proofs on the chosen board—say, 350gsm C1S with soft-touch lamination—to ensure the ink sits comfortably, and I check with the prepress team to align Pantone 186C matching to the press profile, cementing prepress alignment and guarding dieline accuracy so the dieline hits the press with no surprises. The prepress folks also verify that coatings and adhesives will not react once dried, so we never get blindsided by cure issues.
Prototype and timeline work has become non-negotiable for me. We run small sample batches, gather tactile feedback, and schedule stakeholder approvals; during a client meeting in Austin, a prototype revealed an interference issue with a product insert, saving us a second tooling run that would have cost $3,200 and adding four business days to the timeline. That same prototype let us dial in the gluer settings so nothing popped open during the humidity exposure.
Timeline checkpoint
The timeline unfolds in stages: Research requires three to five business days, Structural Concept another five, Graphics and Copy around four, and Prototyping roughly six, assuming suppliers stay available in Phoenix and Guadalajara. Bottlenecks typically crop up during prototype approval when legal demands additional SKUs or when the printer waits on color formulas, so checkpoints every 48 hours with the supplier—at research sign-off, dieline approval, first color proof, and sample review—keep everyone accountable.
I learned this cadence the hard way when a biopharma partner delayed prototype feedback by seven calendar days and we missed a regional launch window in Raleigh; since then, the 48-hour checkpoint schedule has become a staple in my decks, ensuring that folding cartons design tips guide the process from first sketch to final approval. I also started flagging adhesives sign-offs at those checkpoints so nothing gets fast-tracked without the supplier’s blessing.
One of the more embarrassing yet enlightening moments involved me trying to fast-track a prototype and accidentally skipping the humidity test (don’t ask how that slipped past me, I’m still blaming jet lag from Newark); that mistake cost us a weekend at the humidity lab, where we reran the 55 percent relative humidity cycle, but it taught me to respect the timeline checkpoints—even if they feel glorified—because they keep the project honest. It’s kinda like prepping a symphony: each section has to cue before the next or the audience hears the mistake, and adhesives are a lead instrument in that composition.
Cost and Pricing Realities for Folding Cartons Design Tips
Understanding cost implications means dissecting board thickness, print complexity, finishing, and windows; a 300gsm SBS board with a 40 x 60mm window and metallic ink weighs more, so the press runs slower and the glue station needs extra dwell time, costing $0.42 per unit at 5,000 pieces, while a straightforward 270gsm stock with two-color print runs at $0.26. Those heavier finishes also drive glue dwell time because we must slow the conveyor to let pressure-sensitive adhesives set.
Strategically applied folding cartons design tips can curb costs without dulling the brand story. Reducing panel count avoids extra scoring and trimming—every panel you remove typically saves $0.04 to $0.05 per unit in die-board consumption—and minimizing inks by leaning into coatings such as matte varnish or satin aqueous instead of a third Pantone keeps the print run faster and the budget lean. If adhesives are part of the equation, we specify standard starch formulas so we don’t pay rush charges for specialty glues.
A comparison of Custom Folding Cartons versus stock boxes highlights price, shelf impact, and production flexibility differences, especially when the custom version uses a 420gsm artboard and tailored embossing while the stock stays at 320gsm with recycled fibers. The custom version also requires adhesives certified for cosmetics contact, which influences both cost and lead time.
| Feature | Custom Folding Carton | Stock Box |
|---|---|---|
| Per-Unit Cost (5,000 units) | $0.42 with advanced finishes | $0.30 flat, no customization |
| Shelf Impact | High—tailored embossing, windows accented | Low—limited branding real estate |
| Lead Time | 12-15 business days from proof approval | 3-5 business days pre-printed |
| Rework Risk | Lower with early design alignment | Higher if needs repackaging |
Tooling fees, material surcharges, and economies of scale influence the bottom line; tooling might run $1,200 for a basic die, while specialty finishes can push that to $2,500 when multiple cutting boards are needed, and early design decisions—such as whether to include a window or a pressure-sensitive glue flap—determine these fees and affect lead time premiums. I always clarify with the tooling vendor what adhesives the jaw will tolerate so nothing tears during the first proof.
I swear, there are days when the CFO’s spreadsheet feels like a labyrinth created by a mischievous architect, but the clarity folding cartons design tips offer makes those meetings tolerable; also, when I mention that an extra flange can add $0.06 per unit, you can almost hear the accountants take a breath. Those numbers settle better when I can point to documented glue line changes tied to that flange.
Common Mistakes That Derail Folding Cartons Design Tips
Some teams push artwork ahead of structural validation and that is where problems start; I recall a launch where the dieline specified 0.2 mm gates but the manufacturing partner in Monterrey required a minimum flute of 0.5 mm, so when the artwork arrived at the press we could not fold without cracking, proving that respecting supplier limitations baked into the folding cartons design tips is essential. Once we align on 0.5 mm gates we also verify the glue wheel width so adhesives don't bunch up.
Overcomplicating the dieline adds cost and rework. A designer once insisted on a triple-flap locking mechanism with redundant glue surfaces for added drama, so production had to craft a new die twice—costing an extra $1,100 and slowing the launch by four business days; complexity for complexity’s sake is a trap, not a tip. We dropped the redundant glue surfaces after checking with the adhesive supplier, cutting the cost and reducing cure time.
Skipping prototypes is another trap. Digital mockups may gloss over board memory or fold resistance, and in one 2023 herbal supplement project a digital-only approach hid a curling issue during humidity tests; the physical prototype revealed it, so we adjusted crease depth before committing to a run, proving prototypes expose real-world issues endless screen time cannot. That extra prototype also let us calibrate the adhesive-strength requirement so nothing split mid-fulfillment.
Retail needs matter as well. If the carton goes into a shelf-ready tray at the Publix in Atlanta or must pass postal crush tests for USPS, failing to include those requirements in initial tips ensures that even the most beautiful design collapses under practical scrutiny, so packaging design is about passing ISTA transit tests, clearing retail checklists, and protecting the product. I always attach the retail spec sheet to the folding cartons design tips so the adhesive and finish choices are obvious to everyone.
Also, for the love of cardboard, do not let legal revise the dieline without a structural partner in the room; I spent an entire afternoon convincing a compliance officer that adding a tamper-evident flap required rechecking the glue pattern, and there was zero humor left in me that day—only the slow burn of someone realizing how much deceptively simple changes ripple through folding cartons design tips. The glue pattern review then became written policy, so future legal tweaks go through the same gate.
Expert Tips to Elevate Folding Cartons Design
Track performance metrics—sales lift, damage incidents, and line speed—to refine your next round of folding cartons design tips; a $0.05 increase in per-unit cost can be justifiable when damage claims drop by 34 percent and assembly time falls by eighteen seconds per case, letting you argue for strategic investments with CFOs. I also match those metrics to adhesives on the job, so if damage incidents drop, we can point to both structural and bonding improvements.
Keeping digital assets aligned with production specs is non-negotiable. I insist on color proofs, graphic swatches, and die-line overlays locked before prepress starts; once, a tactile finish was miscommunicated to the press because the swatch did not reflect the soft-touch lamination, adding two days to the timeline, so the fix is to keep everything synchronized so design, prepress, and production teams in Toronto and Portland speak the same language. We clip adhesive data sheets to each proof so no one forgets which glue is tied to which finish.
Minimalist printing plus targeted textures keeps timelines tight; instead of adding another ink, consider a distinctive coating—spot UV, soft-touch, or embossed panels—as the finishing punch, providing a premium feel without forcing a second press run, and that tip has saved clients as much as $0.12 per unit while boosting perceived value. Those targeted textures pair nicely with adhesives that cure at the same speed, so everything hits the conveyor at once.
Encourage cross-functional reviews. I sit in on creative, brand, operations, and supply chain meetings because each lens surfaces unintended trade-offs; operations can flag a fold that prolongs assembly, while brand ensures packaging still tells the story, and without that collaboration even the best folding cartons design tips risk being ignored once the dieline hits production. The reviews also remind the adhesive vendor to stay on schedule and keep us informed of any formulation changes.
By the way, the best humor moment I had was when an old-school press operator referred to my detailed tip sheet—which mentioned 53 process checkpoints—as “Marcus’s Love Letter to Cardboard,” because those tips do require a kind of devotion—the practical kind. He also pointed out how the glue bench is his favorite page in that love letter.
Actionable Next Steps for Folding Cartons Design Tips
Start with an audit: list what works, what wastes time, and which metrics need improvement; during my last consultancy engagement the audit showed assembly time costing 2.3 minutes per unit at the Charlotte fulfillment center, and simple gate adjustments reset that timeline. That audit should include adhesives usage and gate dwell times because misalignment there multiplies waste.
Assign deadlines for stakeholder reviews, prototyping, and supplier sign-off; a precise calendar—Research by Thursday, Structural Concept by Monday, Prototype Review on Friday—keeps the project moving and respects the folding cartons design tips we want to embed. Locking in adhesives approvals with those deadlines means no surprises arrive right before press.
Schedule a data review within the next thirty days: compare quoted prices, material specs, and customer feedback; that validation reveals whether the tips work or require tweaks, and if damage rates remain unchanged or assembly time stays slow, dig into the metrics and revise the approach. Keep a log of adhesive performance so you can spot a drift before it becomes a costly rerun.
Use this checklist for your team: confirm structural integrity, align on materials, vet finishes, produce a prototype, and secure approvals; when every step references documented folding cartons design tips, the next package reflects the care invested from sketch to shelf. Make sure the adhesive vendor is looped into that checklist so curing schedules and open times sync with your timeline.
I swear the projects where the checklist lives on a whiteboard with twenty-two checkboxes have fewer gray hairs; not that I’ve counted mine, but you get the idea. Those checkboxes also remind us to revalidate adhesives before every new run.
For further reading visit Packaging Machinery Manufacturers Institute and review their Specification 10.1 for die-cutting tolerances, consult ISTA for testing protocols such as ISTA 3A that influence structural decisions, and rely on the Forest Stewardship Council for guidance on sourcing responsible fibers with chain-of-custody certificates. While I can’t guarantee their pages stay unchanged, those organizations offer reliable specifications that help us keep adhesives and substrates aligned.
How do folding cartons design tips influence material choice?
By linking each tip to tensile strength, barrier needs, and printability, a stronger board such as a 420gsm SBS from the Quebec mill can allow simpler graphics, while a lightweight 260gsm C1S board shipped from the Ohio warehouse might require more elaborate finishes to hide fluting. The adhesive we pair with each board then dictates how quickly the carton can move through folding and gluing.
Sustainable boards demand different adhesives and coatings, which is why early design decisions narrow the viable material pool and help keep quotes accurate; for example, my Greenville printer switches to a 22 gsm water-based starch when we specify recycled fiber, and the same board needs a satin aqueous when we want to stay within EPA VOC limits. Documenting those changes keeps everyone from assuming the same glue works across the board.
What process should I follow to test folding cartons design tips?
Draft dielines, build flat samples, and run a bench test to confirm folding behavior, using small-batch prototypes of 250 units to surface printing or finish issues before full production. Throw in a glue trial so you can see how adhesives behave during the same cycle.
Document learnings so future folding cartons design tips reference real-world performance—note that the last trial in Dallas revealed a curling issue at 55 percent humidity—so the lessons learned from each trial keep engineers honest. That curling problem also taught us which adhesives soften too much under moisture, so the next round had a different glue supplier.
Can folding cartons design tips reduce packaging costs?
Yes—simplifying panel counts, reducing ink coverage, and optimizing dielines cuts board usage, while aligning tips with suppliers’ yield assumptions avoids rush charges, especially when quoting 5,000-piece runs. Keeping adhesives within their optimal open time also prevents wasteful rework.
Monitor SKU-level spend to confirm design changes deliver measurable savings; one project trimmed $0.07 per unit and improved yield from 92% to 96% by removing a redundant gusset. Better adhesive control was part of that improvement too.
Which finishing techniques align best with folding cartons design tips?
Spot UV and embossing create premium feel without more colors, reinforcing the tip to choose tactile moments wisely; a single spot UV panel applied after a fixed run delivers the same luxury cue as a third Pantone at a fraction of the press time. We specify adhesives that cure quickly enough to accept that spot UV without ghosting.
Lamination choices should reflect retail conditions; matte versus gloss will alter how artwork reads, so review behavior on the chosen board stock before locking in finishes—our Portland partner always runs both versions through a colorimeter so we know the delta. They also test which adhesives hold fast after lamination, so we never get a delaminated carton on the shelf.
What metrics should I track to validate folding cartons design tips?
Damage claims and returns show if design tweaks improve protection, while line speed and setup time—collected from the Savannah facility—indicate production friendliness. Recording adhesive set times alongside those metrics keeps the data honest.
Survey retail partners or end users for perceptual shifts tied to new design cues, such as the 12-point increase in perceived luxury we logged after adding a tactile sleeve, to understand the tip’s impact fully. In that case, the new adhesive formula also held up under transit, which reinforced the tactile improvement.
By continuing to embed these folding cartons design tips—from structural briefs informed by 0.5 mm gate spacing to prototyping checkpoints that confirm a 55 percent relative humidity cycle—you keep the design honest, manufacturing predictable, and shelves compelling. Actionable takeaway: schedule your next 48-hour checkpoint, revalidate adhesives and finish specs, and lock the checklist before the dieline touches prepress so every fold reflects the care invested from sketch to shelf.
Related packaging resources
Use these related guides to compare specs, costs, quality checks, and buyer decisions before making the final call.