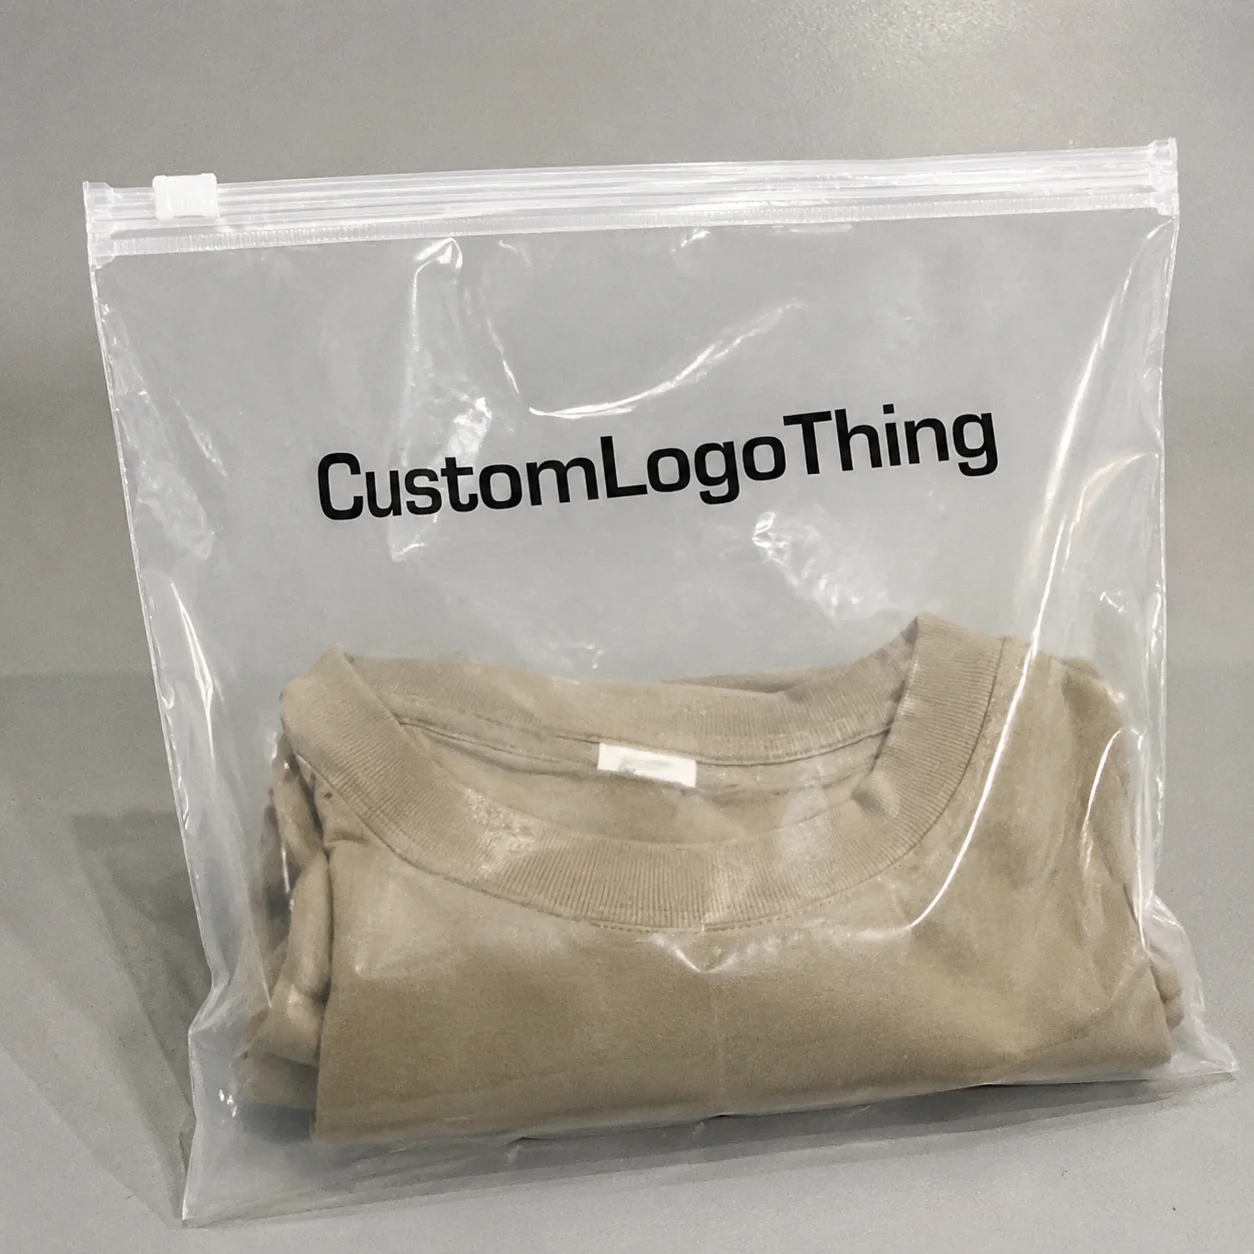
Frosted Zipper Bags for brand inserts solve a practical packaging problem: inserts often look incidental unless the package gives them shape, contrast, and a clean visual boundary. A clear bag shows every fold, fingerprint, and rough edge from pack-out. A frosted finish reduces that noise. Printed cards, folded leaflets, and small sample packs read as deliberate instead of improvised.
That matters in welcome kits, retail handouts, subscription inserts, PR mailers, and accessory packs. The bag protects the contents from dust and handling marks, supports faster assembly, and helps the insert feel like part of the brand system rather than an afterthought.
Why frosted zipper bags for brand inserts work so well
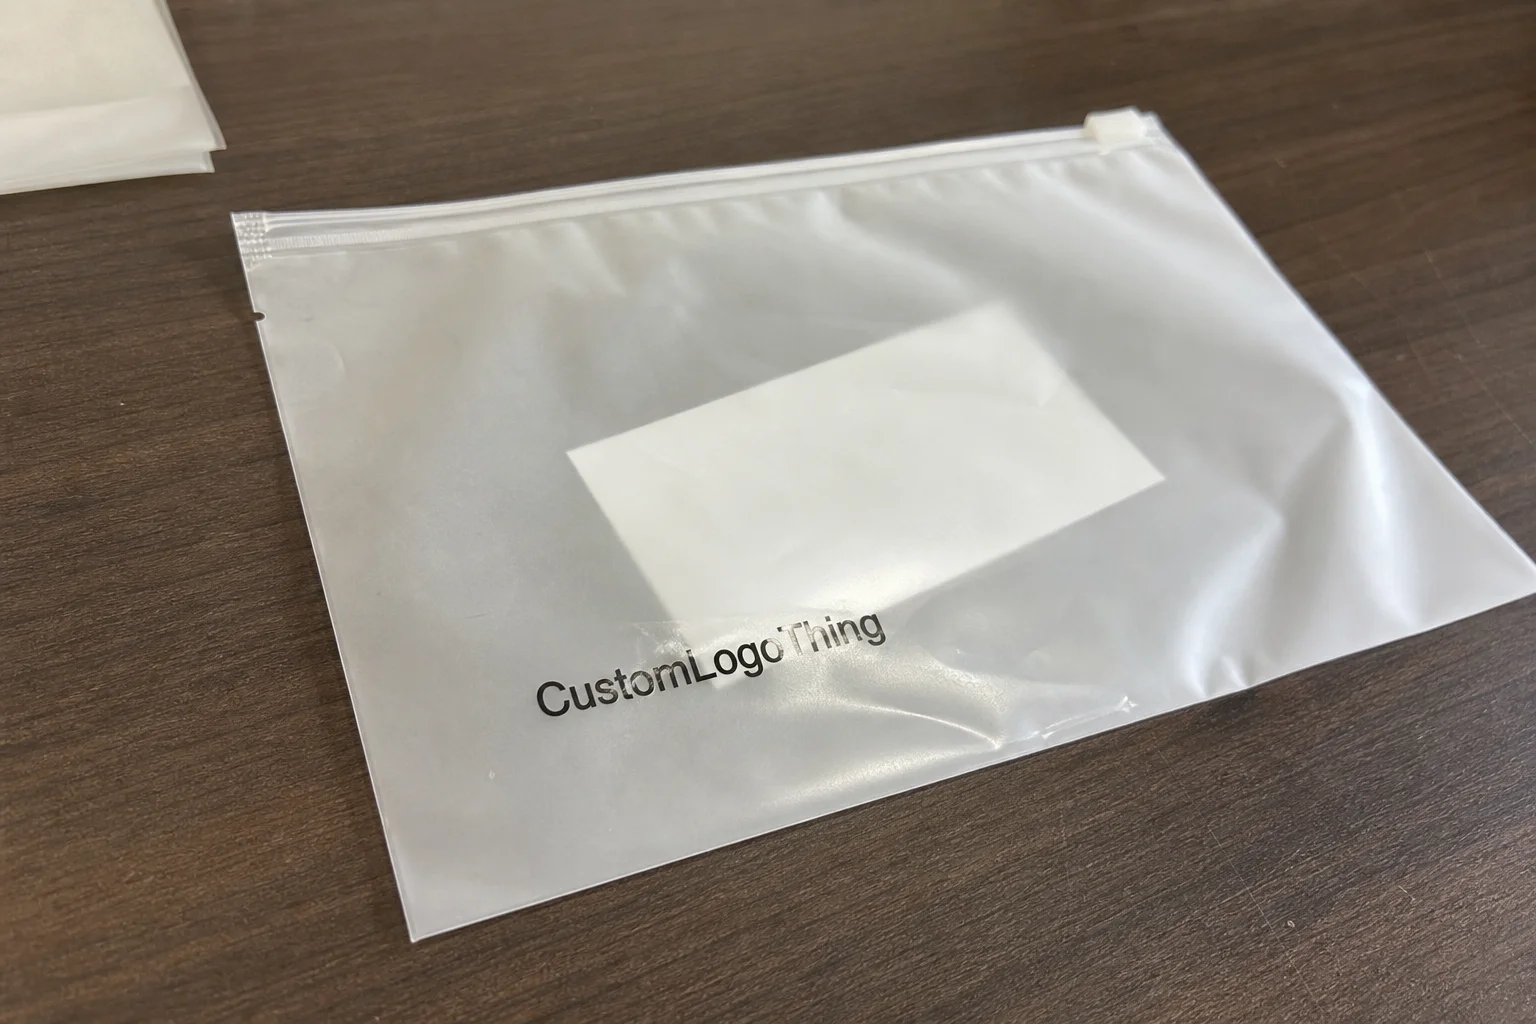
Less visibility can make a package look more premium. Clear bags are useful, but they expose every mismatch between the insert and the packaging. If the card stock is matte, the fold lines are uneven, or the contents shift during handling, the bag broadcasts it. Frosted film softens those details and frames the insert instead of competing with it.
Buyers usually start with clear poly because it feels familiar. That works for some jobs, but it is less convincing for inserts that rely on restrained typography, soft color palettes, or premium printed finishes. In those cases, Frosted Zipper Bags for brand inserts give a cleaner read because the insert stays visible while the pouch stays quiet in the background.
There is also a workflow benefit. A frosted pouch turns a loose stack of paper into a unit, which helps in retail, fulfillment, and PR kits that are judged quickly on camera or at the counter. Clean presentation tends to signal better organization, even when the contents are inexpensive.
The best reaction is not excitement about the bag itself. It is the feeling that the whole package was thought through before it left production.
That reaction affects how people interpret the rest of the brand. Messy presentation does the opposite. In packaging, the container often gets blamed for the contents, so a better pouch reduces that risk.
How the bag construction changes the insert experience
The feel of the bag comes from a few construction decisions. Frost level controls how much of the contents remain visible. Film thickness affects rigidity, edge stability, and tear resistance. Zipper style changes how reliably the bag opens and closes. Side seals and gusset geometry determine whether the pouch lies flat or carries structure.
The closure deserves attention. A decent zipper is part of the quality signal, especially if the package will be handled in a warehouse, on retail shelves, or by the end user more than once. A weak zipper makes the whole insert pack feel temporary.
Fit is where many packaging choices go off track. Too tight, and the insert bows or catches at the closure. Too loose, and the bag looks underfilled, which gives the pack a cheap, floating appearance. The right fit is usually tighter than people expect on the drawing and looser than they expect in the hand.
A flat size alone is not enough information. A 4 x 6 inch card behaves differently from a 4 x 6 inch folded insert stack. Add a sample packet or a small accessory and the geometry changes again. The pouch should accept the contents without forcing them into a bend or leaving so much empty space that the package wobbles.
If the insert is thick or multi-part, the seams and corners matter more. A bag that works for a single folded leaflet may fail once it carries a stack of cards and a sample vial. The seams need enough strength to stay flat and resist splitting, and the zipper should close without distorting the opening.
Specs that matter: size, finish, thickness, and print
Most quote requests start in the wrong place. Buyers often ask for pricing before they have locked the actual insert stack. That creates revisions. The better starting point is the finished set: width, height, thickness, quantity, and the number of pieces inside the bag.
Size should be chosen from the insert stack, not the graphic layout. If the contents include a folded card, a leaflet, and a sample packet, the pouch needs enough depth to hold the bundle without forcing the zipper over a bulge. A bag that is too small makes the contents wrinkle. A bag that is too large leaves excess empty space and makes the package feel loosely assembled.
Finish changes the character of the package. A lighter frost shows more detail and works well if the insert artwork is the main event. A heavier frost hides more and creates a softer, more private look. Neither is universally better.
Thickness is a practical decision, not just a durability claim. Thinner film reduces cost and can be enough for internal kits or short-life packaging. A heavier gauge adds stiffness and improves the feel in hand, which is useful if the pouch will be seen by customers, store staff, or media contacts.
Print should stay restrained unless there is a specific reason to go bigger. A logo, a short line, or a small product mark usually reads better than a full-surface ink block. Dense ink coverage can fight the frosted finish and make the bag feel heavy.
Common spec details that deserve a line item:
- Opening width should allow the insert to slide in without force.
- Film gauge should match the weight of the contents and the expected handling.
- Zipper style should be comfortable for repeated opening if the pack is customer-facing.
- Hang hole makes sense for display use, but it is unnecessary on closed kits.
- Edge finish should stay clean so the frosted look feels deliberate, not cloudy.
If the paper components in the kit are part of a broader sustainability story, it helps to align them with certified paper sources rather than treating the pouch in isolation. The package needs to function in distribution, not only in a mockup.
Cost, pricing, and MOQ: what actually drives the quote
The price usually moves for five reasons: size, material gauge, print complexity, zipper style, and order volume. Bigger bags use more film. Heavier film uses more material. Custom dimensions require more setup. Printing adds proofing and production time. Lower volume spreads those costs across fewer units.
MOQ matters because setup costs do not shrink just because the run is small. A 1,000-piece order often lands at a much higher unit price than a 5,000-piece order, even if the bag is identical. Tooling, proofing, and packing labor have to be paid somewhere.
For a mid-size run of Frosted Zipper Bags for brand inserts, these ranges are more realistic than the lowest internet quote and less speculative than a broad sales pitch:
| Option | Typical Unit Price | Best Use | Tradeoff | Typical Lead Time |
|---|---|---|---|---|
| Stock frosted, unprinted | $0.12-$0.22 | Simple insert packs, internal kits | Fast and economical, but less branded | 7-10 business days |
| Custom size, unprinted | $0.18-$0.30 | Exact-fit insert presentations | Better fit, higher setup cost | 10-15 business days |
| Stock size, printed logo | $0.22-$0.38 | Retail handouts, welcome kits | Improved branding, more print prep | 12-18 business days |
| Custom size, printed, heavier gauge | $0.30-$0.55 | Premium mailers and multi-piece inserts | Best presentation, highest total cost | 15-20 business days |
Those figures are not a promise. Freight, artwork changes, setup fees, and repacking can move the landed number enough to matter. A low unit price is not useful if the bags arrive late or need manual correction before they can be packed. Total landed cost is the number that decides whether the package is actually economical.
A useful comparison is this: one slightly more expensive pouch can replace an extra belly band, sleeve, or outer wrap. That may raise the bag price and still lower the finished package cost because the assembly becomes simpler. Fewer parts usually mean fewer touches, fewer errors, and faster pack-out.
Production steps and timeline from sample to delivery
The sequence is straightforward: confirm the spec, review the artwork, approve a sample or proof, run production, check quality, pack, and ship. The weak point is usually the input stage. Missing dimensions, vague artwork notes, or last-minute changes create delays before production even begins.
For stock-style Frosted Zipper Bags for brand inserts, lead times can move quickly if the order is simple and the proof is signed off promptly. Custom sizes and printed jobs take longer because tooling and setup are part of the workflow. A practical range is 7-10 business days for stock-only work and 12-20 business days for custom printed runs, depending on volume and how complete the specification is at the start.
Sample approval is worth the time, especially if the insert is thick, folded, or mixed with other pieces. A digital mockup confirms artwork placement. A physical sample confirms how the material behaves once the insert is inside. Paper changes under fold pressure, and the zipper may feel different under load.
Quality control should not be a loose glance at the end of the line. The better checks are mechanical and visual: zipper function, seal integrity, print alignment, dimensional tolerance, and clarity of the frosted finish. If a bag is supposed to hold a specific insert stack, a test fit on actual contents is more useful than a general inspection.
What usually slows a project down?
- Dimensions that are not based on the finished insert stack.
- Artwork files that need cleanup before proofing.
- Slow approval on the sample or digital proof.
- Changing the insert after the bag spec has already been fixed.
- Overlooking freight and pack-out time until the last minute.
That last item causes more trouble than it should. A supplier can finish the bags on schedule and still miss the launch if the fulfillment window is tight or the cartons are not ready. The bag order needs to be timed against the insert print run, the kitting schedule, and the outbound shipment date.
Common mistakes that make the package look cheap
The most visible mistake is an undersized bag. The insert bows, the corners crease, and the zipper looks strained. Fit is the first quality signal, and bad fit is hard to hide.
Aesthetic mismatch comes next. If the insert design is matte and restrained but the pouch is cloudy, glossy, or flimsy, the package sends mixed signals. That inconsistency reads as low effort. Texture, finish, and weight all contribute to the final impression.
Overstuffing is another common failure. Packing too many cards, sample pieces, or folded sheets into a single bag pushes the zipper past its comfortable range and makes the contents shift during transit. The bag should support the kit, not fight it. If the contents are too dense for the pouch, split the package or change the dimensions.
Skipping a test pack is the most expensive cheap decision. One finished sample with the actual insert stack will show whether the zipper catches, whether the print area is blocked, whether the clearance is right, and whether the bag feels balanced in the hand.
There is also a subtler mistake: treating frosted zipper bags for brand inserts as generic storage instead of part of the branded package. If the pouch is an afterthought, the insert looks like one too. The package loses hierarchy.
Next steps: spec the bag before you request quotes
Before requesting pricing, prepare a basic spec sheet. Include the finished insert dimensions, the number of items inside the bag, quantity, closure preference, print requirements, and whether the pouch is customer-facing or strictly protective. That is enough information for a supplier to quote against reality rather than filling gaps with assumptions.
Photos help more than polished language. A photo of the actual insert stack gives a better sense of thickness, fold count, and finish than a paragraph of description. If the package has multiple pieces, show them together. Frost level, fit, and presentation all depend on how the parts sit in relation to each other.
Every quote request should ask for the same three things:
- Unit price at multiple quantities.
- Lead time after proof approval.
- Any setup, tooling, or pack-out fees.
If the insert is thick or made of multiple components, ask for a finished sample before final approval. Paper thickness and fold count can alter the fit enough to change the look of the pack.
Handled well, frosted zipper bags for brand inserts protect the contents, organize the presentation, and make the package feel more deliberate. That is why the format keeps showing up in retail programs, welcome kits, subscription inserts, and promotional packs.
The practical takeaway is straightforward. Choose the bag around the finished insert stack, not around the artwork file. Keep the print restrained unless there is a clear reason to do more. Test the fit once before committing to volume.
Are frosted zipper bags good for brand insert packs?
Yes. They suit insert packs that need basic protection and a cleaner presentation than a clear pouch usually provides. They work well for folded cards, welcome inserts, sample packs, and retail handouts.
What size frosted zipper bag should I use for inserts?
Measure the finished insert stack, not the flat artwork size. Leave enough clearance for fold thickness, any sample pieces, and the zipper line so the pack closes without forcing the contents into a bend.
Do frosted zipper bags cost more than clear bags?
Usually yes, but the difference depends on size, film thickness, print, and order volume. The better comparison is total landed cost, including freight and whether the frosted bag replaces extra outer packaging.
How long does production usually take?
Simple stock-style runs can move faster, while custom sizes and printed bags need more time for proofing and setup. Typical ranges are about 7-10 business days for stock-only orders and 12-20 business days for custom printed work.
Can I print on frosted zipper bags for brand inserts?
Yes. Simple branding usually works best. Heavy ink coverage can overpower the frosted finish, so a logo, short line, or small mark often gives a cleaner result.