Approving Garment Poly Bags for Cosmetic brands artwork proof checklist items sounds administrative. It is not. The proof is where packaging either stays cheap and clean or turns into a pile of corrections, delays, and avoidable reprints.
On screen, a logo can look perfectly balanced. On clear film, with a seal line cutting across the bottom edge and a fluorescent warehouse light overhead, that same artwork can look thin, washed out, or simply wrong. The proof is the last place to catch that before production locks in.
“Good packaging approvals are boring. They answer the obvious questions before they become expensive questions.”
Why garment poly bags matter for cosmetic brand presentation
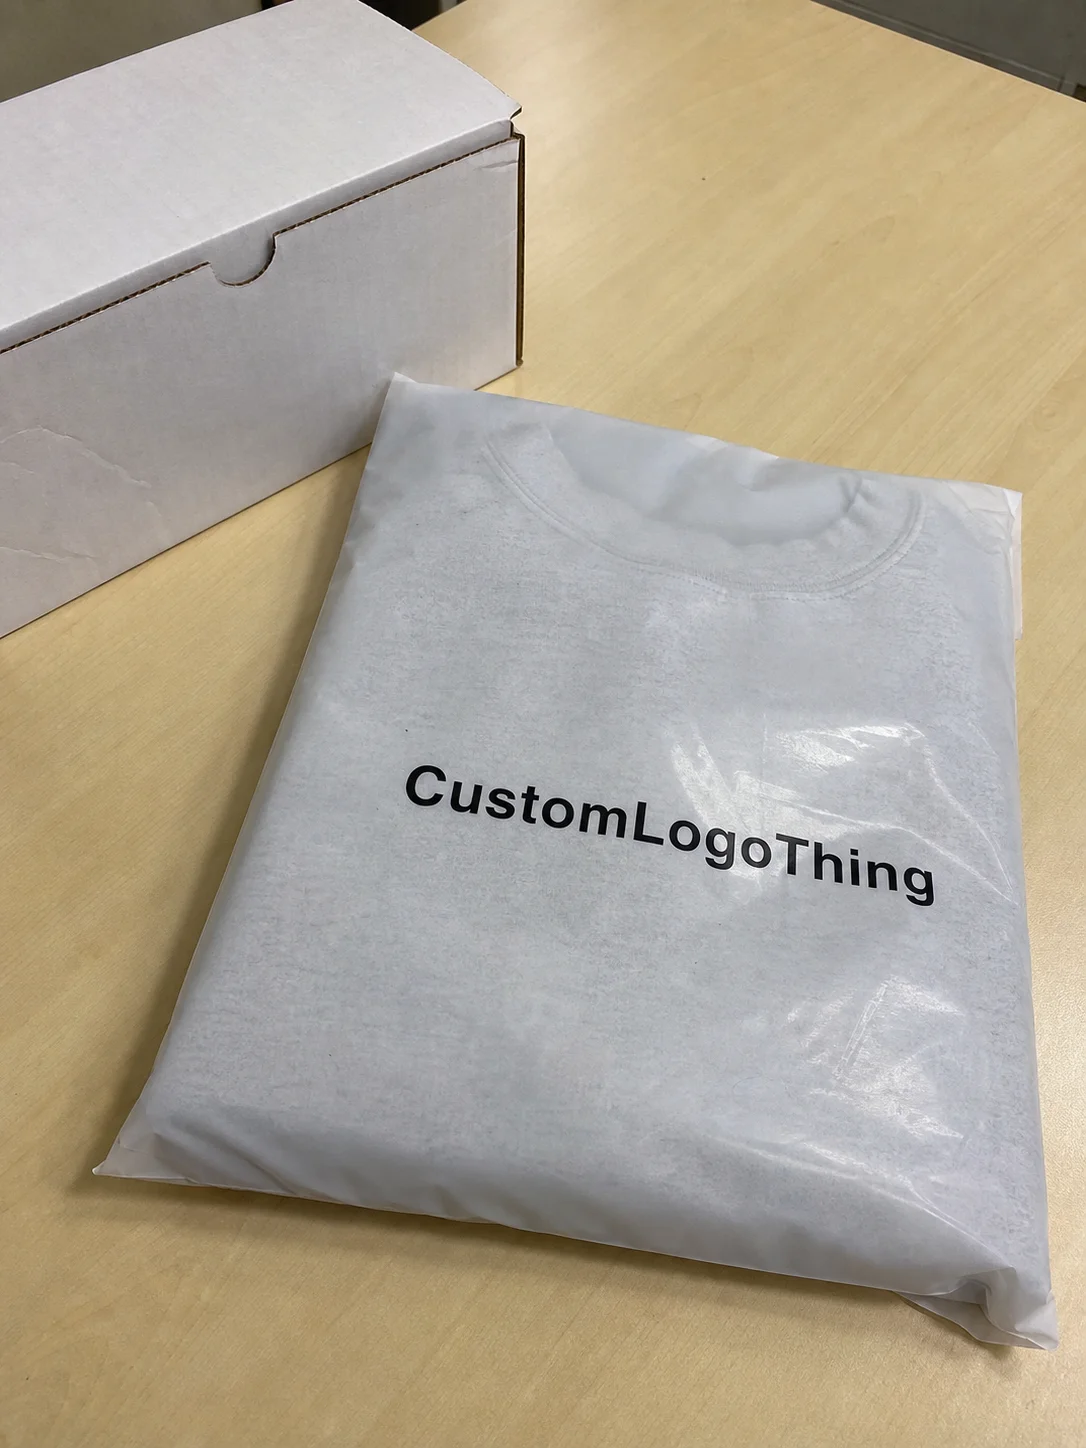
Cosmetic brands use Garment Poly Bags for more than dust protection. They show up in retail sets, promotional kits, influencer mailers, e-commerce fulfillment, and sample bundles. In those settings, the bag is often the first clean surface a customer sees after opening the carton. That makes the bag part of the brand, not just the wrap.
For beauty programs, the bag has to do several jobs at once. It needs to fit the product without excess slack, keep the contents visible or partially visible, carry the brand well, and survive handling without the print looking sloppy. Clear film is common because it shows the product. Printed film is common because it gives the brand more control. Both create different proofing risks.
A cosmetic buyer is usually balancing appearance against production reality. A thin film may show every wrinkle. A heavier gauge can look better but cost more and reduce flexibility. A resealable flap or hang hole may help retail presentation, but it also changes the printable area. That is why the proof should reflect the actual bag structure, not a generic artwork rectangle.
Teams that source related packaging often compare formats across Custom Packaging Products and protective options such as Custom Poly Mailers, because presentation standards tend to carry across channels. Once the brand decides what “clean” looks like, it usually wants the same standard in shipping, display, and kit assembly.
How the artwork proof process works from file submission to approval
The process usually starts with file submission and a prepress review. That review checks whether the artwork matches the bag spec, whether the print method can handle the file, and whether any elements will fail once they hit film. After that, the supplier prepares a proof, usually as a PDF or image mockup, for review.
The proof is not the finished bag. It is a controlled preview. It should show size, layout, orientation, copy placement, and approximate color behavior. It will not fully capture how transparency changes the look of light colors, how film glare affects readability, or how a white underprint changes contrast. Buyers who treat a proof like a finished sample usually get surprised later.
That gap matters most on clear or semi-clear bags. Fine serif fonts can break up. Pale gray text can disappear. A logo that looks centered on a flat file may feel off once the bag is folded, filled, or hung. The proof needs to answer one question: will this still look right in real use?
A typical approval path looks like this:
- Artwork is submitted in the required file format.
- Prepress checks size, bleed, fonts, and printability.
- The supplier creates a visual proof.
- Brand, operations, and compliance teams review it.
- Revisions are marked and rechecked.
- One final approver signs off and production begins.
Artwork file requirements, specs, and prepress checks
Clean files save time. Messy files create back-and-forth, and back-and-forth is where lead times start stretching. For garment poly bags, the usual prepress checklist includes dielines, safe zones, bleed, image resolution, vector artwork, and font handling. If the design includes raster images, 300 dpi at final size is the practical baseline. Small type and line art are better as vectors.
The bag structure matters as much as the artwork file. A 2 mil LDPE bag behaves differently from a 3 mil or heavier gauge bag. Seals, gussets, zippers, hang holes, and header flaps reduce the usable print area. A design that sits safely on a mockup can get clipped in production if the spec is not mapped correctly.
Color is where a lot of approvals go sideways. Pantone references help when the brand needs a specific spot color. CMYK is fine for many jobs, but the conversion needs checking, especially on transparent film. On clear bags, white ink is often the difference between readable and washed out. If the design uses metallic effects, the proof should make clear whether they are real production effects or just visual simulations.
There is also the unglamorous side of packaging compliance. Barcodes need to scan at the correct size. QR codes need clear quiet zones. Care copy, warnings, and legal lines need to be readable at the intended distance. Recycling marks and store-specific labeling should be checked before approval, not after the bags arrive.
For reference on better material management and clearer labeling, the EPA covers the broader sustainability context. That does not replace packaging specs. It just reinforces why wasted material and avoidable reprints are not harmless.
Multi-panel layouts deserve extra attention. A centered design on a flat proof can shift once the bag is filled. A barcode placed too close to a seam can become unreliable. If the bag is scanned in a warehouse, that small mistake turns into a slow problem.
Artwork proof checklist for cosmetic packaging approval
This is the part that actually protects budget. A disciplined Garment Poly Bags for Cosmetic brands artwork proof checklist keeps approval grounded in the things that matter: size, copy, color, compliance, and final-use behavior.
- Brand name and logo: Check spelling, spacing, trademark symbols, and the exact logo lockup.
- Copy accuracy: Verify product names, care text, warnings, claims, and any required legal language.
- Color intent: Confirm Pantone spots, CMYK conversion, white ink, and any special effects.
- Bag dimensions: Match the proof to the actual bag size, including gussets, flaps, seals, and hang holes.
- Readable codes: Test barcodes and QR codes at actual size, not enlarged on a screen.
- Material and finish: Confirm film type, thickness, closure style, and whether the surface is clear, frosted, or printed.
- Version control: Confirm which proof is final and who has authority to approve it.
On cosmetic packaging, the best approvals usually happen when creative, operations, and compliance review the same file at the same time. Marketing is focused on brand consistency. Operations is thinking about packing speed and fit. Compliance is checking copy and labels. Procurement is comparing the proof against the quote and timeline. If those groups are looking at different versions, somebody will miss something.
The common trap is approving by feel. “Looks fine on my monitor” is not a useful standard. The proof should be viewed at full size if possible, ideally printed out, because transparent film changes the visual weight of everything. Thin type can survive. Soft gray type usually cannot. Strong contrast is safer than clever restraint.
| Option | Typical impact on cost | Typical impact on proof review | Best use case |
|---|---|---|---|
| Single-color print on stock bag | Lowest setup and unit cost | Simple layout and fewer color checks | Basic promotional packs and insert bags |
| Two- to three-color custom print | Moderate increase from extra screens or plates | Tighter alignment and color approval needed | Retail kits with stronger branding |
| Full-coverage or white underprint design | Higher unit cost from ink coverage and extra steps | Requires close inspection of opacity and registration | Clear-film branding that must stay readable |
| Special features like resealable closure or hang hole | Higher tooling and material cost | More structural checks and fit verification | Display-ready cosmetics and retail hanging |
One more thing: any change that was mentioned in email but never added to the proof does not exist for production. That sounds harsh. It is also how factories protect themselves. If a revision matters, it needs to be written into the proof file or approval record.
Cost, pricing, MOQ, and unit cost factors to confirm
Pricing for printed poly bags is driven by size, film thickness, print coverage, number of colors, and whether the artwork needs white ink or special effects. A simple one-color print on a stock bag will usually be much cheaper than a custom-sized bag with full-front coverage and multiple print steps. The trick is not just comparing unit price. It is comparing the whole landed setup.
MOQ matters because setup costs are spread across the run. Prepress, plates or screens, color matching, and press adjustment all cost something whether you order 5,000 pieces or 50,000. At lower quantities, the unit price is usually higher because those fixed costs have fewer bags to absorb them. At higher quantities, the price per unit drops, but only if the spec stays locked.
As a practical ballpark, some Custom Printed Poly bags may land around $0.18 to $0.28 per unit at 5,000 pieces depending on size, print coverage, and film spec. More complex builds can move higher. Heavy gauge film, multiple colors, special closures, and full coverage all push cost up. Any quote should be treated as conditional until the artwork and material are finalized.
Ask whether the quote includes the following:
- Proof revisions and prepress support
- Tooling or plate charges
- Freight or delivery terms
- Finished goods packaging
- Rush production or split shipments
The cheapest quote is not always the lowest-cost order. A low unit price can disappear once revision rounds, freight, and correction fees show up. A tighter proof process usually saves more money than chasing a slightly better base price.
Process, timeline, and lead time from proof to delivery
Lead time breaks into predictable stages: file review, proof creation, revision, final approval, production, finishing, and shipment. If the artwork is clean and the decision-making is fast, the schedule moves. If three people keep asking for layout changes after the first proof, the calendar moves with it.
In many packaging programs, a first proof can come back within 1 to 3 business days after the supplier receives usable files. Production often starts after approval and may take 10 to 15 business days, with more time needed for larger orders, heavier film, or more complex print setups. Custom dimensions or special features usually add time.
The press is only one part of the schedule. Material availability, seasonal demand, approval speed, and freight method all affect the final delivery date. If the bags need to hit a campaign launch or retail reset, build in enough internal review time to avoid paying for rush handling or approving art before it is actually ready.
If the packaging also has to hold up in transport, packaging teams sometimes cross-check against common test standards. ISTA publishes widely used transport test standards that buyers and suppliers reference when they want a better idea of how packaging behaves in distribution.
A clean first proof usually moves faster than a proof that needs multiple content corrections. That is why the Garment Poly Bags for Cosmetic brands artwork proof checklist belongs in the schedule, not in the “admin later” pile.
Common mistakes and expert tips for a cleaner approval
The biggest mistake is low-resolution artwork. The next one is assuming a screen color will match print. The third is approving the wrong file version because no one tracked revisions properly. None of those problems are mysterious. They are just expensive.
Clear film creates its own set of headaches. Pale logos, fine strokes, and small text can disappear when printed on transparent material and viewed against a busy background. Cosmetic packaging usually sits close to the eye, under bright lights, which means weak contrast shows up fast. Stronger is safer than subtle.
Useful habits:
- Print the proof at full size and check it against the actual bag dimensions.
- Review the file under bright light, not only on a calibrated monitor.
- Look at readability with the bag filled, folded, or hanging, depending on how it will be used.
- Confirm the proof on more than one screen if team members are reviewing remotely.
- Route any post-approval change through a formal revision request.
That last point matters more than most teams admit. Once the proof is signed off, any change to copy, position, quantity, or material should be treated as a new instruction. Otherwise, the factory follows the last documented version, and the buyer ends up arguing about something that was never properly recorded.
If you need a broader view of how packaging decisions connect across formats, the examples in Case Studies show how structure, print, and presentation get weighed together in real packaging programs. That is usually where the useful lessons live.
FAQs
What should be checked first on garment poly bags for cosmetic brands artwork proof checklist?
Start with spelling, logo placement, bag size, and whether the proof matches the quoted material and print method. Then check color intent, legal text, and any special notes such as white ink or barcode placement.
How do I know if my cosmetic bag artwork will print clearly on clear poly film?
Use strong contrast, avoid tiny text, and confirm whether a white underlay is needed behind logos or copy. Review the proof at actual size, because thin lines and pale colors often disappear on transparent film.
What causes artwork proof delays for custom poly bags?
The most common delays come from missing files, multiple revision rounds, unclear approvals, and slow internal review. Complex color matching or layout changes after the first proof can also extend the schedule.
How does MOQ affect pricing for printed garment poly bags?
Lower quantities usually carry a higher unit cost because setup and prepress work are spread across fewer bags. Higher quantities tend to reduce unit cost, but only if the artwork is finalized before production starts.
What is the safest way to approve the final proof before production?
Compare the proof against the quote, dieline, and brand standards, then have one accountable person sign off. Save the approved proof and record any special instructions so reorders can be checked quickly later.
For cosmetic brands, the cleanest approval process is usually the simplest one: verify the files, compare the proof against the quote, check the print details at full size, and document the final sign-off clearly. That is the practical core of the garment poly bags for cosmetic brands artwork proof checklist. Everything else is just noise.


