Custom Logo Things
Garment Poly Bags for Event Teams Retail Launch Checklist
If you are building a Garment Poly Bags for Event teams retail launch checklist, the bag is not a throwaway sleeve. It is part of the operating system. The wrong spec slows pack-out, creates sorting mistakes, and turns a clean launch into a back-table rescue mission.
Event teams do not need packaging that looks good only in a mockup. They need a format that protects folded apparel, identifies the SKU fast, and survives being handled by warehouse staff, temporary labor, merch teams, and floor associates who may never have touched the product before. That is a different job. It deserves a different standard.
The cheap bag usually wins on price and loses everywhere else. It crushes the fold, hides the size callout, or splits at the seam after a few rounds of handling. Then someone spends launch day rebagging stock that should have been ready hours earlier. The bag was never cheap. It just delayed the bill.
What event teams actually need from garment poly bags
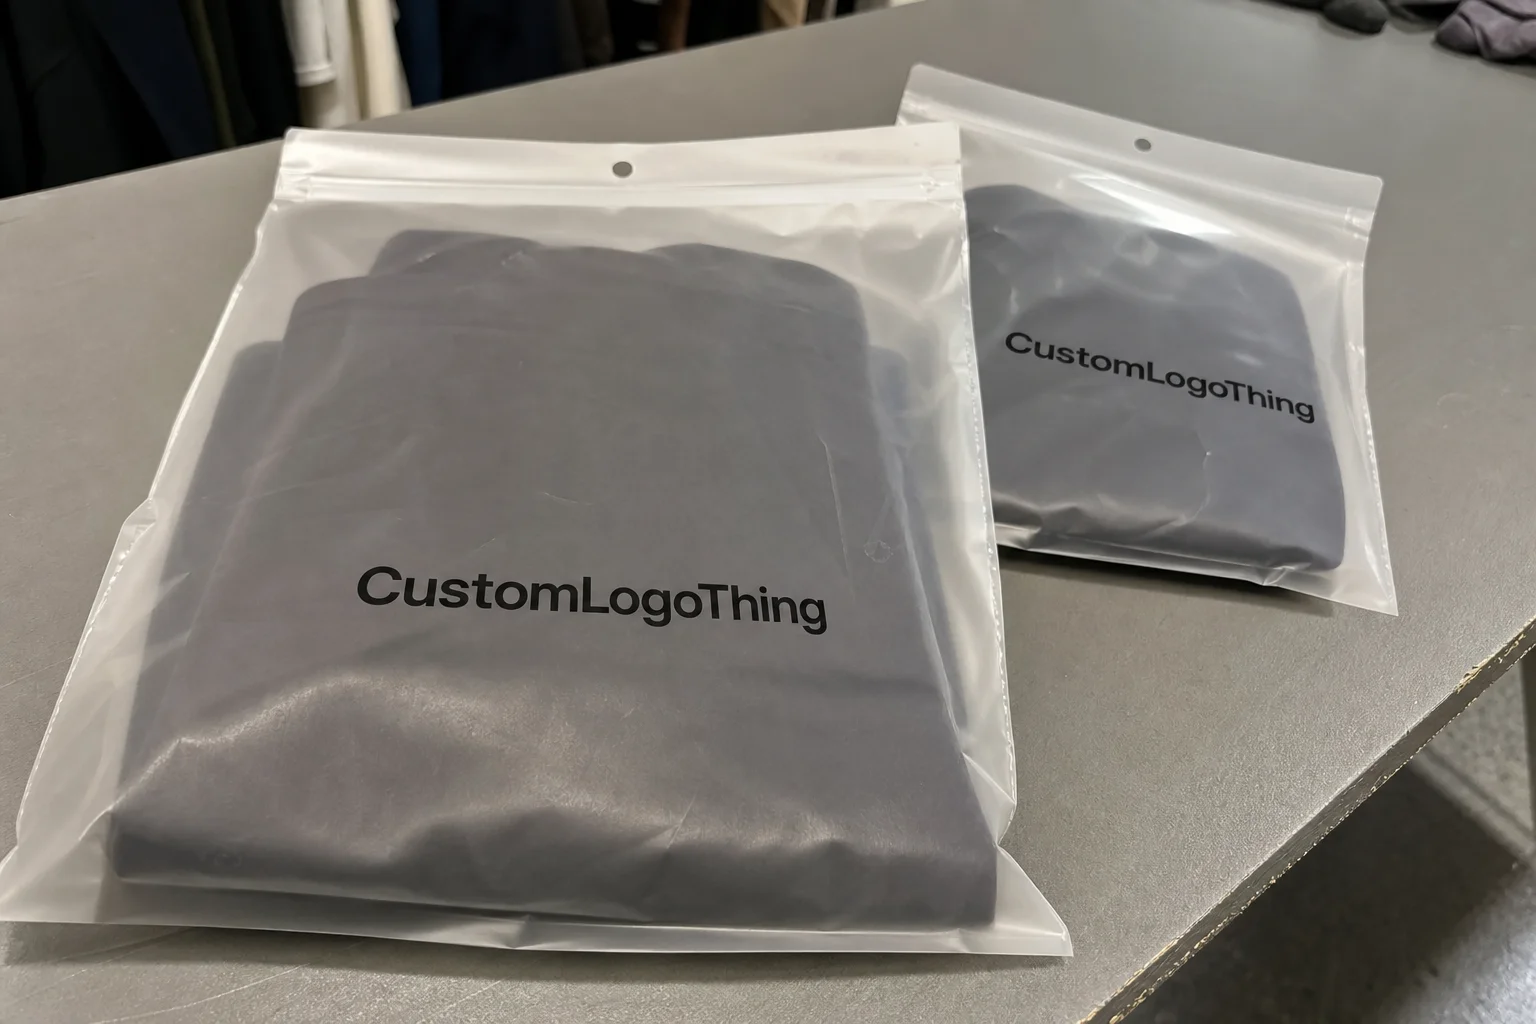
For launches, the bag has three jobs: protect the garment, speed up sorting, and keep the display or stockroom organized. If it only does one of those, the team ends up compensating with labor. Labor is the expensive line item nobody likes to label correctly.
That matters most in short-run retail events: pop-ups, trunk shows, touring merch drops, brand activations, sample sales, and temporary store setups. These programs move fast. The staff is not always permanent. The stock changes by size and color. The packaging has to make sense at a glance.
Clear poly bags are still the fastest for back-of-house use because they let staff see the garment, fold quality, and rough size without opening anything. Frosted bags reduce visual clutter while keeping enough visibility for sorting. Printed bags add brand presence, but too much ink coverage can hide the one detail launch teams care about most: what is inside and how it is labeled.
There is also a practical side that gets ignored. A bag that is too small can crease graphics, distort fold lines, or compress a hoodie into a lopsided brick. A bag that is too large lets the garment slide around and makes stacks unstable. The right fit is not about looking luxurious. It is about not fighting the product.
For programs that include paper inserts, tags, or cartons, standards matter. If the packaging mix includes paper components, FSC certification can be relevant for the paper side of the system. If the shipment will travel through a rough distribution chain, ask about transit testing and whether the outer shipper has been evaluated against common handling profiles such as ISTA guidance. Most teams do not need a lab report for everything, but they do need to stop guessing.
The best garment bag is boring in the right ways. It opens, closes, stacks, scans, and protects without making the team think about it twice.
How the bag supports pack-out, floor replenishment, and returns
A launch bag is part of a handoff chain. Warehouse packs it. Event staff sorts it. Floor teams replenish it. Sometimes the customer leaves with it. Every handoff exposes a weakness if the format is sloppy.
That is why the Garment Poly Bags for Event teams retail launch checklist should include more than size and print. It should include how the bag behaves in motion. Can the team identify the SKU while walking? Can they scan it without opening it? Can they restack it after a partial pull without losing order?
Barcode placement is a common failure point. If the code is under a flap, buried behind a fold, or printed too low on the bag, it slows everything down. Put the code where it can be scanned with one hand and without breaking the seal. If staff has to open the pack to read the label, the packaging is fighting the process.
Color coding helps, but only if it stays consistent across the run. A single color for size, another for drop number, and a third for store group is manageable. A different sticker system in every carton is not a system. It is a memory test.
- Size stickers work best in one fixed corner.
- Color labels help separate store groups, drops, or assortments.
- Barcode or SKU printing should remain visible without opening the bag.
- Printed warnings are useful for delicate finishes, premium goods, or sealed bundles.
For customer-facing launches, presentation matters too. A clean fold inside a frosted or lightly printed bag looks more controlled than a loose garment rattling around in oversized film. That said, if branding starts to hide the size callout, the design has gone too far. Staff need information first. Pretty is secondary.
Specs that affect fit, speed, and presentation
Size and film thickness are the two specs that decide most of the outcome. Everything else supports them.
For standard folded tees, common starting points are 10 x 13 inches or 12 x 15 inches in roughly 1.25 to 1.5 mil film. Hoodies usually need 14 x 18 inches or 14 x 20 inches, often in 1.5 to 2 mil. Heavier fleece, bundled sets, or multi-item kits may need 16 x 24 inches or more, especially if the stack has to stay flat in transit.
There is a simple rule here: slightly generous beats too tight. Too tight, and the fold gets crushed. Too loose, and the garment slides around and makes the stack unstable. The goal is not to fill the bag. The goal is to hold the garment in a way that keeps it ready for the next handoff.
Closure type changes how the bag fits into the workflow.
- Open-top bags work well for high-speed pack-out and frequent access.
- Adhesive flap bags are better for dust control and retail-ready presentation.
- Resealable bags help when items may be inspected, exchanged, or bundled later.
- Hang-hole bags fit fixture-based display and peg merchandising.
Vent holes are worth discussing for some apparel because they reduce ballooning and help stacks stay flatter. They are not necessary for every product. Anti-static additive can be helpful for synthetic fabrics, especially if the garments cling and slow down packing. If the line includes performancewear, the packaging spec should account for static before anyone places a bulk order.
Suffocation warnings are not decorative copy. In many markets they are a compliance issue, particularly if bags will reach customers rather than staying strictly behind the scenes. The label needs to be legible, consistent, and placed where it will survive normal handling. Compliance is not the glamorous part of the job, but it is the part that gets noticed when it goes wrong.
Printing should support the launch objective instead of competing with it. No print is fastest for back-of-house. A single-color logo or light branding works well for most event programs. Full coverage can look polished, but if it blocks the size or SKU, the bag is slowing the team down. That tradeoff should be deliberate, not accidental.
If the launch includes multiple garment types, do not force every item into one oversized format just to simplify the purchase order. That pushes the complexity into pack-out, and the team will pay for it later in time and mistakes. Standardize where the products are similar. Split the formats where the garment shape actually demands it.
Pricing, MOQ, and the cost traps buyers miss
Pricing for custom garment bags is usually driven by five variables: film thickness, bag size, print coverage, custom dimensions, and order volume. Change more than one of those and the quote can move quickly. That is not a trick. It is just manufacturing.
For common launch volumes, a practical price range looks like this:
| Option | Typical use | Unit price at 5,000 pcs | Lead time | Notes |
|---|---|---|---|---|
| Clear stock bag | Tees, basic drops, back-of-house sorting | $0.03-$0.08 | 3-7 business days | Fastest option, least setup friction |
| Frosted bag with one-color print | Brand-forward event stock, mid-tier retail launches | $0.09-$0.16 | 10-15 business days | Good balance of presentation and speed |
| Custom size, custom print | Fleece, multi-item sets, retail-ready packs | $0.14-$0.28 | 12-20 business days | Better fit, higher setup cost, tighter control |
MOQ usually rises as the spec gets more custom. A stock-style clear bag may be easier to source in smaller quantities, while custom printed runs often start around 3,000 to 5,000 units and can climb higher depending on size, color count, and setup requirements. Lower quantities usually cost more per bag because the fixed costs are spread across fewer units. Nothing mysterious there.
Watch the hidden charges. Plate or setup fees can add $75-$300 per color. Rush charges can inflate the total if the schedule is tight. Split shipments are another easy way to burn budget because the savings on unit price disappear when freight gets booked twice. A low quote that misses timing is not a bargain. It is a problem with a price tag.
Freight deserves more attention than it usually gets. A cheap bag that ships late forces local emergency sourcing or rework. That is where the real cost shows up. If the event date is fixed, the shipping plan should be part of the buy, not an afterthought someone promises to “handle later.”
If the launch kit includes other secondary packaging, it helps to plan the system together instead of buying each item separately. A coordinated packaging program can keep the apparel bag, mailer, and outer shipper aligned. For teams that also need shipping packaging, Custom Poly Mailers can fit into the same launch structure, while Custom Packaging Products can cover broader kit needs.
The buyer mistake I see most often is over-specifying for brand perception. Premium feel matters, but a bag that is hard to pack, hard to scan, or expensive to replenish is not premium. It is just inconvenient with better graphics.
Timeline from artwork to delivery
Treat the timeline like production, not a vague promise. A normal path runs through spec lock, artwork proof, sampling or mockup approval, production, carton packing, and shipment. Skip one step and the launch absorbs the error later.
- Lock the spec. Confirm garment dimensions after folding, bag width, bag length, film thickness, and closure style.
- Review artwork. Check logo size, ink coverage, SKU layout, size marks, and barcode placement.
- Approve a proof or sample. Catch fit issues before a full run starts.
- Confirm production timing. Custom printed bags need more runway than stock bags because there are more setup steps.
- Stage freight against the event calendar. Use the launch date, not a hopeful estimate, as the deadline.
Stock bags can move quickly, sometimes in a few business days if inventory is available. Custom printed bags usually need 12 to 20 business days after proof approval, and that does not include freight time or revision cycles. Late artwork changes reset the clock. Printing does not care that the launch is urgent.
The fastest way to shorten lead time is to reduce variables. Use final logo files. Keep print colors low. Avoid unnecessary size changes. Approve proofs quickly. Every extra option adds friction, and friction is what pushes launch packaging into the danger zone.
Build buffer time into the plan. If the shipment crosses multiple handoffs, if the artwork depends on another department, or if the launch is tied to a fixed venue calendar, the schedule should include slack. Tight plans are fine in theory. In shipping, they get punished.
Launch-day mistakes that cause delays
The most common mistake is sizing the bag to the flat garment instead of the folded one. A folded hoodie is not a folded tee, and a garment with a heavy print stack takes more room than buyers expect. Measure the finished pack. Do not guess from the unwrapped item.
Another easy miss is unreadable labeling. A large logo may look good on a proof and still bury the size cue or SKU in actual use. That creates pointless handling errors. If the packaging looks strong but slows sorting, the design failed the job.
Shorting overage is another problem. Bags get damaged. Cartons get crushed. Store teams ask for extra units at the last minute. A 3% to 5% buffer is a reasonable baseline for most launch packs. If the staff is inexperienced or the event is scattered across multiple sites, more overage is safer.
Compliance gets overlooked too. If the bags will reach customers, the suffocation warning, thickness, and labeling need to be checked against the destination market. Do not assume a spec that works in one region will satisfy another. Also check for issues like trapped moisture, greasy print transfer, or press marks. Packaging should protect the garment, not preserve defects inside a shiny sleeve.
If the bag makes sorting slower, the launch team will notice immediately. Usually they are right.
Too many formats cause trouble as well. Five bag sizes, three sticker systems, and two closure styles look flexible on paper. In practice, they create decisions at the exact moment the team needs speed. Keep the format count low enough that the workflow can be taught in minutes.
A practical retail launch checklist
For event teams, a useful launch checklist is simple and direct. Start with the product, then work backward into the packaging. If the inputs are vague, the quote and the final bag will be vague too.
- Garment dimensions after folding
- Product type by SKU and size
- Bag width, length, and film thickness
- Closure style
- Print requirements and barcode placement
- Labeling system for sizes, drops, or store groups
- Quantity by SKU and size
- Delivery deadline and shipping method
Before full production, build one pilot carton and put it in the hands of the person who will actually pack or sort it. Store managers catch one set of problems. Event leads catch another. The team that touches the stock every day usually catches the issue that matters most. Ten minutes of testing beats a thousand units of regret.
From there, lock the format, confirm the proof, and stage the shipment against the event calendar. That is the unglamorous part. It is also the part that keeps launch day from turning into a rebagging exercise.
The point of Garment Poly Bags for Event teams retail launch checklist planning is not to make the packaging impressive in isolation. It is to make the launch easier to run. The right bag protects the garment, speeds the team, and reduces sorting errors. That is enough. It does not need to be more complicated than that.
Bottom line: choose a bag that fits the folded garment, keeps labeling readable, and matches the pace of the launch. If those three pieces are right, the packaging helps the team move. If they are wrong, no amount of branding will fix the workflow.
What size garment poly bags work best for event team retail launches?
Match the bag to the folded finished size, not the flat garment size. Tees often fit 10 x 13 or 12 x 15 inches, while hoodies and fleece usually need larger formats like 14 x 18 or 16 x 24 inches. Keep different product types in separate specs instead of forcing one oversized bag to cover everything.
Do clear or printed garment poly bags work better for launch-day sorting?
Clear bags usually win for speed because staff can identify the product and size instantly. Printed bags help with branding and retail presentation, but the print should never hide the size cue or SKU. If the team has to guess, the packaging is doing the wrong job.
How do I estimate MOQ and unit cost for custom garment poly bags?
MOQ depends on size, film gauge, and print method. A simple stock-style run can be flexible, while custom printed options often start around 3,000 to 5,000 units. Unit cost drops as quantity rises, but setup fees, freight, and rush charges often change the real budget more than buyers expect.
What lead time should event teams plan for custom poly bags?
Stock bags can move fast, sometimes in a few business days if inventory is available. Custom printed bags usually need 12 to 20 business days after proof approval, plus shipping time. Add buffer if the artwork is not final or the launch date is fixed.
What should be on a retail launch checklist for garment poly bags?
Confirm garment dimensions, folding method, bag style, print requirements, quantity by SKU, and delivery deadline before placing the order. Add a test pack-out step so the team checks folding, labeling, and back-of-house handling before full production. That one check prevents most launch-day problems.


