For event apparel, the package is rarely just a bag. It is part presentation, part inventory control, and part sanity saver for the people packing at 6 p.m. with a shipping deadline breathing down their necks. Garment Poly Bags for Event teams Artwork Proof Checklist decisions affect how fast shirts get sorted, how clean they look at check-in, and whether a shipment arrives ready to distribute or ready to argue about.
A small error in logo placement, film size, or warning text can turn a straightforward order into last-minute rework. That kind of mistake does not stay small. It spills into registration tables, volunteer kits, sponsor fulfillment, and whatever other department thought packaging would be “quick.”
The proof should be treated as a production control tool, not a pretty preview. The right garment poly bag spec protects folded apparel, keeps sizes organized, and makes distribution faster when dozens or hundreds of items need to move through one room without confusion.
Why event teams need the right poly bag spec
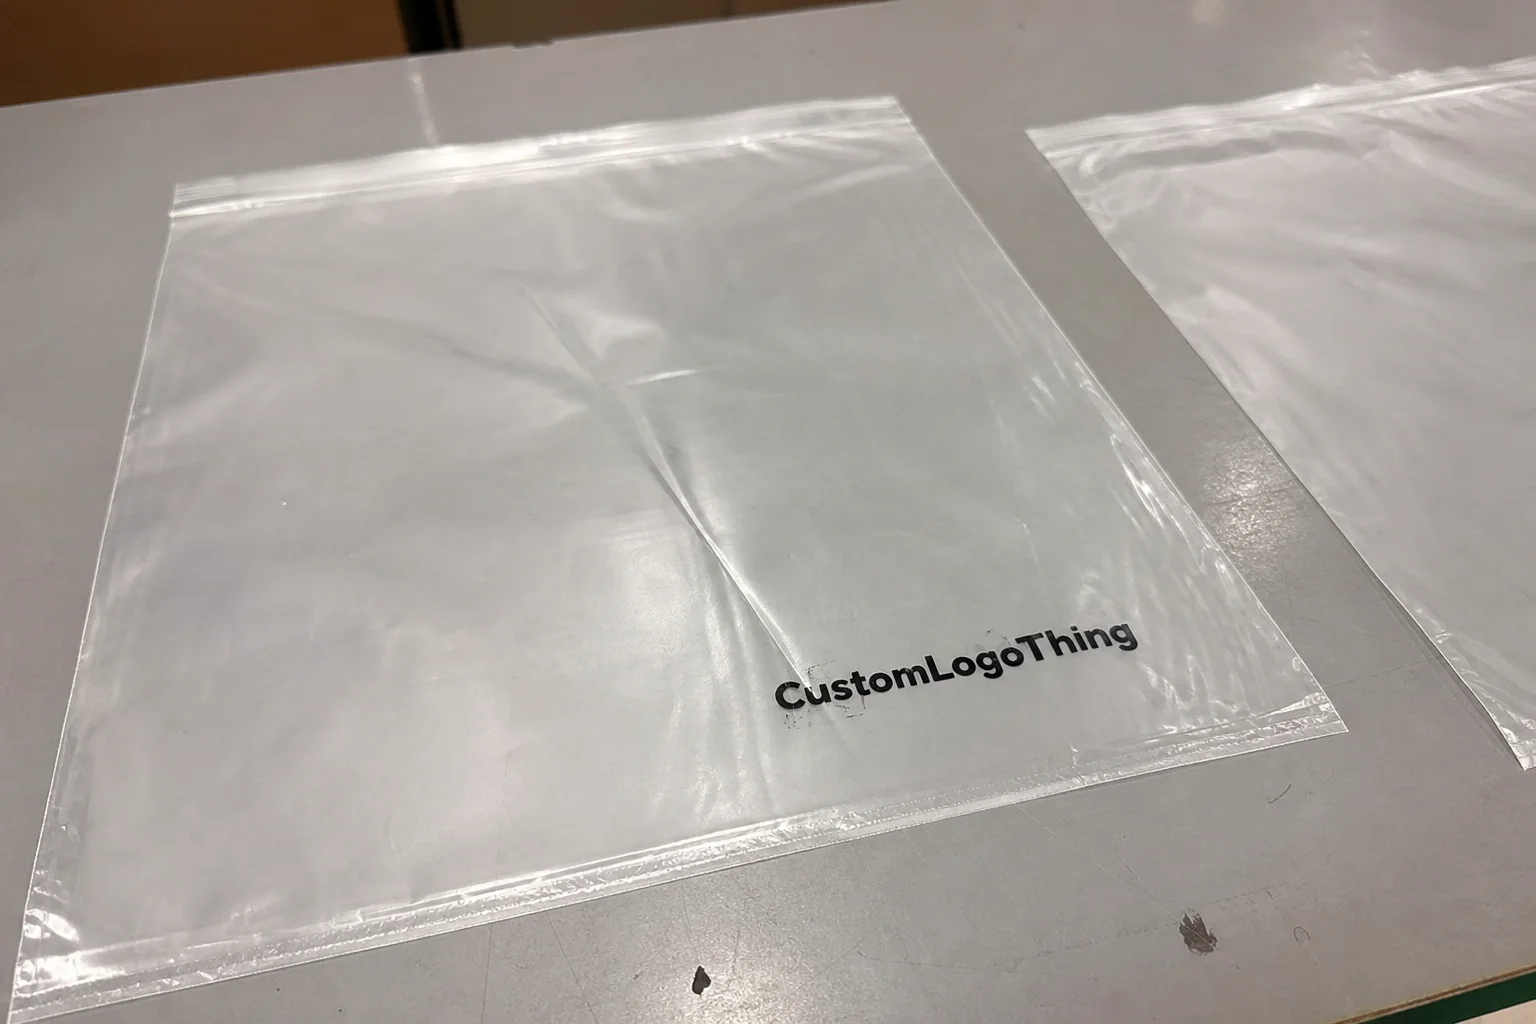
On paper, a shirt bag looks simple. In reality, the details decide whether the pack line moves or stalls. A clear bag that is too tight wrinkles the garment and slows packing. A printed bag that is too large looks loose and sloppy, which matters when the bags are handed out at registration or used for sponsor gifts where presentation still matters.
Event teams usually need one of three formats: plain clear bags for speed, printed bags for branding and quick visual sorting, or labeled bags for operational control. Clear bags help staff identify sizes instantly. Printed bags add brand presence and can include size marks, event names, or handling notes. Labeled bags work well when multiple crew members are packing and the team needs a fast visual system that reduces sorting mistakes.
From a buyer’s point of view, the real value is consistency. If the folded garment fits the same way in every bag, the team can pack faster and count more accurately. That matters for volunteer uniforms, conference shirts, run-of-show apparel, and sponsor fulfillment, where the same item may need to go to multiple destinations.
A shirt bag that seems “close enough” on screen can still fail on the line if the trim area, warning text, or folded size does not match the actual production setup.
That is why the proof should be part of the spec review, not the last step after everything else is already assumed. The fastest way to avoid rework is to confirm the bag construction early, then use the proof to catch what the spec cannot show by itself.
Garment poly bags for event teams artwork proof checklist: process and sign-off
The proof workflow is usually simple. The job gets submitted. The vendor builds a mockup or digital proof. The buyer reviews it against the request. Changes are made if needed. Then one final approval releases the order into production. The weak point is rarely the artwork itself. It is the communication around the artwork.
Every proof should be checked for artwork size, copy accuracy, logo orientation, print color, bag dimensions, closure style, and any required warnings or recycling marks. If the bag includes a size label or SKU, that text needs the same level of scrutiny as the logo. One swapped digit can send cartons to the wrong staging area.
The timeline can get messy fast. A first proof may come back quickly, sometimes the same day on a straightforward job, but each revision adds another loop. If the team asks for a logo move, a copy change, and a size adjustment in separate messages, the schedule slips. A clean approval process keeps all comments in one place and gives the final sign-off a paper trail.
Best practice is to name one approver and one backup approver. That keeps feedback from splintering across email, chat, and phone notes. It also reduces the risk of two departments approving different versions. For larger event programs, that discipline matters more than people expect.
- Use one consolidated comment set for every revision.
- Confirm the proof version number before replying.
- Mark who has final approval authority.
- Keep the approved PDF and email together for the order record.
For teams that order packaging repeatedly, it helps to store the approved proof next to other approved pack items, especially if you also source Custom Packaging Products for kits, inserts, or secondary mailers. Reusing that record saves time and avoids the wonderful event-industry pastime of recreating the same instructions three months later.
Material, thickness, closure, and print details that change the final result
Film thickness changes more than people think. A lighter gauge can work for a single folded tee, but thicker garments, hoodies, or stacked inserts need stronger film so the bag does not split at the fold or during transit. Common thickness ranges for Garment Poly Bags often run from about 1.25 mil to 2.0 mil, though the right choice depends on size, weight, and how the bags are handled after packing.
Size selection should be tied to the actual folded garment, not just the nominal shirt size. A medium tee that folds flat is one thing. A medium tee with a card, tissue, or insert sheet is another. The bag should fit without stretching the seams, but it also should not leave so much empty space that the package looks underfilled or shifts around in the carton.
Closure style changes the workflow on the packing table. An open-top bag is fastest when the crew is filling and sealing separately. An adhesive flap helps when the team needs a neat close and less tape. A resealable option can make sense for reusable kits, but it usually adds cost and a bit of packing time. If the wrong closure is chosen, the line slows down or the bag can open during transport.
Print details matter just as much. Spot color is often enough for a simple logo or event mark. Full-coverage printing adds visual impact, but it also increases ink usage and can reduce the clear viewing area. White ink on clear film can look sharp, yet it needs enough opacity to stay readable against the garment inside. A good proof shows how much of the bag should remain open for visibility.
| Option | Typical use | Pros | Tradeoff |
|---|---|---|---|
| Clear unprinted bag | Fast sorting, internal distribution | Lowest cost, easiest size ID | Limited branding |
| 1-color printed bag | Event branding, simple labels | Good balance of cost and presentation | Less visual impact than full coverage |
| Printed bag with warnings or size text | Compliance plus operations | Supports warehouse handling and sorting | More proof details to verify |
| Resealable or flap-seal bag | Kits, reusable apparel, premium presentation | Cleaner close and better protection | Higher unit cost and slower pack-out |
If the pack-out needs more than one protective layer, compare the bag choice with the overall kit format. A garment bag may work well with the apparel, while a secondary shipper may be better served by Custom Poly Mailers. The right mix depends on whether the priority is presentation, warehousing, or final-mile protection.
For handling and recycling considerations, broader guidance from the EPA recycling resources is useful when your team is balancing material use against disposal expectations at the event site. When a packaging program needs transport testing or shipper validation, the standards and resources at ISTA help frame what “good enough” really means in distribution terms.
Cost drivers, MOQ, and quote variables
Pricing for printed garment bags is usually driven by a short list of variables: bag dimensions, film gauge, number of print colors, print coverage, and whether the order needs special text such as warning language or barcodes. Those details change setup time, press time, and how much material is consumed during the run.
MOQ, or minimum order quantity, is where event buyers feel the cost structure most clearly. A larger run spreads setup and proofing over more units, so the unit price usually falls as quantity rises. A smaller order can still be worth it, but the unit price may be noticeably higher because the fixed prep work does not shrink much. For many printed poly bag programs, that difference can be the gap between roughly $0.08 to $0.18 per unit at higher volumes and $0.18 to $0.35 or more on smaller runs, depending on bag size and print coverage.
Common adders include rush production, shortened lead times, revised art after approval, split shipping to multiple event locations, and special handling like pallet labels or carton marking. These are not hidden fees so much as real labor and coordination costs. Buyers get better quotes when they request the full picture up front instead of asking for a “price on bags” without the specs.
Apples-to-apples comparison matters. Two quotes can look close until one includes a 1-color print, a heavier gauge, and a carton pack-out spec, while the other is just a plain bag with no print and a loose size tolerance. If the team does not compare the same construction, the lowest number is not the cheapest usable option. It is just the lowest number.
- Provide exact bag dimensions, not only garment size.
- State print colors, coverage, and whether white ink is needed.
- Confirm quantity by size if there are multiple SKUs.
- List the ship-to address and receiving hours before quoting.
Step-by-step approval workflow from file prep to production release
Start with clean artwork. Vector logos in AI, EPS, or PDF are usually the safest choice because they keep edges sharp at size. Fonts should be outlined, linked images should be high resolution, and the file should include the right color references, whether that means PMS or CMYK values. If the artwork has a safe area or bleed requirement, spell it out rather than assuming the vendor will guess correctly.
Next, attach a spec sheet that lists the bag size, quantity, material, closure, destination, and packaging format. That single sheet does more to prevent mistakes than a long thread of scattered notes. It tells the proof team what the order is supposed to do, not just how it should look.
During proof review, inspect the artwork at actual size if possible. Zooming in helps catch edge issues, but zooming out helps spot balance problems. Compare every note against the original request. If the proof says the logo is centered but the garment team wanted it 1.5 inches from the top seal, the issue needs to be corrected before approval, not after press setup.
One revision round is usually enough when the job is moving fast. That forces the team to consolidate feedback and prevents the common trap of “one more tiny change” arriving after the proof is already approved. A clear final approval message should name the approved version, the quantity, and the date. That sounds formal, but it protects everyone if the wrong file gets pulled later.
- Prepare final artwork with outlined fonts and correct colors.
- Send the spec sheet with quantity, size, closure, and destination.
- Review the proof at actual size and compare every note.
- Consolidate revisions into one response.
- Issue a clear final approval with the version number.
- Confirm production release, ship date, and receiving contact.
Before release, make sure the receiving team knows when to expect the cartons and who signs for them. If the event has a narrow unload window, that detail matters as much as the art. A perfectly approved proof still causes trouble if it lands after the dock closes.
Common artwork proof mistakes event teams should avoid
The most frequent mistake is low-resolution art. A logo that looks fine in a slide deck can pixelate or soften once it is scaled for print. The next problem is unoutlined fonts, which can shift if the printer does not have the same typeface installed. Missing bleed is another classic issue, especially when artwork sits too close to the seal or trim line.
Size mismatches cause a different kind of trouble. A bag approved for one folded tee size may not work once the actual garment includes a heavier print, a hoodie, or an insert card. That is why the proof should be reviewed against the real packed item, not against a generic shirt assumption. Teams that handle volunteer wear, sponsor apparel, and speaker gifts in the same order often need separate size calls for each line.
Compliance text is easy to overlook. If the bag needs a recycling mark, warning language, or a barcode, that element must be checked with the same care as the logo. A small copy change can trigger an extra revision round and push the release date back by a day or two, which is enough to affect a tight event schedule.
Overrun and underrun expectations also deserve attention. Most buyers know printed packaging can vary slightly, but not every team plans for that variation when they schedule distribution. If the on-site count is tight, even a modest variance can create a problem when the bags are prepacked by size and destination.
Finally, do not approve the proof without comparing it to the event calendar. If production is correct but the ship window is wrong, the order still fails operationally. That is one reason the Garment Poly Bags for Event teams artwork proof checklist should include the logistics side, not just the print side.
Expert checks and next steps before you approve the run
Right before approval, run one final checklist. Confirm the quantity by size, ship-to address, approved artwork version, print colors, packaging method, and the person responsible for sign-off. If there are multiple event destinations, make sure each one is listed clearly so cartons do not get split incorrectly.
When the order has several sizes or a logo lockup that must stay exact, ask for a redline proof or annotated markup. That extra layer is useful because it shows what changed from one version to the next. It is especially helpful when three or four stakeholders are reviewing the same file and need to see the delta fast.
Archive the approved proof, spec sheet, and approval email in one place. If there is ever a question about the run, that record shows what was approved, when it was approved, and who approved it. In a busy event cycle, that kind of paper trail saves time and prevents avoidable debate.
The best event packaging programs slow down at the proof stage and speed up everywhere else. A clear approval process keeps the line moving, keeps the receiving team informed, and keeps the final bags consistent enough to hand out without hesitation. Use this Garment Poly Bags for Event teams artwork proof checklist, confirm the proof once, and move only after every detail is signed off.
What should be checked on a garment poly bag artwork proof before approval?
Verify spelling, logo placement, size, and color first. Then confirm the bag dimensions, closure style, and any warning or recycling text. The proof version should also match the final quantity and ship-to plan so the production record stays aligned with the order.
How long does the proof and production timeline usually take for event packaging?
A first digital proof is often returned quickly, but revision cycles add time. Production should not start until the proof is formally approved by the decision-maker. Final ship timing depends on quantity, print complexity, and any rush requirements, so a clean approval saves more time than a rushed one.
What file format works best for artwork on garment poly bags?
Vector files such as AI, EPS, or PDF are usually best because they keep edges sharp at size. Fonts should be outlined and linked images should be high resolution. It also helps to provide PMS or CMYK values and any bleed or safe-area notes the printer needs.
Why does MOQ affect the quote for printed poly bags?
Setup, proofing, and plate or press prep costs are spread across the run. Smaller orders usually carry a higher unit cost because fixed costs do not change much. Extra colors, tighter tolerances, or rush timing can raise the minimum or the final price.
What should event teams confirm right before release to production?
Confirm final quantity, size, print version, and the exact ship-to address. Make sure one person owns the approval so there is no conflicting feedback. Save the approved proof so the factory and the event team are working from the same record.


