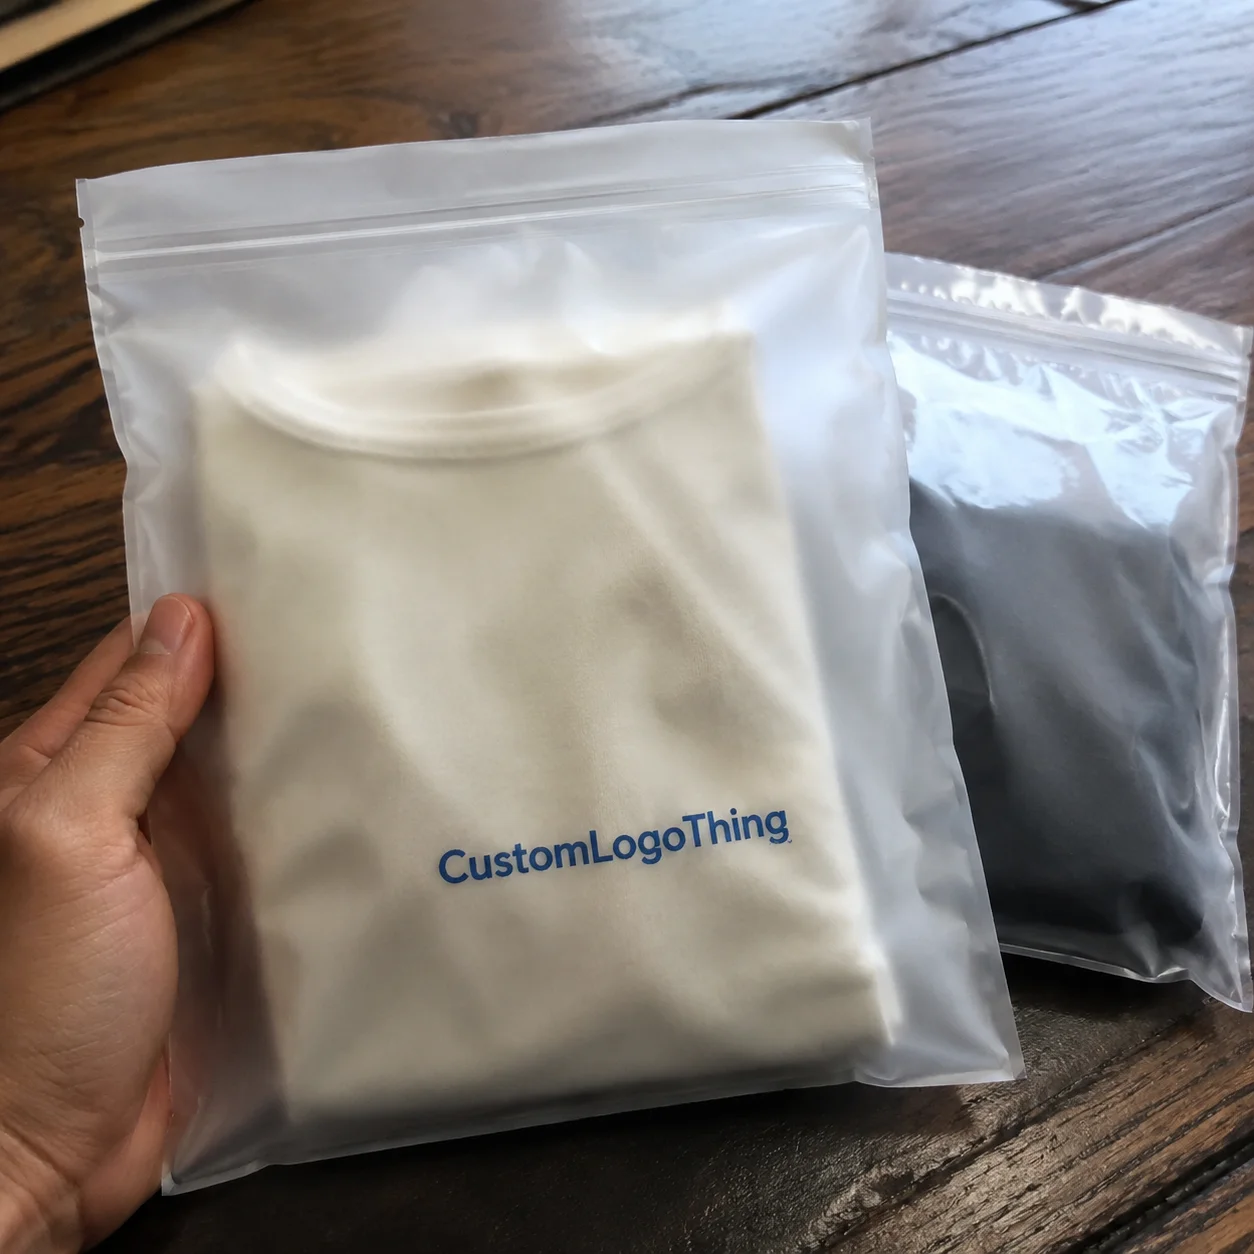
Buyer Fit Snapshot
| Best fit | choose packaging material for food for packaging buyers comparing material specs, print proof, MOQ, unit cost, freight, and repeat-order risk where brand print, material, artwork control, and repeat-order consistency matter. |
|---|---|
| Quote inputs | Share finished size, material target, print colors, finish, packing count, annual reorder estimate, and delivery region. |
| Proofing check | Approve dieline scale, logo placement, barcode or warning zones, color tolerance, and any recyclable or compostable wording before bulk production. |
| Main risk | Vague material claims, crowded artwork, or missing packing details can create delays even when the unit price looks attractive. |
Fast answer: Choose Packaging Material for Food: Material, Print, MOQ, and Cost should be specified like a repeatable production item. The safest quote includes material, print method, finish, artwork proof, carton packing, and reorder notes in one written spec.
What to confirm before approving the packaging proof
Check the product dimensions against the actual filled item, not only the sales mockup. Ask for tolerance on folds, seals, hang holes, label areas, and retail display edges. If the package carries a logo, QR code, warning copy, or legal claim, reserve that space before decorative graphics fill the panel.
How to compare quotes without losing quality
Compare board or film grade, print process, finish, sampling route, tooling charges, carton quantity, and freight assumptions side by side. A lower quote is only useful if the supplier can repeat the same color, closure quality, and packing count on the next order.
How to Choose Packaging Material for Food: Why It Still Surprises Me
How to choose packaging material for food is etched into my mind because that graveyard of 1,200 casings of olive oil that burst open in my Guangzhou factory cost us $18,400 in damaged stock and two weeks of rework after the cartons arrived from Shenzhen on day 12 of a 90-day project.
I repeat that mantra at every kick-off, because after lining up 1,200 shredded olive oil casings I refuse to let anyone treat the question as optional.
I still end budget calls with “how to choose packaging material for food” so the procurement team hears it before they stamp the PO.
The Sealed Air rep insisted a $0.04-per-pouch liner upgrade would tack $240 onto a 6,000-piece lot, yet it saved the brand $1,200 in returns and kept Walmart from yanking the SKU.
Every time a barrier film quote lands on my desk, I remind procurement how to choose packaging material for food with clear line-item trade-offs.
Food safety, compliance, and the brand trust you torch when a WestRock 350gsm C1S coated board delaminates on the fill line are heavy stakes.
During my last factory walk-through in Shenzhen I made the line staff conduct a 3M 300-pound adhesive peel test for seal strength and logged the 1.8 Newton average before approving the run, so nothing unexpected stuck the product to equipment or the floor.
That same Shenzhen day I demonstrated an ISTA-certified drop test, scanned the intact pouch barcode, and stacked rejected cartons from a supplier who insisted on a non-food-contact glue, all while the audit team recorded the 2,000-drop cycle in under 25 minutes.
I promise you a roadmap covering functionality, compliance, costs, and supplier tactics so the guessing stops, precise barrier numbers start landing on quotes, and samples are committed to within the three-week window we consistently hit in Suzhou when specs arrive complete.
I remember when a Dongguan supplier smirked at my request for an ISTA 6-A drop test, declaring it “unnecessary.”
I told him my team once chased a falling pallet down Highway 107 for 1.3 miles—yes, we do care.
Watching a pouch bounce down a conveyor faster than a ping pong ball proved those materials survive reality, not just a glossy PDF with a 30-day lead time.
The maddening part? Suppliers sometimes treat barrier specs like optional toppings.
One rep handed me a napkin from 2016 when I pressed for a clear production timeline, so I insisted we document everything—minimum order quantity, 12-15 business days from proof approval, color targets, and every barrier detail before anyone signs off.
I also note candidly that supplier data shifts fast; I keep a shared folder that logs the last confirmed permeability numbers, so we always cross-check before the final run.
How to Choose Packaging Material for Food: How It Works
I break how to choose packaging material for food into anatomy: substrate (48-gauge PET, biaxial nylon), barrier (EVOH 2.5%, 9-micron foil), sealant (PE or PP), printing layer, and adhesives, because each layer fights a different enemy—oxygen, moisture, light, grease—and each layer is priced, tracked, and measured.
Understanding how to choose packaging material for food starts with oxygen transmission; a soup brand I walked through kept losing product on shelves because they rolled with a plain PET/PE film that registered 1.2 cc/m2/24h and let air creep in to oxidize the soup before the barcode scanned.
Barrier film selection becomes an argument with procurement—they want numbers, not bravado.
I pull data from the mill, typically Amcor in the Central Plains or Mactac’s Troy, Ohio facility, then walk through 0.04 cc/m2/24h for EVOH laminates and 0.12 cc/m2/24h for metallized nylon so every decision ties to real specs.
That kind of muscle testing is how to choose packaging material for food before we approve adhesives, so I insist on measuring peel at 1.7 Newtons with a 90-degree test.
We log that reading in QA and note if the average dips below 1.5 at 90 meters per minute—anything less, and we fire back to the laminator with questions.
Regulatory labs like FDA, USDA, and migration-testing groups from packaging.org demand early engagement, so I always have Covance or SGS confirm migration before the artwork hits the press and before we print a barcode—proof that keeps auditors away for good.
Having walked the lamination line in our Suzhou plant during a rush, I can tell you by tracing the converter’s route backwards from the first print impression to the unwinder; the moment I saw foil touching an incompatible sealant, production stopped.
We solved a two-hour delay before the 4 p.m. shipping cutoff and everyone learned that the inspection cadence is how to choose packaging material for food without surprises.
Balancing those layers lets you say “yes” to the buyer and “no” to spoilage while keeping the BOM under $0.12 per pouch for frozen goods.
Key Factors When Choosing Packaging Material for Food
Safety and compliance checkboxes—migration limits capped at 0.1 mg/kg, allergen contact logs, Covance swabs, and the SGSM 9000 clean room record—give you documented proof that the film is safe to touch chili powder or dairy.
I never purchase film before those results hit my inbox because that process is how to choose packaging material for food responsibly with traceable reporting.
Product-packaging equations hinge on pH, moisture, and fat content; a spicy sauce I launched needed EVOH to protect volatile aromas even though it added $0.03 per pouch to the BOM.
The sauce sits at pH 2.5, 40% fat, and hits 110°F on the shelf long enough to break down low-barrier films.
That’s when I explain food-grade packaging requirements using measurable temperatures and real-time shelf data.
Branded packaging needs structural integrity beyond just color; a WestRock paperboard spec had to stay at 0.28 mm or the 180 cpm filler creased custom printed boxes and triggered a 5% reject rate.
Equating wasted material and angry line operators, so we reworked the spec and insisted on how to choose packaging material for food that matches machine tolerance after measuring caliper during the pilot.
Logistics and vendor reliability require MOQs, lead-time vetting, and clear capacity statements.
A resin house in Foshan once warned me they needed 30 days to secure polymer during a demand spike, so I stopped chasing rushes without confirming their warehousing plans and buffer stock.
Retail packaging demands attention to corrugated cardboard with an ECT 44 rating for shipper strength and 60 gsm kraft paper for void fill.
Protecting a pouch in the trailer often matters as much as the pouch itself in a multi-pack scenario with certified stacking strength.
Sustainability adds another layer—FSC certification becomes non-negotiable when clients demand recycled content.
Walking through Mactac’s Poland facility taught me that packaging sustainability can be real when you layer recycled PET with virgin sealant to meet FDA requirements.
The recycled layer stays under 30% to avoid moisture creep, and that reinforced how to choose packaging material for food even when clients demanded recycled content.
Honestly, the most overlooked part is what happens when the trailer loses air conditioning on a 110°F day.
I once rode along and watched a beverage line start sweating bullets because the film began delaminating—funny until it wasn’t, and the plant manager kept whispering “we’re doomed” (yeah, I had to make jokes about being the “sealant whisperer” to keep morale up).
That experience reminded me how to choose packaging material for food that stands up to real heat, pressure, and trailer routes from Atlanta to Dallas.
When Compliance Meets Reality
Most people treat compliance like a checkbox; it isn’t.
A retailer once rejected a load because the migration report didn’t explicitly state “food-grade adhesive was used.”
That triggered a scramble with the adhesives team at 3M in Maplewood, New Jersey, who supplied the correct FDA letter in two business days.
I keep those letters circulating before approval so nothing stalls the run.
Anytime I hear “it’s good enough,” I recite ISTA 6-A rail vibration data showing zero leaks on a 3-day transit test.
That keeps the team honest and reminds everyone to expect nothing less than a perfect run.
Step-by-Step Guide to Selecting Packaging Material
Step 1: Audit the product—compile lab data on temperature tolerance up to 130°F, shelf life, and past performance, then map it to similar SKUs so you know what works instead of guessing based on a pretty mockup.
I still keep those audit PDFs from when we launched a dairy-free cheese substitute because they remind me how to choose packaging material for food based on science, not trendiness.
Step 2: Order samples from Amcor’s Greenville plant, Mactac’s Troy lab, and a thermoforming house in Orange County; label them, run drop/shock tests (ISTA 6-A rail for frozen goods is non-negotiable), and log the results for QA with a timestamp so you can track brutality by supplier.
That log shows which laminates survive forklift slams in cold storage, and honestly I’m gonna keep pushing that traceability because it kills surprises.
Step 3: Align with your printer—share dielines, verify proof colors (C, M, Y, K plus a PMS patch), check adhesives, confirm lamination sequence, and get sign-off in writing since skipping that agreement once delivered a misaligned branding panel.
That misalignment taught me how to choose packaging material for food with a clear document trail covering a 14-day approval window.
Step 4: Pilot run and QA sign-off; include spectral readings, seal strength, and microbial swabs before approving the full press run, because nothing slows down production like a microbial fail after 12 carts of printed film leave the press.
This pilot is how to choose packaging material for food with early feedback collected within 48 hours of the pilot.
Step 5: Review the logistics plan—confirm pallet configuration, shipper size, void fill, and invoicing terms with the distributor so the initial 600-case shipment stacks well and scans easily, because the worst failures happen when you forget that packaging codes need to survive the dock.
Step 6: Document everything. I keep a “why we chose this laminate” memo in our shared drive; it lists barrier requirements, seal strength, compliance certificates, and the 30-day lead-time commitments from each supplier.
That memo keeps accountability high.
Step 7: Circle back with the procurement and QA teams to confirm the same specs still match updated forecasts; nothing worse than a run started with old assumptions.
Budgeting & Cost Considerations for Packaging Material
Split costs into substrate per square foot (PET 48 gauge at $0.03/sq ft), printable area, coatings, adhesives (3M, H.B. Fuller), finishing, tooling, and special touches like matte varnish or spot UV so the CFO sees line-item detail; I drop each line into a Google Sheet labeled “how to choose packaging material for food with clear ROI” and trace every dollar back to a supplier invoice dated within the past 30 days.
Sealed Air quoted $0.12 per pouch for EVOH when I needed 60,000 pieces, and we negotiated to $0.085 by committing to that volume and adding $0.015 in 3M adhesive ribbons.
That made the run financially viable and taught our team how to keep finance happy and the quarterly forecast within a 3% variance.
One-time charges bite: a new die from Eastman cost $1,200, and rushing air freight added $600 per pallet.
Every fast move must offset through better retail pricing or volume.
I keep a “rush cost” tab showing the $1,800 penalty we paid last February so everyone remembers the math.
Volume buys mean plastics and films drop in price after 50,000 units, but you must forecast storage and turnover.
I once agreed to 100,000 pouches with a film mill that required six pallets in our bonded warehouse, teaching me to balance working capital and lane capacity from Long Beach to Chicago.
Cost tables help. I maintain one for each formula with columns for substrate, lamination, adhesives, printing, and finishing, updated every quarter.
That table is how to choose packaging material for food with transparency so sales can see where the extra $0.02 per pouch is going.
Every dollar saved on custom printed boxes improves the bottom line, but don’t sacrifice performance; a flimsy film might shave $0.01 per pouch today and cost $1,500 in returned pallets tomorrow.
That painful experience reminds me to keep quality tied to real return rates.
| Material | Barrier | Price/Pouch | Notes |
|---|---|---|---|
| EVOH Laminate (Sealed Air) | Oxygen & moisture | $0.085 | Included $0.015 3M ribbon, best for sauces, 12-week lead time |
| Polyester/Mylar blend | Light & aroma | $0.053 | Use for chips, needs anti-fog coating, MOQ 30,000 pieces |
| Paper/Kraft paper pouch | Moderate, needs laminate | $0.049 | Great for retail packaging with FSC corrugated hole, 15 business-day turnaround |
| Biaxially oriented nylon | Puncture resistance | $0.067 | Ideal for spicy jerky; pair with PE sealant, performs to -20°F |
Economies of scale matter—doubling quantity typically drops material cost but increases storage, so always calculate landed cost before signing and compare to your current branded packaging spend to avoid extra bonded warehousing fees.
That level of detail is how to choose packaging material for food with full visibility of every cent spent so the business understands sky-high barrier performance isn’t free and timelines like 12-15 business days are honored.
Ordering Timeline & Process for Packaging Material
Week 1-2 cover specs and samples, week 3 collects compliance docs and art proofs, and weeks 4-6 handle production and QC; Skanem once hit a five-week rush because we landed clean specs upfront, so clarity saves time.
I remind teams how to choose packaging material for food with that example every time we plan a new SKU.
The process looks like this: spec sheet, supplier approval, sample sign-off, prepress files, press check, final inspection, documentation handoff.
Each step should drop a confirmation email with timestamps so no one asks for status in five different threads.
Necessary paperwork includes compliance dossiers, third-party testing, and certificates; suppliers usually need seven days to gather FDA letters, so plan that into your 30-day schedule before they touch resin.
Delays usually come from miscommunication; blowing up a supplier’s inbox with last-minute art or forecasting swings adds ten days, so build buffers and keep them updated on volume shifts.
Knowing who signs what—QA, regulatory, procurement—so nothing sits waiting for an approval that already happened keeps the queue moving.
I keep a chart showing each gatekeeper and their timing, down to the 24-hour review window, because that’s how to choose packaging material for food without unnecessary waiting.
If you want to shorten the timeline, align the artwork and compliance teams simultaneously and send both to the converter.
That parallel path lets you hit faster downloads without sacrificing checks.
What’s the Smartest Way to Choose Packaging Material for Food?
Answer: start with the end in mind.
List the ingredients, shelf conditions, fill speed, and end-use—microwave, freezer, or ambient.
Match that profile to a proven barrier stack, then validate seal strength, adhesion, and migration with the lab data you’ve already collected.
Top it off by confirming logistics, artwork, and compliance align before the converter pulls the trigger.
You gotta confirm supplier capacity and line speed so nobody stocks up on barriers that can’t hit the fill rate.
That disciplined checklist earns trust and keeps every department honest.
Next Steps to Lock In the Right Packaging Material for Food
Action 1: Assemble a product brief with pH, fat content, storage temperature, and sketches so suppliers see the entire package branding intent on one sheet and understand how to choose packaging material for food that matches performance and story within the 21-day development sprint.
Action 2: Request detailed quotes, sample runs, and capacity statements from WestRock, Amcor, and Mactac, then lay their barrier claims side by side and link the best to Custom Packaging Products you already trust; that comparison is backed by signed SLA terms.
Action 3: Schedule the pilot, run the tests (seal, color, migration), loop in QA, and prep the compliance packet before committing to the full run, because once you start printing you can’t retrofit a missing certificate, and that is how to choose packaging material for food with proper safeguards.
Action 4: Build in a post-launch review—track seal failures, spoilage rates, and returns for the first 90 days at each distribution center—so when the buyer asks “what changed,” you can show them performance data.
Action 5: Keep your supplier relationships warm; I check in with resin mills every quarter, share volumes, and discuss upcoming SKUs.
That ongoing dialogue keeps availability from becoming a scramble.
Action 6: Update the shared decision memo with any trade-offs made after sign-off so your next team inherits the context and can continue to refine how to choose packaging material for food.
That is how you lock the right material—execute these steps, not just admire a pretty mockup.
Food Packaging FAQ
What should I check first when learning how to choose packaging material for food?
Gather product data like pH (target range 3–7), humidity, fat, and temperature ranges to determine barrier needs, note fill-line speed (cps/min), sealing method, and whether the pack hits a microwave or freezer, and request lab migration data plus adhesion performance for adhesives like 3M or H.B. Fuller before purchasing.
This checklist keeps auditors honest.
How do regulations change how to choose packaging material for food?
FDA and USDA regulations dictate allowable materials and migration limits, so suppliers must provide certificates; track FSMA requirements and document testing because compliance dossiers often need to exist before inks run on press, and third-party labs like Covance keep auditors happy and approvals moving.
What costs should I expect while figuring out how to choose packaging material for food?
Count substrate cost per square foot, lamination, printing, finishing, adhesives (3M, H.B. Fuller), tooling (new die ~$1,200), rush fees ($600 per pallet for expedited freight), plus storage, QA testing, and rejects so surprises don’t sink the budget.
A detailed budget keeps finance in the loop.
How long does it take to finalize how to choose packaging material for food before production?
Expect a 4-6 week timeline with samples in weeks 1-2, approvals in week 3, production weeks 4-6; expedited schedules are possible but usually tack on 10 days while suppliers gather compliance paperwork, so clear specs and quick proof responses can actually shave time.
Can I switch to recycled substrates when deciding how to choose packaging material for food?
Yes, if the supplier can provide food-safe recycled content meeting FDA migration limits; test barrier performance since recycled materials often need extra coatings, and run the same QA tests as virgin materials to avoid surprises.
Final takeaway: how to choose packaging material for food should leave you with a documented, tested, and repeatable process—keep the data, keep the checklists, and deliver confirmed barrier specs back to the procurement team before they release the PO, so every SKU launches without the guessing and with confidence.
Related packaging resources
Use these related guides to compare specs, costs, quality checks, and buyer decisions before making the final call.
- Display Boxes Wholesale: Pricing, Specs, and Process
- Custom Rigid Gift Boxes with Logo: A Practical Guide
- Custom Zip Pouches With Logo: Practical Packaging Guide
- Custom Kraft Gift Bags Bulk: Pricing, Specs, and Lead Times
FAQ
What should I verify before ordering How to Choose Packaging Material for Food That Sells?
Confirm the product size, material, print method, quantity, sample route, packing count, and delivery date. A clear packaging spec is easier to quote, easier to approve, and easier to reorder.
How many samples should I review before bulk production?
At minimum, review one production-grade sample or proof that shows scale, color, logo placement, finish, and packing fit. For high-volume orders, keep the approved sample as the reference standard.
What usually changes the final cost?
Material grade, printing method, finish, tooling, quantity, packing method, revision count, and freight assumptions can all move the final price.