If you are buying personalized plastic Bags with Logo, the real question is not whether a printer can put ink on plastic. Of course they can. The real question is whether the bag supports the product, the brand, and the price point without looking like an afterthought. That line matters more than most procurement briefs admit.
A plain bag moves items from point A to point B. A branded bag does that plus a little emotional work. It makes the purchase feel more intentional, helps the business stay visible after checkout, and gives the customer one more reason to remember where the item came from. That is a lot of work for a sheet of plastic, which is why the details matter.
Custom logo bags show up in retail, food service, trade shows, subscription packaging, event kits, and ecommerce inserts. They are simple, highly visible, and unforgiving. If the sizing is wrong, the print is weak, or the material feels flimsy, customers notice immediately. Plastic does not hide mistakes. It advertises them.
What personalized plastic bags actually do for a brand
A generic carry bag is packaging. Personalized Plastic Bags with Logo turn that packaging into a brand touchpoint. That sounds obvious until you compare two otherwise identical purchases: one dropped into a clear unmarked bag, the other handed over in a printed bag that matches the store’s look and color scheme. The second one usually feels more finished, even when the product inside is the same.
The bag’s job changes based on the use case. Retail shopping bags need enough structure to protect product and keep the logo visible in hand. Takeout bags need to survive grease, heat, moisture, and the occasional rough ride in a car. Event bags need visibility and reuse potential because they are often carried in crowds. Ecommerce mailers have a different priority: size accuracy, product protection, and a cleaner unboxing experience without spending too much on packaging overhead.
Material choice shapes the experience as much as the artwork does. LDPE is softer and more flexible, which is useful for bags that need a smoother hand feel or more give. HDPE is thinner, crisper, and often more cost-efficient for lighter loads. Neither one is “better” in a vacuum. The better option depends on what the bag has to carry and how it should feel at checkout.
Recyclable polyethylene options are available, but the word “recyclable” needs context. Acceptance depends on local collection systems and on whether the bag is actually clean and sorted correctly. If marketing wants to make a sustainability claim, keep it specific and supportable. Broad environmental language is where packaging teams get into trouble, usually after someone in another department got creative with the copy.
Most buyers end up controlling the same five variables:
- Bag size — width, gusset, and height
- Thickness — usually measured in mils or microns
- Handle style — die-cut, loop handle, patch handle, or shirt-style
- Print colors — one color, two colors, or more
- Finish and closure — matte, glossy, resealable, or open-top
Those choices decide whether the bag feels like a disposable carrier or a branded piece of packaging. Same material family. Very different result.
How the printing and production process works
Production usually begins with a quote request. The best quotes come after someone provides actual specifications, not a vague “we need something custom.” Size, material, thickness, quantity, logo file type, print colors, and delivery date all affect the final price and lead time. If those are missing, the quote will be fuzzy. Fuzzy quotes usually become fuzzy orders.
The workflow is usually simple:
- Quote based on size, material, print, and quantity
- Artwork review to check file quality and placement
- Proofing with a mockup or digital proof
- Plate or print setup depending on the method
- Production and print run
- Finishing, packing, and shipping
For larger runs, flexographic printing is common. It is efficient once setup is complete, especially for repeat orders and logos with limited colors. For shorter runs or test quantities, digital printing can make sense because it reduces setup costs and avoids overbuying. It is usually not the lowest unit price, but it can be the smarter total spend when volume is uncertain.
Artwork is where a lot of projects get delayed. A blurry JPG is not print-ready just because it opens on a screen. A proper production file is usually a vector format such as AI, EPS, or PDF. Vector files keep edges sharp at any size. They also make it easier to control spot colors, maintain clean lines, and avoid the soft, fuzzy look that shows up when low-resolution artwork gets stretched across a bag panel.
Print placement matters too. Logos near seams, folds, or handle attachments can distort once the bag is formed. Safe zones exist for a reason. So does bleed. Ignore them and the artwork may look fine in a mockup, then awkward in the real world after the bag is filled and hanging from a hand.
Proofing and approval
A proof is not a formality. It is the last sensible place to catch sizing errors, spelling mistakes, layout issues, and color problems before the job goes into production. If a brand color matters, ask for a digital mockup on the actual bag size. For larger programs, ask whether a physical sample or swatch is possible. That small step is cheap compared with reprinting a run that missed the mark.
Lead times vary by method and order size. Stock-bag printing can sometimes ship in 5-10 business days after proof approval. Fully custom manufacturing often lands in the 12-20 business day range, sometimes longer if the artwork needs cleanup or the quantity is large. Freight can add several days or even a couple of weeks depending on distance and shipping method. Most delays are not caused by the press. They are caused by late approvals, missing files, and the buyer who wants everything fixed by lunch after sending the logo at 4:58 p.m. on Friday.
Cost, pricing, and MOQ factors that change the quote
Price moves with a handful of variables: size, thickness, print coverage, color count, handle style, and whether the bag is stock or fully custom. The basic rule is simple. Bigger bags cost more. Thicker bags cost more. More colors cost more. More customization costs more. Manufacturing has a way of being irritatingly logical.
MOQ, or minimum order quantity, matters because setup costs are spread across the run. A short run can look expensive per bag because the press still needs setup, proofing, and a waste allowance. Larger orders usually bring the unit price down. That does not mean every buyer should chase the biggest quantity available. It means the order should match actual usage so finished inventory does not sit in storage for a year collecting dust and budget regret.
Real-world pricing tends to behave like this:
| Order type | Typical unit behavior | Best for | Tradeoff |
|---|---|---|---|
| Small run, stock bag | Usually higher per unit, often about $0.35-$0.90+ | Pop-up shops, tests, short promotions | Less control over exact spec |
| Mid-volume custom print | Often around $0.18-$0.45 per bag depending on size and print | Retail, cafes, local chains | Setup still matters |
| High-volume run | Can fall lower per unit, especially with simple artwork | Multi-location brands, wholesalers | More cash tied up upfront |
Those are planning ranges, not fixed quotes. Final pricing depends on the supplier, the specification, and the shipping method. If a quote lands far outside those patterns, ask what changed. Usually it is one of three things: thickness, print coverage, or someone quietly padding the margin because the order sounds urgent.
Hidden costs are where budgets get bruised. Rush fees are obvious. Less obvious items include artwork cleanup, extra color charges, special inks, premium finishes, freight surcharges, and sample production. A “simple” logo can become expensive if it needs vector rebuilding or color correction. Fully custom bags may look better, but they are not automatically the best value for a short seasonal promotion.
How to choose the right bag style for your use case
The best bag is the one that fits the actual use case. Not the prettiest sample. Not the most expensive option. Not the one a salesperson described with the kind of enthusiasm that usually belongs to luxury mattresses. Use case first.
Retail shopping bags usually need enough structure to protect the product and enough print area to keep the logo visible. Takeout bags need strength, heat tolerance, and resistance to moisture or grease. Trade show bags should be comfortable to carry because people often keep them in hand for hours. Ecommerce mailers are more about size fit and presentation than weight capacity. Event giveaway bags often work best when they are light, easy to distribute, and reusable enough to stay in circulation.
Thickness is one of those details buyers ignore until the sample arrives. Light-duty bags work for soft goods and lightweight items. Medium-duty bags fit a lot of retail and food service uses. Heavy-duty bags make sense when the product is dense, sharp-edged, or likely to be reused. If a bag feels flimsy before anything is inside it, customers will notice that too. They usually do not say anything. They just judge quietly.
Handle style affects comfort and perception. Die-cut handles look clean and are common for apparel or gift packaging. Loop handles are better when items are heavier or when the bag will be carried farther. Patch handles add strength and improve comfort. Shirt-style handles are cost-efficient and common for carryout. If the bag is meant for a long walk, a weak handle can turn branded packaging into an inconvenience.
Print placement changes the feel of the bag more than most people expect. One-sided printing can look clean and premium. Two-sided printing improves visibility. Full coverage feels bold, but it increases cost and can look cluttered if the design is doing too much. In packaging, restraint usually reads better than trying to squeeze every idea onto one panel.
Sustainability should be handled with real specs, not slogans. Downgauging material, selecting reusable formats, and choosing recyclable polyethylene where appropriate can reduce waste. The right choice depends on the category, the customer, and local disposal habits. For brands that want to align procurement with recognized guidance, resources from EPA plastics guidance and packaging industry references from PMMI can help frame decisions without inventing your own rules.
Step-by-step ordering process and realistic turnaround
Start with the actual business need. How many bags are required? What product is going inside? When does the order need to arrive? Those three answers shape the spec, the cost, and the lead time. If the brief starts with “we want something nice,” the project is not ready to quote yet.
Step 1: Gather dimensions, product size, logo files, and color references. If brand guidelines exist, send them. If your colors are strict, include PMS numbers. If the exact bag size is not known, measure the packed product with enough room for easy loading. A bag that is too tight looks awkward and performs worse.
Step 2: Ask for samples or digital mockups if the order is important, color-sensitive, or tied to a launch. This is especially useful for personalized plastic Bags with Logo that need to coordinate with existing packaging. Mockups help catch proportion issues before production, which is one of the cheapest ways to avoid expensive mistakes.
Step 3: Review the proof with annoying attention to detail. Check logo placement, spelling, color direction, handle type, and dimensions. Confirm whether the print is one-color, two-color, or full coverage. Confirm whether the bag is stock or custom-made. If changes are needed, send them clearly. “Can we make it pop?” is not feedback. It is a cry for help in a different font.
Step 4: Compare the quoted ship date to the real launch date, not the ideal one. Build buffer time for proof revisions, production variance, and freight. A safe rule is to keep at least 1-2 weeks of cushion for custom orders. Add more if the bags are shipping from farther away or if the artwork still needs cleanup.
“The fastest way to waste money on custom packaging is to rush the wrong spec.” That is the kind of line people dislike until the first reprint quote arrives.
If the order is tied to a store opening, seasonal promotion, or event, work backward from the deadline. Count from the date the bags need to be in hand, not from the day the project gets approved. That habit alone prevents a lot of freight panic.
Common mistakes that make bags look cheap or cost too much
The first mistake is wrong sizing. A bag that is too small wrinkles, stretches, and looks like a last-minute fix. A bag that is too large wastes material and makes the packaging feel sloppy. Match the bag to the packed product, not to a catalog number that seemed close enough during a rushed meeting.
The second mistake is overprinting. Two colors are often enough. Four or five colors may look impressive on a screen, but they raise cost and complicate production. If the logo works in a strong single color, there is no prize for turning the bag into a poster.
The third mistake is choosing thin material because it saves a few cents. That economy is usually fake. A flimsy bag lowers the perceived value of the product inside it, and customers pick up on that immediately. The cheapest packaging is not cheap if it makes the whole purchase feel lower-end.
The fourth mistake is bad artwork prep. Low-resolution files, missing fonts, and unclear color references all create delays. None of that is mysterious. It just means someone skipped the basics and expected production to fix it later. Production can fix a lot. It should not have to rescue a file that was never ready.
The fifth mistake is ordering too late. Rush production and expedited freight can add meaningful cost. Sometimes a lot. A normal custom order is easier to approve, easier to produce, and usually better on price. Last-minute packaging is a brand tax with a tracking number.
Expert tips for better artwork, lower waste, and stronger branding
Keep the logo simple enough to read from arm’s length. Tiny detail often disappears on flexible plastic, especially when the bag moves or crinkles. Bold text, clean shapes, and strong contrast hold up better than intricate art with five line weights and a hopeful attitude.
Use one message. One logo lockup. Maybe one short tag line if it earns its place. Do not fill every inch just because the printable area exists. Empty space is not wasted space. It gives the design room to breathe and makes the bag look deliberate instead of crowded.
Ask for a mockup at actual size. Not a tiny thumbnail. Actual size. A logo that looks balanced on a screen can feel too small or too large once it is printed on a moving, flexible surface. Proportion is where a lot of “great concepts” quietly fall apart.
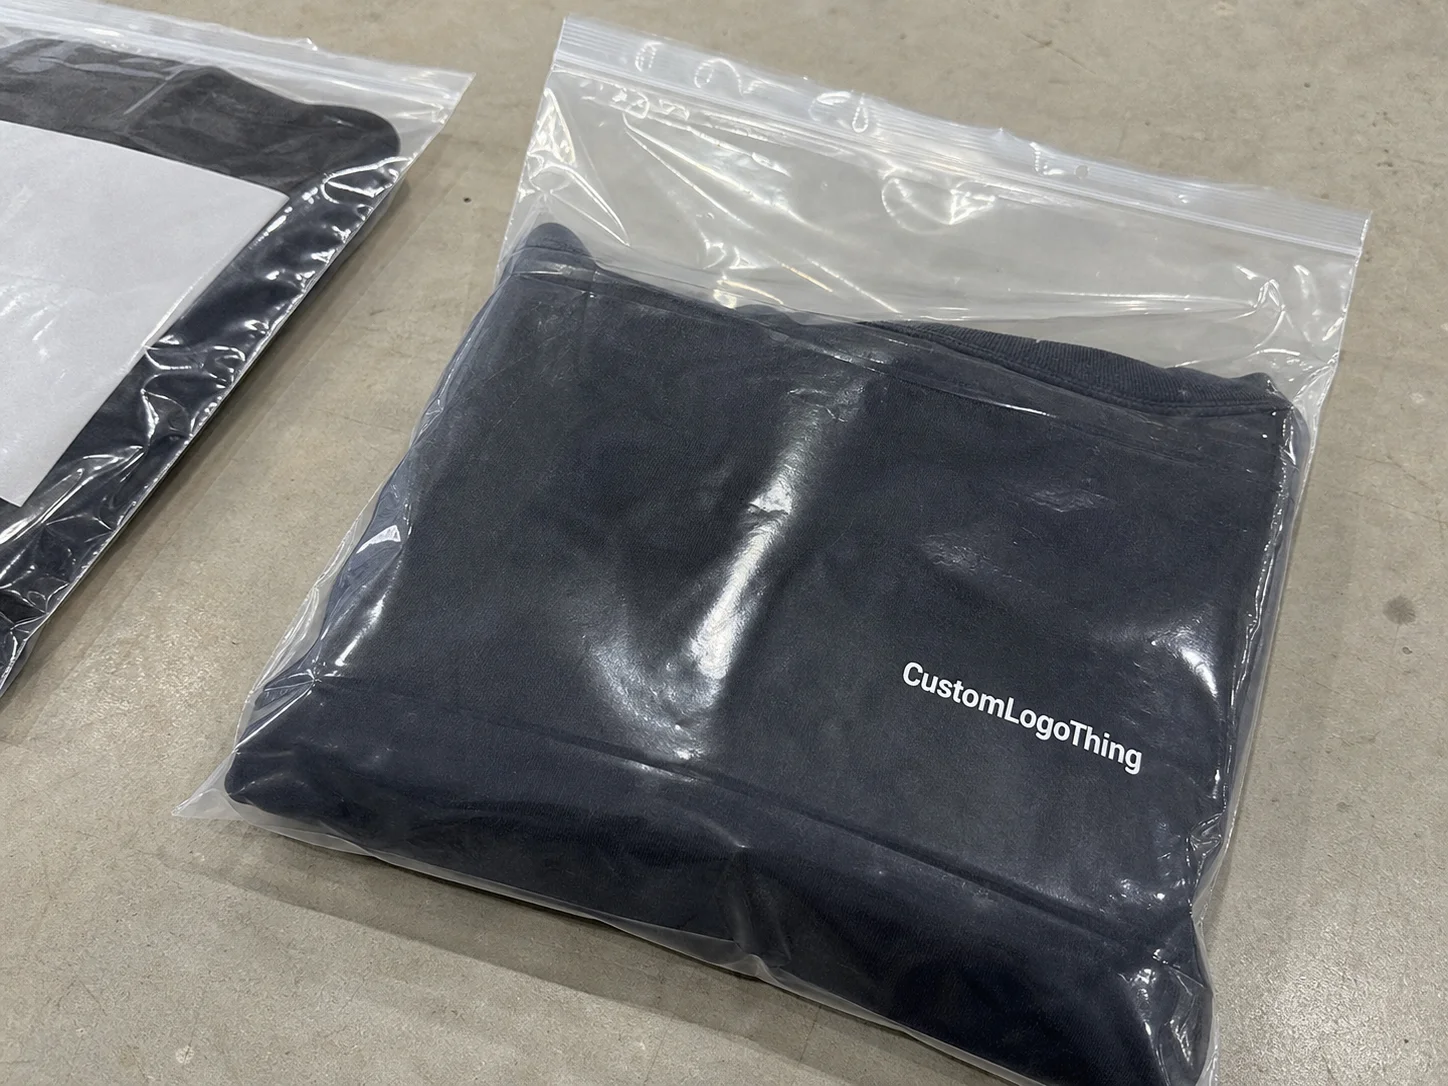
Choose colors with the substrate in mind. White ink on a dark bag can look sharp. Dark ink on clear plastic can disappear. Tinted film changes how the design reads. If color matching matters, get it confirmed before production starts, not after the first pallet lands.
Plan reorders before inventory gets low. That keeps branding consistent and reduces the chance of accepting substitutions you did not want. It also helps hold the same material and print spec across batches, which matters more than most teams realize once bags become part of the customer experience.
For brands with recycling or reuse claims, keep the packaging program aligned with the actual material and the actual disposal path. If the bag is part of a mixed packaging system, check guidance from FSC for paper-based components and ISTA for shipping-related performance testing. Different packaging jobs need different standards. Wild concept.
FAQ
What are personalized plastic bags with logo used for?
They are used for retail packaging, takeout, events, giveaways, shipping inserts, and general brand visibility. They help packaging feel intentional instead of generic, and they can keep the brand in front of customers when the bag gets reused.
How much do custom plastic bags with logo usually cost?
Pricing depends on size, thickness, print colors, quantity, and whether the bag is stock or fully custom. Smaller runs usually cost more per bag because setup is spread across fewer units. Larger orders usually reduce the unit price.
What is the typical lead time for branded plastic bags?
Lead time depends on artwork approval, production method, order size, and shipping distance. Simple stock-based orders can move faster than fully custom production. Rush orders are possible sometimes, but they usually cost more.
What artwork do I need for personalized plastic bags with logo?
A vector file such as AI, EPS, or PDF is usually best. High-resolution artwork and clear brand colors help avoid delays. If you only have a low-quality image file, expect cleanup work before printing.
How do I choose the right size and thickness for custom plastic bags?
Pick size based on the product dimensions plus room for easy packing. Choose thickness based on weight, handling, and whether the bag needs to feel premium or reusable. If you are unsure, ask for samples or a recommended spec based on your product.
If you want Personalized Plastic Bags with logo that actually do their job, start with the product, the quantity, and the timeline. Then choose the simplest spec that still feels right in hand. Usually that means a cleaner design, a practical thickness, and enough lead time to avoid expensive shortcuts. Fancy is optional. Functional is not.


