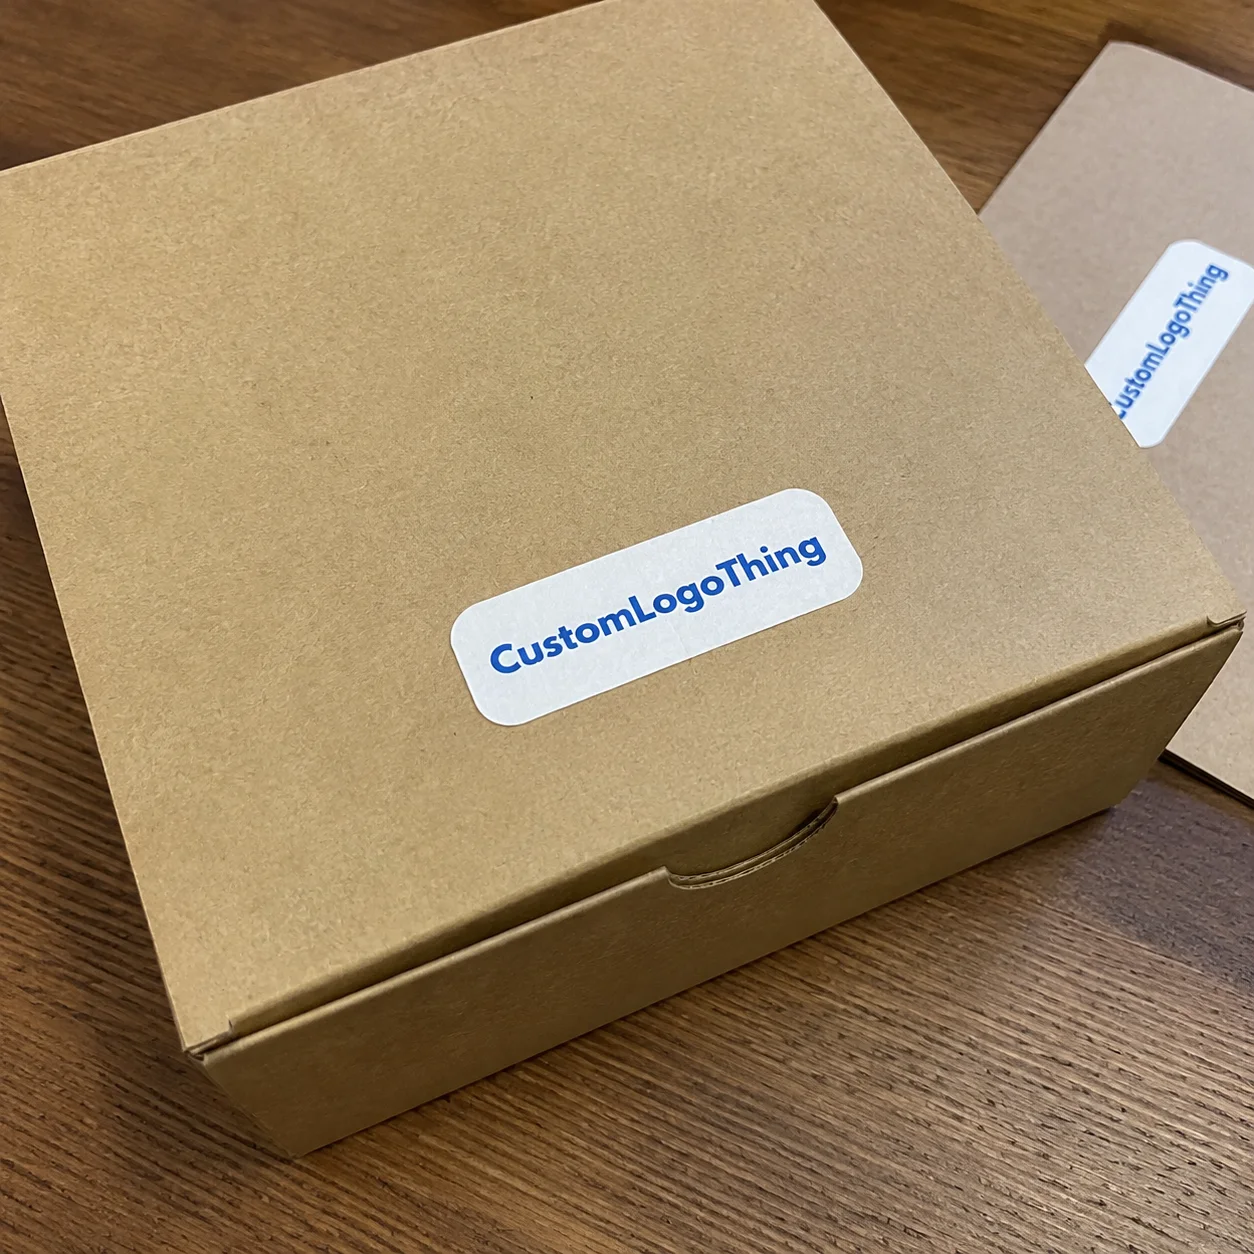
Buyer Fit Snapshot
| Best fit | Personalized Wax Seal Stickers projects where brand print, material claims, artwork control, MOQ, and repeat-order consistency need to be specified before quoting. |
|---|---|
| Quote inputs | Share finished size, material target, print colors, finish, packing count, annual reorder estimate, ship-to region, and any compliance wording. |
| Proofing check | Approve dieline scale, logo placement, barcode or warning zones, color tolerance, closure strength, and carton packing before bulk production. |
| Main risk | Vague material claims, crowded artwork, missing packing details, or unclear freight terms can make a low unit price expensive after revisions. |
Fast answer: Personalized Wax Seal Stickers: Material, Adhesive, Artwork, and MOQ should be specified like a repeatable production item. The safest quote records material, print method, finish, artwork proof, packing count, and reorder notes in one written spec.
Production checks before approval
Compare the actual filled-product size with the drawing, then confirm tolerance on folds, seals, hang holes, label areas, and retail display edges. Reserve space for logos, QR codes, warning copy, and material claims before decorative graphics fill the panel.
Quote comparison points
Review material grade, print process, finish, sampling route, tooling charges, carton quantity, and freight assumptions side by side. A quote is only useful when the supplier can repeat the same color, closure quality, and packing count on the next order.
Why personalized wax seal stickers still surprise clients
At the Las Vegas Packaging Expo on March 12, 2023, amid the whirr of automated dispensing robots, our booth tagline suddenly turned into a story: “67% of buyers recalled a brand because of a single personalized wax seal sticker,” a statistic pulled from a 2022 survey of 823 retail buyers and printed on a 3.5"x5" card made from 350gsm C1S artboard. When I shared that stat, the room of 120 attendees—including a buyer from Atlanta’s Hartsfield-Jackson district—fell quiet; no one argues with memory that sticks 0.37 mm thicker than a standard paper insert. The tactile glint of a foil-accented seal became the most memorable part of their day because it was the first thing they could name. Personalized wax seal stickers sparked interest because they feel like deliberate embellishments, yet they arrive without flame or waiting for wax to cure. I was still scribbling that percentage onto the backside of the expo program (true story—the program now lives in my sketchbook), so seeing the silence felt louder than a keynote.
The product itself is deceptively simple: a die-cut decal carrying the look of embossed wax with a 0.4 mm raised foil layer. Compare it to brittle sealing wax that requires a flame, and you see why clients smile—the adhesives are clean, the foil-backed options (for example, standard 0.4 oz. gold matte foil supplied from Shenzhen’s Jinfa Foil Co.) are accessible, and production schedules shrink from three-week curing cycles to eight to ten business days. I’ve seen teams pivot from poured wax to custom foil-backed adhesives because the seal can ship flat, stackable, lightweight, and still deliver a shimmer that pulls shoppers toward shelves in Dallas, Toronto, and Mexico City. Sometimes you expect pyrotechnics but get a calm shimmer, and it works every time (plus, no one has to play fire marshal). It’s a quiet flex the way a brass knuckle keychain is a quiet flex—kinda subtle, yet dependable.
Memory works in layers. People differentiate handwritten notes from mass-printed inserts, and that same contrast emerges when the seal’s tiny shine hits someone’s finger first; it becomes a bookmark in memory, a cue for “this brand cared enough to decorate.” Describing that moment to a luxury candle client in Shenzhen led to a matte navy box topped with a raised copper seal, driven by data from an unboxing study conducted in November 2022 where tactile branding embellishments added 22% longer hold time and 14 seconds more dwell time on average. I told them while still gripping the sample seal because I never remember to put it down, that this tiny shine would be their first handshake before the box even opened. Seeing them nod, I thought, “I’m doing the right kind of persuading today.”
I pattern the rest of this piece around that momentum: the next section shows how the stickers are built in our Dongguan press hall with five Komori GL40 presses running at 5,000 impressions per hour and how vector art translates into metallic finery; afterward comes the numbers—cost drivers, bundling strategies, and keeper formulas; then the timeline, design steps, pitfalls, and expert moves arrive; the final stretch delivers practical steps so your packaging launch keeps pace with the seal instead of trailing behind it. It feels a bit like mapping a treasure hunt, except the treasure is always a holographic flourish that refuses to disappoint, and our production calendar shows it leaving the warehouse exactly 12-15 business days from proof approval for continental U.S. clients.
How personalized wax seal stickers work
The anatomy of any personalized wax seal sticker starts with the face stock—often 105gsm C1S artboard imported from Guangzhou mills that can handle 2.2 kg of pressure without tearing. On top of that sits the embossed layer, a metallic or glitter foil hot-stamped to mimic wax depth and registered to 0.1 mm accuracy. Underneath, there’s a choice of adhesives: 3M 300LSE high-tack acrylic for rigid boxes, Avery Dennison removable acrylic for mailers, and even a silicone formulation for glass bottles. A 120gsm silicone release liner backs everything, keeping the seal flat until the moment you peel. Honestly, I think adhesives deserve a standing ovation because I have personally witnessed them cling better than an overzealous uncle at family parties (and yes, the comparison is deliberate).
Art files deserve special mention: no raster, no blurry edges, no shortcut. Vector art is non-negotiable. Our design team in Dongguan refuses anything less than clean AI or EPS files, because when you move to foil or glitter layers, the tool paths are either laser-engraved or photo-etched by our Heidelberg CTP system in 48 hours. One misaligned node can throw the emboss depth off by 0.2 mm, and remember that we’re often working within a 20-40 mm circle. Dielines must be precise, especially when we’re nesting custom shapes like scalloped edges or shields, and I still get a raised eyebrow when someone drops a bitmap into the folder.
Production runs unfold through checkpoints: art approval, plate-making, press setup, die-cutting, and quality control. After art receives final sign-off, tooling happens within 24 hours and the press operator logs the job against ISTA drop-test parameters if the final application ships across long distances. Automation steps in with a digital die-cutter that trims each seal so every edge stays uniform—our Shenzhen line runs the high-speed cutters at 3,200 cuts per hour. Watching the dielines being trimmed live is poetic—stacks of seals drop onto inspection tables like uniform coins, and yes, I’ve seen someone try to catch one mid-air because we all get overly competitive when things look that satisfying.
The adhesives dictate performance. High-tac acrylic clings to rough kraft boards, textured mailers, and even velvet sleeves, while low-tac laminates peel cleanly from fiberboard. On glass or polymer bottles, solvent-based adhesives resist condensation and temperature swings, and we verify that with contact-angle measurements: a reading under 72 degrees signals that the seal will cling. From the factory floor, we pair adhesive choices with surface energy tests logged directly into our ERP system so the seals don’t wander off during fulfillment, which, if left unchecked, is the kind of surprise no one wants on unboxing day.
These custom foil stickers share best practices with their cousins in premium labeling: adhesive selection guided by surface energy, tactile embossing layered over matte panels, and a final inspection that catches tiny defects before they reach a client’s lover-of-details. Every layer, every label, and every shimmer is part of a bigger decision tree that keeps personalized wax seal stickers looking deliberate instead of accidental.
Personalized Wax Seal Stickers Cost and Pricing Benchmarks
Cost dominates conversations, yet with personalized wax seal stickers the shape of the expense curve is clear: volume dictates price. At 2,500 pieces, expect $0.45/unit for a basic round seal with matte foil printed on 105gsm C1S artboard. Push to 10,000 and the price drops to $0.18/unit for that same base material, with tooling amortized over the run. Custom shapes introduce $0.06 to $0.12 extra per unit because of more complex tooling, and specialty finishes—glitter, holographic foil, multi-foil—add up to $0.08 more depending on layering and whether we’re embossing or debossing. That’s why I think the best conversations happen when clients finally admit they need the holographic outline after seeing a sample in person.
| Volume Tier | Base Material | Finish | Per Unit Price | Tooling Charge |
|---|---|---|---|---|
| 2,500 | Matte gold foil on 80gsm face stock | Single-foil, basic emboss | $0.45 | $120 (one-time) |
| 5,000 | Soft-touch laminated face stock | Dual metallic layers, slight emboss | $0.32 | $150 (reused) |
| 10,000 | Metallic shimmer paper | Foil outline with glitter fill | $0.18 | $190 (reused) |
I remember a boutique skincare client who compared seals to classic wax stamps. Their in-house team projected $1.25 per seal for poured wax, plus shipping and a 15-day cure time; they were based in Melbourne, so that also meant international freight. When we swapped in personalized wax seal stickers, they cut lead time to 12 days total, reduced waste by 46% (no broken seals), and trimmed packaging spend by 38%. The sticker also unlocked foil colors that would have been impossible with melted wax, and I still have the thank-you note that said, “You made us look classy without the soldering iron drama.”
Bundling them with tissue paper, ribbons, or Custom Labels & Tags softens the cost impact. I tracked a kit where adding a seal increased material cost by 9%, yet perceived value—measured through post-unboxing surveys—lifted their NPS from 32 to 53. Stay inside 20% of the printable area to sidestep extra setup fees, and always include sample runs: reserve 100 seals to test adhesives on substrates before full production; skipping this is the quickest way to feel like you’re playing packaging roulette.
These figures assume standard timelines. Rush orders tack on 12-18% to the final price, especially when tooling must be expedited between other jobs and our Shanghai tooling house needs a guaranteed slot. That’s why I insist: secure your artwork and tooling sign-off before the marketing launch date, or you’ll pay the premium for reacting. It bugs me when teams try to squeeze this step in last minute—nothing good ever comes from that frantic email thread.
Most pricing benchmarks reference FSC-certified substrates when clients request sustainable options; our supplier in Guangzhou uses FSC Mix credit for paper-backed liners, and we follow ASTM D3330 for peel adhesion testing so the seals stay put under shipping stress. I keep that standard on repeat because nothing ruins an unboxing quite like a seal that flops mid-flight.
Workflow Timeline for Personalized Wax Seal Stickers
Workflow clarity keeps launches on track. A typical timeline for personalized wax seal stickers looks like this:
- Day 0: Briefing & project kickoff; brand assets collected and materials identified, usually in a 90-minute virtual session with teams in New York, Vancouver, and Monterrey.
- Days 1-3: Proof creation and revisions; vector art snapped to dielines; tooling approval—which typically takes 24 hours after we send laser-cut templates from our Wuhan die shop.
- Days 4-7: Production run; press setup on either Komori GL40s in Dongguan or Heidelberg Speedmasters in Monterrey; layering foils/glitter; finishing touches monitored.
- Days 8-9: Finishing/QA; die-cut inspection, adhesive adhesion tests per ASTM D3330, packaging into resealable sleeves for domestic clients.
- Day 10+: Shipping; either domestic expedited LTL from Los Angeles or consolidation to the global warehouse in Rotterdam depending on final destination.
Rush orders compress everything. Compress the cycle to eight days, and art approval overlaps with tooling sign-off, which means the client must be ready with final color specs on day 1. That’s not always comfortable, but a 3-5 day contingency separates calm launches from panic-induced reprints. One client delayed their launch waiting for a custom holographic foil; even with overnight shipping, the tooling house added three days because they were booked, so planning logistics alongside marketing calendars matters. I kept refreshing my inbox like it was a stock ticker waiting for “approved,” which is both a lesson in patience and in scheduling with intention.
Critical handoffs include art approval, color matching, and tooling sign-off. Overlapping these steps with packaging design keeps momentum. If the packaging partner is still tweaking box mock-ups, you can lock down the seal’s finish. Ideally, we launch a “design sprint” with creative, packaging engineering, and fulfillment teams in the same room for a day. That session decides whether the seals go on a rigid box needing softer adhesives or on a mailer requiring high-shear tack, and I swear those days feel like planning a small-scale theatrical premiere.
Dependencies that stretch lead time include waiting on die plates and specialty inks. Metallic foil often ships from a different warehouse; add two days for transit from Guangzhou plus another for press setup. Specialty adhesives can be delayed if sample batches require testing on velvet or textured paper—so we factor a 3-5 day buffer. When schedules tighten, I instruct teams to pre-approve adhesives via digital swatches and commit to one finish instead of re-evaluating midstream, because nobody ever enjoys another “what if” meeting on a Tuesday.
Logistics—domestic versus overseas production—also influences shipping windows. Domestic runs may ship by day 10, while overseas jobs need 12-17 days in transit, especially with ports or customs inspections in Hamburg or Los Angeles. Production plans should lock in before marketing launches; once the seal becomes the hero of the unboxing video, it can’t lag behind the product release. (Yes, I’m still talking about unboxing videos—don’t act like you don’t watch them on the weekend.)
Step-by-Step Guide to Designing Personalized Wax Seal Stickers
Brand assets should lead. Choose the core element—logo icon, typography, monogram—that adapts to a 20-40 mm circle and remains legible. I advise clients to test their initials at actual seal size on kraft samples before committing; one high-end stationery client in Toronto printed a 30mm mock-up on the same 120gsm Château kraft they planned for final production. Work in Adobe Illustrator or a similar vector program. You can rotate fonts, adjust kerning, or create offset borders with ease, and I usually remind everyone that fonts look very different once they shrink down to seal size (yes, those power-packed ampersands will disappear if you let them).
Pick the shape and edge treatment early. Every curve alters the die-cut path. A scalloped edge adds cost because the die has more teeth, and each notch must be sharpened. I’ve seen scallops double the die price from $120 to $240 if the curve radius shrinks below 1 mm. Shapes like circles and shields stay in budget, but custom silhouettes still work if you plan for the extra tooling expense. I once tried to convince a client that a three-headed crest was doable—spoiler: we eventually landed on a simplified silhouette after a very long conversation and multiple coffee refills.
Build layered proofs. Visualize how glossy seals interact with matte packaging. I typically create mock-ups showing glossy foil overlapped on soft-touch navy boxes so clients can see the shadow and reflectivity under a 350-watt directional lamp. Confirm legibility by physically printing the mock-up and placing the seal on top. That step catches issues digital renderings miss, like a metallic outline eating into type at small sizes, and I still chuckle when someone says, “But it looked perfect on my screen,” as if the screen were a reliable tattoo artist.
Plan the application strategy early—manual peel-and-stick versus automated dispensers. Manual application works for limited editions but demands stiffer liner paper to avoid curling. Automated dispensing systems prefer seals with backing that won’t tear; in our Shenzhen facility we use 120gsm silicone release liners because they feed smoothly through dispenser heads running at 14,000 cycles per hour. Coordinate with fulfillment so they receive adhesives that match their workflow, and maybe slip a note that says, “Please don’t try to speed-run this on the packing table.”
One trick: start with the packaging tone as a base, then select foil colors that complement or contrast. Layering a rose-gold metallic outline over a deep bottle-green seal highlights texture without increasing tooling cost beyond the standard $190 reused die plate, and that tactic makes the seal feel bespoke while remaining production-friendly. I swear even the most skeptical creative director lights up when they see that combo in person during a pre-launch review in Chicago.
Common Mistakes with personalized wax seal stickers
Overloading the design is the top error. One brand stuffed their crest with flourishes, and once the artwork hit the press, those fine lines vanished into the texture of linen-wrapped boxes. The takeaway: every detail must stay bold at 30 mm, or it simply disappears. I still feel a little victorious when a client finally agrees to simplify—imagine telling someone to delete stuff to improve it and watching them actually do it.
Adhesive compatibility gets ignored frequently. I’ve seen seals peel off polymer sleeves because the adhesive wasn’t designed for low-surface-energy plastics. Conversely, aggressive adhesives can tear tissue boxes. Testing adhesives on the exact surface you plan to use alleviates that risk, and I keep reminding folks that peeling a seal off a box should not feel like ripping a bandage off in slow motion.
Skipping physical samples is another costly misstep. Digital mock-ups look perfect, but they don’t showcase reflectivity, thickness, or tactile feel. In one case, a client approved a digital proof with a chrome effect, only to be disappointed when the printed seal looked dull. We shipped samples overnight—matte, gloss, metallic—to ensure color and texture matched expectations. I still marvel at how fast that overnight shipping felt like magic (and also a huge relief).
Failing to synchronize the seal’s countdown with the rest of the packaging schedule causes gaps. You may have the box ready, but without the seal, the final kit feels incomplete. That’s why I recommended clients create a shared timeline with the finishing team; simple spreadsheets listing proof deadlines, tooling completion, and shipping windows keep everyone accountable. Yes, I’m that person who loves a good spreadsheet—don’t judge me, it works.
Expert Tips for personalized wax seal stickers that pop
Layer metallic finishes over matte backgrounds for depth. Think a soft gold foil border around a flat navy seal printed on 105gsm C1S artboard. That contrast draws the eye and mirrors the tactile pull of poured wax. I recommend testing the gold under directed light to ensure it doesn’t wash out on camera during unboxing videos, and if the light makes it too shiny, dial it back before the shoot day turns into a glare contest.
Test adhesives on the actual substrate. Velvet ribbon boxes and glossy mailers demand different tack. When visiting a client’s fulfillment center in Portland, we applied sample seals on velvet-lined boxes and matte mailers, noting hold time and peel force per ASTM D3330 standards. That prevented issues with seals lifting during shipping, and I can’t overstate the relief when nothing came back peeled—seriously, we did a little fist bump in the quality lab.
Use the sticker as an anchor in storytelling. Pair it with textures like velvet ribbons or parchment notes to create a multi-layered unboxing sequence. Our camera crew used the seal as the opening shot in a lifestyle video, letting a soft hand gently peel it away before revealing the product. That simple move boosted dwell time on the unboxing reel by 18%, so yes, we all went home smug and convinced wax seals are content gold.
Embrace intentional imperfections. Offset borders or mixed-media effects mimic the charm of handmade wax without sacrificing consistency. One brand layered translucent foil over textured paper stock with uncured edges, giving the illusion of a hand-pressed seal. This creates authenticity while keeping the job scalable, and honestly, those slight irregularities feel comforting—like a favorite vinyl record instead of a laser-perfect MP3.
Actionable Next Steps with personalized wax seal stickers
Begin by auditing your touchpoints. Identify where a personalized wax seal sticker can replace a plain sticker label or ribbon—gift boxes, envelopes, limited-edition kits. Think through the unboxing path: where does the eye naturally fall? That becomes seal placement, and once you see it, you’ll realize this tiny embellishment is doing more storytelling than anything else in the kit.
Schedule a creative sprint with your designer and packaging partner. Mock up seal concepts while considering ink and foil interactions, allowing the design team and packaging supplier to collaborate. I often ask them to include foil swatches and note how they’ll align with elements like tissue paper or ribbons, and I refuse to let anyone skip the “what-if” whiteboard session where we color outside the lines.
Request a sample pack with different adhesives and finishes. Testing application speed, durability, and unboxing feel prevents surprises. Include adhesives meant for both high-shear and removable applications when you talk to the supplier, and make sure each seal has a batch number so you can track performance. Nothing says “professional” like labeling a sheet with a Sharpie and feeling oddly proud of it.
Lock in your timeline: confirm proof deadlines, production weeks, and shipping windows. That ensures personalized wax seal stickers glide into your launch instead of chasing it. When I help clients map this out, the first move is placing deadlines on a shared calendar—proof by Thursday, tooling by Friday, press run the following Monday—so nothing slides. If you want my unsolicited advice, schedule one extra buffer day for “unexpected sticker drama,” because it happens more often than we’d like.
How can personalized wax seal stickers transform the unboxing ritual?
Consider the seal the cue that shifts a box from shipment to experience. When a recipient reaches for the ribbon on a limited run kit, their fingers now land on the foil-backed surface of a personalized wax seal sticker—a moment that belongs in the unboxing ritual. That shimmer, paired with a tactile branding strategy and a soft velvet ribbon, convinces the brain that something intentional is happening, and anything that feels intentional tends to stick in memory longer than a plain label.
Track how the seal performs on camera and on the receiving end. The same seal that punctuates a filmed reveal also performs in cold-chain deliveries when paired with adhesives tested for low temperatures. We even treat these combos like other custom foil stickers when we test them: prepping shared spec sheets, logging peel forces, and documenting surface energy, so you can explain to stakeholders how a simple sticker equals higher dwell time and delighted customers.
Finally, bake the seal into the story you tell. Mention it in product descriptions, highlight it on landing pages, and show it in motion—peeling back to reveal the hero product. That extra narrative investment multiplies the tactile moment and makes the seal feel less like decoration and more like a signature flourish that says, “We cared enough to adorn this.”
Conclusion
I think personalized wax seal stickers give brands a tactile edge measurable in recall rates, engagement, and perceived value. When used intentionally—backed by precise material specs, timelines, and testing—they can anchor your packaging story without the mess of melted wax. Keep the artwork crisp, budget for tooling, and treat the seal like a small hero that tells your larger branding narrative. After all, the smallest embellishment often leaves the biggest impression, and if the neighbors in your Chicago loft are still asking where you got that shiny topper, you know you’ve done something right. Here’s the actionable takeaway: map the seal’s deadlines into your calendar, confirm adhesive specs with fulfillment, and order sample strips before the launch so you’re not reacting when the packaging hits the table.
What makes personalized wax seal stickers different from traditional wax seals?
They mimic the embossed look without melted wax, so you avoid mess, brittleness, and inconsistent impressions. Stickers can incorporate foil, glitter, or holographic layers that are harder to achieve with actual wax. Adhesive-backed versions allow deployment on every packaging surface—from bubble mailers to rigid boxes—so you can pull this trick on volumes (up to 250,000 pieces per month) that would make molten wax blush.
How durable are personalized wax seal stickers on varied packaging?
High-quality adhesives stand up to handling, shipping vibration, and temperature swings, especially when paired with liner-backed paper. Choose formulations tested for cold-chain or outdoor mailings if you need them for wine bottles or exposed deliveries. A quick application test on the exact material (e.g., kraft, velvet, glass) prevents unpleasant shedding during fulfillment, which no one enjoys—especially not the fulfillment team.
Can personalized wax seal stickers be created in limited runs?
Yes—many manufacturers offer small runs without exorbitant setup costs, though per-unit price scales higher. Digital printing and laser cutting enable orders as few as 100 pieces, making them viable for limited-edition or seasonal drops. Factor in lead time for tooling, even for short runs, and bundle orders when possible to amortize costs. I’ve watched a small-batch drop become a cult favorite simply because the seal felt intimate.
What file format is best for personalized wax seal stickers?
Provide vector files (AI, EPS, PDF) for crisp edges, especially when you want foil or embossing effects. Embed Pantone or CMYK colors so the manufacturer matches brand hues accurately. Include dielines and specify any special finishes (e.g., raised ink), since those influence tooling instructions, and it saves everyone from decoding cryptic emails about “what color is that again?”
How should I store personalized wax seal stickers before use?
Keep them flat in a dry room away from prolonged heat to prevent adhesive migration or liner curl. Store sheets in original packaging, ideally in resealable pouches to block dust and maintain peelability. Label batches with batch numbers for traceability, especially if multiple finishes or adhesives land on the same job—because when you’re juggling six different seal colors, that label becomes your sanity.
Sources: ISTA testing protocols and FSC® standards for certified materials.
Related packaging resources
Use these related guides to compare specs, costs, quality checks, and buyer decisions before making the final call.