PVC Zipper Garment Bags Unit Packaging Insert Checklist
A retailer receives 5,000 garments in clean PVC zipper bags. Technically, the shipment is packed. Operationally, it is a headache: half the care cards face the wrong way, the barcode sits against the side seam, and the warehouse team has to open bags just to confirm size runs. A PVC Zipper Garment Bags Unit packaging insert checklist is not paperwork decoration. It is the control document that prevents packing-line rework, returns, chargebacks, and receiving confusion before those costs show up on an invoice.
Buyers underestimate one thing all the time: a bag can be made correctly and still fail the order. If the insert blocks the barcode, if the zipper catches on a folded collar, or if a retail sticker covers the warning text, the package has failed its job even if the material spec looks fine.
PVC Zipper Garment Bags Unit Packaging Insert Checklist Basics
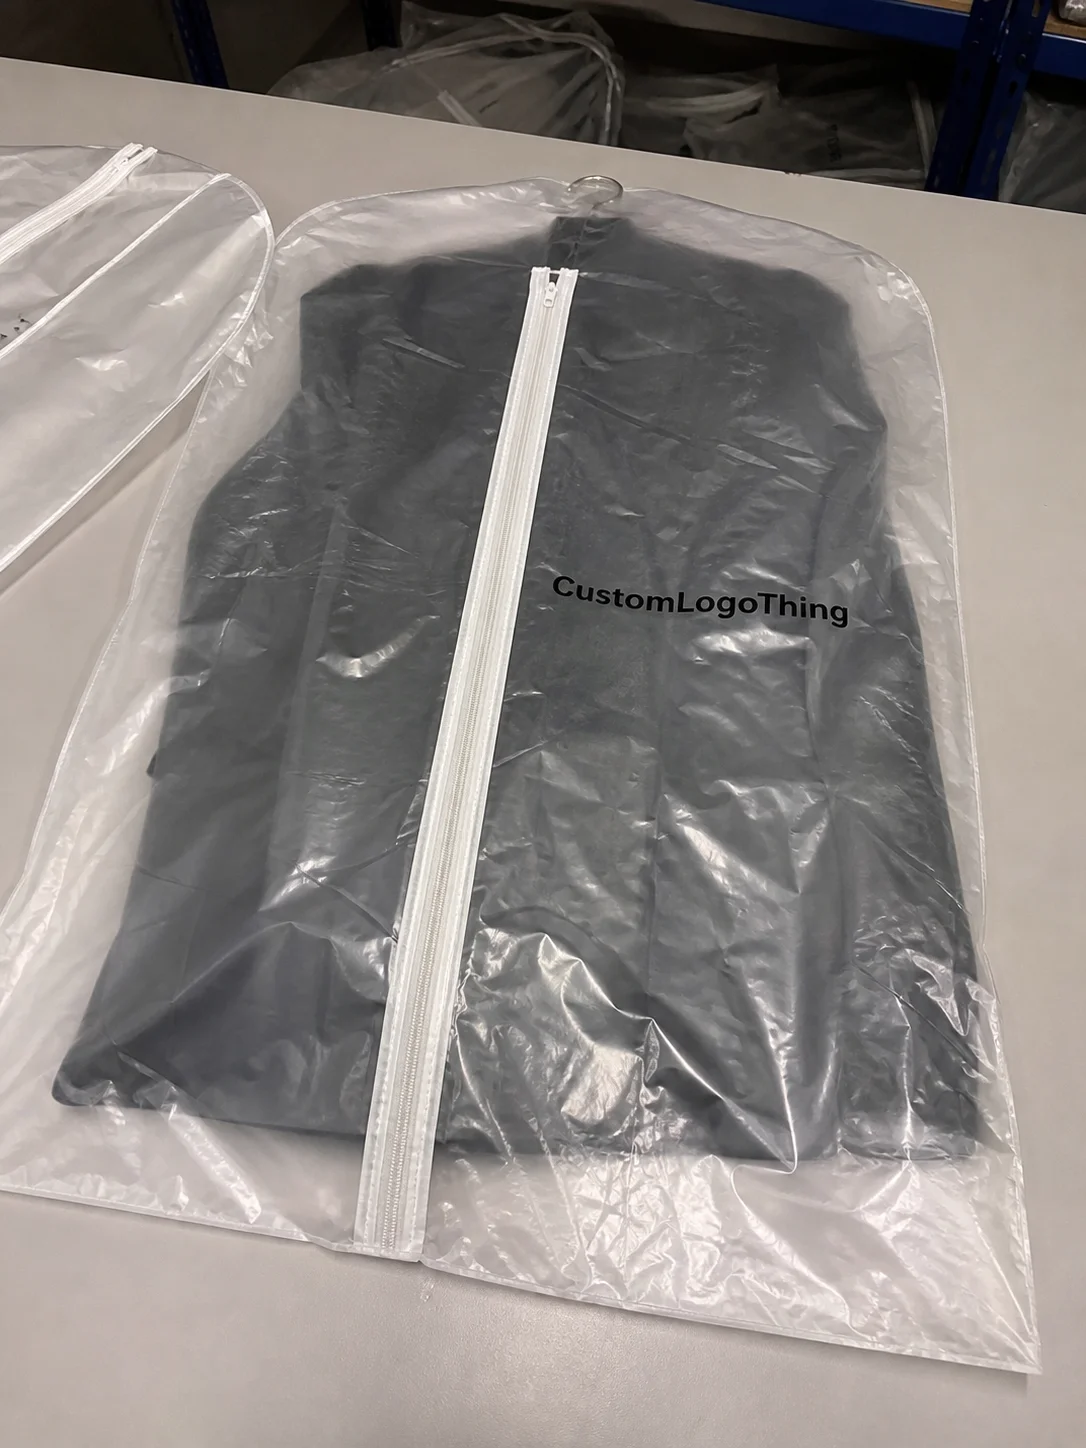
PVC Zipper Garment bags are transparent or semi-transparent protective bags used for individual apparel items. Most include a press-to-close or slider zipper. Many also include a hang hole, vent holes, printed branding, suffocation warning text, and an internal card or paper insert. Common uses include dresses, shirts, knitwear, uniforms, suits, outerwear, dancewear, and sample-line garments.
Unit packaging means each garment is packed as a sellable, trackable, scannable, and presentation-ready unit. That is different from bulk protection. Bulk protection keeps products clean during transit. Unit packaging has to survive receiving, scanning, shelving, showroom handling, repacking, and sometimes direct-to-consumer fulfillment.
The word insert can mean several things. It may be a size card, brand card, care instruction sheet, barcode label, folded tissue, desiccant packet, hanger card, warranty card, promotional flyer, compliance notice, or multilingual warning sheet. In branded garment packaging, the insert often carries information the bag cannot handle cleanly: size charts, wash symbols, QR codes, return instructions, or retail routing data.
A useful checklist sits between four teams that rarely notice the same problem first. Design sees presentation. Production sees packing speed. Fulfillment sees scanability and sorting. Retail receiving sees compliance. The checklist turns those separate concerns into one shared specification before the bag supplier, insert printer, and apparel team start filling in blanks on their own. Because they will. Nature hates a vacuum. So does production.
Packaging control point: If a packed unit cannot be scanned, identified, opened, closed, and repacked without damage, it is not fully approved. It is only partially packed.
How the Bag, Zipper, Garment, and Insert Work Together
Think of the package as four interacting parts. The PVC film protects and displays. The zipper controls access. The garment determines folded size, thickness, and stress points. The insert communicates product, brand, or compliance information. Change one part and the other three react.
Bag dimensions should come from the actual folded garment size, not from the garment’s flat pattern measurements. A folded shirt might need only 10 mm to 20 mm of clearance on each side. A sweater, lined jacket, padded costume, or embellished dress may need 25 mm to 50 mm, plus a gusset if the item has loft. If the garment is packed with a hanger, tissue, collar support, or foam pad, measure that full assembly.
Zipper choice matters more than it appears on a quote sheet. Standard press-to-close zippers are common and cost-efficient for light garments. Slider zippers improve handling and help retail staff open and reseal samples quickly. Reinforced zipper tracks cost more, but they can make sense for coats, suits, rental apparel, or showroom pieces that may be handled 10 or 20 times before sale.
| Packaging Component | Typical Choices | Buyer Risk If Missed |
|---|---|---|
| PVC film | Clear, frosted, tinted; often 0.08 mm to 0.18 mm for apparel bags | Weak structure, scuffing, odor complaints, poor product visibility |
| Zipper | Press-to-close, slider, reinforced track | Splitting during handling or slow packing-line closure |
| Insert | Loose card, sleeve card, exterior label, direct print | Barcode failure, wrong language, upside-down presentation |
| Carton pack | Flat packed, standing, grouped by SKU, master carton separated | Crushed zippers, bent cards, scuffed retail packaging |
Visibility is a design decision, not just a material choice. Clear PVC lets buyers inspect color, fabric texture, trims, and size tags without opening the bag. Frosted or lightly tinted PVC can feel more premium and can hide minor fold marks, but it may reduce barcode contrast if labels sit behind the film. For retail packaging, test that trade-off with the scanner your warehouse or retailer uses. A PDF proof will not tell you enough.
Insert placement has several workable options: loose inside the bag, tucked behind the garment, adhered outside, placed in a welded sleeve, or printed directly on the bag. Each option has consequences. A loose insert is flexible but can rotate. A sleeve improves position but adds labor and material. Exterior labels scan well but can scuff. Direct printing looks tidy, yet it ties artwork to one SKU, region, or language version.
Many failures blamed on “bad bags” are really system failures. The fold is too thick. The insert is 350gsm when 250gsm would sit flatter. Humidity makes the film cling. The zipper is placed exactly where the garment creates pressure. A PVC Zipper Garment bags unit packaging insert checklist forces those interactions into the open early, while changes are still cheap.
Key Specs to Confirm Before Artwork or Sampling
Define the physical package before artwork starts. Core specifications include bag width, bag height, gusset depth if needed, PVC thickness, zipper style, hang hole shape, vent holes, handle cutout, seam type, closure direction, and carton packing method. A 300 mm by 400 mm clear PVC bag in 0.12 mm film behaves very differently from a frosted version with a slider zipper and welded insert sleeve.
Film thickness is a practical cost and performance decision. Thinner PVC reduces material cost, packed volume, and carton weight. It can work well for lightweight shirts, scarves, and simple folded tops. Thicker PVC improves structure, durability, and perceived value for coats, suits, dresses, uniforms, and premium apparel. In many apparel runs, buyers compare gauges around 0.08 mm, 0.10 mm, 0.12 mm, 0.15 mm, and 0.18 mm, then choose based on garment weight and handling expectations.
Compliance cannot wait until cartons are closing. Confirm suffocation warnings, recycling marks where applicable, material declarations, restricted substances requirements, retailer-specific labels, and country-specific language requirements. For transit testing, buyers can review protocols from ISTA, especially if packed garment units are shipping through parcel or mixed distribution networks. If paper inserts use certified stock, FSC claims need clean documentation so the printed mark, supplier certification, and invoice details match.
Print decisions need the same discipline. Is the logo one color or multi-color? Does the design require spot printing, full-panel graphics, opaque white backing, or transparent ink? Should the print face outward, sit behind the garment, or align with hanger orientation? A 20 mm logo shift can hide a brand mark behind a fold. A warning block placed too low can disappear under a retail sticker.
Insert details deserve their own line in the checklist. Specify final trim size, paper weight, fold style, print side, orientation, language version, SKU match, barcode type, barcode location, and whether the insert ships to the bag factory or is produced by the packaging supplier. If the insert is supplied separately, define carton labels and version names. “Blue dress card” is not enough if five blue dress SKUs share one production floor.
- Bag size: finished internal width and height, plus allowable tolerance such as ±3 mm.
- Film: material, thickness, finish, color, odor expectation, and clarity requirement.
- Closure: zipper style, slider color, closure direction, pull-tab position, and opening width.
- Insert: trim size, paper weight, barcode position, print orientation, and SKU version.
- Approval rule: who signs off physical fit, print proof, compliance copy, and carton pack.
Tolerance planning is not glamorous. It saves orders. Small variation in film cutting, zipper placement, insert trim, or garment fold thickness can create a large problem when the bag fit is already tight. Build a simple approval matrix that separates must-have specs from presentation preferences. That keeps pricing, sampling, and production decisions grounded.
Cost, MOQ, and Unit Pricing Drivers Buyers Miss
Unit cost is shaped by more than bag size. The real cost stack includes film gauge, zipper type, print coverage, insert printing, insertion labor, SKU separation, carton strength, freight volume, and inspection requirements. A buyer may save $0.03 on the bag and lose $0.18 in repacking labor. That is not a saving. It is a cost transfer with nicer formatting.
Larger bags can become disproportionately expensive. They use more PVC, consume more shipping space, slow down insertion, expose defects more visibly, and may require stronger cartons. A dress bag that is 420 mm by 600 mm does not just use more material than a 250 mm by 350 mm shirt bag. It changes how many units fit per carton and how much air ships inside the package.
MOQ drivers vary by supplier, but the usual triggers are custom zipper color, printed PVC, specialty film, custom insert printing, and separate SKU packing. Plain stock bags may be available in hundreds of pieces. Custom printed zipper bags often start around 1,000 to 3,000 pieces per size. Complex multi-SKU branded packaging programs may be cleaner at 5,000 pieces or more because setup, checking, and sorting time spread across the run.
| Option | Typical Unit Cost Range | Best Use Case | Hidden Cost to Check |
|---|---|---|---|
| Plain stock PVC zipper bag | $0.08-$0.18 per unit at moderate quantities | Samples, basics, low-risk internal handling | Extra labeling, weaker package branding, repacking time |
| Custom printed PVC zipper bag | $0.18-$0.38 per unit for many apparel sizes | Retail packaging, showroom samples, branded presentation | Plate or screen setup, print alignment, longer approval cycle |
| Bag with printed insert and insertion labor | $0.24-$0.55 per packed unit depending on insert and handling | SKU-specific apparel, barcode control, multilingual product packaging | Version control, scan testing, carton separation |
Those ranges are not universal. Size, film thickness, print coverage, origin, freight mode, and inspection level all move pricing. Still, they are useful for sanity checks. If a quote is far below the range, ask what is excluded. If it is far above, ask whether freight, inserts, cartons, and inspection have been bundled into one line.
Setup charges are often simple but poorly explained: artwork setup, plate or screen costs, sampling fees, insert proofing, and sometimes line setup for uncommon dimensions. Ask for itemized quotes that separate bag manufacturing, insert printing, insertion labor, packing cartons, and freight. Buyers comparing apparel bags with Custom Packaging Products such as hang tags, retail sleeves, or custom printed boxes will make cleaner decisions if each cost component is visible.
The benchmark is practical. A small packaging cost increase can be rational if it prevents a modest return rate, barcode failure, retailer chargeback, or warehouse relabeling task. If 5,000 packed units require two minutes each to correct, that is more than 160 labor hours. Suddenly, better insert control looks cheap.
Process and Timeline From Checklist to Packed Units
The production path should be mapped in order: requirement gathering, dimension confirmation, artwork preparation, insert file setup, material selection, quote approval, sample making, sample review, bulk production, insertion, final packing, inspection, and shipment. Skip one step and the schedule usually pays later.
The longest delays often happen before production starts. Teams wait on final folded garment measurements, barcode files, translated care text, retailer packaging rules, or compliance approval. Factory days are not the only days that count. Approval buffers matter.
A practical timeline for custom PVC zipper garment bags with inserts may include 2 to 4 business days for quote alignment, 3 to 7 business days for artwork and insert proofing, 5 to 10 business days for sampling, and roughly 12 to 25 business days for bulk production after approval. Complex orders with many SKU versions, custom zipper colors, heavy inspection requirements, or overseas freight can run longer. Not always. Often enough to plan for it.
Sample review should be physical. Check zipper glide, seam strength, garment fit, insert position, barcode scanability, print registration, odor level, vent holes, and carton packing method. Open and close the zipper at least five times. Scan the barcode through the bag from the angle the warehouse will use. Shake the packed unit lightly. If the insert rotates, catches, or hides the product, the design needs work.
Photograph the approved sample from multiple angles: front, back, zipper edge, insert close-up, barcode close-up, open bag, packed carton, and carton label. Written specs alone can miss orientation details. Photos reduce interpretation, especially when the apparel team, packaging supplier, and warehouse are not reviewing the same physical unit.
Ask the supplier for milestone dates: artwork lock, insert proof approval, sample dispatch, sample approval, bulk start, insertion start, packing completion, inspection window, and ship readiness. A checklist is stronger when it is tied to dates, not just specifications.
Common Mistakes That Create Repacking, Returns, or Chargebacks
The most common mistake is approving an empty bag sample. Empty bags lie. They look clean, flat, and generous. Then the actual folded garment, hanger, tissue, desiccant, and insert go inside, and the zipper strains like it was specified for a different product. Test the assembled unit, not the component.
Insert mismatch creates quiet chaos. Wrong language. Wrong size chart. Barcode printed at low contrast. Card placed upside down. Ink transfer onto a light garment. Insert corners catching on the zipper track. These are small details until a retailer refuses a carton or the fulfillment team opens every unit to verify the SKU.
Over-tight sizing is another repeat offender. The garment fits once, usually when packed carefully by the sample maker. During repeated handling, the zipper splits, the collar wrinkles, or the bag looks stressed. For showroom pieces, rental apparel, or premium retail packaging, the package has to handle repeated access, not just first closure.
Do not treat every garment in a collection as one packaging size. Coats, dresses, knits, embellished pieces, and structured uniforms often need different clearances even if they share a size range. A master bag size may simplify purchasing, but it can damage presentation and increase freight volume if it is too large for half the assortment.
Printing errors are easy to miss on screen. A logo can sit too close to the seam. Branding can be hidden by the garment fold. Warning text can land where a retail sticker will cover it. Opaque print can block product visibility. Mockups are useful. The packed sample tells the truth.
Carton-level mistakes matter too. Overpacking crushes zippers and bends inserts. Underpacking lets bags shift, scuff, and arrive looking handled. Define carton quantity, carton grade, inner pack grouping, carton label position, and whether units should stand, lie flat, or alternate orientation. If the order will move through parcel networks, the carton is part of the packaging system.
A pre-production signoff should include merchandising, compliance, warehouse, and purchasing. Four signatures may feel slow. Repacking 5,000 units is slower.
Next Steps to Build an Order-Ready Insert Checklist
Start with the garment, not the bag. Gather folded dimensions, garment weight, hanger requirements, tissue requirements, trim sensitivity, and any surface that can be scratched by PVC or paper edges. Then decide orientation: vertical hang, horizontal shelf pack, front-facing barcode, back-facing barcode, or carton-first scan.
Next, choose film thickness, zipper type, print method, insert contents, barcode position, and carton configuration. Create one row per SKU or garment group. Columns should include bag size, material gauge, zipper style, print version, insert version, fold method, label position, warning copy, carton quantity, and approved sample notes.
If possible, send the supplier physical garment samples. If that is not practical, send front and side photos, folded measurements, garment weight, hanger details, tissue requirements, and retail packaging rules. Packaging suppliers can estimate, but they should not have to guess the loft of a sweater or the stiffness of an embellished bodice from a line sheet.
Request one fully assembled unit sample. Not separate bag and insert samples. The interaction between components determines success. A beautiful insert is useless if it rotates behind the garment. A strong zipper is not enough if the card corner catches every time the bag opens.
- Measure the actual folded garment, including hanger, tissue, and padding.
- Confirm bag orientation and barcode scanning direction.
- Select PVC gauge, zipper type, venting, hang hole, and seam style.
- Define insert size, paper weight, artwork version, and placement.
- Approve a packed sample with the garment, insert, label, and carton method.
- Use the approved unit photos as production references.
For broader packaging alignment, compare the garment bag against related Custom Packaging Products such as hang tags, belly bands, mailers, and custom printed boxes. The goal is not to decorate every surface. The goal is to make product packaging easier to receive, scan, sell, and represent consistently.
Before approval, run the final routine: scan the barcode through the bag, open and close the zipper several times, check insert visibility, shake the packed unit lightly, confirm warning text visibility, and review carton fit. The pvc zipper garment bags unit packaging insert checklist is the buyer’s final control point before money, material, and production time are committed. Once it is complete, use it to request a cleaner quote, faster sample approval, and fewer assumptions between the apparel team and packaging supplier.
FAQs
What should a PVC zipper garment bag insert checklist include?
It should include bag size, PVC thickness, zipper type, print details, insert size, insert orientation, barcode location, garment fold method, warning text, carton quantity, and approved sample notes. It should also identify who supplies each insert file or physical insert so the factory is not guessing during packing.
How do I choose the right size for PVC zipper garment bags?
Measure the actual folded garment, including hanger, tissue, or padding if used, then add clearance for easy insertion and zipper closure. Do not size the bag from garment specs alone; bulky knits, coats, and embellished apparel often need extra depth or a gusset.
Does adding an insert increase the unit cost of garment packaging?
Yes. Inserts can increase cost through printing, trimming, version control, insertion labor, inspection time, and added packed thickness. The increase may be worth it when the insert reduces relabeling, improves retail compliance, strengthens branded packaging, or prevents customer confusion.
What is the typical lead time for custom PVC zipper garment bags with inserts?
Lead time depends on order quantity, print complexity, material availability, insert production, sample approval speed, and shipping method. As a working estimate, allow several days for quote and artwork alignment, about one to two weeks for sampling, and two to five weeks for bulk production after approval.
Can one PVC zipper garment bag checklist work for every apparel SKU?
Usually not. Different garment types may need different bag sizes, insert versions, fold methods, barcode positions, or carton counts. A master checklist can work, but it should include SKU-level rows or grouped specifications for similar garments.


