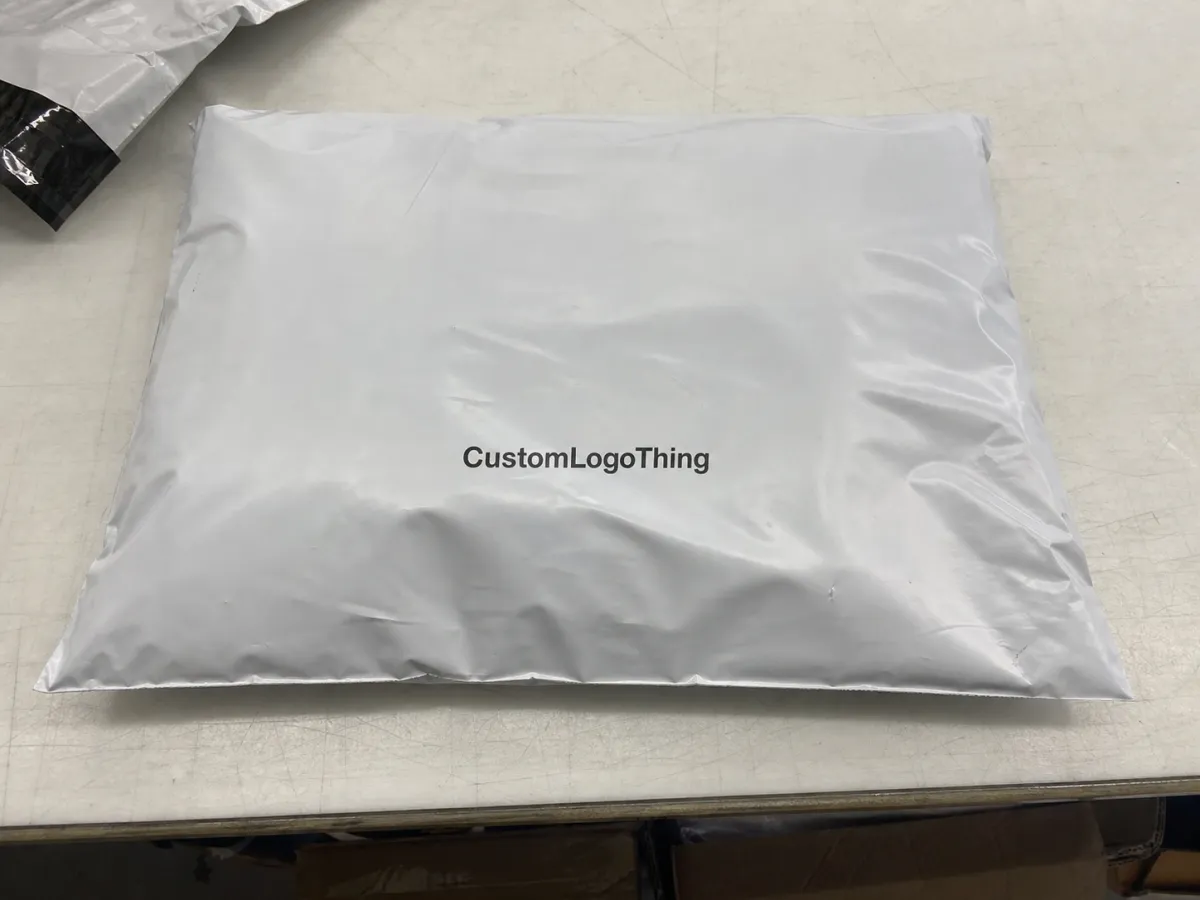
Retail Printed Poly Mailers sample approval is where buyers catch the issues that matter most: the wrong film feel, a weak seal, a logo that prints flatter than expected, or a barcode that looks fine until it is scanned in a warehouse. It is a practical checkpoint, not a branding exercise.
The sample is the closest preview of the final product. It shows how the film behaves, how the print lands, how the adhesive closes, and how the mailer looks once the actual item is inside. A digital proof can confirm layout, but only a physical sample can confirm performance.
That matters because poly mailers sit between retail presentation and shipping protection. They have to look acceptable to the customer and still survive packing, handling, and transit. If the sample is right, production usually follows the same path. If it is wrong, the warning signs are already visible.
If the sample looks fine on screen but questionable in hand, trust the hand. Real shipments do not move like mockups.
For teams comparing packaging formats, Custom Packaging Products gives a wider view, while Custom Poly Mailers keeps the review focused on the bag style being approved.
What Retail Printed Poly Mailers Sample Approval Really Means
Sample approval is the last chance to verify that the approved artwork, size, material, closure, and handling performance match the spec sheet. Once a full order starts, changes become expensive and slow. The point is not whether the sample is attractive in isolation. The point is whether it meets the requirements of the job.
Common issues are usually subtle. Dark colors can print flatter on polyethylene than they did in the proof. Small text may fill in slightly. White ink can look clean on one film and thin on another. A bag may fit the product on paper, then wrinkle or stretch once packed. None of that is unusual; it is the normal gap between digital expectations and physical output.
Good approval discipline keeps the focus on measurable questions: does the sample match the spec, protect the product, support the brand, and pack efficiently? If yes, move ahead. If not, revise before production.
That sounds obvious, but teams often approve too quickly because the schedule is tight. One rushed sign-off can lead to rework, launch delays, and costly freight changes. The sample stage exists to stop that chain reaction before it starts.
How the Proof Sign-Off Process Works From File to Sample
The workflow is straightforward: artwork is submitted, the supplier issues a digital proof, then a physical sample is made, shipped, reviewed, and either approved or revised. If the file is clean, a digital proof often comes back within 1-3 business days. A physical sample takes longer because it must be manufactured and sent.
Different proof types answer different questions:
- Digital mockup - checks layout, spelling, placement, and basic proportions.
- Blank sample - checks size, feel, and closure fit without print.
- Pre-production sample - shows the real print on the real material and is the best sign-off tool.
The blank sample is useful when dimensions are still being confirmed. It tells you whether the product fits, whether the flap reaches properly, and whether the film feels too thin for the contents. It does not show print opacity or barcode contrast. The digital proof catches copy and placement issues, but it cannot show how glare or stretch will affect the finished bag. That is why the approval process should not end on a PDF.
One person should own the final decision. Marketing, operations, and compliance may all review the sample, but too many sign-offs can blur accountability and slow the process. A single reviewer with clear authority keeps the decision clean.
It also helps to keep a simple record: the proof, the revision notes, the sign-off email, and a photo of the approved sample. That file becomes useful later if a reorder drifts from the original spec.
Material, Print, and Seal Specs That Change the Result
The sample only means something if the underlying spec is known. On Printed Poly Mailers, the variables that change the result most are film gauge, opacity, finish, print method, and adhesive performance. A small spec change can have a bigger visual impact than expected.
For light retail goods, a 2.5 mil to 3.0 mil co-extruded LDPE mailer is a common starting point. For heavier contents or rougher handling, 3.5 mil to 4.0 mil offers more margin. Thinner film lowers cost, but it also wrinkles more easily and is less forgiving when product edges press against the face of the bag.
Print behaves differently on plastic than on paper. Solid areas can look flatter. Metallic tones can lose shine. Fine text under about 6 pt deserves careful physical review, especially on dark film or busy artwork. White ink can look crisp on one substrate and weak on another, so the sample should be checked under the same lighting the customer or warehouse will use.
Seal and closure performance matter just as much. A self-seal strip should close evenly from edge to edge. If one side grabs while another lifts, the mailer may open in transit or slow down packing. A simple test is to close the bag, open it, and repeat the cycle several times. The adhesive should stay consistent and not shred or smear.
For quality comparisons, some teams use ASTM D882 to discuss tensile properties. For ship-ready testing, the ISTA test library is a useful reference. Neither replaces a packed-product review, but both help define what “good” means.
Terminology also matters. Some buyers say “opaque” when they mean not see-through; others mean the print still reads clearly when the bag stretches. A reference standard from packaging.org helps reduce confusion when the buyer, designer, and supplier are using different language.
Sample Approval Cost, Pricing, MOQ, and Quote Tradeoffs
Sample pricing usually reflects setup, print method, shipping, and how close the sample is to the final production bag. A digital proof is usually low cost because it is only a file review. A pre-production sample costs more because it uses film, ink, labor, and time. That cost is often justified if it prevents a full-run mistake.
| Sample Type | Typical Cost | Typical Use | Main Tradeoff |
|---|---|---|---|
| Digital proof | $0-$25 | Layout, spelling, barcode placement | Cannot judge sheen, texture, or seal quality |
| Blank sample | $20-$60 | Size, closure, and product fit | No print to review |
| Pre-production sample | $75-$250 | Real color, registration, and finish | Higher setup and shipping cost |
| Press proof / short run | $150-$400 | Closest check before full production | Most expensive approval path |
For production pricing, standard Printed Poly Mailers often fall around $0.18-$0.35 per unit at 5,000 pieces, though actual pricing depends on film gauge, coverage, color count, and closure style. Heavier film, full-bleed artwork, special inks, and matte or soft-touch effects all push the price up. A single-color logo on white film usually costs less than a full-coverage design on black film with white underprint.
MOQ changes the economics quickly. At lower volume, setup costs are spread over fewer pieces, so the unit price stays high. At larger volume, the cost softens. A quote should always be compared against the same spec sheet. A cheaper quote that uses thinner film or fewer print colors may not actually be cheaper if it changes performance or creates extra revisions.
Before comparing offers, ask four things: what film gauge is quoted, what print method is used, what revision round is included, and whether the sample matches production stock or a substitute. If those answers are vague, the quote probably does not tell the whole story.
Step-by-Step Review Checklist Before You Sign Off
A disciplined review catches more problems than a clever design tweak. Start with the spec, then test the bag the way it will actually be used.
- Match the spec sheet - confirm size, film gauge, print coverage, finish, closure type, and required copy.
- Review the surface - inspect under warehouse light and retail light, since gloss and matte read differently in each.
- Pack the real product - test with the actual item, not a placeholder, and see how the mailer closes under load.
- Scan any barcode - use the same scanner and distance the operation will use.
- Check the edges and seams - inspect the flap, seals, gusset if present, and back seam.
- Document the result - write pass/fail notes tied to each issue so the supplier can act on them.
The packed-product test is the one that usually reveals the truth. An empty bag can look perfect while the real product creates wrinkles, distorts artwork, or presses against the closure in a way that slows pack-out. A sample that passes empty but fails loaded is not usable.
Also check the view from the receiving end. If the mailer carries a warning, SKU, size line, or compliance note, verify the exact wording, alignment, and spacing. Tiny text can cause real problems if it is clipped, faded, or misread.
A sample should fail cheaply, if it must fail at all. That is the value of review.
Timeline and Lead Time After Approval Is Locked
Once the sample is approved, the project moves into production. Artwork is frozen, materials are allocated, and the supplier schedules the run. That is the point to keep momentum, not to introduce new edits.
For a standard printed poly mailer, production often takes 10-15 business days after final sign-off, before shipping. If the order uses special film, multiple print colors, custom closures, or overseas freight, 15-25 business days is a more realistic planning window. Transit time sits on top of that.
Lead time is also affected by seasonality, holidays, port congestion, and late revisions. A one-week buffer is sensible; two weeks is safer if the packaging is tied to a launch, retailer receiving window, or seasonal campaign. After approval, even small changes can restart parts of the process.
That is why the final sign-off should happen only after the physical sample matches the intended use. A wording tweak may be manageable. A size or print change can trigger new setup, new material ordering, and another sample cycle.
Common Approval Mistakes That Cause Reprints and Delays
The biggest mistake is approving from a photo alone. A picture can hide sheen, ink spread, minor registration drift, and distortion near a seal. It can also make a mediocre bag look better than it is. If a physical sample exists, use it.
Another common miss is reviewing only the front panel. The back seam, flap, gusset, and closure line are part of the bag’s function. A logo may be centered correctly while the seal lifts on one side, or a barcode may be fine while the fold clips the bottom of the text.
Rushed approvals create their own problems. Marketing may think operations signed off, operations may think compliance reviewed it, and compliance may assume the sample is still in someone’s inbox. The result is not only delay; it is uncertainty about who approved what. One reviewer, one record, one deadline keeps the process cleaner.
Packing the wrong product is another frequent issue. A sample reviewed with an empty bag or a light placeholder does not tell you whether the actual item fits, whether the flap closes comfortably, or whether the bag wrinkles under load. A few millimeters can matter more than a polished presentation.
There is also a budget trap: agreeing to “fix it later.” Later often means a new proof, a new setup charge, and lost time. Text edits are usually manageable. Film, size, and closure changes are not. Treat those as production decisions, not cosmetic ones.
What to Do Next Before Approving the Final Retail Mailer
Before final approval, lock down five things: the exact spec sheet, the approval owner, the intended finish, the real packed product, and the written pass-fail notes. That is enough to keep the project moving without turning review into a committee exercise.
- Confirm the sample matches the requested size, film gauge, print coverage, and closure style.
- Approve only after the real product has been packed and inspected.
- Save photos of the approved sample next to the signed notes.
- Keep one physical sample as the reorder reference.
- Use the same sign-off standard on future runs so the next order does not drift.
If you are still sourcing, compare the bag type and performance requirements first, then compare decoration options. That order keeps the decision anchored in function instead of paying for features that will not matter. The broader selection at Custom Packaging Products can help frame the range, while Custom Poly Mailers keeps the discussion specific to the format being approved.
Handled this way, retail Printed Poly Mailers sample approval becomes a control point instead of a formality. It protects unit economics, preserves launch timing, and reduces the chance of a costly reorder.
How long does retail printed poly mailers sample approval usually take?
Digital proof review often takes 1-3 business days if the artwork is clean and the right people are available to sign off. Physical sample production and shipping commonly takes 5-10 business days, sometimes longer if the mailer needs special film, ink, or seal changes. If revisions are needed, the timeline resets from the point of change, so internal feedback should move quickly.
What should I check before approving a printed poly mailer sample?
Check size, thickness, finish, color accuracy, logo placement, barcode readability, and seal strength. Test the sample with the actual product weight and shape instead of judging an empty bag. Also inspect the seams, edges, and closure under the lighting and handling conditions the customer or warehouse will experience.
Does sample approval affect the final cost of retail printed poly mailers?
Yes. Extra revisions, rushed shipping, and additional sample rounds can raise the total project cost. Approval also protects the unit price by preventing full-run reprints, which cost far more than catching issues early. MOQ and setup charges stay tied to the approved spec, so late changes usually mean a new cost structure.
Can I approve retail printed poly mailers from photos only?
Photos help with quick screening, but they do not reliably show sheen, texture, seal quality, or true color shift. Use them to narrow the field, then confirm with a physical sample before final sign-off. If a physical sample is impossible, ask for close-ups, lighting variation shots, and written acceptance of the color tolerance.
What happens if I request changes after sample approval?
Changes after approval can reset the production clock because artwork, plates, or materials may need to be updated. The supplier may also charge new setup or sample fees if the change affects print plates, film, or sealing specs. Small wording edits are easier than size or material changes, so catch the big issues before you sign.


