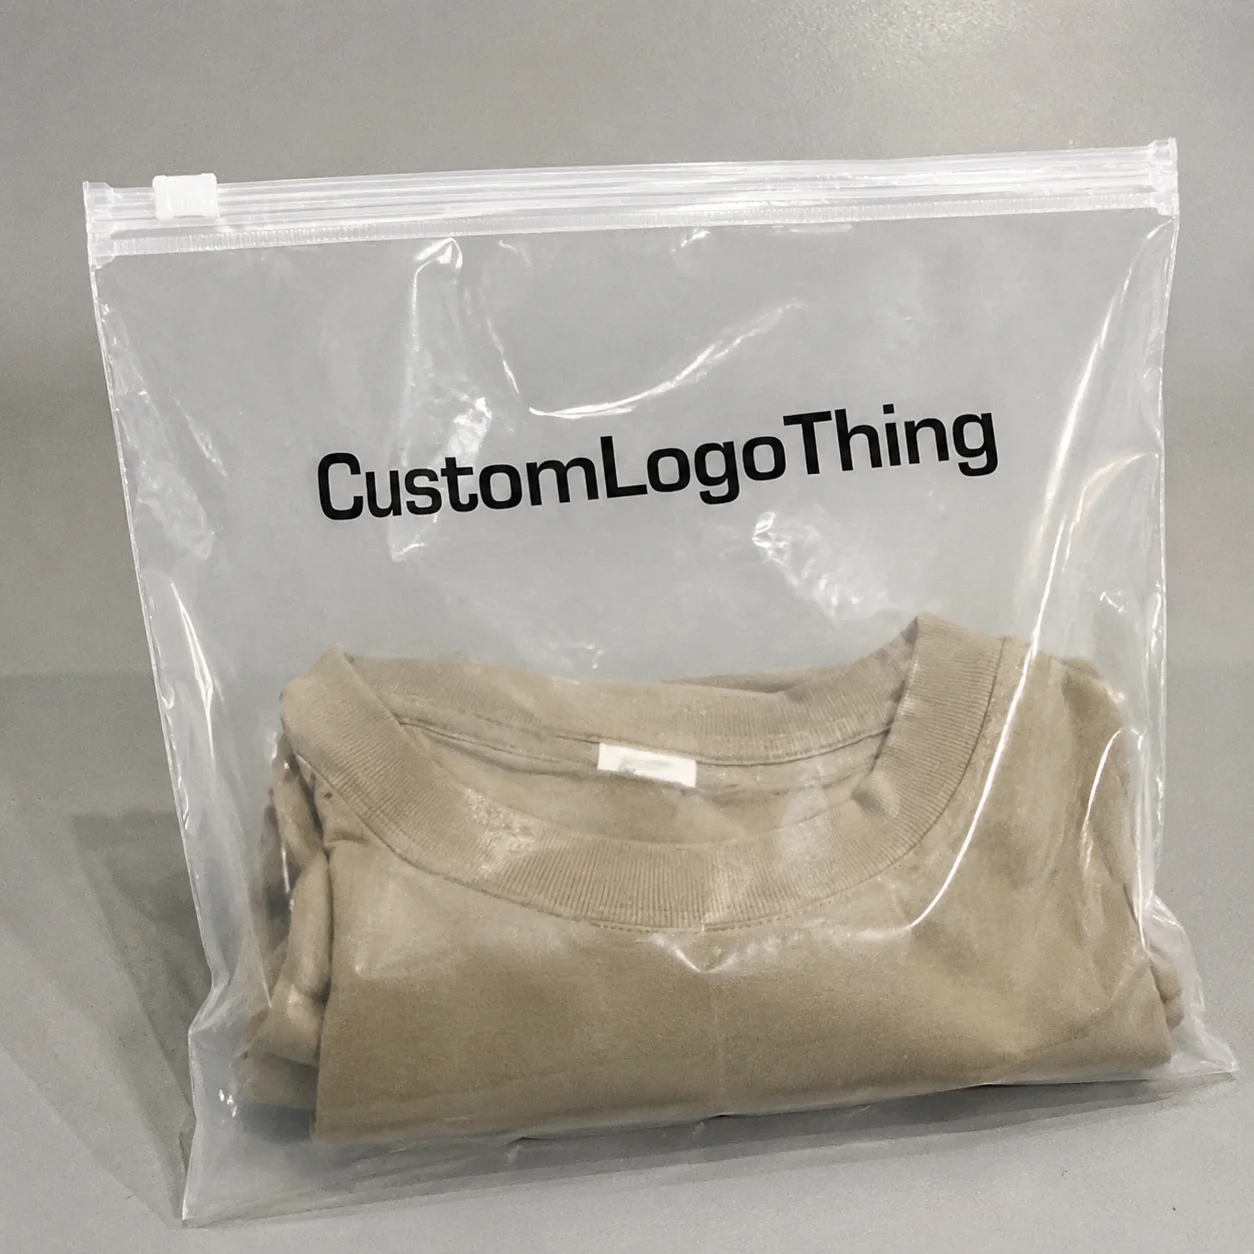
Customers rarely evaluate packaging in pieces. They notice the whole package at once: the frosted finish, the zipper line, the insert, and whether every element looks intentional. That is why a subscription Frosted Zipper Bags packaging insert checklist matters so much. It keeps the bag and the printed insert aligned before the shipment is packed, not after a problem has already reached subscribers.
On paper, the work sounds simple: choose a bag, print an insert, put them together. In production, the details multiply quickly. The wrong insert size can curl under the zipper track. A pale design can disappear behind translucent plastic. A late promo update can leave three different versions of the same card in circulation. The checklist is what prevents those small mistakes from becoming monthly repeats.
Why a packaging insert checklist matters for frosted zipper bags
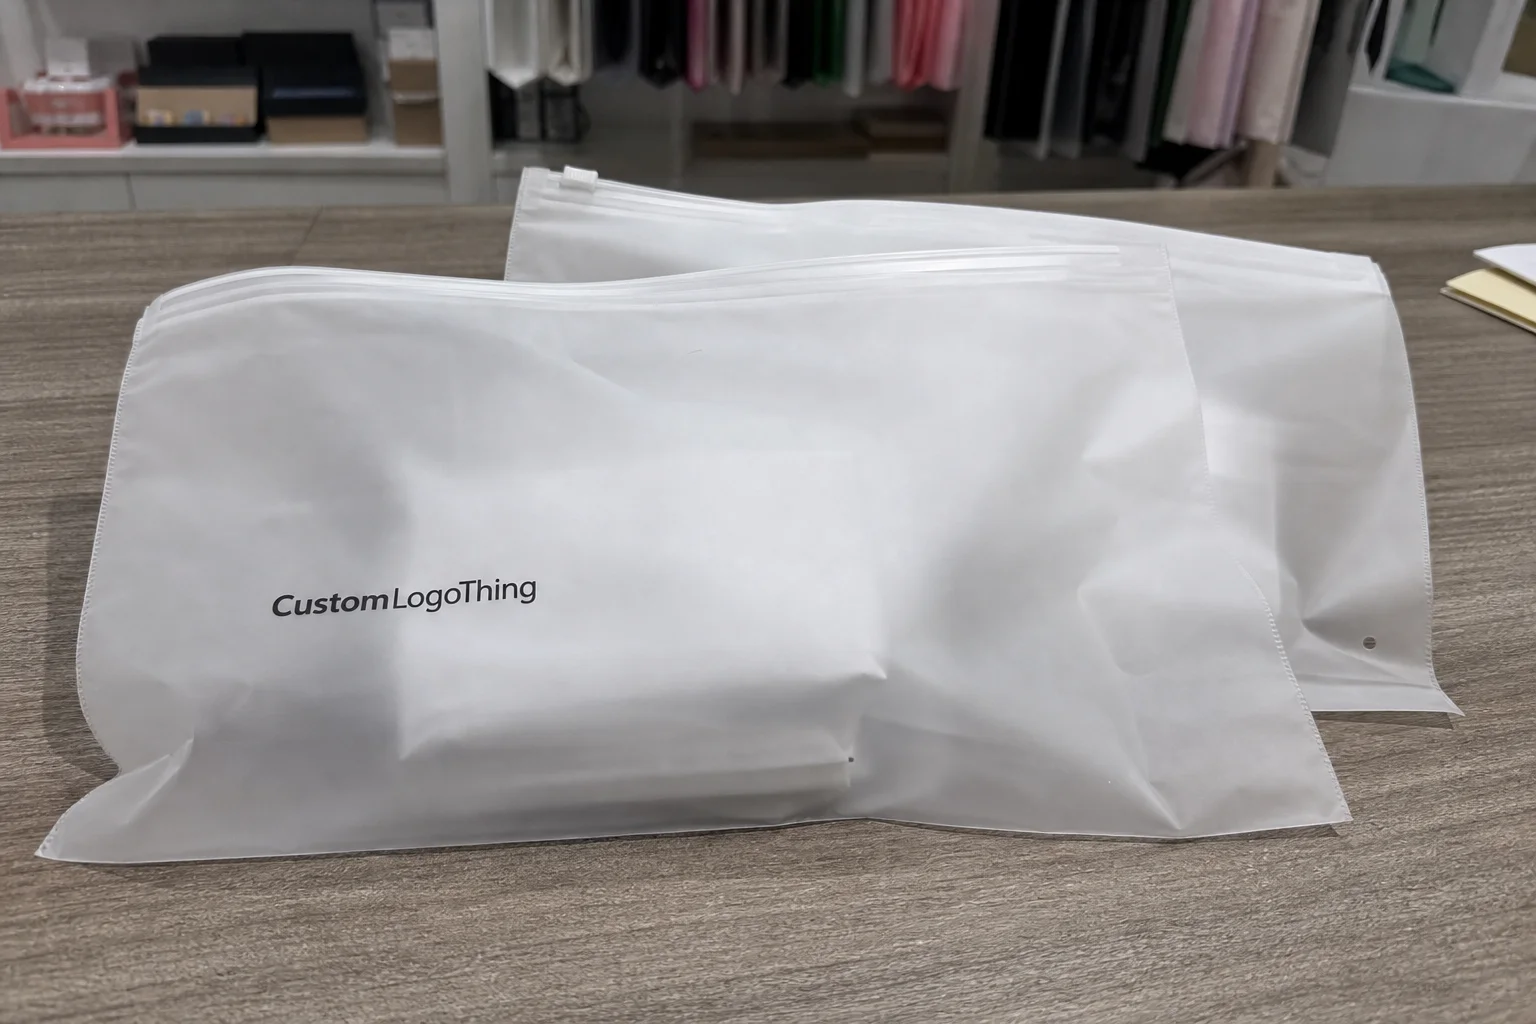
Frosted Zipper Bags occupy an interesting middle ground. They look cleaner than a basic clear poly bag, but they still reveal enough of what is inside to make imperfections visible. That translucency is part of the appeal. It also means the insert has to be designed and approved with more care than a generic flyer tossed into a box.
A subscription Frosted Zipper Bags packaging insert checklist is not just an internal form. It is a control system for brand consistency, print accuracy, and fulfillment speed. It helps teams confirm what is being printed, where it sits in the pack, how it folds, and which version is live. Without that control, recurring programs tend to drift. One month the copy is right, the next month the QR code points to an expired landing page, and by the third cycle the fulfillment team is improvising.
“A premium bag can still look unfinished if the insert is off by a quarter inch, or if the messaging no longer matches the current offer.”
The checklist also protects against a less visible cost: rework. Reprints are expensive, but so are the hours spent sorting mixed versions, correcting kitting instructions, and fielding customer questions about an outdated code. In a subscription model, that kind of friction compounds quickly because the same mistake can repeat every cycle unless the source file and the approval process are tightened.
For brands shipping accessories, beauty samples, apparel add-ons, or small retail items, the insert often becomes the only printed surface the customer reads. That makes it more than a decorative piece. It becomes a support document, a retention tool, and sometimes the only place where the brand gets one clear sentence to make its point.
How the insert and bag system works together
The frosted zipper bag and the insert should be treated as one packaging system, not two independent purchases. The bag affects readability, color perception, and even the perceived size of the insert. A design that looks balanced on screen can feel cramped once it is seen through frosted film and placed beside a product.
Common insert formats include thank-you cards, welcome notes, care instructions, reorder cards, referral cards, QR cards, and promotional inserts tied to a subscription cycle. Each serves a different purpose. A care card lowers support burden. A reorder card supports repeat purchase. A welcome note adds warmth. A QR card can move a one-time shipment into a longer brand relationship. Trying to make one insert do all of these jobs usually muddies the message.
Bag dimensions matter more than many buyers expect. A 6 x 9 inch insert may sound standard, but the actual usable space depends on zipper placement, seam allowance, and how much room the filled bag leaves after the product is added. If the insert is too tall, it can curve. If it is too wide, it may force the bag to sit awkwardly or obscure the product. If it is too small, it can look accidental rather than designed.
Material choice shapes the final effect as much as layout does. Frosted polypropylene and similar films soften what sits behind them, so pale copy, thin fonts, and low-contrast graphics can blur together under warehouse lighting. Darker type and stronger spacing usually survive the packaging process better. That does not mean the insert has to look heavy or overly bold. It means the visual system has to work through a translucent surface, not in spite of it.
For recurring shipments, the insert also needs to fit the actual fulfillment workflow. Some programs insert the card behind the product. Others place it on top, under a sleeve, or inside an outer mailer with other documents. A design team may imagine one sequence while operations uses another. If those two views are not reconciled early, the packaging plan becomes more expensive than it should be.
Key specs that shape cost, pricing, and unit cost
Cost is usually determined by four things first: the bag material, the frosted finish, the zipper style, and the amount of printing involved. On the insert side, paper stock, print coverage, folding, die cuts, and finishing treatments drive the quote. The difference between a simple and a complex pack can be surprisingly large, even when the finished pieces look similar from a distance.
A one-color insert on 14pt C1S stock is a very different job from a full-bleed, double-sided card with a custom fold and a spot UV accent. The same is true for bags. A stock frosted zipper bag with minimal branding is generally less expensive than a fully custom printed bag with tighter tolerances and more setup work. On smaller runs, setup charges and proofing often weigh more heavily than the material itself.
Here is a practical view of how complexity usually affects pricing:
| Option | Typical complexity | Common use | Cost impact |
|---|---|---|---|
| Stock frosted zipper bag + single insert | Low | Starter subscriptions, test runs, pilot launches | Lowest setup cost, efficient for small quantities |
| Custom printed bag + standard insert | Medium | Recurring branded shipments | Higher bag cost, stable insert pricing |
| Custom printed bag + folded insert with finish | High | Premium subscription packs | More setup, more labor, more QC checks |
At scale, a plain printed insert might cost only a few cents to a few tenths of a dollar per unit, depending on quantity, coverage, and finish. Once folding, coating, or manual insertion is added, the number rises quickly. Bag pricing behaves the same way. A 5,000-piece order and a 25,000-piece order can produce very different unit costs because press efficiency, plate charges, and run length all change the economics.
Labor is the hidden line item many teams underestimate. If inserts have to be folded by hand, sorted into versions, or inserted in a second step, the fulfillment cost can rival the print cost on lower-volume programs. More versions also raise the risk of mix-ups. A simple one-message insert is easier to manage than three variations, especially when monthly shipments are moving through the same packing line.
Margin pressure usually shows up in the details, not the headline price. Standardizing dimensions, reducing version count, and avoiding unnecessary finishing are often the fastest ways to keep unit cost under control without making the packaging feel cheap.
Production process and timeline for subscription insert packaging
A clean production brief prevents most downstream errors. Before artwork moves, confirm the bag dimensions, zipper style, material type, insert size, print sides, quantity, and the exact purpose of the insert. A welcome card and a reorder card may use the same layout grid, but they are not the same asset. Treating them as interchangeable is how outdated language slips into a live shipment cycle.
The usual production sequence looks like this:
- Brief and spec confirmation
- Dieline or template review
- Artwork proofing
- Color and layout approval
- Material selection
- Printing and converting
- Bag fabrication or sourcing
- Insert printing and finishing
- Kitting or assembly
- Final QC and shipment release
Delays often start with something small. A late copy edit. A missing barcode file. Bleed that was not checked properly. A bag size that changed after the insert was already approved. Once the insert no longer fits the final pack, the whole presentation can look off, even if each individual component looks fine on its own.
Timeline depends on quantity, print method, and whether the bag and insert are produced together or in separate stages. Digital printing can move faster for smaller runs. Larger offset or custom bag programs usually need more lead time because proofs, plates, and setup must be locked before production begins. If a physical sample is required, add time for shipping and review. For frosted materials, a real proof is especially useful because the final effect changes under actual light and through the plastic film.
As a rough planning range, simple printed inserts may be turned faster than a fully custom bag run, while combined bag-and-insert programs often require extra time for coordination and final sign-off. Buyers working on subscription schedules should build in a buffer for corrections. Once the ship date is fixed, that buffer becomes part of quality control.
Industry references such as ISTA for packaging and transit testing and FSC for material sourcing standards can be helpful when evaluating durability and responsible paper choices. They do not replace a supplier spec sheet, but they do set a useful benchmark for documentation and testing.
Step-by-step packaging insert checklist for frosted zipper bags
A subscription Frosted Zipper Bags packaging insert checklist should function as an approval gate. It needs to catch the errors that are easy to miss during a busy launch, especially when marketing, operations, and fulfillment are all touching the same order.
1) Confirm the purpose of the insert
Start by defining one primary job. Is the insert meant to welcome, instruct, remind, or convert? A piece that tries to do too much usually reads as clutter. A focused card is easier to produce, easier to pack, and easier for the customer to act on.
2) Lock the dimensions
Measure the bag and the insert together. Confirm bag width, height, zipper position, internal clearance, and the finished trim size of the card. Then check the fold pattern if there is one. A card that works in a mockup may fail once the product is inside the bag and the zipper track limits space.
3) Proof the content line by line
Check product names, membership language, URLs, QR codes, promo codes, and contact details against the live offer. Operational details deserve the same attention as design. One incorrect help email or expired code can create avoidable customer service issues within days.
4) Review print readiness
Verify bleed, safe zone, resolution, and color mode. Then look at contrast through the actual frosted film. Thin type, pale gradients, and narrow logo marks may be readable on a screen and weak in the finished package. If the piece has to be legible at a glance, keep the design stronger than you think you need.
5) Align fulfillment instructions
Decide exactly where the insert sits, how many go into each unit, and whether different subscription tiers use different versions. If seasonal packs or regional variants are involved, label them clearly. Ambiguous naming in the file system is one of the fastest ways to create mixed cartons or mixed batches.
6) Approve the final version number
Before release, confirm the approved file name, version number, and sample sign-off. This sounds basic because it is basic. Basic controls are often what prevent outdated copy from reaching a live shipment cycle.
If you need a cleaner way to track bag, insert, and companion pieces together, organize the final approvals around Custom Packaging Products so each component is reviewed in one place instead of scattered across separate threads.
Common mistakes that cause wasted spend and reprints
The most expensive error is usually not the print run itself. It is the assumption that the print process will correct a weak plan. It will not. Frosted plastic changes how color and contrast read, and the effect is often harsher than teams expect when they review artwork only on screen.
Another recurring problem is approving inserts before the bag size is truly final. A card that fits the sample may sit too wide once seams, zippers, and product fill are accounted for. That can force an extra fold or create an awkward overlap near the closure. Both outcomes make the pack look less deliberate.
Other mistakes show up in the details:
- Changing promotional language too late and producing mixed versions across subscription waves.
- Using too many hand steps during assembly, which slows packout and adds labor cost.
- Skipping QR code, barcode, and coupon testing before approval.
- Confusing a temporary promotion with a long-term brand message.
Late-stage edits are expensive because they can trigger reproofing, plate changes, revised kitting instructions, and delayed shipment. If the program follows a monthly calendar, even a small slip can push the pack into the wrong cycle. That creates operational noise and weakens consistency, which is the opposite of what subscription packaging should do.
Another issue that buyers often miss is version control. A finished pack can be technically correct but still fail if three file versions exist and nobody knows which one was approved. The checklist should prevent that by naming the final source file, the backup file, and the release date.
Expert tips for cleaner presentation and stronger repeat orders
Keep the message narrow. One insert should usually do one job well. A clean call to action such as scan, save, reorder, or join is easier to absorb than a page full of competing offers. In a subscription setting, restraint often reads as confidence.
Contrast matters more than many teams assume. Dark text on a light insert, generous margins, and straightforward iconography tend to hold up better behind frosted film than thin type or soft gradients. If the brand palette leans gentle, the insert still needs stronger contrast than the outer packaging might.
Paper weight also affects perception. A heavier insert can make the pack feel more deliberate in the hand and less disposable. That does not mean choosing the thickest stock available. It means picking a weight that supports the bag material and the intended message without making the pack bulky or difficult to insert.
Standardization is one of the best cost controls available. For monthly programs, build a master insert template where only the offer, date code, or QR destination changes. That reduces proofing time and keeps fulfillment from having to re-learn the pack every cycle. Fewer moving parts usually means fewer errors.
For broader product packaging or retail packaging programs, a simple sign-off matrix helps. Marketing should approve the language. Operations should approve the dimensions and pack sequence. Fulfillment should confirm the assembly workflow. Everyone should be reviewing the same version, not different drafts hiding in different inboxes.
If sustainability claims are part of the brand story, ask for documentation before using them. Recycled content, FSC-certified paper, and lightweight material choices can support the message, but only if the claim is backed by supplier records. Vague green language weakens credibility fast.
Next steps to build your own checklist and order plan
Start with a one-page spec sheet. Include bag dimensions, zipper style, material, finish, insert size, print method, quantity, and whether printing is on the bag, the insert, or both. That sheet should be the reference point for quoting, proofing, and fulfillment.
Then prepare two files: the final approved artwork and a clearly labeled backup. The backup should not be used casually. Its purpose is to keep an older promo file from being pulled into production when deadlines get tight and people start searching by memory instead of version number.
If the frosted finish or logo treatment has not been tested, request a physical sample. A screen approval is not enough when translucency affects readability. A small proof run can prevent a much larger reprint, and that tradeoff is usually worth making on recurring programs.
It also helps to map reorder timing against subscription ship dates. Leave room for review, production, kitting, and correction. In a recurring system, timing is part of the quality standard, not a separate operational concern.
For teams ordering through a supplier that handles multiple components, review the broader Custom Packaging Products range alongside the insert plan so the bag, flyer, and any companion pieces function as a single branded set rather than disconnected parts.
Used well, a subscription frosted zipper bags packaging insert checklist does three things at once: it protects consistency, limits avoidable cost, and keeps the unboxing experience steady from one shipment to the next. That stability is what makes recurring packaging feel polished instead of improvised.
FAQ
What should a subscription frosted zipper bags packaging insert checklist include?
It should include bag size, zipper style, material specs, insert dimensions, fold style, paper stock, artwork files, QR codes, promo codes, proof approvals, packing order, QC checks, and version control for every shipment.
How do I make inserts readable through frosted zipper bags?
Use stronger contrast, avoid ultra-light fonts, keep copy short, and test the design against the actual bag material. Paper and ink choices matter once the insert sits behind frosted plastic and under warehouse lighting.
Does adding an insert increase unit cost much?
Usually yes, because you are adding printing, material, and handling. The increase is often manageable at scale, but complex folds, multiple versions, and manual insertion raise cost faster than many buyers expect.
How long does production usually take for bags and inserts together?
It depends on proof approval, print method, quantity, and whether sampling is needed. Coordinated bag-and-insert jobs often take longer than one component alone, and late artwork changes are one of the most common delay points.
What is the biggest mistake in subscription insert planning?
Ordering before the final bag dimensions are locked, then skipping a physical proof on frosted material. Outdated promo details and weak version control are close behind.