A mockup can look clean and still stitch out crooked, too small, or packed so tightly that the knit starts to buckle. That is why the tea embroidered beanies Digital Proof Checklist matters. It catches sizing, thread, and placement problems before a machine turns a neat screen image into a puckered hat. Tea-themed beanies leave little room for improvisation: tiny artwork, curved knit fabric, and a small front panel mean the proof has to be practical, not just pretty.
What the tea embroidered beanies digital proof checklist covers
The job of the tea embroidered Beanies Digital Proof Checklist is simple: confirm what will actually be stitched, not what merely looks good on a monitor. A proof can look polished and still fail in production if the logo is too small, the thread density is too tight, or the chosen beanie style cannot hold the design cleanly.
Tea-themed artwork needs extra scrutiny because the graphics are often delicate. Teacups, leaves, steam lines, script fonts, and tiny brand marks all sound reasonable in a design file. On a knit beanie, those details do not get unlimited forgiveness. The fabric stretches, the yarn has texture, and the embroidery machine needs enough room to anchor every stitch. If the design is cramped, the result will show it.
A useful checklist should confirm four things before anyone approves the proof:
- Artwork is clean, vector-based, and sized for embroidery rather than print.
- Placement is measured in inches and tied to a specific beanie style.
- Thread colors match actual thread charts instead of screen colors.
- Blank compatibility accounts for cuff height, knit type, and stretch behavior.
That sounds basic, but most production mistakes start with a missing basic. A buyer approves a mockup, assumes the rest is handled, and the order arrives with a logo that is half a finger too low or a shade darker than expected. The checklist reduces that drift by forcing the conversation into specifics before anything is cut, digitized, or stitched.
How the digital proof process works from art file to approval
The process usually starts with the art file. A competent vendor will clean up the logo, remove tiny weak details, and convert the design into embroidery-ready format. That step is not cosmetic. It determines how the machine moves, where stitch angles change, and how much density the logo can handle before it turns stiff.
Then comes the mockup. This is the part that tends to mislead people. A flat proof shows placement and color intent, but the digitized file controls how the embroidery machine actually sews. If the design has a narrow line, the proof may still look fine while the machine sees a thread path that is too fragile for knit fabric. Experienced buyers ask for both the visual proof and the stitch logic behind it.
Revision rounds usually cover the same few issues: logo width, thread swaps, a placement shift of a quarter inch, or simplification of a tiny detail that will blur once stitched. On tea merch, a 2.0-inch-wide logo may need to become 2.25 inches just to stay legible on a beanie. Smaller is not always cleaner. Sometimes it is just harder to read.
Approval should be explicit. Someone needs to sign off on the final proof version, and the notes should say whether the team is approving layout only or layout plus stitch setup. If the proof says “looks good” and nothing else, that leaves room for trouble. Clear approval is not fancy. It is cheaper.
For teams comparing decoration methods or planning mixed orders, the Manufacturing Capabilities page is a useful reference point. It helps separate what embroidery can do from what a mockup makes it look like it can do.
Thread count, knit type, and placement rules that change the result
Beanie embroidery lives or dies on stitch count, knit type, and placement. A compact logo with 4,000 to 6,500 stitches can work well on a cuffed acrylic beanie. Push that same design toward 9,000 stitches with dense fills and you are asking for stiffness, heat buildup, and possible puckering. Knit hats do not behave like flat panels. They move.
Cuffed rib knits are usually the safest surface because the cuff gives a flatter landing zone and a little extra structure. Slouchier styles are less forgiving. They stretch more, and the design can drift if the placement sits too high on the crown. A logo that looks centered in a mockup can sit awkwardly once the hat is worn.
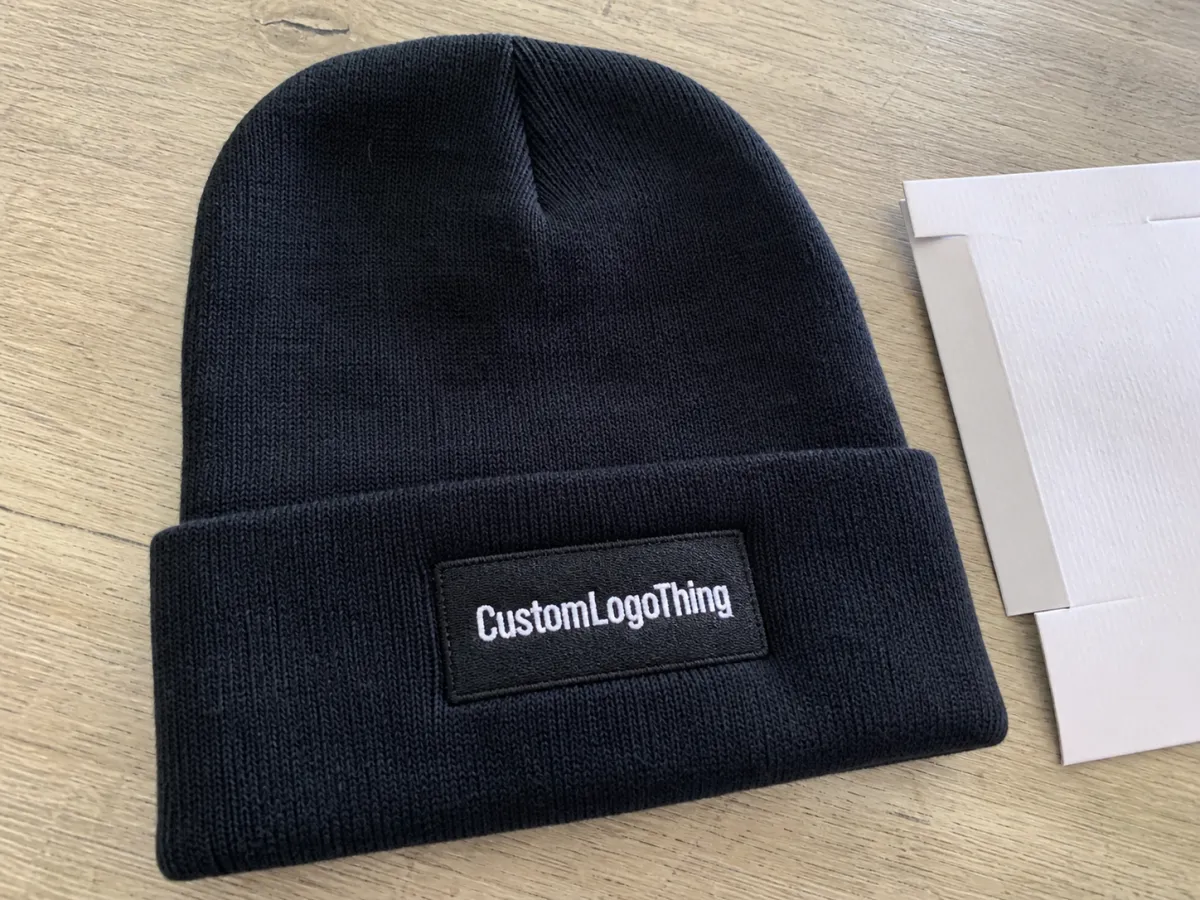
Placement matters more than most buyers expect. Front center, side hit, and cuff height all change the visual balance. A logo sitting 0.5 inch too low can look sloppy. One sitting too close to the seam can distort. For most standard cuffed beanies, front placements often land around 1.5 to 2.25 inches tall, but the shape of the logo and the width of the hat still control the final choice.
Thread color is another place where expectations need a reality check. Tea brands often want soft greens, warm browns, cream, or muted black. Those tones are all possible, but not every screen color has a direct thread match. Thread charts are a better guide than RGB values, and some colors need a substitute that reads correctly on fabric rather than on a monitor.
Fabric content matters too. Acrylic beanies usually take embroidery predictably. Blends with wool can feel nicer in hand, but they may shed more during stitching or need a lighter design to avoid bulk. Thicker yarns can also hide small lettering faster than buyers expect. That is a good reason to keep text short and the linework bold enough to survive texture.
If the order includes branded packaging or insert cards, FSC-certified paper is a sensible choice for the print components: FSC. It does not fix embroidery issues, obviously, but it keeps the whole package cleaner and avoids mixing a good beanie with wasteful finishing.
Cost, pricing, MOQ, and quote factors to compare before you approve
Pricing for embroidered beanies is not mysterious. It is a stack of setup work, blank cost, stitch complexity, and order quantity. The biggest drivers are the blank beanie style, stitch count, number of thread colors, digitizing fees, and whether a proof or sample sew-out is included.
For small runs, the unit price jumps because setup gets spread across fewer hats. That is normal. A 50-piece order will almost always cost more per unit than a 500-piece order, even if the artwork is identical. The machine does not care that the event budget is tight.
| Beanie option | Typical stitch count | Common MOQ | Unit price at 250 pcs | Unit price at 1,000 pcs | Notes |
|---|---|---|---|---|---|
| Basic cuffed acrylic | 4,000-6,500 | 48-100 | $6.75-$9.50 | $4.80-$7.00 | Best for clean logos and simple text |
| Premium cuffed blend | 5,000-7,500 | 48-100 | $8.25-$11.50 | $6.00-$8.75 | Softer hand feel, better retail presentation |
| Slouch beanie | 4,500-7,000 | 72-100 | $8.50-$12.50 | $6.25-$9.25 | More style, less predictable placement |
Watch for hidden costs. Rush fees can add 10% to 25%. Extra revision rounds may be billed after the first or second proof. Split color runs, specialty packaging, and multi-location shipping also push the total up. Digitizing commonly lands around $25 to $60 for a simple logo, though complex artwork can go higher if the file needs serious cleanup.
The cleanest comparison is a spec-for-spec comparison. Same beanie style. Same stitch count. Same thread colors. Same delivery window. Otherwise the lowest number is just a trap with better handwriting. If a quote leaves out cuff height, art size, or the exact blank, it is not really a quote yet. It is a starting point.
Minimum order quantities also matter more than buyers want to admit. A supplier may advertise a low MOQ, but a tiny run can still cost too much once setup and shipping are added. For a tea brand testing new merch, 48 to 100 pieces may be the practical first step. For a retail program with stable demand, 250 pieces is often where pricing starts to behave more predictably.
Production steps and turnaround after proof approval
Once the proof is approved, the file gets locked. That means the digitizing is finalized, thread colors are loaded, and the shop starts moving toward production. A normal workflow looks like this: final approval, digitizing lock, sample sew-out if needed, bulk embroidery, trim cleanup, inspection, and packing.
Turnaround depends on order size and the shop calendar. Simple jobs may move from approval to production in 8 to 12 business days. Larger runs, sample approvals, or busy-season demand can stretch that to 12 to 15 business days or more. Shipping is separate. If the hats need to land by a fixed event date, that buffer matters more than optimism.
Pre-production samples are worth asking for when the logo is small, the color match is sensitive, or the beanie surface is unusual. A sample adds time, but it can save the whole run from looking slightly wrong in a way that is expensive to fix. The buyer has to decide whether speed or certainty matters more. Usually the answer is both, which is understandable and not very useful.
These jobs also get delayed by avoidable nonsense: missing artwork files, vague revision notes, or a last-minute size change after approval. The most reliable projects are the ones where the buyer answers the obvious questions up front and then stops moving the target.
A proof is not a vibe check. It is the last chance to catch the thing that will cost you 300 hats.
For transit-sensitive orders, shipping tests and carton strength can matter too. The ISTA shipping test standards are a practical benchmark if the beanies are being packed with premium inserts or routed through multiple handoffs. A crushed carton can turn a fine production run into a disappointing delivery.
Common proof mistakes that ruin embroidered beanies
The most common mistake is approving artwork that is too tiny to stitch cleanly. Thin fonts, fine linework, and detailed illustrations are the usual suspects. On a knit beanie, a delicate steam swirl can turn into a fuzzy suggestion of a tea leaf. Cute in theory. Annoying in production.
Another classic mistake is assuming screen color equals thread color. It does not. A soft olive on a monitor may need a darker forest thread to read correctly once it is on textured knit. If the brand is sensitive about color, ask for actual thread references, not a vague promise that it will “look close.” Close is not a spec.
Missing specs create just as many problems as bad artwork. If the proof does not say the beanie style, cuff direction, exact width, or placement height, the vendor has too much freedom. Freedom sounds nice until the run is off by half an inch and everyone starts comparing screenshots.
Do not skip angle checks either. A front view alone is not enough when the design wraps toward the side seam or when the cuff changes the visual balance. Ask for a close-up and, if needed, a side view. A beanie proof that only shows one angle is doing half the job.
The last problem is approving artwork that depends on details the machine cannot reproduce well on knit fabric. Fine gradients, tiny script, and hairline outlines are often the first things to collapse. If a detail cannot survive being stitched on textured fabric, enlarge it or remove it. That is the practical answer, not the pretty one.
Expert tips for cleaner approvals and fewer revision rounds
Start with the cleanest file you have. Vector art is best. If the logo includes small text or a hand-drawn mark, send the highest-resolution source file and a note on the exact brand colors. The proofing team can clean up a lot, but they cannot invent detail that does not exist in the source.
Ask for the design width in inches and the stitch count in the proof. Those two numbers tell you a lot. A 2.1-inch logo with 5,200 stitches is a very different animal from a 2.1-inch logo with 8,900 stitches. One has a decent chance of staying crisp. The other may become a stiff little brick.
Give feedback like a production manager, not a cryptic emoji user. Number the changes. Say “move the mark up 0.25 inch,” “swap to a darker green thread,” or “remove the line of text under the icon.” Specific notes save a revision round. Vague notes create another email chain nobody wants.
It also helps to make one internal checklist before approval goes out. Designer, buyer, and vendor should all review the same points: placement, size, thread, beanie color, cuff direction, and deadline. That habit prevents the telephone-game problem that derails production schedules.
For reorders, compare the new proof against the last approved version line by line. That is where drift creeps in. A different thread tone, a shifted placement, or a smaller logo size may look minor in a thumbnail and obvious on the finished hat. Reorder consistency comes from checking the boring details.
The tea embroidered beanies Digital Proof Checklist is also useful when the design includes more than one decoration target. If the same tea brand uses beanies, tote bags, and caps, each item needs its own limits. A mark that works on a tote can be too fine for knitwear. The proof should reflect that difference rather than copying the same art everywhere.
Next steps before you send the order
Before sending the order, collect the final artwork, quantity, preferred beanie color, and deadline. That is the minimum information a quote needs to be useful. If any of those pieces are missing, the proof will waste time because the vendor has to guess the basics first.
Then confirm the must-have specs in writing: logo size, placement, thread colors, cuff preference, and whether you want a sample before bulk production. A good order brief is not long. It is complete. Five lines of clear information can save a week of back-and-forth.
Keep the approval trail. Save the proof email, the marked-up file, and the final sign-off version. Reorders move faster when the old decisions are easy to find, and nobody has to reconstruct what was approved six months ago from memory.
One last practical point: the tea embroidered beanies Digital Proof Checklist is not only for the first order. Use it again on every reorder, color change, or hat-style switch. That is how you keep the result consistent and avoid the slow drift that turns a solid merch item into a guessing game.
What should a tea embroidered beanies digital proof checklist include?
It should cover artwork size, placement, thread colors, beanie style, and cuff position before approval. The proof should also note stitch count, small text risk, and whether a sew-out sample is needed.
How does a beanie digital proof differ from the final embroidered result?
The proof shows layout and color intent. The finished hat reflects knit stretch, thread tension, and machine settings. Small details can stitch thicker or cleaner than they look on screen, which is why size matters so much.
What affects the quote for custom tea embroidered beanies?
Blank beanie choice, stitch count, thread color count, digitizing work, and order quantity all move the price. Rush timing, sample requests, and shipping add-ons can change the final number fast, so quotes need the same spec set.
How long does approval and production usually take for embroidered beanies?
Simple proofs can move quickly, but revision rounds, sample approval, and busy production periods stretch the timeline. Build in extra time if your event date is fixed, because shipping and last-minute art changes are the usual delay points.
What is the most common mistake when approving tea beanie embroidery proofs?
People approve artwork that is too small, too detailed, or too thin to stitch cleanly on knit fabric. The second-biggest mistake is giving vague feedback instead of exact change requests, which wastes a full revision round.


