Trade show flat bill snapbacks Material Guide for Buyers starts with a simple reality: two caps can share the same silhouette and still perform very differently once they are worn, packed, snapped open and shut, or pulled under bright booth lighting. The difference usually comes down to the material stack, not the logo. A cap that holds its front panel, keeps the visor edge straight, and feels decent after eight hours on a floor full of foot traffic does more for brand perception than one that simply looks good in a render.
That matters because trade show caps serve several jobs at once. They need to look clean in photos, survive shipping, suit embroidery or patch work, and stay comfortable enough that staff do not ditch them halfway through the day. Buyers often focus on the shell fabric first, but the more decisive details are hidden inside: buckram, lining, visor board, seam tape, sweatband, and the way the crown is stitched and pressed. Those pieces do the quiet work.
Trade Show Flat Bill Snapbacks Material Guide Basics
From a sourcing perspective, a snapback is not just a cap body plus decoration. It is a structural system. Front panels need enough body to support a logo. The bill needs a board stiff enough to hold a flat profile without warping. The closure has to be easy to adjust, yet not so flimsy that it feels cheap the first time someone touches it. Even the sweatband changes how a cap is judged, because a rough band can turn a decent sample into a dealbreaker.
Flat Bill Snapbacks usually need more built-in support than curved-brim casual caps. The front panel sits upright, the visor is meant to stay sharp, and the surface has to accept decoration without collapsing under stitch tension. That is why the softest fabric is rarely the best choice. A fabric can feel premium in hand and still perform poorly once embroidery pulls at it. In production, visual appeal and structural stability are not the same thing.
The most common material families for trade show use are cotton twill, polyester, acrylic blends, wool blends, mesh, and recycled polyester. Cotton twill gives a matte, familiar finish that reads well for classic branding. Polyester usually handles color consistency better and tends to resist moisture and wrinkling more effectively. Acrylic and wool blends create a sharper fashion profile, though they often need more careful construction planning because the look can turn bulky if the decoration is heavy. Mesh backs and performance fabrics are better suited to hot venues, long booth shifts, or staff programs where ventilation matters more than a fully traditional profile.
The right question is not which material is "best" in the abstract. It is which material best matches the event, the wearer, the decoration method, and the budget. A cap that works beautifully for a 200-piece executive giveaway may be the wrong answer for a 3,000-piece handout program. A polished sample can still fail the business test if it is too warm, too shiny, too soft for embroidery, or too expensive to distribute at scale.
- Giveaway caps need controlled cost and enough consistency that the whole batch looks intentional.
- Staff caps need stronger structure, better comfort, and durability over repeated wear.
- Premium branded caps can justify better fabric hand, cleaner finishing, and more detailed decoration.
How Fabric and Construction Work Together
A soft fabric can still produce a crisp cap if the internal construction is right. That is where many first-time buyers get caught. The shell is visible, but the hidden components often control the final result. A structured front panel with proper backing will hold embroidery far better than a similar-looking cap without support. A firm visor board will keep the bill flat through packing and re-boxing. A weak crown will start to ripple long before the logo wears out.
In practice, the best trade show caps usually combine a stable outer fabric with a controlled internal build. Buckram, fused interfacing, foam support, and seam tape all affect how the front panel behaves. The balance matters. Too little structure and the cap slumps. Too much and it feels stiff, boxy, or uncomfortable. The sweet spot depends on how much decoration sits on the front and how long the cap will be worn.
For embroidery, a stable front panel is usually non-negotiable. Dense thread work pulls on the fabric as it stitches, especially on larger logos or multi-color designs. Without proper backing, the surface can pucker. Woven patches and sewn emblems also perform better on a firm landing zone. Print methods are a little different: they prefer a surface with less glare, fewer ridges, and a fabric that accepts the ink or transfer film cleanly. The shell cannot be chosen separately from the decoration. They have to be specified together.
Interior finishing affects comfort just as much as appearance. A sweatband that feels fine for a short promotional handout can become a problem for booth staff wearing the cap all day. Thin seam tape may keep the inside tidy, but it does not always control shape well enough for repeated use. A more substantial interior build raises cost, yet it often pays off when the cap has to survive packing, unpacking, and multiple events.
Color also interacts with construction. Shiny fabric can make a logo appear harsher under LED trade show lights. Dark matte material can make a logo easier to read from across the booth. A heavy patch on a soft crown can drag the shape forward. A tall front panel can make even a small logo look more deliberate, while a low or collapsing panel can make good artwork look careless. These problems are hard to see in a digital mockup and easy to spot in hand.
A cap can look premium on screen and still fail on the table if the front panel does not hold the artwork cleanly.
Packaging deserves a mention here too, because cap construction affects how the product survives the carton. Soft front panels crease more easily. Visors can scuff against box walls. Good pack-out often uses corrugated cardboard master cartons, interior spacers, and sometimes kraft paper tissue or dividers to keep the brim and crown from rubbing. Buyers who care about lower-impact shipping materials can ask for FSC certified cartons, recycled content, or biodegradable packaging on the shipper side without changing the cap spec itself.
Material Factors That Change Comfort and Wear
Comfort starts with breathability, but that is only the first layer. Mesh backs help, especially in warm venues or for booth teams that stay on their feet all day. Lighter weaves reduce heat buildup. Moisture-wicking sweatbands help more than many buyers expect, because the forehead is where discomfort shows up first. If a cap traps heat, it will spend less time on heads and more time on tables.
Hand feel matters, too. A cap that feels premium in a showroom can still be irritating after several hours if the sweatband is abrasive or the crown is overbuilt. The reverse happens as well. A light, easy cap can read as flimsy if the front panel has no backbone. That is why samples should be tried on, not just handled. A good flat bill snapback should feel balanced, not top-heavy and not mushy.
Colorfastness and stain resistance are practical concerns, not cosmetic extras. Trade show caps get packed into bags, stacked in storage rooms, handled by multiple people, and worn under mixed lighting conditions. Polyester and many blends usually hold color well. Natural-fiber looks can show wear sooner if they are repeatedly folded, exposed to moisture, or brushed against rough surfaces. Under strong indoor light, a glossy finish can also shift how a logo reads from a distance. What seems subtle on a desk can become obvious on the booth floor.
Shape retention separates a cap that stays in rotation from one that ends up forgotten in a drawer. If the cap is for staff use across multiple events, the shell and visor insert need enough memory to recover after packing. Washability is part of that conversation, but it should be clarified before order release. Not every decorated cap is meant to be machine washed, and a stitched patch or specialty transfer can react badly to the wrong cleaning method. That is the kind of issue that should be solved on the spec sheet, not after the first cleaning attempt.
Sustainability is now part of many briefs, but it needs a practical lens. Recycled polyester can be a strong choice when the buyer wants a cleaner material story without giving up durability. The tradeoff is that recycled yarns may alter the texture or sheen slightly, and minimums can be higher on certain colors or fabric weights. Packaging is often the easier place to make a measurable improvement: recycled content in the shipper, FSC certified board, and lighter filler materials can all reduce waste without compromising the cap itself.
| Material family | Look and feel | Structure fit | Decoration fit | Typical blank cost at 500 pcs |
|---|---|---|---|---|
| Cotton twill | Matte, familiar, soft-hand | Good with firm backing | Strong for embroidery and patches | $2.80-$4.25 |
| Polyester | Smoother, slightly technical | Excellent shape retention | Good for embroidery, print, and labels | $2.90-$4.75 |
| Acrylic or wool blend | Sharper fashion look, warmer hand | Usually needs careful build planning | Best with structured logos and patches | $3.20-$5.90 |
| Mesh-backed or recycled polyester | Airier, lighter, often sportier | Good if front panel is reinforced | Very good for staff caps and active use | $3.10-$5.40 |
For long staff wear, I usually favor the material and sweatband combination before I worry about cosmetic extras. A cap that feels cooler, grips less, and keeps its shape after hours of wear will earn more use. For a high-volume giveaway, the balance shifts. The answer may be a simpler shell, a clean logo application, and practical packing rather than a premium build that moves the price beyond what the audience will tolerate.
Process and Lead Time: From Spec to Sample Approval
The production path looks linear on paper and rarely behaves that way in reality. A typical order starts with a spec sheet, moves into sample development, then revisions, bulk production, inspection, packing, and freight booking. The cleaner the initial brief, the fewer problems show up later. For a trade show Flat Bill Snapbacks material guide project, that matters because the event date is fixed and the margin for error is thin.
Stock blank programs move faster than fully custom runs. If the buyer is using an existing body with standard mesh or twill and a common snap closure, sampling can be minimal. Once the order includes custom paneling, special visor board thickness, custom taping, a new sweatband, or a patch with its own die line, the timeline stretches. Fabric sourcing alone can add days if the requested shade or hand feel is not already in inventory.
The slowest points are usually approvals. Artwork changes, stitch placement revisions, color matching, and patch sizing can each trigger another sample round. Even when the factory is efficient, the buyer still needs time to compare the physical sample against brand standards and make a call. A digital proof is useful for layout, but it does not show stiffness, drape, crown height, or how a visor holds shape when the cap is handled repeatedly.
A realistic planning frame often looks like this: sample development in 7-12 business days, sample revisions in 3-7 business days, bulk production in 12-20 business days depending on order size and decoration complexity, and freight coordination layered on top. Those numbers shift with seasonality, fabric availability, and the amount of handwork in the order. Rushing usually costs something, whether that is quality, timeline, or both.
Quality control should happen at several points, not just at the end. Early checks can catch poor stitch registration, uneven panel alignment, loose threads, shade drift between panels, and visor bend issues before the whole batch is complete. Final inspection should include logo placement, closure function, sweatband finish, and packing count. If the order is crossing a long distance or moving through several warehouses, the carton should be built to handle compression and vibration, not just a short move across town.
That is where transit testing logic matters. Not every promo cap needs a formal lab protocol, but the pack-out should be chosen with reality in mind. Cartons should stack well. Inserts should keep crowns from flattening. Brims should not rub. A shipment that arrives with bent bills or compressed fronts can erase the benefit of careful material selection.
Cost and Pricing: What Drives Unit Cost
Cap pricing is driven less by the silhouette than by the decisions hidden underneath it. Fabric grade, number of panels, front structure, closure type, and decoration labor all move the number. Two Flat Bill Snapbacks can look nearly identical on a table and still land in different price bands because one uses basic trim and the other uses reinforced construction and layered decoration.
For rough planning, a stock blank snapback in modest volume might start around $2.80-$5.50 before decoration. Add embroidery, and the finished unit climbs depending on stitch count, thread colors, and size. Add a woven patch, custom woven label, inside taping, branded underbill, or specialty sweatband, and pricing can move into the $6-$12+ range at common trade show quantities. That is not unusual. It is the cost of labor, setup, and more controlled materials.
Embroidery stitch count matters more than many buyers expect. A small, clean logo is one thing. A dense mark with multiple fill areas is another. Patch complexity can push cost even faster if the patch uses specialty borders, several thread colors, or heat-cut shapes. If the buyer is comparing quotes, the base fabric should be only one part of the discussion. The same shell can become a very different product once decoration is added.
Minimum order quantities and setup fees also shape the final number. Smaller runs almost always carry a higher unit price because the factory still has to set up machines, approve trims, and prep packaging for a shorter run. That does not make small orders a bad choice. It just means the buyer should decide whether the cap is for a targeted VIP group, a regional activation, or a broader giveaway program before asking for pricing. A 100-piece order and a 1,000-piece order are not solved the same way.
Here is the quote checklist I recommend for this category:
- Blank cap cost by material and structure.
- Decoration cost by method, size, and stitch count.
- Sample cost and revision cost.
- Packaging details, including corrugated cardboard cartons and any kraft paper inserts.
- Freight, split shipment, and rush fees.
If packaging sustainability is part of the brief, ask for the carton spec early. FSC certified corrugated board, recycled materials in the shipper, and post-consumer waste content can all be included in the quote. Those choices usually affect packaging cost more than the cap itself, but they matter if the brand wants the shipment to reflect the same standard as the product.
Price should always be weighed against failure risk. A slightly higher material spec is often cheaper than a batch that looks uneven, arrives bent, or falls apart after a few wears. The lowest quote is not the best value if the cap does not survive contact with the event floor.
Common Mistakes That Hurt the Final Cap
The most common mistake is choosing a soft fashion fabric when the design actually needs a structured front panel. Buyers like the hand feel of the sample, then discover the logo does not sit cleanly once the cap is worn. If the decoration is embroidery or a patch, the front has to support that work, not fight it.
Another mistake is ignoring the event environment. A cap specified for a cool showroom may feel too warm in a packed convention hall. A mesh back or lighter build can be better for staff who will wear the cap for hours. The opposite mistake happens too: a very airy cap can read as too casual for a premium brand presentation. The event tone and the product story need to match.
Shiny or highly textured fabrics can create their own set of problems. Under strong booth lighting, reflective surfaces can make the logo harder to read. Heavy texture can break up a small mark. Very thin fabric can show every seam and stitch line. None of these are fatal on their own, but they should be considered before the order is locked.
Approving from a digital mockup alone is risky. Screens hide stiffness, drape, crown height, and the way a bill holds shape. They also hide the small details buyers notice in hand: sweatband softness, stitch density, patch thickness, and how the closure feels after several snaps. Physical samples are not a luxury in this category. They are the fastest way to avoid disappointment.
If the cap will be handed out widely, do not overbuild it just because the logo is important. The best giveaway cap is the one people actually wear.
Overbuilding is a quieter mistake, and it happens often. Some buyers choose a premium material stack for a large promo program, then find the inventory too expensive to distribute at scale. A better approach is often to reserve the more technical build for staff or VIP use and keep the broad giveaway version simpler. That keeps the budget aligned with actual wear time.
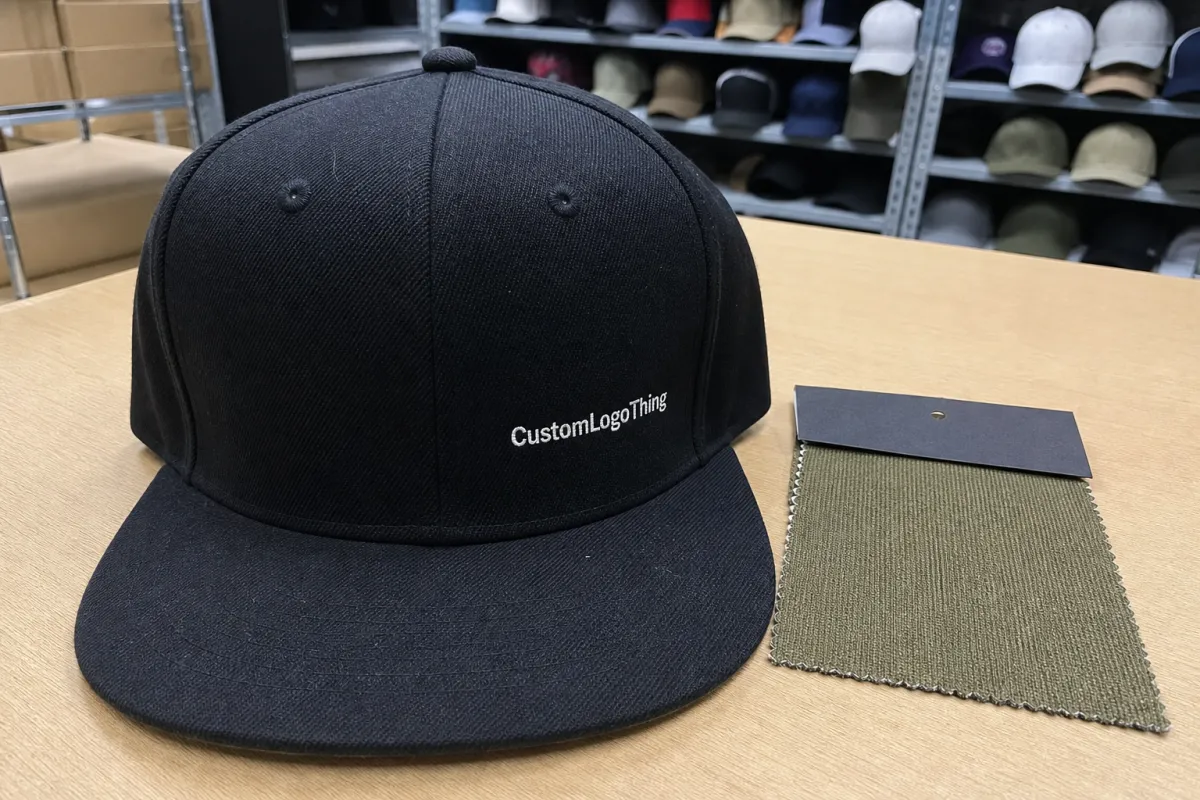
One more trap: unclear color standards. A black cap that is slightly warm in tone can look off next to a cooler brand black. A navy that reads almost charcoal under indoor light may not match the rest of the kit. If the brand cares about precise color, request physical swatches or a target standard early. It is easier to adjust before production than after the first thousand units are sewn.
Next Steps for Specifying the Right Cap
Start with four decisions: who will wear the cap, where it will be used, what logo method will decorate it, and how long it needs to last. Those answers narrow the material field quickly. A staff-only cap for an indoor exhibition floor can be very different from a sponsor giveaway that needs to survive transit, storage, and a crowded brochure bag.
Then request swatches or a pre-production sample. Even when the body is standard, the front panel stiffness, visor shape, and sweatband comfort are worth checking in person. If there is any doubt, compare two or three material options side by side. The best choice is usually not the fanciest one; it is the one that balances structure, comfort, and budget with the least compromise.
Before the order is released, confirm these details in writing:
- Artwork size and placement on the front panel.
- Decoration method, including embroidery, patch, print, or mixed methods.
- Closure style, such as plastic snapback, fabric strap, or another adjustment system.
- Packing instructions, carton count, and whether the shipper should use FSC certified or recycled packaging materials.
If the brand has sustainability language in its brief, include it at the packaging and sourcing stage rather than trying to force it later. A cap can use a standard shell while the shipment uses corrugated cardboard, kraft paper, recycled materials, and lower-impact inserts that support the story without changing the product spec. That is usually the cleanest place to make a practical improvement.
Keep the trade show flat bill snapbacks material guide close whenever the event format, budget, or branding needs change. The right cap is the one that holds its shape, wears comfortably, reproduces the logo cleanly, and arrives packed well enough to look ready the moment it lands.
FAQ
What material is best for trade show flat bill snapbacks?
Cotton twill works well for a classic matte look, while polyester blends usually hold color better and handle long booth days more easily. If the cap needs a crisp front panel for embroidery or patches, choose a structured build with backing instead of a soft, fashion-only fabric.
Are mesh back snapbacks good for trade show staff?
Yes, especially for warm venues or active booth teams that need extra airflow during long shifts. Just make sure the front panel still has enough structure for the logo, since breathable backs do not automatically mean the whole cap is lightweight and stable.
How does material choice affect snapback pricing?
Specialty fabrics, stronger structure, and premium finishing details usually raise the unit cost more than the basic silhouette does. Embroidery stitch count, patch style, and low minimums often influence price more than the difference between two standard shell fabrics.
How long does production usually take for custom flat bill caps?
Lead time depends on whether you are using stock blanks or custom-built caps, plus how long sample approval and decoration setup take. Complex materials, artwork revisions, and tight freight timing can add days or weeks, so the safest move is to lock specs early.
Can I mix embroidery and patches on the same snapback?
Yes, as long as the fabric and front structure can support the combined weight and bulk without puckering. Ask for a physical sample first, because the success of mixed decoration depends on how the crown fabric, backing, and stitch placement work together.