Wedding inserts look simple until the first packed sample arrives with a curled corner, a crooked name line, or too much empty space inside the bag. Frosted Zipper Bags soften glare and fingerprints, but they also make proportion and alignment problems easy to see. A loose insert, a stack that is too thick, or a zipper line that sits too close to the print can make a polished set feel unfinished.
That is why the spec matters before production starts. Wedding packaging is often a system: welcome note, favor insert, itinerary, seating card, thank-you piece, and sometimes ribbon, vellum, or a backing card. Once those parts travel together, the bag becomes part of the presentation, not just the container.
The buyer question is not whether the bag closes. It is whether the finished set still looks intentional after packing, shipping, handling, and venue setup. That is the standard that should guide the checklist, the quote, and the sample request.
Why wedding inserts get messy fast inside frosted zipper bags
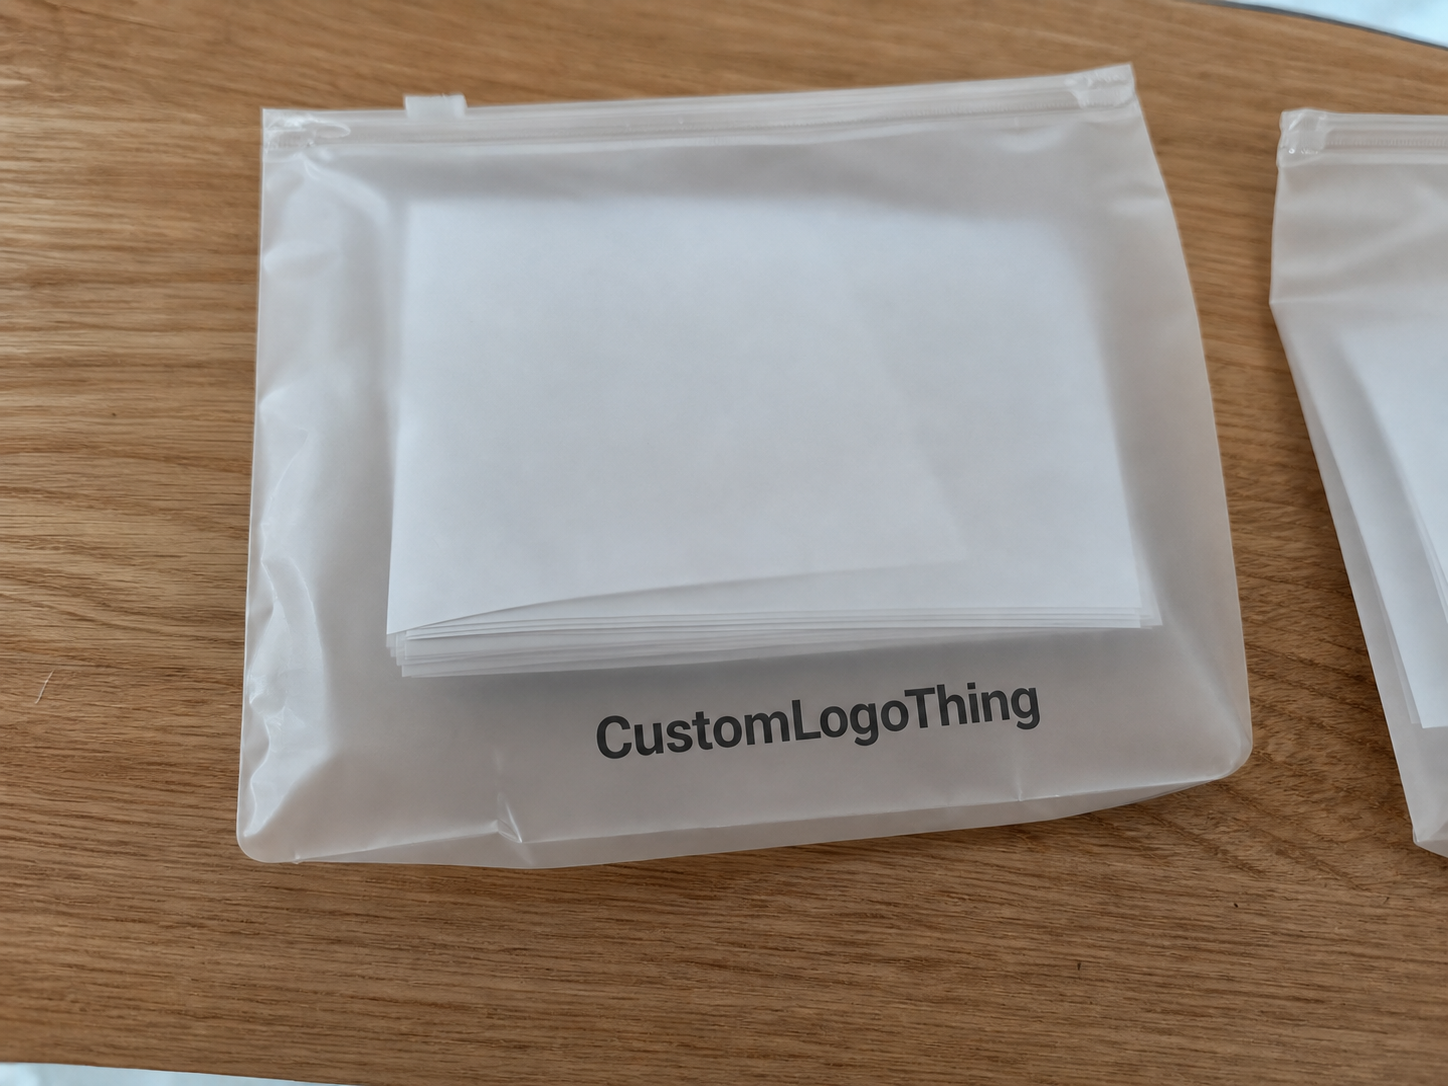
frosted zipper bags are forgiving in a thumbnail image and unforgiving on a packing table. The matte film hides glare, but it does not hide uneven stacks or rough edges. A bag that is a little too large lets the insert drift. A bag that is too tight can buckle at the zipper track or crease the corners.
Wedding packaging adds variety. Invitations are often 5 x 7 inches, RSVP cards run smaller, and welcome inserts may be folded or layered with a backing card. Even when the artwork is consistent, the physical build changes the result. A 14 pt cardstock insert behaves differently from a 250 gsm coated sheet, and that difference shows through frosted film.
From a buyer’s standpoint, the main risk is presentation loss. A set can be technically correct and still look off if the insert sits too low, the logo is partly blocked, or the zipper line shifts upward. Small misses matter because wedding packaging is usually viewed close-up.
- Common failure points: outer size only, ignoring usable interior space.
- Frequent visual issues: sliding inserts, thick folds, and uneven top margins.
- Practical fix: treat the bag, the insert, and the packed stack as one system.
How frosted zipper bags hold inserts without wrinkling
The bag does more than hold paper. Frosted PE or EVA film changes how light hits the artwork, while the zipper closure controls how much movement the contents have after packing. A rigid stack can force creases into the side panels. A light stack can wander inside the pouch and make the package feel underbuilt.
Top-loading usually gives the cleanest result for wedding sets. The card or bundle slides in from the open end, then the zipper closes last. That keeps the front panel tidy and helps the insert sit square behind the frosted film. Side-loading can work for narrow kits or assembly-line packing, but it needs tighter control because the contents can move during sealing or transit.
A slim stabilizer can help keep the set flat. A backing card, light chipboard, or tissue wrap can hold the package in position without adding too much bulk. Heavy board often creates a boxy look that fights the softer visual language of frosted bags.
Surface finish matters too. Rough cut edges, sharp corners, and heavy coatings show through the film more than buyers expect. Rounded corners or a slightly softer stock can improve the final look without changing the design concept.
| Insert style | Best use | Fit and closure behavior | Main risk |
|---|---|---|---|
| Top-loaded flat card | Welcome notes, thank-you cards, favor inserts | Usually the cleanest look; easiest to center before zipping | Can slide if the bag is oversized |
| Folded insert | Itinerary sheets, multi-day wedding details | Works well if the fold is crisp and the stock is not too heavy | Wrinkling at the fold if the paper is too stiff |
| Stack with backing card | Multi-piece welcome kits, layered branded sets | Keeps contents centered and visually tight | Too much thickness can push the zipper line upward |
| Side-loaded pack | Narrow inserts, assembled favor sets | Useful for production lines and bundled pieces | Contents drift during handling |
“If the bag fits on paper but buckles in the stack, the spec is wrong. The wedding will not forgive an optimistic proof.”
Wedding frosted zipper bags packaging insert checklist: what to spec
A clean wedding Frosted Zipper Bags packaging insert checklist prevents most of the expensive mistakes. It gives the supplier enough detail to quote accurately and enough structure to build the right sample the first time. Leave out one measurement and the project usually pays for it later through reproofs, rush charges, or cartons that look wrong once packed.
Start with the usable dimensions. Not the outer bag size, the usable inside space. Measure the finished insert size, the internal width and height of the bag, and the stack depth after paper, ribbon, or a backing card is inside. If the zipper track removes a few millimeters from the top opening, include that. Three to five millimeters can matter more than most buyers expect, especially on small sets.
Then define the material build. Bag thickness is usually discussed in mils or microns. For wedding sets, frosted bags commonly sit around 4 to 6 mil depending on size and the amount of structure needed. For inserts, 14 pt to 16 pt cardstock is common, while 170 gsm to 250 gsm paper covers many coated and uncoated options. If sustainability is part of the brief, ask for FSC-certified paper where appropriate. FSC-certified paper guidance helps separate real paper claims from vague marketing language.
Specify the print behavior next. Matte, gloss, soft-touch, and uncoated stocks each read differently through frosted film. The same is true for print method. Digital printing works well for shorter runs and variable data. Offset becomes more economical at higher volumes. Foil can add one accent, but too much metallic coverage often competes with the softness of the bag instead of improving it.
Finish with production and pack-out details. Quantity splits, guest-name variables, proof expectations, and carton instructions belong on the same checklist. If every table gets a different name or one insert version is only for family members, say that up front. The clearer the brief, the less likely the order is to drift into late-stage revisions.
- Core size data: finished insert size, usable bag opening, internal depth, and stack height.
- Material data: bag thickness, zipper style, frost level, and paper stock.
- Print data: color count, bleed, safe area, finish, and any foil or spot coating.
- Production data: quantity splits, personalization fields, proof expectations, and packing instructions.
If the order includes menus, sleeves, favor notes, or multiple mailer pieces, the same checklist logic still applies. Wedding stationery, gift packaging, and branded event packaging all depend on the same thing: consistent dimensions, controlled print, and a packing method that does not fight the design.
Process, timeline, and lead time from artwork to packed cartons
Good production is methodical. The sequence should be simple: confirm dimensions, collect artwork, review the proof, approve a sample, then lock the file. The step that gets skipped most often is the dimension check, usually because everyone wants to move straight to design decisions.
A realistic schedule depends on complexity. If artwork is already clean, file prep may take 1 to 3 business days. Proofing can take another 1 to 2 days. A physical sample may add a week if the bag size or insert build needs to be confirmed in hand. Production itself often runs 7 to 15 business days for a straightforward order, and longer if the job includes multiple versions, foil, kitting, or unusual bag dimensions. Freight adds its own clock.
That timeline gets longer fast when the brief is vague. Missing copy, guest count changes, unclear insert order, and late requests to enlarge a logo all create rework. Once a proof is approved, even small changes have real cost attached to them.
For orders that need to travel through a fulfillment network or arrive at a venue with little margin for error, ask about packing strength and transit testing. The ISTA transport test standards are a useful reference for buyers who want to know whether a packed carton can survive handling, stacking, and transfer without the contents shifting. Not every project needs a formal test program, but more projects need the mindset behind one.
- Confirm final guest count or kit count.
- Measure bag opening, usable depth, and insert stack height.
- Choose stock, finish, and zipper style.
- Prepare print-ready files with bleed and safe area.
- Review proof colors and layout version by version.
- Approve the sample and lock pack-out instructions.
- Build shipping buffer before the wedding date.
That last step matters more than it sounds. Wedding schedules punish optimism. A small freight delay or damaged carton can force a replacement run, and replacement runs always cost more than planned production.
Cost, MOQ, and quote inputs that change unit cost
Pricing for frosted zipper bag sets is shaped by the same variables that drive other custom printed packaging: size, thickness, print complexity, quantity, and labor. A simple setup with one insert and a stock-size frosted bag can be modest. Add personalization, multi-piece kits, or manual assembly and the unit price climbs quickly.
Minimum order quantity is not only a supplier rule. It changes the economics of the whole job. A smaller run may use digital printing and a stock bag to keep setup light. A larger run may justify offset printing or a more efficient production schedule. Buyers often ask for the lowest number without asking which quantity tier gives the cleanest result. Those are not the same question.
| Order type | Typical unit price | Best for | Main cost driver |
|---|---|---|---|
| Stock-size frosted bag + single printed insert | $0.55-$1.20 per set at 1,000-3,000 units | Simple wedding favors and welcome notes | Print coverage and quantity |
| Custom-size bag + full-color insert | $0.85-$1.75 per set at 500-1,500 units | Branded wedding kits with tighter fit | Bag size, setup, and proofing |
| Multi-piece kitted set with backing card or tissue | $1.10-$2.40 per set at 250-1,000 units | Premium presentation and layered packaging design | Assembly labor and materials |
| Rush or split-shipment order | Often +10% to +25% | Tight wedding deadlines | Expedited production and freight |
A complete quote request saves time. Send exact dimensions, artwork counts, quantity splits, delivery address, and whether the order needs event-ready carton packing. If there are multiple guest groups or design versions, put them in one clear sheet instead of scattering them across email replies. A good supplier can work with detail. It cannot work with ambiguity.
Paper claims deserve the same scrutiny as price. FSC-certified stock may carry a small premium, or it may not, depending on size, timing, and availability. A quote that leaves the stock vague is not really a cheaper quote; it is an incomplete one.
Common mistakes that make wedding insert jobs expensive
The first mistake is sizing from the outer bag only. That seems harmless until the seam allowance, zipper track, and film thickness remove more usable room than expected. The interior measurement is the one that matters. Measure again with the actual insert stack in place, because a bag that closes is not the same as a bag that presents well.
The second mistake is treating artwork as if it has no physical consequences. No bleed, weak safe areas, fuzzy logos, and unplanned variable text all create avoidable reprints. If the design includes names, table numbers, or role-based copy, map those fields before proof approval. Fixing them after the proof is approved is usually expensive and slow.
The third mistake is ordering to the exact count. Weddings generate small losses: one damaged pouch, one wrinkled insert, one name change, one last-minute guest. A modest overage protects the job. For simple sets, 2% to 5% extra is usually sensible. For hand assembly or personalized kits, a little more cushion can save a rush reorder later.
The fourth mistake is separating the bag decision from the insert decision. A beautiful insert can still look thin if the bag is too large. A nice frosted bag can look cheap if the insert floats around inside it. The package works only when both parts were designed together.
- Do not guess on size: use usable interior space, not outer measurements.
- Do not skip print checks: verify bleed, safe area, and versioned text.
- Do not order exactly to count: keep spare units for damage and changes.
- Do not separate bag and insert decisions: they affect each other visually and mechanically.
One useful production detail: sharp insert corners often telegraph through frosted film if the bag is slightly undersized. Rounded corners or a modest stock adjustment can improve the appearance without redesigning the whole piece.
Next steps before you request samples or a quote
Before requesting a sample or a quote, gather the essentials in one intake sheet: dimensions, insert copy, artwork files, quantity splits, wedding date, and budget ceiling. Add paper stock, finish, and personalization fields if they affect production. One organized file does more for turnaround time than a long email chain ever will.
Request a sample with the actual insert stack, not an empty bag. Empty samples only tell you that the zipper works and the color looks acceptable in isolation. They do not tell you whether the final set will buckle, float, or sit too low once the real paper is inside. A real sample exposes the actual fit.
If the order includes more than one packaging component, keep all of them in the same planning lane. Coordinated stickers, sleeves, mailers, and custom printed boxes influence the final presentation and the proofing path. The more they are planned together, the fewer surprises appear later.
For wedding work, the most useful habit is simple: confirm the wedding Frosted Zipper Bags packaging insert checklist, send one complete spec sheet, and ask for a sample that reflects the actual stack. That is how the proof gets cleaner, the revisions get shorter, and the finished piece looks deliberate rather than improvised.
What belongs on a wedding frosted zipper bag packaging insert checklist?
Include the finished insert size, usable bag size, artwork files, quantity splits, wedding delivery date, paper stock, print finish, bleed requirements, and any personalization fields. Those details should be in one place before a quote is requested.
How do I size inserts for frosted zipper bags without guessing?
Measure the usable interior space after the product is inside the bag, not only the outer dimensions. Leave enough margin for folding, sealing, and handling so the insert does not buckle or slide.
What changes the price of custom wedding insert bags the most?
Size, thickness, zipper style, print colors, and the number of versions usually have the biggest effect. Rush timing, kitting, and low quantities can raise the unit price quickly.
How far ahead should I start the process for wedding packaging inserts?
Start as soon as the guest count or gift list is stable, then leave time for proofing and sample review. Build extra buffer if the order needs multiple artwork versions or has a tight ship date.
Can one insert design work for favors, welcome kits, and thank-you bags?
Yes, if the brand message stays consistent and the format fits each bag size cleanly. Small copy or size changes often help when the guest role or package contents are different.