A digital proof can look finished long before it is actually ready for a needle. Embroidery adds thickness, pull, texture, and a stubborn relationship with seams that flat artwork never has to face. That is why a book embroidered baseball caps Digital Proof Checklist matters: it turns a visual approval into a production check, so the order does not drift into avoidable revisions after thread, backing, and machine time are already in motion.
For buyers, the best proof is not the prettiest one. It is the one that answers the uncomfortable questions early: Will the logo sit where the cap can support it? Does the lettering stay legible at stitched size? Is the thread color a close practical match or a gamble? Those details decide whether the finished cap looks intentional or merely close.
A good proof is less about selling the decoration and more about exposing the weak spots before production starts.
If your order also involves packaging, carton labeling, or retail-ready prep, a clean proof process usually saves time across the whole job. Related production details are easier to coordinate once the decoration spec is settled, and that is why many teams keep the decoration review tied to broader manufacturing notes, not just the artwork file. See our Manufacturing Capabilities for the production context that affects approvals.
What a book embroidered baseball caps digital proof checklist actually covers
The book embroidered baseball caps Digital Proof Checklist is a control tool, not a sample and not a promise. It translates artwork into a stitch plan that a production team can actually execute. The proof should show where the logo lands on the cap, how large it will stitch, what thread colors are proposed, and whether the artwork needs simplification so it survives embroidery without losing shape.
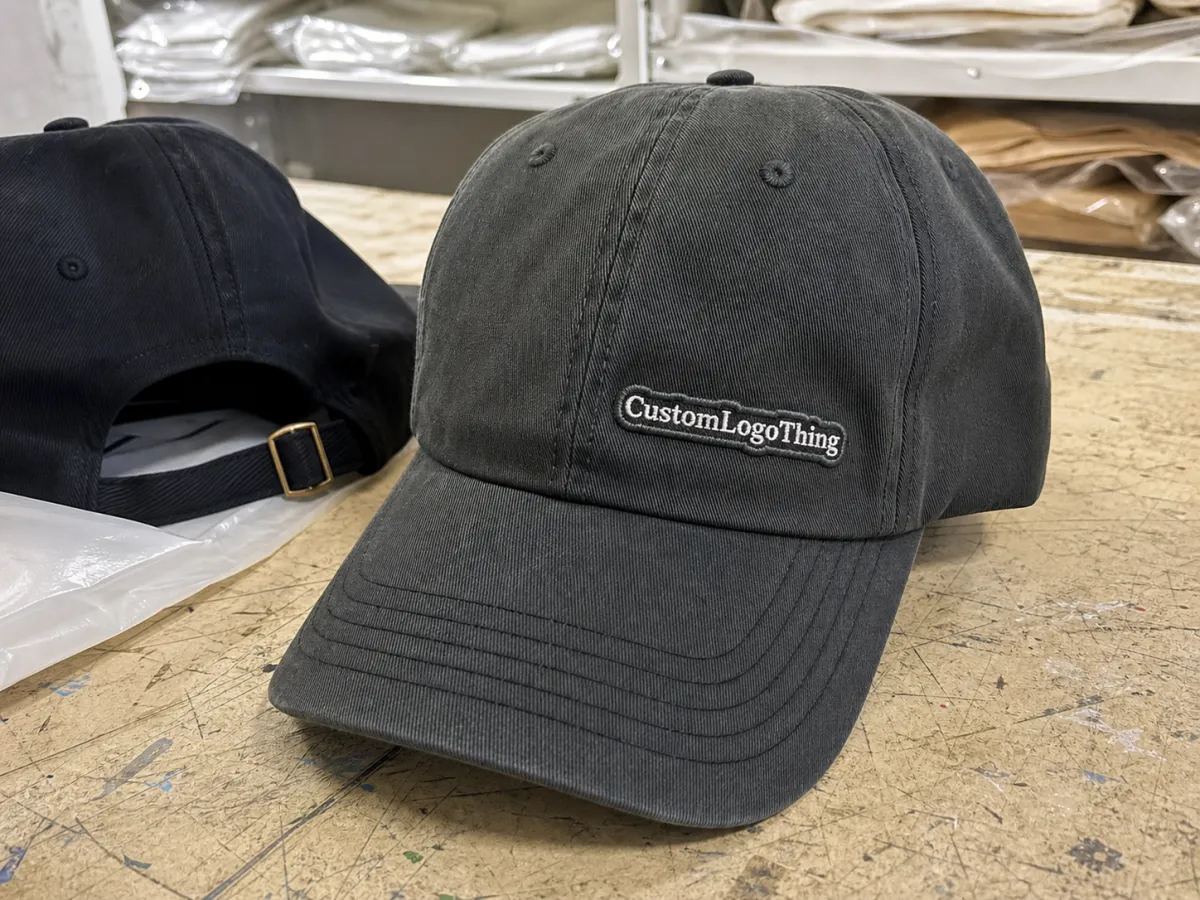
That distinction matters more on caps than on many other decorated products. A logo that looks balanced on a screen may run too close to a seam, sit too high on the crown, or shrink into a blur once the stitches are counted. On structured twill caps, low-profile dad hats, and curved-brim styles, even a quarter inch can change the visual weight of the entire design.
A reliable proof should answer these questions before approval:
- Placement: Is the logo centered or intentionally offset, and how far is it from the brim and crown seams?
- Size: What are the stitched width and height, not just the art dimensions?
- Thread colors: Are exact thread references listed, or are substitutions noted where stock is limited?
- Stitch style: Does the proof identify satin stitch, fill stitch, split stitch, or 3D puff where needed?
- Construction notes: Is the backing suitable for the cap fabric, panel shape, and stitch density?
The best approvals are usually the least dramatic. They are quick because the proof already contains the decisions the factory needs. That saves back-and-forth, reduces the chance of last-minute file cleanup, and keeps digitizing from becoming a guessing game. In practice, that is the real value of the checklist: fewer revisions, less setup waste, and a clearer handoff from artwork to production.
Process and turnaround: how digital proof approval moves
The usual sequence is straightforward. Artwork comes in, the supplier checks file quality and cap style, the design is digitized into stitch commands, and a proof is prepared for review. If changes are requested, the proof is revised and checked again. Only after final approval does the order move into scheduling, machine setup, and production.
What slows the process is not the sequence itself but the inputs. A clean vector file can move quickly. A low-resolution image with small type, multiple departments giving conflicting edits, or a cap style that is backordered can stretch the process from a day or two to nearly a week before the first cap is even sewn. That gap matters more than most buyers expect because embroidery capacity is usually booked around approved jobs, not speculative ones.
A proper proof should clearly show:
- Stitched size on the cap crown, ideally with dimensions that reflect the actual embroidery field.
- Placement references measured from the center line, seam, or panel edge.
- Thread notes that identify approved colors and any substitutes.
- Special effects such as raised embroidery, 3D puff, or border corrections.
Production teams care about specificity because specificity prevents stalls. A vague note like “make it pop more” does not tell a digitizer whether the letterforms need widening, whether the fill should be denser, or whether the cap style even supports the change. A proof cycle with precise feedback is usually the difference between a one-pass approval and a long chain of revisions.
If you are comparing decoration options across different cap styles, the production options overview on our capabilities page is useful because it shows how fabric choice, decoration method, and setup constraints interact before the proof stage.
Cost, pricing, and MOQ: what changes the quote
Price usually follows the work hidden inside the proof. Digitizing is the first variable. A simple logo with clean edges and limited color changes is faster to convert than a crest packed with tiny lettering, gradients that must be simplified, or multiple fills that need careful stitch planning. After that come stitch count, cap style, decoration area, and whether the order needs front-only embroidery or an additional location.
For many small to mid-size runs, a straightforward front embroidery order often lands around $9.00-$14.00 per cap at moderate quantity, plus $35-$75 for digitizing depending on complexity. More detailed logos, heavier stitch coverage, and 3D puff can push the unit price into the $12.00-$20.00+ range. Small quantities almost always carry a higher per-piece cost because setup time gets spread across fewer caps.
Minimum order quantities vary more than buyers expect. A supplier with the blank cap in stock may accept 24 or 48 pieces. A more specialized silhouette, a color that needs to be ordered in, or a production schedule that is already tight may push the MOQ to 100 pieces or more. That is not arbitrary; it reflects the realities of inventory, setup, and machine scheduling.
| Option | Typical setup | Typical unit range | Best fit |
|---|---|---|---|
| Simple front logo | Low stitch count, one thread change, standard structured cap | $9.00-$14.00 | Giveaways, team issue caps, basic branded programs |
| Detailed logo | Higher stitch count, small text cleanup, multiple color changes | $12.00-$18.00 | Retail-style branding and sharper visual programs |
| 3D puff embroidery | Foam setup, tighter digitizing, stricter production control | $13.00-$20.00+ | Bold front branding with raised texture |
| Small run order | Setup cost spread over fewer caps | Higher per-unit pricing | Samples, events, pilot programs, or test orders |
Proof approval is part of cost control. A wrong size, a missed punctuation mark, or an incorrect cap style can force rework, and rework is where budgets get thin. The review stage costs far less than correcting finished embroidery. That is especially true on caps, where stitch removal can leave marks or distort the fabric even when the mistake is caught early.
If your order also has shipping requirements, carton counts, or protection standards, line them up before approval. Packaging and transport testing references from ISTA are useful if the caps need to survive longer transit, and FSC documentation may matter if your buyer asks about fiber sourcing or retail packaging claims.
Proof details that protect embroidery quality
The strongest quality checks start with the cap itself, not the logo file. Structured front panels behave differently from unstructured ones. Foam-front truckers react differently again, and performance polyester can show tension marks if the settings are too aggressive. The proof should reflect the actual blank, because an embroidery Plan That Works on one cap style can fail on another without any change to the artwork.
Placement deserves the first close look. A cap crown curves in a way a PDF cannot fully show. If the logo rides too high, it can crowd the seam or appear squeezed. If it sits too low, it may be hidden by the curve of the bill or look off balance from a normal viewing distance. A proof that includes clear location references removes some of that guesswork.
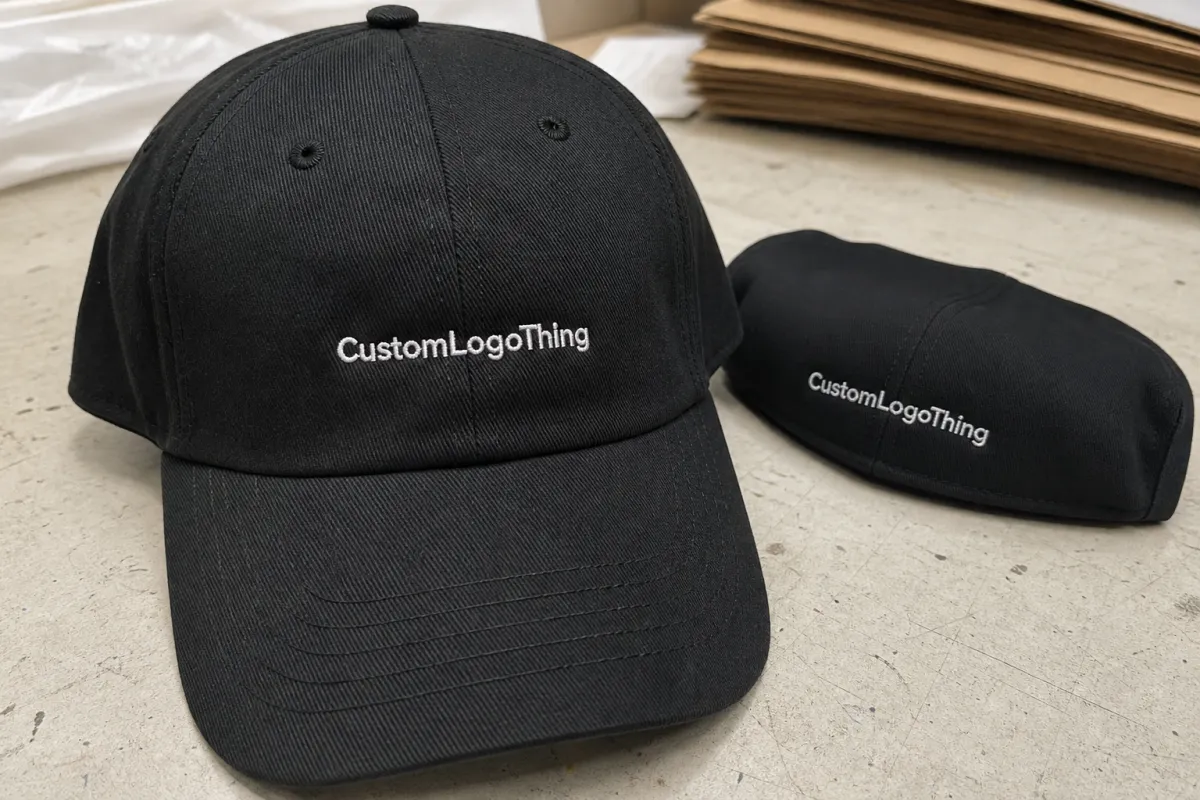
Thread color is the next trap. Embroidery thread behaves differently from ink. It reflects light, catches shadow, and shifts slightly depending on the color of the cap beneath it. A navy thread on a black cap can disappear more than expected; a metallic thread can look brighter and less stable under direct light. The proof should tell you whether the match is exact or a close substitute chosen because the exact shade is not stocked.
Stitch density and underlay are equally important, especially with small lettering. Too much density can cause puckering or a hard, raised feel that looks heavy on the cap. Too little density can leave gaps, broken edges, or weak edges around thin shapes. If the logo has tiny text or narrow outlines, a responsible proof will often note that the artwork was simplified or thickened so it can survive stitching at actual size.
For buyers using the book Embroidered Baseball Caps Digital Proof checklist, the key test is simple: does this proof describe a cap that can be sewn cleanly, or does it only describe a logo that looks good on screen? If the answer is unclear, the proof is not ready.
Step-by-step review before you approve the proof
Start with the basics and do not skip them just because the artwork looks familiar. Spelling, punctuation, logo lockup, and any legal marks should be checked first. A misplaced period or missing registered symbol is not dramatic on a monitor, but it becomes permanent once it is sewn into thread.
Then compare the proof with the actual cap style. A flat proof cannot show curvature, crown depth, or seam interference. For many adult caps, front embroidery often falls somewhere around 3.25 to 4.5 inches wide, but the correct size depends on the panel shape, the logo itself, and the visual rules of the brand. A wide design may look sharp on a high-crown structured cap and crowded on a lower-profile style.
After that, walk through the production notes one by one:
- Placement: Is the logo centered, and are the distance calls acceptable?
- Thread colors: Are the shades approved, substituted, or still pending?
- Backing and construction: Is the support material appropriate for the cap fabric and stitch density?
- Special effects: Is 3D puff, split stitch, or a border correction actually intended?
- Quantity and SKU: Is the order matched to the right cap color and style?
Specific feedback gets better results than general feedback. “Make it better” gives a production team nothing to act on. “Move the logo down 0.25 inch, reduce the width to 3.75 inches, and change the center text to a satin fill” is usable. That level of detail also helps if the proof needs to be revised a second time; the same notes can be compared against the updated version without confusion.
If a revision changes the stitch plan, ask for a fresh proof rather than a verbal assurance. Small edits can alter machine settings, density, and even the way the cap needs to be hooped. The proof should show the actual approved state, not a loose conversation that may be remembered differently later.
Common mistakes that slow cap orders down
The most common mistake is approving too quickly. Buyers often zoom in on the main logo and miss the smallest line of text, which is usually the first thing to fail in embroidery. Subtitles, dates, and trademark marks deserve the same attention as the main mark because they are the easiest parts to lose once stitch count forces simplification.
Another mistake is assuming thread behaves like print ink. It does not. Thread comes in a finite catalog, and the final appearance changes with cap color, density, and light angle. A color that looks exact on a monitor can read warmer or darker on fabric, especially if the cap itself is textured or matte.
Orders also get delayed when packaging and fulfillment details arrive too late. Closure type, carton count, master pack requirements, retail bagging, and barcode labeling can all matter even if the embroidery is already approved. If those instructions are missing, the job may sit finished but not released, which is a frustrating way to lose time at the end of a project.
One more issue is committee approval. A proof that circles through marketing, sales, operations, and purchasing can become contradictory very quickly. One person wants the logo larger. Another wants it lower. A third wants the original proportions preserved. The supplier cannot follow three directions at once, and every extra round adds time. One decision-maker with a short list of priorities usually protects both schedule and quality.
The book embroidered baseball caps Digital Proof Checklist works best when it keeps that process disciplined. It gives the team a shared reference point so the order does not drift into a pile of opinions that do not match production reality.
Expert tips and next steps after proof approval
The cleanest orders begin before the proof exists. Send final artwork, cap style, quantity, thread preferences, target date, and placement notes together. That reduces guesswork, improves the initial quote, and makes the proof more likely to reflect the finished order on the first pass.
If timing matters, ask three direct questions early: how busy is the queue, how many revision rounds are likely, and whether the chosen cap is in stock. Those answers are more useful than a vague statement about turnaround. A simple logo on stocked caps can move fairly quickly. A dense crest on a special-order blank can take much longer, even if the artwork itself looks easy.
It helps to assign one internal approver. That person can gather comments from the rest of the team, remove contradictions, and send a single response back to the supplier. It keeps the proof from bouncing through departments and gives production one clean instruction set instead of several competing edits.
After approval, save the final proof in the project file and confirm the order in writing. If the job includes carton markings, retail packaging, or ship-to-store instructions, lock those details now rather than after production starts. Once the proof is approved, the goal changes from discussion to execution, and the fewer loose ends left on the table, the less likely the order is to slip.
That is the practical value of a disciplined book embroidered baseball caps Digital Proof Checklist: it protects time, budget, and consistency without pretending embroidery is simpler than it really is. Caps are small, but the variables inside them are not.
What should I check first on a digital proof for embroidered baseball caps?
Start with spelling, placement, and overall size. Those three items cause the most expensive mistakes if they are missed, and they are easier to fix before production than after thread is sewn.
How many revisions are normal before production starts?
One or two revision rounds is common when the original artwork is clean and the feedback is specific. More than that usually means the logo, placement, or color expectations were not fully defined at the start.
Why does my logo look different on a curved cap than on a flat proof?
A flat proof cannot show crown curvature, seam interruption, or stitch tension. A design that looks balanced on a screen may need to be resized or simplified so it still reads clearly once embroidered onto the cap.
What affects the price of embroidered baseball cap orders the most?
The biggest drivers are stitch count, cap style, quantity, digitizing complexity, and whether the order needs rush service. Three-dimensional puff, dense fills, and small text cleanup can all raise cost because they take more setup time and tighter production control.
How do I avoid delays after proof approval?
Approve only after the artwork, quantity, placement, and thread details are final and written down. One internal reviewer should collect comments so the order does not stall during handoff between departments.