Buy Ceramic Cuffed Knit Beanies: Digital Proof Checklist
A proof can look correct on screen and still fail the moment a cuffed beanie stretches over a head. That is exactly why the ceramic Cuffed Knit Beanies Digital Proof checklist matters: it catches sizing, color, and placement errors before yarn, thread, labels, and packaging are locked in.
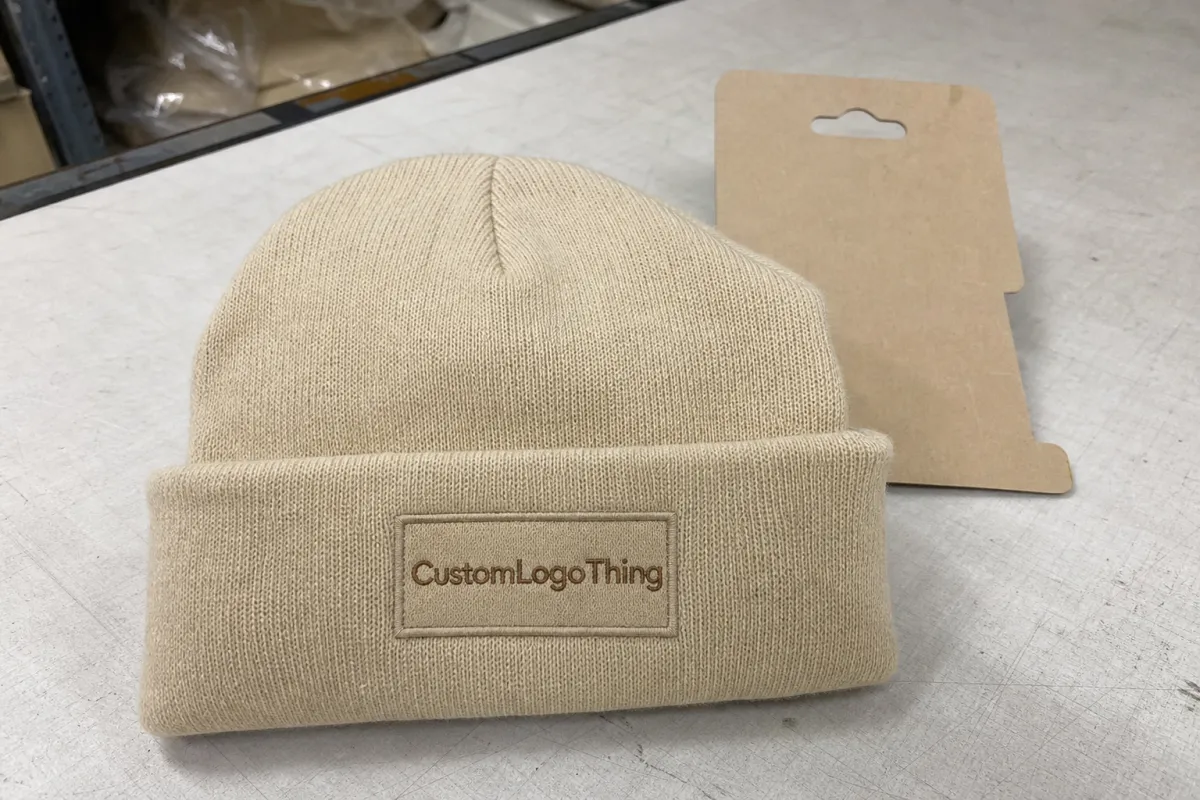
Cuffed Knit Beanies are less forgiving than they seem. The cuff changes the visual center. The knit texture softens detail. The fabric relaxes once worn, so a logo that looks balanced in a mockup may sit too high, too low, or too small in production. Ceramic adds another wrinkle: it often sits in a narrow color band between gray, blue, and stone, which makes contrast more sensitive than buyers expect.
Ceramic Cuffed Knit Beanies Digital Proof Checklist Basics
The job of a ceramic Cuffed Knit Beanies Digital Proof checklist is straightforward: catch the mistakes before production starts. Once a run is approved, every correction turns into time, cost, or both. Buyers usually fixate on whether the mockup looks attractive, but the harder question is whether the design still reads cleanly after the cuff folds, the knit stretches, and the hat gets worn in normal use.
Cuffed beanies create a few specific problems. The cuff is both a visual anchor and a moving part. A logo centered on a flat file can drift once the cuff is folded. Stitch density matters too: tight knits support better detail, but they also expose weak art faster. Small type, thin outlines, and cramped spacing rarely survive unchanged. If the artwork is borderline, the fabric will not rescue it.
“If the proof looks almost right, slow down. Almost right is how reprints happen.”
A solid checklist should verify artwork version, beanie color, cuff height, decoration method, placement, packaging notes, and order quantity. It should also answer a practical question: does the final piece look like a premium retail item or a promotional giveaway? That difference affects thread choice, patch construction, label finish, and even carton presentation. A supplier should be able to show where the decoration sits relative to the cuff edge and explain what the finished item will look like after the knit settles.
Proof Process and Timeline for Cuffed Knit Beanies
The proof process usually starts with artwork submission, then moves to a digital mockup, revision rounds, and final approval for production release. That sounds routine. It is not. Every step either tightens the spec or opens the door to avoidable mistakes. Clean input speeds everything up: vector art, a clear placement note, and confirmed color references reduce back-and-forth immediately.
What the supplier needs up front
Most suppliers will ask for vector files such as AI, EPS, or PDF, along with Pantone references, thread references, size targets, and the decoration method. If the beanie uses embroidery, the artwork should be evaluated at the actual stitch size, not only at screen size. If it uses a woven patch, the edge style and shape matter. If the order includes more than one colorway, label, or placement, those details need to be stated before the proof is drawn. Late changes are the fastest way to miss a ship date.
Simple digital proofs often return in 24 to 72 hours. That is a normal range for a single-location decoration on a standard cuffed knit beanie with clean artwork. Multi-color art, custom labels, patch work, or cleanup requests usually add time. A production sample can take several more days, sometimes longer depending on the schedule. A pre-shipment photo is different again: it shows what was made, not what was planned. Buyers often blur those three together, then wonder why the final result does not match the mockup.
Digital proof, sample, and pre-shipment photo are different documents
A digital proof checks layout and specifications. A production sample is a physical item made before bulk production, usually with extra time and cost. A pre-shipment photo confirms the finished order already exists. If the artwork is delicate, the placement is tight, or the order is large enough that a mistake would be expensive, a sample is often worth the delay. If the design is simple and the supplier is consistent, a proof may be enough.
Pricing, MOQ, and Unit Cost Factors
Pricing for cuffed knit beanies depends on a small set of variables that become obvious once you look at them closely: blank quality, knit gauge, yarn weight, decoration method, thread count, label options, and packaging. A plain beanie with one-color embroidery is a very different product from a heavier knit with a woven patch, custom inside label, and retail band. Buyers compare those two as if they should price out the same. They should not.
MOQ, or minimum order quantity, changes the math quickly. Lower quantities usually carry a higher unit price because setup costs are spread across fewer hats. Larger runs usually lower the unit cost, but only if the artwork is stable and the spec remains unchanged. Proofing is often included or priced modestly, while extra revision rounds, art cleanup, or sample requests can add fees. A low unit quote with charges for every adjustment is not a bargain. It is just the cost hidden in more places.
| Beanie Option | Typical MOQ | Indicative Unit Cost | What Usually Drives the Price |
|---|---|---|---|
| Basic cuffed knit beanie with simple embroidery | 100-250 pcs | $3.25-$5.50 | Blank quality, stitch count, one decoration location, standard packaging |
| Mid-tier cuffed beanie with woven patch or multi-color embroidery | 250-500 pcs | $5.80-$8.50 | Patch type, color count, cuff placement accuracy, label option |
| Premium knit beanie with custom label, patch, and retail packaging | 250-1000 pcs | $8.50-$13.50 | Heavier yarn, higher knit density, extra decoration, custom packaging, sample work |
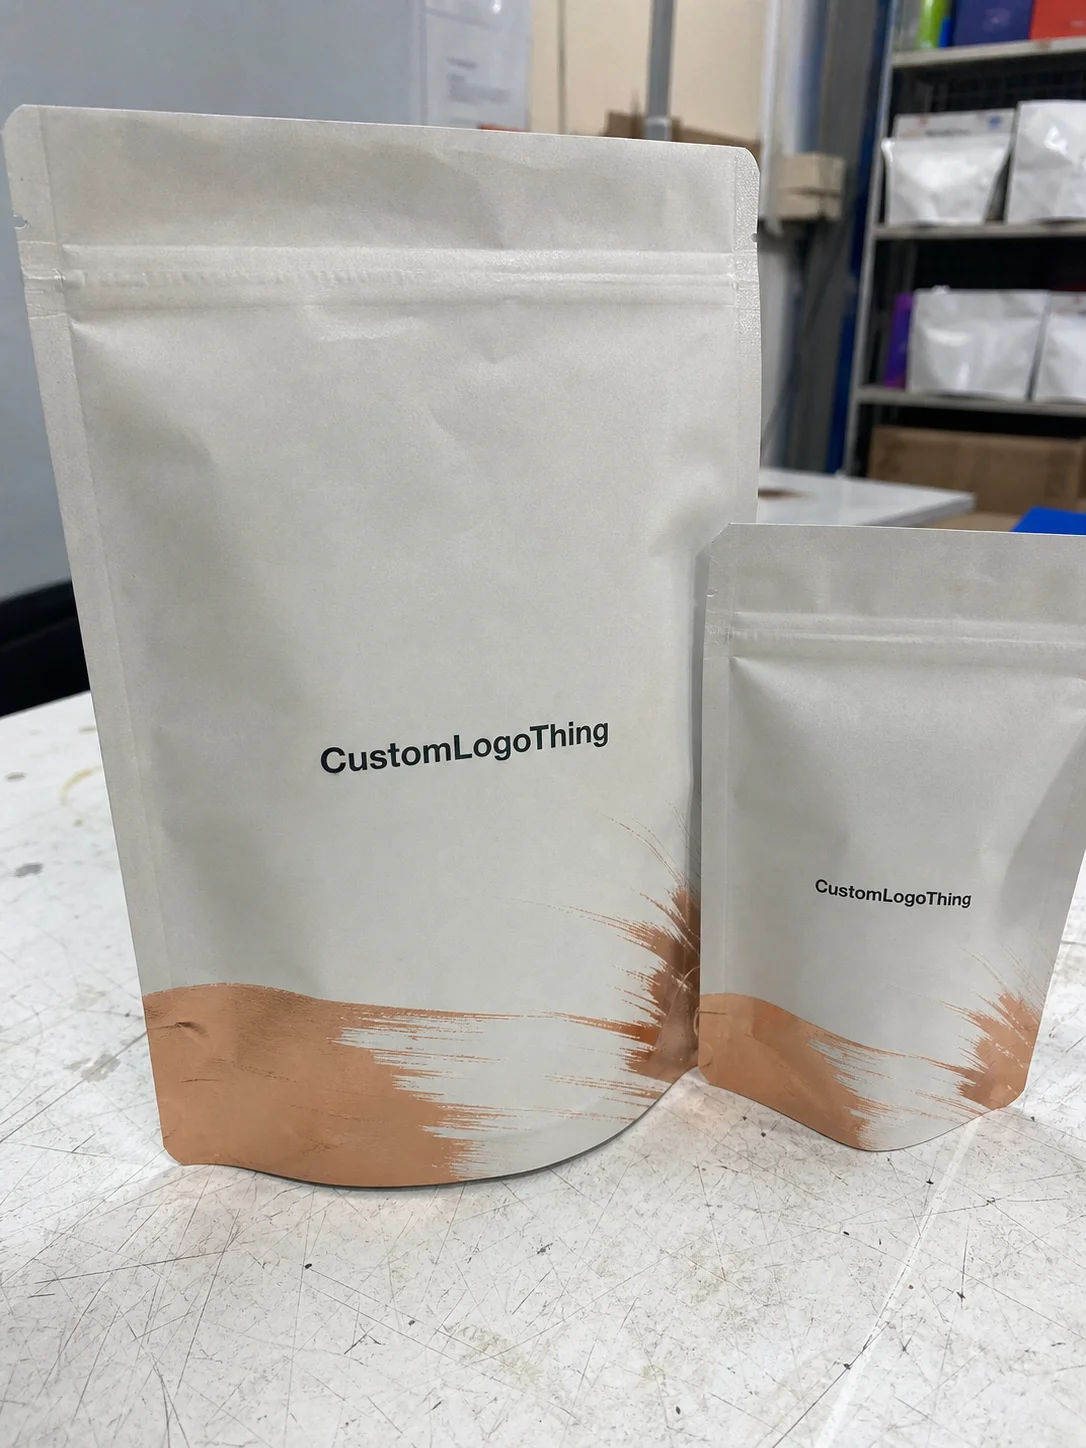
If branded packaging is part of the job, price it separately instead of hiding it inside the beanie cost. A printed belly band or hang tag can add only a few cents at scale, while a full retail sleeve, insert card, or custom box can push the landed cost higher. For buyers comparing decoration and packaging options, our Manufacturing Capabilities page is a useful reference before the proof is finalized.
For transit-sensitive orders, it helps to think in terms of packaging performance, not just appearance. The ISTA test framework is a practical benchmark if the carton needs to survive shipping without crushed corners or scuffed presentation. If the packaging uses paperboard, the FSC standard is the cleanest way to think about responsibly sourced board. That is not about marketing polish. It is about keeping the spec stable from approval to delivery.
Artwork, Color, and Placement Checks That Matter
Logo scale is the first thing to inspect. Knit fabric has texture, and texture eats detail. Thin lines, tiny serif fonts, and tight spacing can disappear quickly on a stitched beanie. On screen, the art looks crisp. On yarn, less so. Ask the supplier to show the smallest safe size for embroidery or patch application before approving the file.
Color deserves its own pass. Screen color is a poor witness, especially on ceramic tones that sit between cool and neutral. Verify thread, patch, and label colors against Pantone numbers, physical swatches, or confirmed supplier references. If the beanie base is ceramic-colored and the logo relies on soft contrast, check how much separation remains once the cuff folds. A palette that feels balanced in a mockup can look muddy on a real knit surface.
Placement is just as important as color. Confirm the distance from the cuff edge, the visible width of the decoration area, and whether the design belongs on the front, side, or fold line. A logo that is technically centered can still look wrong if the cuff height changes the visual field. Ask for measurements in millimeters or inches, not “roughly centered.” Roughly centered is how teams create expensive misunderstandings.
Typography and outline thickness deserve a close look too. Curved text compresses during stitching. Very thin outlines can blur together after embroidery or heat pressing. If the design includes a tagline, a badge shape, or tiny secondary text, inspect it at the actual production width, not only in the original art file. The proof should answer one question clearly: will this still read cleanly after it touches textured fabric?
Step-by-Step Approval Checklist Before You Sign Off
Use a real approval checklist, not a feeling. That is how the order stays consistent from proof to production to reorder. The best version is short, specific, and a little repetitive in the right places.
- Confirm the base beanie. Check color name, cuff style, knit structure, fiber content, and any notes on thickness or stretch.
- Verify the artwork version. Match the proof against the final file name, revision date, and every line of copy.
- Check the decoration method. Embroidery, woven patch, PVC patch, and label work all behave differently on knit fabric.
- Measure the placement. Confirm the distance from the cuff edge, logo width, and any front, side, or back placement notes.
- Review color references. Compare thread, patch, and label colors to the approved standard, not to your monitor.
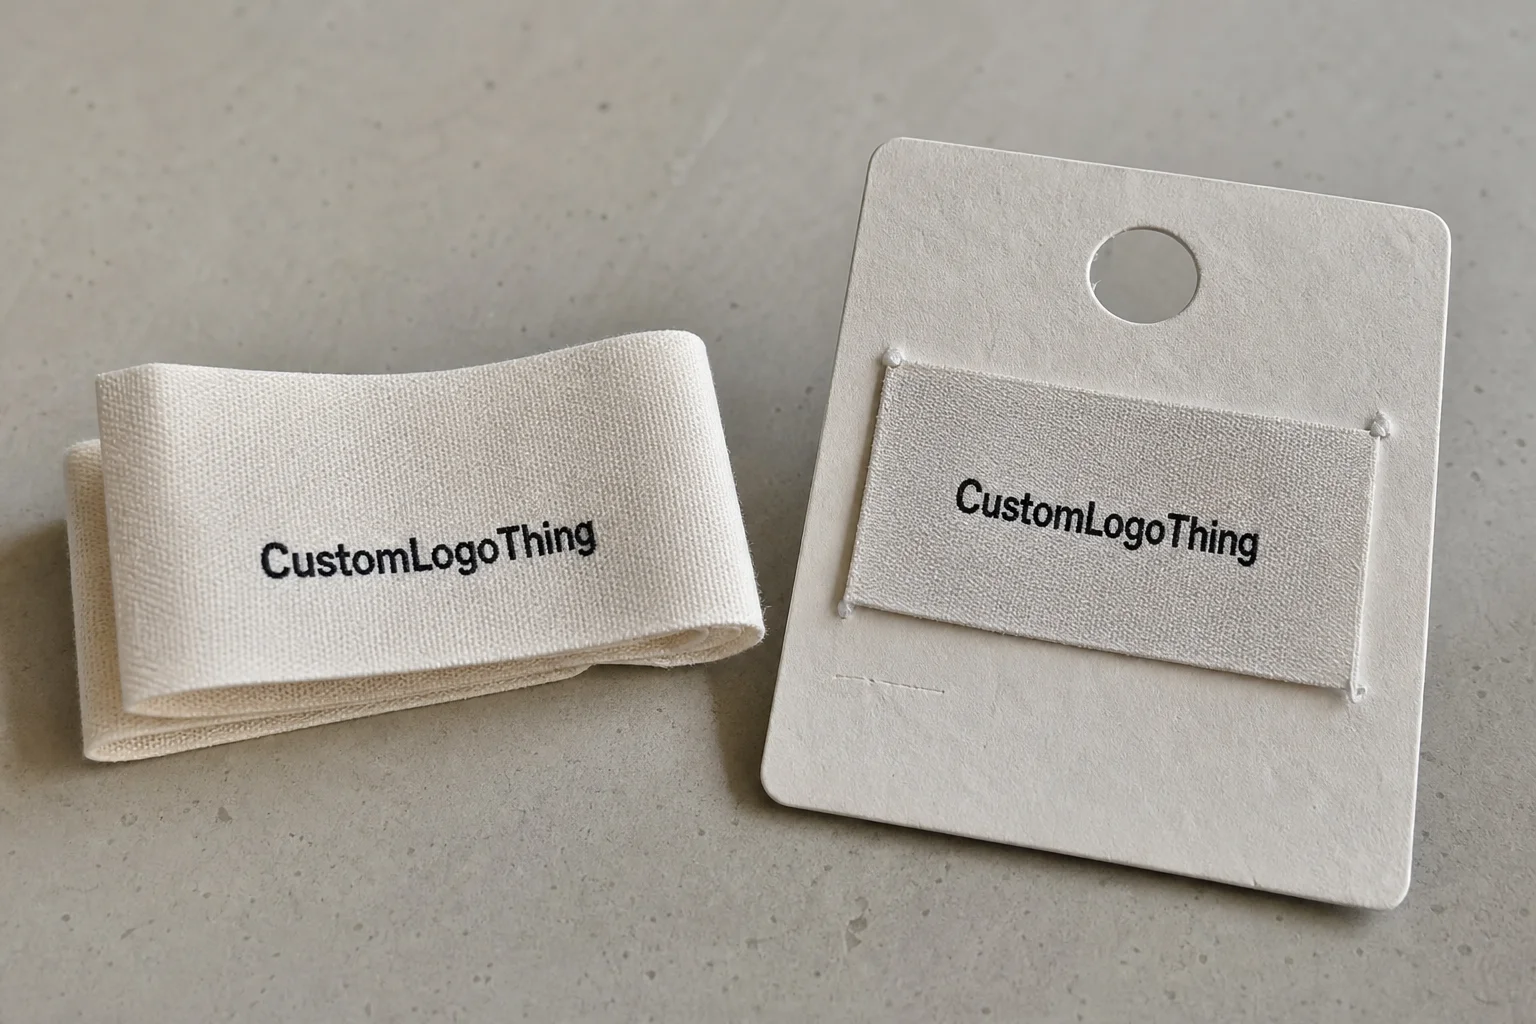
- Inspect packaging notes. Verify hang tags, belly bands, inserts, carton marks, and any retail-ready details.
- Check quantity and delivery target. Make sure the approved proof matches the order count, ship window, and destination.
For repeat orders, keep the final proof, spec sheet, and color references in one folder. Reorder consistency depends on that record more than most teams admit. It also makes it easier to compare one run against the next if the supplier changes yarn lots, thread lots, or packaging stock. That is not paranoia. It is production control.
If anything in the proof is unclear, fix it before approval. One more revision now is cheaper than a full reprint later. “We thought it would be fine” is expensive language.
Common Mistakes Buyers Make With Digital Proofs
Approving from a phone is still the most common mistake. The screen is too small, the brightness is misleading, and tiny placement issues disappear until someone compares the proof to the finished item. A laptop is better. A printed copy is better still if you are checking alignment or type size. Approving from a moving train and blaming the factory later solves nothing.
Skipping cuff measurements causes a different kind of trouble. The cuff is not decoration. It controls where the logo sits and how visible it stays after folding. If the mark needs to be a specific distance from the top edge or seam, write it down and verify it in the proof. On textured knit, a few millimeters matter.
Vague color language creates avoidable arguments. “Navy-ish,” “almost black,” and “close enough to gray” are not production instructions. Use confirmed references whenever possible. If the beanie color, logo thread, and label all live in a narrow palette, ask for a side-by-side proof view or a physical reference before release. One shade off can make a premium item look underdeveloped.
“The order was technically right, but commercially messy.”
Packaging is another blind spot. The hat may be fine while the labels, barcodes, or carton marks are wrong. For retail, reseller, or event shipments, that creates receiving problems even when the product itself is correct. A real checklist covers the whole presentation, not just the front decoration.
One more mistake deserves attention: treating every revision as cosmetic. Sometimes a revision reveals that the artwork is too detailed for the decoration method, or that the placement collides with the cuff fold. That is useful information. Do not push past it just because the design looks better in your head than it does on knit.
Next Steps After the Proof Is Approved
After approval, save everything. The final proof, order form, color notes, placement measurements, packaging instructions, and revision comments should live together in one folder. If a reorder happens later, nobody should have to excavate an email thread to find the approved version. Production files should be boring to retrieve and hard to misread.
Before release, send one clean artwork file, one confirmed quantity, and one shipping target. That sounds basic because it is basic. It also prevents the sort of back-and-forth that can cost a production slot. Ask the supplier to confirm lead time, inspection method, and packaging details in writing. For many knit accessory orders, the usual production window sits around 12 to 15 business days after proof approval, although complex decoration or rush handling can push that longer.
If the order includes custom packaging, confirm whether labels, insert cards, or retail bands will be applied before carton pack-out. If the program carries sustainability requirements, lock in the material spec now instead of guessing later. FSC-certified board, recycled inserts, or a lighter carton specification can all be chosen cleanly if they are written into the approved file set. That keeps the warehouse from improvising.
For higher-value programs, a final production checkpoint photo of the first finished piece is worth asking for. A carton photo or packing shot helps too, especially if the shipment has to arrive in retail condition. The point is not micromanagement. It is catching a mismatch while it is still one problem instead of three hundred.
If one phrase belongs in the file, it is this: the ceramic Cuffed Knit Beanies Digital Proof checklist is not paperwork for its own sake. It is the cheapest way to protect placement, color, and consistency before the order gets expensive.
What should be included in a ceramic cuffed knit beanies digital proof checklist?
Include beanie color, cuff height, logo size, exact placement, thread or patch colors, and the approved artwork version. Also confirm MOQ, packaging details, and whether the proof matches the final decoration method.
How long does the proof process usually take for cuffed knit beanies?
Simple digital proofs often come back in 24 to 72 hours. Complex artwork, multiple revisions, or sample requests usually add more time.
What affects the cost of custom cuffed knit beanies the most?
Blank quality, decoration method, stitch complexity, color count, and order quantity are the biggest drivers. Extra revisions, rush handling, and special packaging can also raise the landed cost.
Can I approve the proof without seeing a physical sample?
Yes, if the proof is detailed enough and the supplier confirms dimensions, colors, and placement clearly. For new artwork or premium decoration, a sample is safer when the order is large or the design is delicate.
How do I avoid size or placement mistakes on the final beanies?
Ask for measurements from the cuff edge and compare them to the actual decoration area on the beanie base. Approve only after checking logo scale, text legibility, and how the design sits on the textured knit surface.