Ceramic Printed Poly Mailers material thickness guide choices matter because a bag can look premium the minute it comes off press and still split on a rough route if the film gauge is too light for the load. In practice, thickness changes puncture resistance, stretch, seal integrity, and how well the mailer holds its shape while packing, so the right spec is less about guessing a number and more about matching the film to the product, the closure, and the shipping lane.
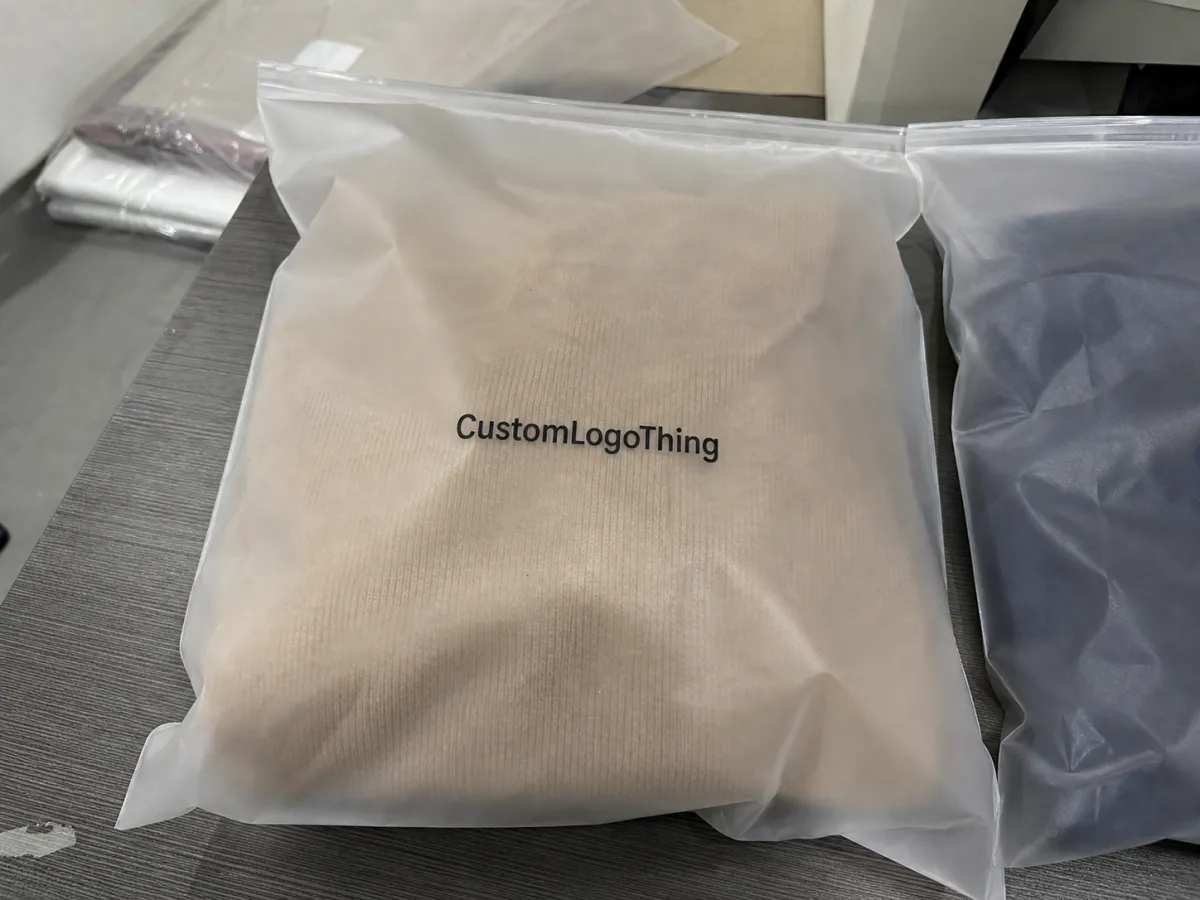
The visible print is only one piece of the job. A glossy, high-coverage graphic can make the mailer feel more substantial in hand, but the film structure is doing the real work, and that is the part buyers need to judge carefully. A ceramic Printed Poly Mailers Material thickness guide should start by separating appearance from performance, because decoration changes branding while gauge and construction decide whether the package survives the conveyor, the sortation system, and the stack in transit.
If you are comparing mailers against corrugated cardboard boxes, kraft paper mailers, or other paper-based formats, the logic changes a little, too. Paper systems rely on caliper, basis weight, and fiber structure; poly mailers rely on film gauge, seal design, and stretch. Brands that want recycled materials, post-consumer waste content, or FSC certified paper alternatives should still make the durability decision first, then decide which material story fits the shipment and the budget. Biodegradable packaging claims do not fix an underbuilt mailer.
Ceramic Printed Poly Mailers Material Thickness Guide
Thickness in poly mailers is usually measured in mils, where 1 mil equals 0.001 inch, or about 25.4 microns. Most custom mailers live in the 2.5 to 4 mil range, and that single number influences how the bag resists puncture, how much it stretches before tearing, how stable the seal feels after filling, and how neatly the mailer packs under pressure. A ceramic printed Poly Mailers Material thickness guide becomes useful the moment you stop thinking of thickness as a cosmetic choice and start treating it as a shipping spec.
Here is the part many buyers miss: the print can look rich and full, but ink layers do not meaningfully strengthen the package. The film is still the shell, and the shell has to do the protection. Ceramic-style artwork can improve shelf appeal and brand recall, yet the structure underneath still needs enough backbone to handle the route. If the product presses hard against a corner or a zipper, the film has to absorb that point load without splitting at the seam.
That is why the smartest spec is not a random default from an old reorder. It is a match between the item weight, the product shape, the closure method, and the abuse the shipment will see before it reaches the customer.
"A premium print cannot rescue a weak film; the package fails where the structure is thin, not where the artwork is beautiful."
How Film Construction Changes Strength in Transit
Mono-layer film and co-extruded film can both make good mailers, but they do not behave the same way. A mono-layer structure is simpler and often less expensive, while a co-extruded film can place different resin layers where they matter most, which helps balance toughness, seal behavior, and flexibility. That layered approach can make a bag feel stronger without turning it into a stiff, noisy pouch that is hard to pack quickly.
The weak points are usually not the broad flat panels. They show up at the corners, the bottom fold, the side seams, and anywhere the bag gets overfilled. Seal width matters here, and so does geometry. A seal that looks fine on a sample can fail once a packer loads the mailer past its comfortable fill point, especially if the item has a sharp edge or if the bag has to flex hard during automated sorting. A good ceramic Printed Poly Mailers material thickness guide should always account for those stress points, not just the center panel.
In transit, a mailer sees more than one type of force. There is rubbing on conveyor belts, compression from other parcels, drops from waist height, and stacking pressure in bags, carts, and cages. A film that passes a simple hand tear test may still fail under repeated scuffing or a corner strike, which is why route testing matters. If you want a more formal structure for abuse checks, ISTA package test protocols are a solid reference point, and seal strength checks are worth pairing with basic tensile testing in the lab. You can review the standards at ISTA.
Print coverage alone does not add meaningful strength. In fact, heavy ink on a light film can make the surface feel slightly different, but that is not reinforcement. It is appearance. Keep that distinction clear, because it saves a lot of frustration later.
Choosing the Right Mil Range for Product Weight and Handling
The same ceramic printed Poly Mailers Material thickness guide that works for folded apparel may not work for denser accessories or items with hard edges. Start with the finished pack weight, then look at shape, closure, and handling. A soft tee in a flat fold is a very different load from a boxed candle set, a wallet in a rigid insert, or a garment with metal hardware that can press through the film during impact.
- 2.5 mil usually fits lightweight apparel, soft accessories, and low-risk fulfillment lanes where the item is flat and the route is controlled.
- 3.0 mil is a common middle ground for soft goods, small retail items, and orders that need a little more puncture resistance without feeling overly bulky.
- 4.0 mil is often the safer choice for denser products, sharper profiles, long shipping lanes, or programs with more handling and returns.
Move up in gauge if the fulfillment line is rough, the product travels far, the return rate is high, or the item presses hard against the film. That extra thickness can reduce failure risk, but it also adds material use, some stiffness, and a little more weight to the parcel. Over-specifying is not free. In some programs, that extra film can make packing slower and increase postage by enough to matter on large runs.
For brands comparing formats, our Custom Poly Mailers page is a useful starting point. If the packaging program includes inserts, labels, or secondary cartons, our Custom Packaging Products catalog makes it easier to compare the mailer spec against the rest of the line instead of choosing the bag in isolation.
Cost, Pricing, MOQ, and Unit Cost by Thickness
Thicker film usually costs more first because it uses more resin. That cost shows up before print, finishing, or freight are added. A ceramic printed poly mailers material thickness guide should therefore treat gauge as a base-material decision, not as an afterthought. The effect may look small per unit, but on a 5,000-piece order, a few cents each can become real money fast.
MOQ matters because setup, waste, and print prep get spread across more or fewer bags. A larger run often lowers the per-unit impact of thickness, while a small run can make every added mil feel more expensive. Ink coverage, special finishes, and multiple sizes can move the total more than a modest gauge change, which is why a line-by-line quote review is so useful. Do not compare only the headline price.
As a rough working example, a 5,000-piece custom run might land around $0.18-$0.24 per unit for a lighter 2.5 mil spec, $0.20-$0.28 for a 3.0 mil build, and $0.24-$0.35 for a 4.0 mil version, depending on size, print coverage, and finish. Those are planning numbers, not promises. Freight, tooling, and rush fees can move the final total.
| Film thickness | Best fit | Typical unit cost impact | Buyer note |
|---|---|---|---|
| 2.5 mil | Light apparel, soft goods, low-abuse routes | Lowest base material cost | Good if the product is flat, soft, and the closure is reliable |
| 3.0 mil | General retail mailers, mixed soft goods, moderate handling | Moderate increase over 2.5 mil | Often the best balance of flexibility and puncture resistance |
| 4.0 mil | Sharper items, longer lanes, higher return risk | Highest of the common custom ranges | Better margin for abuse, but heavier and less flexible |
A thick bag is not automatically the better deal. If the route is gentle and the product is soft, a lighter film may protect just as well while saving on material and shipping weight. If the route is rough, the cheaper bag can become the expensive one after the first damage claim.
Process and Lead Time From Artwork to Production Steps
A ceramic printed poly mailers material thickness guide should also cover the production path, because lead time is often shaped by the spec itself. The usual sequence is simple on paper: confirm size and thickness, prepare artwork, approve the proof, set up film and plates or print files, run the press, convert the roll into bags, then count, pack, and ship. Any slowdown in one of those steps can push the schedule back.
Most delays start with artwork. Missing bleed, low-resolution logos, unapproved color changes, and late file revisions can each add time. The same is true for first-time orders that need extra proof cycles, especially if the brand is picky about exact color matching. If the requested film gauge is not a standard stocked option, sourcing may also stretch the timeline a few days while the correct resin blend or roll specification is arranged.
For many custom runs, 12 to 15 business days from proof approval is a realistic planning window. First orders, multi-color artwork, and special finishes often need a little more room, and custom thickness choices can add another 3 to 5 business days if the gauge is outside the normal production range. That is not a delay caused by poor service; it is simply the rhythm of a line that has to be set up correctly before it runs.
If the mailer has to survive parcel networks, it helps to tie your sample approval to a basic abuse test, even if that test is internal. Compare drop, rub, and seal checks with the route the order will actually take, and make notes on what failed and where. That small step saves a lot of guesswork later.
Common Thickness Mistakes That Lead to Damage or Waste
The most common mistake is choosing the thinnest mailer that still looks acceptable on a sample sheet. That approach ignores the real product, the closure method, and the route. A flat visual check cannot reveal how a zipper tab, a metal edge, or an overstuffed fold will behave once the shipment is under pressure in a trailer or a sortation hub.
A second mistake is assuming the print makes the mailer stronger. It does not. Heavy ink coverage may change the surface feel, but the structure is still doing the work. That is where many buyers get tripped up when they compare a plain sample to a fully printed one and think the finished bag must be tougher because it looks denser.
Third, closure systems get ignored. Self-seal strips, heat seals, and tamper-evident features have their own failure points, and they need to stay secure after the bag flexes. If the adhesive strip is too narrow or the seal temperature is inconsistent, the best film in the world will not save the package.
Fourth, teams use one spec for every SKU. That is a quiet source of waste. A lightweight tee, a hoodie in a poly bag, and a hard-sided accessory should not all share the same gauge if the damage risk is different. This is also where sustainability conversations need some discipline: recycled materials, post-consumer waste content, or FSC certified paper alternatives can be the right move for certain programs, but the package still has to fit the product and the route. Biodegradable packaging language is not a substitute for real testing.
Honestly, I think the cleanest way to avoid waste is to treat thickness as a decision, not a habit. The best spec is the one that survives the route with the least material needed to do the job.
Expert Tips and Next Steps for a Better Spec Sheet
Start with a simple spec sheet and keep it honest. List the product weight, dimensions, closure type, shipping method, finish, print coverage, and target film thickness in mils. If your team can describe the pack in one page, the supplier can quote it more cleanly, and future reorders become far less chaotic. That kind of discipline matters more than a fancy presentation.
Ask for samples or a short test run before you place the full order, especially if the mailer will be used for returns, subscription fulfillment, or rough handling. Test the actual packed product, not a blank bag. Then define accept or reject criteria for tear resistance, seal quality, print clarity, and how the mailer looks after packing, stacking, and a few rough passes through your shipping flow. A good ceramic printed poly mailers material thickness guide is only useful if it leads to a testable decision.
If the program includes paper alternatives, review the fiber side with the same discipline. Our FSC certified materials reference can help you separate a good paper spec from a merely marketing-friendly one, and that matters if the packaging mix includes kraft paper, corrugated cardboard, or recycled-content cartons. The material story should match the actual performance story.
For the cleanest reorder, keep notes on what you chose and why. A 3.0 mil bag that performs well on a soft-goods route is worth documenting, because that saves the next buyer from reopening the whole discussion. If your next project needs to compare mailers, labels, and secondary packaging together


