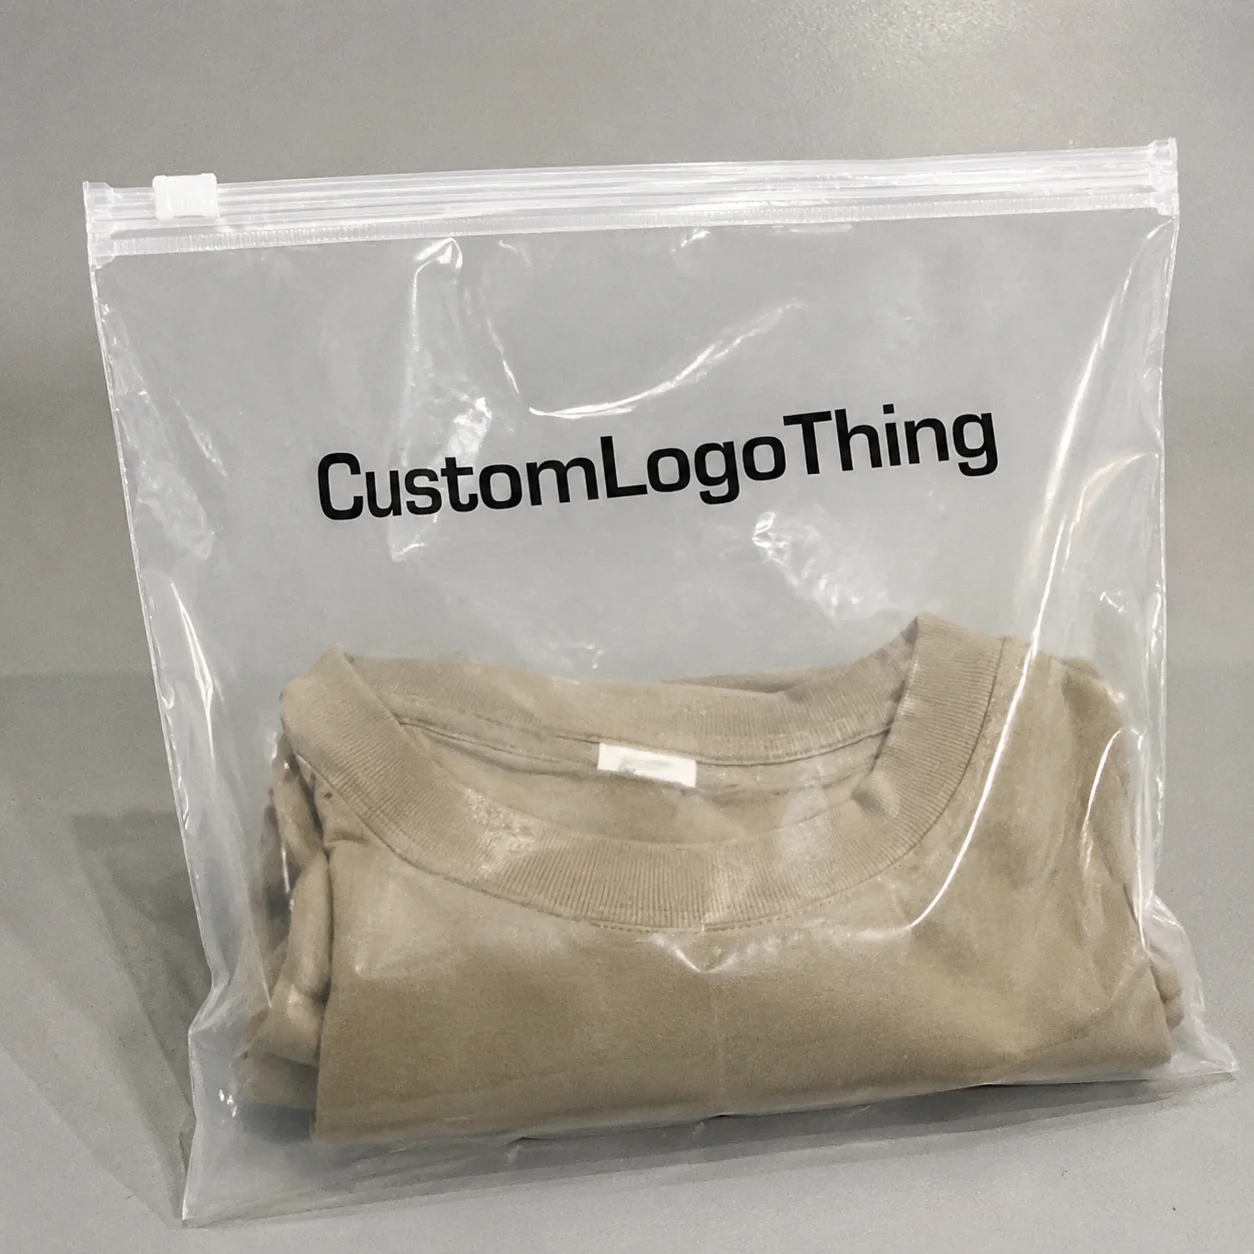
Choosing the right ecommerce brand Frosted Zipper Plastic Bags print method comparison is not a minor production decision. It affects how the logo reads on camera, how premium the package feels in hand, and whether the bag reinforces the brand story you spent months building. Frosted Zipper Bags are deceptively difficult: the semi-opaque finish softens light, lowers contrast, and exposes weak ink coverage faster than many buyers expect. The same artwork can look polished on a monitor and underpowered on the actual film.
That is why the real question is not “Which method is best?” It is “Which method is best for this bag, this design, this quantity, and this schedule?” Once the comparison is framed that way, screen printing, flexographic printing, digital printing, and transfer or label-based decoration stop being abstract options and start behaving like business tools. Each has a place. Each has a cost. Each changes the final impression in a different way.
For packaging teams, the stakes are practical. The bag may be the first branded surface a customer touches after the shipping carton is opened. If the print is crisp and intentional, it supports trust. If the contrast is weak or the alignment is sloppy, the package can look improvised even if the product inside is excellent. That kind of friction does not show up on a spec sheet, but it shows up in photos, reviews, and repeat-purchase behavior.
“On frosted plastic, print quality is not just about decoration. It is about contrast, placement, and whether the method can hold its shape on a surface that already diffuses light.”
Before comparing quotes, define the outcome. Do you need a bold spot-color logo, a one-color mark with strong opacity, a CMYK graphic with gradients, or a design that has to behave almost like offset print translated to plastic? The answer narrows the method choice quickly.
Ecommerce Brand Frosted Zipper Plastic Bags Print Basics
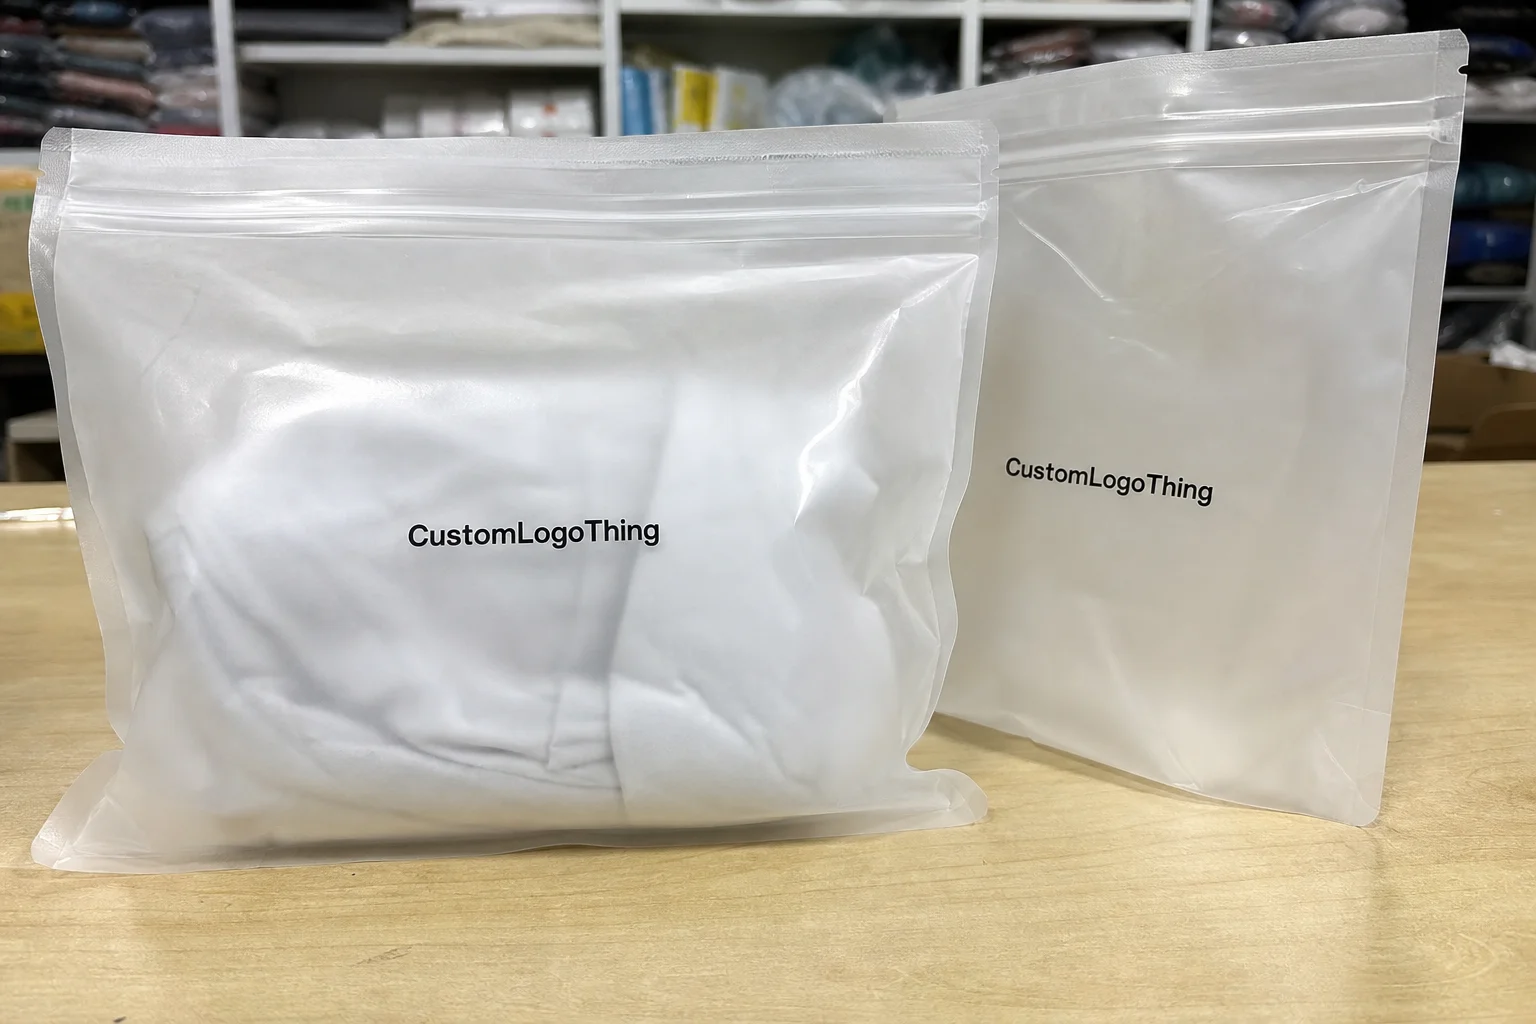
Frosted zipper bags are usually made from polyethylene film with a matte or semi-opaque finish. Some versions use a thinner film around 2.0 to 3.0 mil, while sturdier retail or shipping applications may move closer to 4.0 mil or more. Film thickness affects feel, durability, and how much pressure the bag can take during packing. The frosted surface also changes reflection. A dark logo that looks deep and clean on white paper can soften into gray if the ink film is too thin or the substrate is not prepared correctly.
That is why the ecommerce brand Frosted Zipper Plastic Bags print method comparison starts with surface behavior rather than machine names. Clear film is forgiving. Frosted film is not. The bag itself becomes part of the design, and the finish can make a brand mark look refined or washed out. On camera, low-contrast artwork disappears even faster, especially under mixed lighting or phone flash.
Bag structure matters too. Zipper placement, gusset depth, and usable print area all affect where the logo can sit. A design that crosses a fold or sits too close to the seal may look good in the mockup and awkward in production. Once the geometry is wrong, the package stops looking deliberate.
For ecommerce brands, this is not cosmetic trivia. The bag often sits inside the fulfillment chain, rubs against other surfaces, and then gets photographed by the customer. A print method that looks fine in isolation can still fail if the image loses legibility once the bag is filled, folded, or packed into a mailer.
The safest way to start is by defining the brand goal in plain terms: high-opacity logo, detailed artwork, fast turnaround, or low-risk test run. That one decision usually matters more than the print method itself.
How Screen, Flexo, Digital, and Transfer Printing Work
Screen printing pushes ink through a mesh stencil and leaves a thicker deposit on the bag. That thicker laydown is useful on frosted film because it improves opacity. It is often the best fit for simple logos, one- or two-color artwork, and white ink that needs to stand out against a semi-opaque background. The tradeoff is setup time. Screens take work to prepare, and the process is less attractive when you need frequent artwork changes or many color variants.
Flexographic printing uses flexible plates and is built for repeatability. It usually becomes interesting when the order volume rises and the artwork stays stable. If a brand expects recurring runs of the same design, flexo can spread setup costs across more pieces and lower the unit cost. It also handles continuous production well. The weak spot is detail: tiny text, delicate gradients, and very fine linework are less forgiving than they are in digital workflows.
Digital printing reduces setup friction. That matters when the order is small, the launch date is close, or the artwork may still change. It can reproduce complex graphics without plates or screens, which makes it attractive for testing new product lines. The catch is substrate compatibility. Some frosted films accept digital ink cleanly; others need careful surface treatment, or the result looks dull, uneven, or too easily scuffed.
Transfer printing, labels, and hybrid decoration methods fill the gaps. A label can solve a launch timing problem or a low-MOQ test. Transfer decoration may help when direct printing is not the right fit. The downside is tactile and visual layering. Extra decoration can change how the bag feels in the hand, and customers notice that during unboxing even if they cannot name the reason.
The simplest reading of the ecommerce brand Frosted Zipper Plastic Bags print method comparison is this: direct methods usually win on integration, while label and transfer options usually win on flexibility. Neither category is universally better.
| Method | Best For | Typical Strength | Typical Tradeoff |
|---|---|---|---|
| Screen printing | Simple logos, bold solids, white ink | High opacity and strong visual impact | Setup time and fewer color options |
| Flexographic printing | Longer runs, repeat orders, stable artwork | Consistent output at scale | Less forgiving on tiny details |
| Digital printing | Short runs, quick approvals, detailed art | Low setup friction and design flexibility | Higher unit cost on larger volumes |
| Transfer / label | Testing, low MOQs, special cases | Speed and adaptability | Added layers and a less integrated finish |
For teams that care about packaging durability and material responsibility, it can help to anchor conversations in recognized standards rather than vague “premium” language. ASTM and ISTA-style transit expectations are useful references for handling and scuff resistance, while broader plastics and recycling guidance can be reviewed through the EPA plastics guidance and FSC certification information. Those sources do not choose the print method, but they help keep the conversation grounded in durability and material context.
Key Factors That Decide the Right Print Method
Artwork complexity is usually the first filter. Thin lines, gradients, QR codes, and small type all raise the bar. A logo with a website and a tiny tagline may sound simple, but on frosted film it can turn soft quickly. If a code has to scan reliably, the print method needs to preserve edge definition, not just deposit color.
Color count matters almost as much. One-color branding is the easiest to keep consistent and the least expensive to produce. Two-color work remains manageable. Once a design moves into multiple colors, the cost of setup, registration, and proofing rises. White ink deserves special attention. On frosted bags, white is often the difference between a mark that reads instantly and one that sinks into the background.
Bag geometry creates another limit. Zipper placement, side gussets, bottom folds, and seal lines reduce the usable print area. A beautiful layout can become awkward if it lands too close to hardware or crosses a structural fold. Good packaging design respects the bag’s actual shape instead of pretending it is a flat poster.
Handling conditions matter too. A bag that stays pristine in a photo studio may still face rubbing, stacking pressure, or repeated contact in a warehouse and fulfillment center. In those cases, ink adhesion and cure behavior matter more than the mockup. A print that chips or smears during packing is more than a quality issue. It becomes a customer-facing defect.
Volume and reorder rhythm also shape the answer. A one-time 2,000-piece launch behaves differently from a 50,000-piece replenishment program. A method with a lower front-end barrier may be smarter for the first round, even if the per-unit cost is slightly higher. A stable repeat order often favors the method that scales cleanly.
- Simple logo, short run: screen or digital usually makes the most sense.
- Higher volume, repeat orders: flexographic printing can improve unit economics.
- Detailed art or quick launch: digital printing often reduces front-end friction.
- Testing a concept: transfer or label methods may lower risk.
Step-by-Step Method Selection for Ecommerce Teams
Start with an artwork audit. Check line thickness, color count, contrast, and whether the logo needs a white layer to stay visible on frosted film. If the artwork relies on subtle gradients or tiny text, assume the print process will simplify it unless proven otherwise. A file that looks polished on screen can still need adjustments once it meets plastic.
Then map the order profile. Is this a seasonal drop, a long-term SKU, or a test run? Is the team expecting one reorder or several? If the answer is uncertain, a lower-setup method protects cash flow, even if the unit price is not the lowest. If replenishment is predictable, a method with stronger scale economics usually makes more sense.
Next, match the substrate. Ask whether the ink system bonds to the exact film blend and surface texture in use. “Plastic bag” is not a specification. Film thickness, finish, and zipper construction all influence the result. On frosted bags, these details show up fast in print clarity and scuff resistance.
After that, request a proof on the actual bag format whenever possible. A flat art file is useful, but it does not reveal how the print behaves near the zipper, gusset, or sealed edge. Real-world proofing can expose contrast problems that mockups hide.
Finally, compare the options using three questions: Does it look right? Does it fit the budget? Can it be repeated without disrupting fulfillment? If one method wins on appearance but creates production instability, it is usually the wrong choice for an ecommerce operation.
For teams comparing suppliers, a structured quote review helps more than a long email thread. One useful internal check is to make sure every quote uses the same bag dimensions, artwork version, ink count, and target quantity. If the assumptions differ, the comparison stops being meaningful.
Print Process, Proofing, and Lead Time Expectations
The production path usually follows the same sequence: artwork cleanup, proofing, setup, printing, drying or curing, quality inspection, and final packing. On paper, that looks orderly. In practice, proofing is where delays happen. A small shift in logo size, a change in spot color, or a white-ink adjustment can add another approval cycle.
Lead time varies sharply by method. Digital printing can move quickly because it avoids some plate and screen setup. Screen printing and flexographic printing often take longer before the first sellable bag is ready, but once the job is dialed in, the run can be efficient. Transfer and label methods may start fast, though they can introduce extra finishing steps later.
Cure and dry time matter more than many buyers expect. Some inks need extra handling time before stacking or packing. A process that looks fast in the quote can still create a bottleneck if the bags must sit before they are safe to bundle. That is one reason total schedule planning should not rely only on press speed.
A fixed launch date should include room for artwork revisions, proof approval, shipping, and one correction cycle if needed. If a product drop is tied to paid media or influencer content, even a short delay can ripple into the campaign schedule. The packaging team should assume that at least one round of clarification may be necessary. That is normal, not a sign of failure.
For quality control, ask how the supplier checks registration, color consistency, and scuff resistance. If the job needs to survive distribution and handling, ask whether the supplier follows transit-testing assumptions similar to ISTA-style handling. A glossy sample photo does not prove that the print will stay clean after packing and shipment.
Pricing, MOQ, and Unit Cost Tradeoffs
Price is usually driven by setup fees, color count, bag size, film thickness, and the print method itself. Per-bag pricing is only part of the story. A quote that looks cheap at first can become expensive once setup charges, plates or screens, proofing, freight, and possible rework are included. That is why the ecommerce brand Frosted Zipper Plastic Bags print method comparison should always include total landed cost.
MOQ changes the math. At lower quantities, setup costs have less room to spread out. At scale, those same setup costs become easier to absorb, and traditional methods often look more attractive. This is the basic tradeoff: lower setup friction versus lower unit cost at volume.
Directional pricing can help buyers sanity-check quotes, but it should never be treated as universal. For a 5,000-piece run, screen printing might land around $0.18 to $0.28 per unit depending on color count and coverage, while digital printing could sit closer to $0.24 to $0.40 per unit if setup is lighter but per-piece cost stays higher. Larger orders can shift the balance toward flexographic printing as fixed costs spread out. Bag size, film thickness, ink coverage, and supplier capability can move those ranges quickly.
| Cost Factor | Why It Changes the Quote | What Buyers Should Ask |
|---|---|---|
| Setup fee | Plates, screens, and file prep are often front-loaded | Is setup one-time or reusable for reorders? |
| Color count | More colors usually mean more passes and more registration work | Can the artwork be reduced to one or two spot colors? |
| Coverage area | Large solids use more ink and more handling time | How much of the bag face is actually printable? |
| MOQ | Small runs absorb setup costs less efficiently | Where is the break point for better unit pricing? |
| Freight and rework | Shipping and corrections can erase a low sticker price | What happens if color or alignment misses spec? |
The smarter comparison is not “Which quote is cheapest?” It is “Which quote gives the best result at the quantity we actually need?” A premium brand launch may justify paying more for cleaner opacity and better finishing. A seasonal test or a short-lived SKU may be better served by the lower-risk option, even if the print is less elaborate.
Common Mistakes, Expert Tips, and Next Steps
Do not choose a method only because the sample looks sharp. Ask whether the result can be repeated at full order volume. Some decoration methods behave well in small proofs and become harder to control as runs increase. That risk is higher on frosted film, where minor changes in ink laydown can alter the final appearance more than buyers expect.
Do not ignore white ink behavior. On frosted bags, weak white coverage can make a brand mark look dull, thin, or slightly accidental. If the logo depends on contrast, white is not a side note. It is the difference between a package that reads immediately and one that blends into the background.
Do not crowd the print area. Fine lines, tiny taglines, and complex icons can disappear near seams, folds, or zipper hardware. If the design is too busy, simplify it before collecting quotes. Cleaner shapes usually print better, cost less to proof, and create fewer surprises at production scale.
A practical shortcut is to build a comparison sheet before talking to suppliers. Include bag dimensions, film thickness, print area, artwork files, target quantity, launch date, and whether color matching must be spot-based or CMYK. Ask every supplier to quote against the same assumptions. That is what makes the ecommerce brand frosted zipper plastic bags print method comparison useful instead of decorative.
Also request the production timeline in business days. A clear answer sounds specific: artwork review in 1 to 2 days, proof in 2 to 4 days, production in 7 to 10 business days after approval, plus transit time. Vague promises are a warning sign. Specific timing usually means everyone is looking at the same process.
The most effective move is often to simplify the artwork first, then compare methods. Once the design is cleaner, the economics usually become clearer too. A simpler logo may open up more production choices, reduce proofing time, and lower the chance of alignment problems near the zipper or seal.
FAQ
Which print method is best for frosted zipper plastic bags with a small logo?
Screen printing is often the strongest choice for a small, simple logo because it can build solid contrast on frosted film. Digital printing can work well for lower quantities or fast approvals, but the artwork still needs enough contrast to stay legible. If the logo is tiny, ask for an actual-size proof and prioritize readability over decoration.
How does the frosted surface affect color on custom zipper bags?
The semi-opaque finish softens color and changes how light reflects off the printed area. White ink or an underbase may be needed to keep brand colors from looking muted. A proof should be checked in normal lighting, because studio images often hide contrast problems that show up in real use.
What MOQ should I expect for different print methods on frosted bags?
Screen printing and flexographic printing usually make more sense at higher quantities because setup costs need to be spread across the run. Digital printing often supports lower MOQs, which helps if you are testing a product line or a new design. Ask for MOQ by method, not just by supplier, because thresholds vary widely.
How do I compare unit cost with setup fees for frosted zipper bags?
Start with the full quote structure: setup, per-bag price, color charges, and any plate or proof fees. Then divide setup costs across your expected quantity to find the real unit cost. Use the same bag size, artwork, and order volume across each quote so the comparison stays valid.
How long does a frosted zipper plastic bag print job usually take?
Lead time depends on the print method, artwork readiness, proof approvals, and production queue. Jobs that need screens or plates usually take longer to start, even if the run itself is efficient. Build in time for sample approval, shipping, and at least one revision cycle if your launch date is fixed.