The event merch custom poly mailer bags Sample Approval Checklist exists to catch the difference between a clean proof and a bag that works on the table, in transit, and in the attendee’s hands. A digital layout can show placement and color direction, but it cannot show how the film feels, how the closure behaves, or how the print reacts to light and handling. That gap is where most avoidable mistakes show up.
For event merch, the stakes are higher than a normal shipping order because the mailer is part packaging and part presentation. It may hold a hoodie, a T-shirt, a box, or a mixed kit, and it is often opened in a public setting where weak closure, awkward fit, or muddy print is immediately visible. A sample approval should therefore be treated as a production gate, not a courtesy.
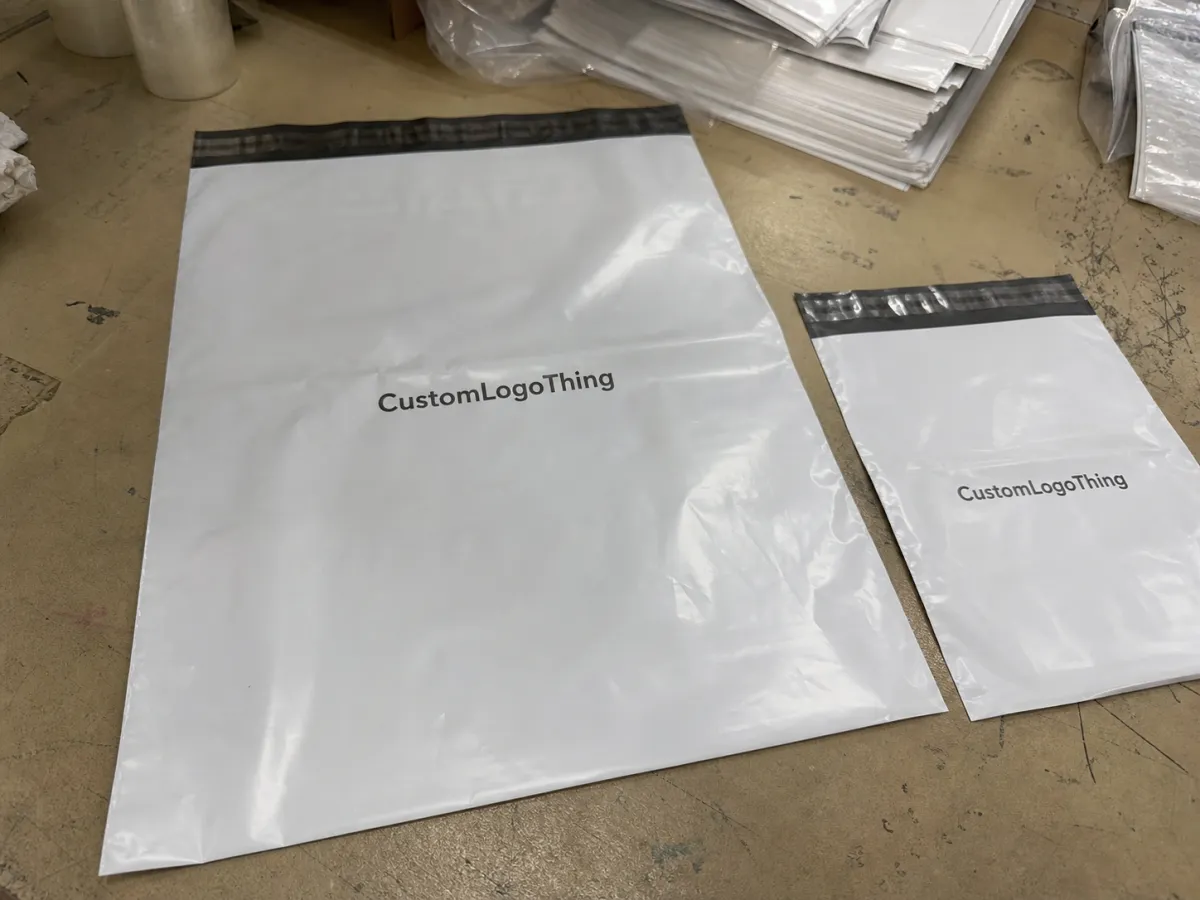
Event Merch Custom Poly Mailers Sample Approval Basics
A physical sample answers questions that a proof cannot. The proof checks artwork. The sample checks reality. That includes whether the dimensions are usable, whether the finish reflects too much light, whether the artwork lands where expected, and whether the bag still looks right once the actual merch is packed inside.
For branded event packaging, the sample also reveals packing speed and handling comfort. Does the adhesive strip release cleanly? Does the bag open without tearing? Does the gusset allow the product to sit flat, or does it force the seam to bulge? Those are small differences on paper and large differences at scale.
Approve the bag in hand, not the idea of the bag.
The core checklist should cover structure, dimensions, artwork, color, closure, opacity, and pack-out fit before final sign-off. If a bag misses on any one of those points, the issue should be corrected before production starts. That is cheaper than reprinting and safer than hoping the problem disappears in bulk.
If the mailer is part of a larger kit, compare it with labels, inserts, and other Custom Packaging Products. Buyers often focus on the mailer alone, but the whole system has to work together.
How the Sample Approval Process Works
The process is usually straightforward: review artwork, generate a proof, make a sample if needed, collect feedback, revise if necessary, then release production. The sequence is easy. The hard part is keeping the review grounded in the real use case instead of in assumptions.
A proof is useful for spelling, layout, and general composition. A sample is useful for everything physical. It shows the actual substrate, print behavior, closure feel, and the way the bag closes under load. That matters because a small size miss can look harmless on a spec sheet and become a packing problem on event day.
- Confirm dimensions first - width, length, gusset, and usable interior space need to match the merchandise, not just a target spec.
- Check the artwork second - logo size, placement, line weight, and brand colors should be reviewed before finish or extras distract the review.
- Test the closure next - adhesive strip, zipper style, tear notch, and seal width affect packing speed and end-user experience.
- Pack the real merch - a folded tee, hoodie, bottle, or kit can behave differently from a stand-in.
- Record the approval - version numbers, date, exceptions, and contact names prevent confusion later.
The best approval team includes the person who owns brand accuracy, the person who owns fulfillment, and the person who will be dealing with the order on event day. One yes from one reviewer is convenient, but it is not always enough. If the pack fails in the field, the cost shows up as delay, repacking, or a rushed replacement.
Notes should be specific enough to translate directly into production instructions. "Logo needs to move down 3 mm" is useful. "Looks a little off" is not. "Bag fits hoodie with room for insert" is better than "good size." Clear language reduces back-and-forth and prevents production drift.
For buyers concerned with shipping durability, packaging standards used by logistics groups such as ISTA are a practical reference. Event merch usually gets handled more than people expect once it leaves the press table.
Film, Print, and Closure Details That Change the Result
Material choice drives most of the visible outcome. Poly mailers are usually compared by film thickness, surface finish, opacity, and print coverage. For event merch, thickness often sits around 2.5 to 4 mil, though heavier contents or longer shipping routes may justify a thicker film. Thicker film usually improves puncture resistance and stiffness. Thinner film can lower cost, but it may wrinkle more easily or show contents more clearly.
Finish changes the look as much as the film itself. Gloss tends to make colors appear brighter and can help a design feel more vibrant, but it also shows scuffs, fingerprints, and registration issues more readily. Matte hides some handling marks and gives a softer appearance, though some artwork loses contrast. Clear film is useful when visibility matters; opaque film is better when privacy, consistency, or premium presentation matters more.
Print behavior deserves careful review. White ink is often the most sensitive because it reacts differently depending on the film beneath it. A crisp logo on screen can look denser, flatter, or less opaque in production. Fine lines, small type, and detailed gradients are also vulnerable. They may survive a PDF and still fail once they meet a real production surface.
Closure details can make or break the packing experience. Adhesive strength, zipper quality, tear notch placement, and seal width all affect speed and reliability. If the adhesive is too aggressive, the pack line slows down. If it is too weak, bags can reopen in transit. If the tear notch is awkward, the end user may struggle to open the mailer cleanly.
Fit needs to be tested with the actual contents. Soft apparel compresses differently from a rigid box or accessory kit. A bag that looks correct when empty may still bulge or bow once packed, which can change how the artwork reads and how the seal closes. The sample should be loaded with the real merch, not a near-match.
For buyers comparing mailers with other forms of product packaging, the same rule applies: the spec sheet is only part of the answer. Material, closure, and pack-out all need to be judged under realistic conditions. That is the value of a sample.
Special finishes and full-coverage graphics raise the risk level. Dark backgrounds with white art can look strong, but they also magnify registration issues. Heavy ink coverage can affect surface feel and rub resistance. None of those are automatic deal-breakers, but they should be visible before final approval.
Cost, Pricing, and MOQ Variables to Compare
Pricing for custom poly mailers is driven by a few predictable variables: size, film thickness, number of print colors, print coverage, finish, closure style, and order volume. MOQ matters because setup cost gets spread across the run. Smaller orders usually carry a higher unit price, while larger orders improve efficiency and can reduce the cost per bag.
As a rough planning range, a simple one-color custom mailer at around 5,000 units may land around $0.18 to $0.28 per unit. Heavier film, dual-sided print, more coverage, or premium closure details can move that number up. Sample fees often fall around $40 to $150, though a true pre-production sample may cost more if the vendor needs to run it closer to production conditions. Freight, rush handling, and revision cycles can also add to the total.
| Option | Typical Use | What You Verify | Common Cost Signal |
|---|---|---|---|
| Digital proof only | Simple artwork and stable specs | Layout, spelling, logo placement | Lowest upfront cost |
| Physical sample | Most event merch orders | Film feel, print behavior, closure, fit | Sample fee plus freight |
| Pre-production pilot run | High-visibility launches or strict brand rules | Color, process consistency, packing flow | Higher setup, lower risk |
Comparing only unit price is risky. A thinner bag can be cheaper upfront and more expensive in practice if it tears, slows packing, or fails fit testing. The better comparison is spec-for-spec: same dimensions, same film, same print count, same closure, same pack-out assumptions. Once those match, the quote differences become meaningful.
It is also smart to budget for a small overage. Event merch rarely follows a perfect forecast. Attendance can run high, VIP replacements may be needed, and a few units can get damaged during packing. A modest buffer is usually less expensive than emergency replenishment.
Time has a cost too. Every revision adds another review loop. If the schedule is tight, a slow approval can force rush freight or reduce the available material choices. That is why the sample stage is both a quality check and a budget control.
For broader sourcing context, industry resources like Packaging School and industry associations can help with material terminology and format comparisons. Better vocabulary usually leads to better quotes.
Timeline, Lead Time, and Turnaround Expectations
A realistic timeline has more steps than many buyers expect. Artwork has to be prepared, a proof reviewed, a sample produced if needed, internal feedback collected, revisions made if required, and final approval locked before production begins. After that, manufacturing, packing, and shipping still need time.
The slowest part is usually decision-making, not manufacturing. Missing dimensions, vague instructions, late replies, and last-minute color changes are what stretch a schedule. A supplier can move quickly through a clean approval chain. It cannot recover time from a changing brief.
A practical lead-time pattern often looks like this: 1 to 2 business days for proofing, several days for a physical sample, 1 to 3 business days for internal review, then production once sign-off is complete. If revisions are needed, add another cycle. That is not pessimistic; it is a realistic planning window.
Lead time also depends on the item inside the bag. A folded T-shirt is forgiving. A hoodie is less forgiving. A rigid kit can change how the bag closes and how much artwork remains visible after packing. The sample should match the actual contents that will ship or hand out at the event.
Slack is worth building in even when the schedule looks clean. A sample that arrives late, a color correction that needs one more pass, or a holiday slowdown can remove days quickly. A plan with no margin turns a small correction into a crisis. A plan with room for one mistake is cheaper and calmer.
That buffer also helps if the packaging program expands later. If the same event needs inserts, labels, or another run of Custom Poly Mailers for a different campaign, the approval process can be reused instead of rebuilt.
Common Approval Mistakes That Cause Reprints
The most common error is approving from a screen mockup alone. Mockups look finished, which makes them feel final, but they do not show film glare, print density changes, or seam interference. The sample exists to expose those issues before the order is expensive.
Another frequent mistake is trusting a size that only looks close enough. Close enough is not a measurement. If the actual merch was never packed into the sample, the team may miss a shallow bag, a tight gusset, or a seal that becomes awkward under load. Small dimensional misses are common causes of rework.
Color drift creates a third problem. Brand colors can behave differently on clear, matte, glossy, or opaque film. White ink is especially sensitive because it can appear brighter or flatter depending on the substrate. That issue is best solved by reviewing the sample under the lighting the audience will actually see.
Approval notes can also be too vague. An email that says "approved" without version numbers, exceptions, or file references can cause confusion later. If the approved revision is not clearly identified, the production team may follow the wrong file. That is how reprints happen even when everyone thought sign-off was clear.
Pack-out testing is the final trap. A mailer can be technically correct and still fail in use because the item shifts, the seam bows, or the closure slows down the packing table. Event work rewards packaging that is forgiving and easy to fill. A bag that is hard to use creates labor problems long before anyone notices the print.
The best event merch Custom Poly Mailer Bags Sample Approval Checklist follows a simple order: size, print, closure, fit, then record the approval. If the sequence is reversed, the review can miss the issue that matters most.
Next Steps Before You Sign Off
Before you release the order, gather the final artwork and compare it to the sample. Confirm that the approved spec matches the production file. Recheck dimensions, film type, print sides, closure style, and pack-out requirements. If anything changed after the sample was reviewed, stop and correct it first.
A solid approval record should include the artwork version, sample date, bag size, material specification, closure type, color target, and any approved exceptions. Save the sample or keep clear photos of it. That reference helps with repeat runs and future orders that use a similar format.
- Lock the final dieline and artwork version.
- Verify the real merch fits the sample without forcing seams.
- Confirm closure strength, print placement, and color targets.
- Save the approval record and sample reference together.
- Hold a small stock buffer if the event is high traffic or timing is tight.
Handled this way, the checklist is less about paperwork and more about avoiding preventable loss. It protects budget by reducing reprints. It protects brand consistency by catching placement and color issues early. It protects the event schedule by turning a vague approval into a documented one.
FAQ
What should be on an event merch custom poly mailer bags sample approval checklist?
Include size, film thickness, print accuracy, color match, closure performance, and pack-out fit with the actual merch. Add notes for artwork placement, label zones, and any handling requirements tied to the event workflow.
How many sample rounds are normal before approving custom poly mailers?
One round is common when the artwork is final and the specs are complete. A second round is normal if color, fit, or finish needs refinement. More than that usually means the brief needs clearer measurements or fewer open variables.
What affects the price of custom poly mailer bags most?
Bag size, film thickness, printed color count, print coverage, closure style, and order volume usually move price the most. Sample fees, freight, and rush timing can also change the total, especially if approval happens late.
How long does sample approval usually take for event merch mailers?
If the files are clean and one reviewer can make the decision, the process can move quickly. Physical samples, internal review cycles, and revisions add time, so most teams should plan for at least several days before final release.
What is the most common mistake in approving poly mailer samples for events?
The most common mistake is approving from a screen mockup instead of checking the real sample in hand. The next biggest miss is skipping a fit test with the actual merchandise, which can cause packing problems on event day.
The Event Merch Custom Poly Mailer Bags Sample Approval Checklist works because it turns a subjective yes/no into a set of checks that can be measured, compared, and documented. That usually means fewer reprints, fewer surprises, and a cleaner result when the package reaches the audience.

