For apparel packaging, the proof stage is where a clean order stays clean or turns into a pile of avoidable problems. A missed barcode quiet zone, the wrong bag dimension, a logo too close to the seal, or a color that disappears on clear film can all survive on a screen and fail in production. That is exactly why a garment poly bags for apparel brands Artwork Proof Checklist matters.
This is not about being fussy for sport. Poly bags protect garments during packing, shipping, hanging, and retail handling, but they also carry brand graphics, size information, care or warning copy, SKU details, and compliance language. If the proof is off, the bag is off. And if the bag is off, the mistake is printed by the thousands.
From a buyer’s point of view, the proof is the last practical checkpoint before film, ink, and setup costs become real. It is the moment to verify artwork, dimensions, print method, and the way the bag will actually sit around a folded tee, hoodie, knit, or mixed-size bundle.
Why artwork proofs matter for garment poly bags
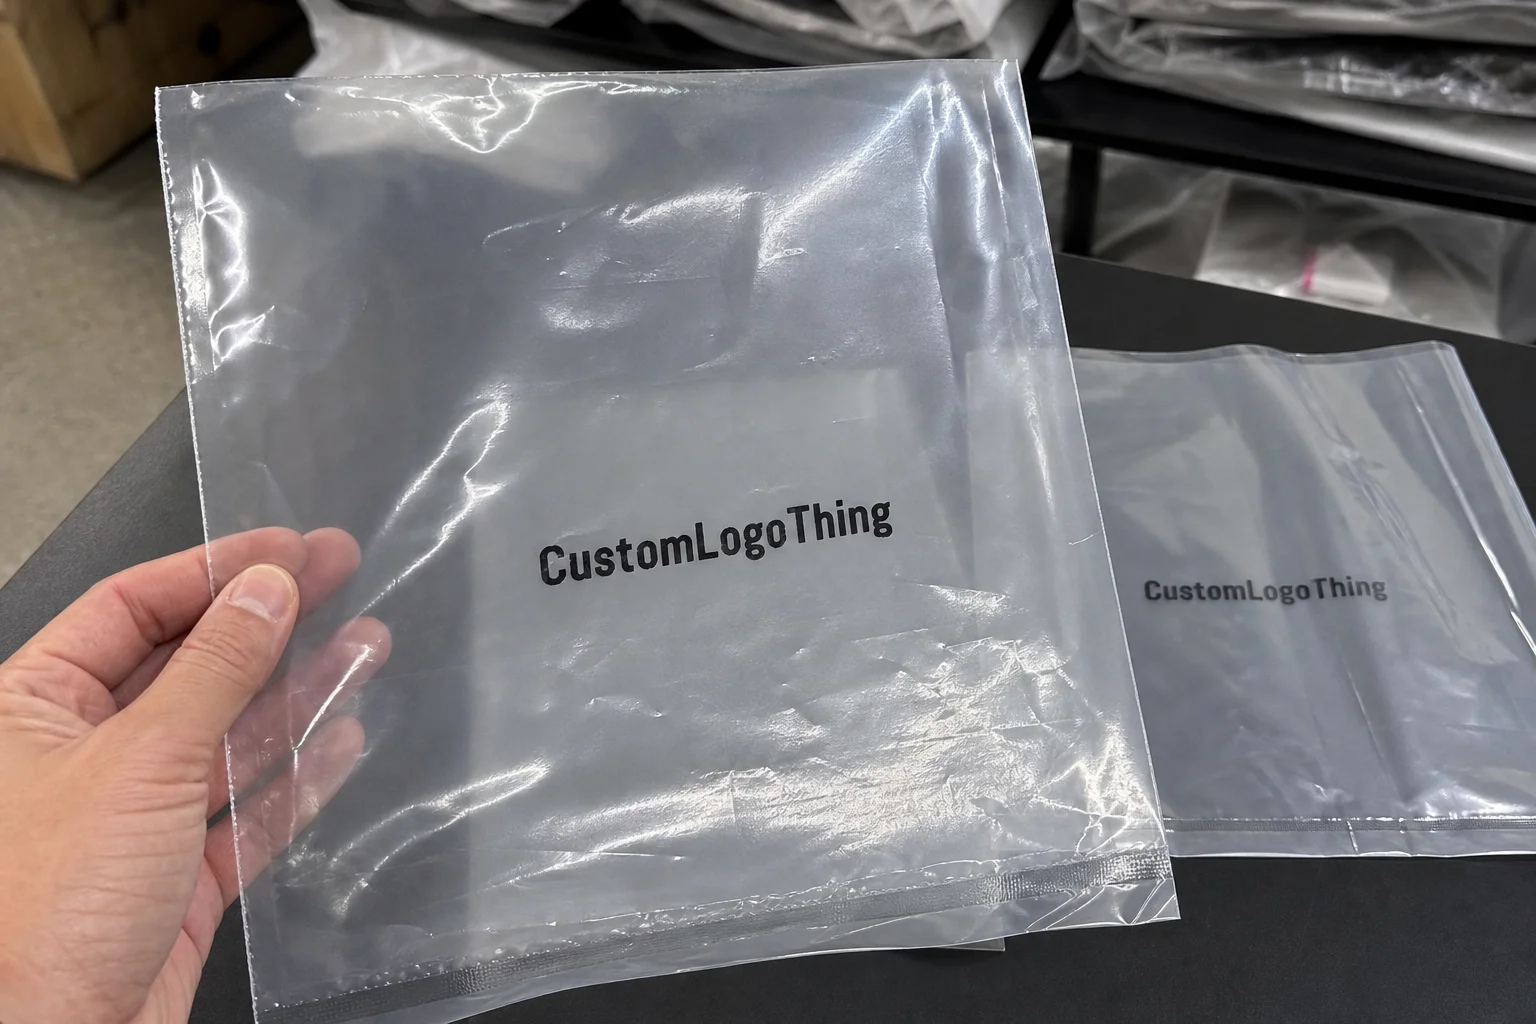
Garment Poly Bags do more than keep dust off a shirt. They protect product appearance, support warehouse handling, and shape how a brand is seen at receiving, on the shelf, or in a fulfillment center. That means artwork quality is part of packaging function, not decoration.
The mistake most brands make is treating the proof like a design sign-off only. It is not. A proof should confirm how the artwork behaves on the actual bag spec. Clear film, frosted film, heavier gauge material, a zipper closure, a flap seal, or a side-welded bag all affect what the final print looks like and how the bag functions after packing.
Small errors become expensive fast. A barcode that scans fine in a PDF can become unreliable once it is printed on glossy film. A light gray line of text can vanish over a white garment. A logo placed too low can run into a heat seal. None of that is exotic. It is everyday production reality.
- Does the bag size fit the folded garment without compressing it too tightly?
- Is the artwork readable through the film or on the printed surface?
- Are size, SKU, and warning details correct?
- Is there enough clearance around seals, folds, and hang holes?
One thing that gets overlooked: a bag can look perfect on-screen and still fail in the real world because film clarity, ink opacity, and garment color interact. Transparent packaging is not a blank canvas. It is a visual layer over the product.
Practical rule: if the proof is hard to read, the finished bag will usually be harder to read. Clear and frosted film make contrast part of the design.
How the proofing process actually works
The workflow is usually simple on paper. Artwork gets submitted, prepress checks the file, a digital proof is issued, the buyer marks corrections, the proof is revised, and final approval sends the job into production. The part that breaks down is usually not the sequence. It is the assumptions people make inside each step.
A digital proof is useful for layout, spelling, sizing, and relative position. It is not a perfect simulation of print on film. White ink on clear material behaves differently than black ink on white paper. Metallic inks reflect light. Transparent zones change depending on the garment underneath. If you are reviewing a Garment Poly Bags for apparel brands artwork proof checklist, the proof has to be judged for what it actually shows, not what everyone hopes it shows.
There is also a difference between artwork approval and spec approval. The artwork can be correct while the bag construction is wrong for the product. A 1.5 mil bag with a flap seal does not perform the same way as a 2.0 mil zipper bag, even if the print file is identical.
Good approvals are rarely solo decisions. Brand usually checks presentation, production checks fit and handling, compliance checks required copy, and merchandising checks SKU logic or size mapping. One person can sign off, but more than one person should review.
| Proof stage | What to check | Typical risk if skipped |
|---|---|---|
| File intake | Fonts, color mode, resolution, dieline use | Wrong template, missing assets, delayed proof |
| Digital proof | Placement, spelling, dimensions, copy accuracy | Cropped text, wrong SKU details, misprints |
| Final approval | Version match, material spec, internal sign-off | Production starts on the wrong revision |
Artwork spec factors that affect print quality and readability
File quality is the first technical gate. Vector logos are the safest option because they stay sharp at any size. Raster images should be high resolution at final print size, not just “looks okay on my laptop” resolution. A practical floor is 300 dpi at final size for any raster element that matters. Small type needs even more care because thin strokes can break down on film.
Color handling causes more headaches than most teams expect. If art is created in RGB and converted late, colors can shift. Pantone references help, but they do not guarantee a perfect match on clear or frosted film. Final appearance depends on ink opacity, film clarity, and the garment color behind the bag. That is why a Garment Poly Bags for apparel brands artwork proof checklist needs both design details and material details.
Margins matter. Text too close to a heat seal or fold line can distort, disappear, or look visually cramped. Bleed should extend where needed, and live copy should stay away from trim edges, closures, and hang-hole punches. Side seals can also eat into usable print space, which is one of those annoyances nobody notices until the proof comes back.
Film type changes the look. Clear virgin film usually gives the cleanest presentation. Frosted film softens contrast and can make some graphics easier to read. Recycled-content film may carry slight natural variation, which is normal, but it should be disclosed before a tight color match is approved.
Barcode, size sticker, warning copy, and country-of-origin details need special attention. A barcode needs a clean background and enough quiet space around it to scan reliably after packing and handling. QR codes should not cross a fold or sit in a glare-heavy area. If the bag doubles as retail packaging, the front panel often carries the brand message while the reverse side handles technical information.
Also confirm whether the design is meant to be read directly or through transparent material. Mirrored artwork, reverse print, and single-sided print all behave differently. That detail changes readability more often than brands expect.
If sustainability claims are part of the program, buyers should ask for the exact resin blend or recycled-content details rather than vague language. For paper components or formal fiber sourcing expectations, the Forest Stewardship Council is a useful reference point. For plastic waste context and recycling background, the EPA has general guidance at epa.gov.
Step-by-step checklist for final approval
- Confirm the exact bag spec. Dimensions, gauge, seal type, closure method, and print surface should be locked before art is positioned.
- Submit print-ready files. Outline or embed fonts, provide linked graphics, confirm Pantone references, and note any special black percentages or overprint instructions.
- Review line by line. Check spelling, SKU numbers, size ranges, care symbols, warning text, and any legal copy required on the package.
- Match artwork to the dieline. Logos, repeat patterns, QR codes, and barcodes should sit comfortably inside the usable print zone.
- Judge the layout in context. A design that looks balanced on screen may feel wrong once it wraps a folded tee, hoodie, or outerwear piece.
- Archive the approved version. Save the final proof, spec sheet, and order record together so reorders start from the correct baseline.
A strong Garment Poly Bags for Apparel brands artwork proof checklist is really a version-control tool wearing a design hat. That sounds dull. It is. It also saves reorders from becoming archaeology.
One useful habit is to request a plain-language recap before release: approved dimensions, approved ink colors, approved bag type, approved quantity, and approved revision number. That short recap catches a surprising number of errors, especially when several emails have been flying around.
What changes the price of custom poly bags
Pricing for custom poly bags moves with a handful of predictable variables: bag size, film thickness, print coverage, number of colors, order quantity, and any special handling requirement. A small bag with a simple logo is not priced the same way as a large heavy-gauge bag with full coverage graphics and compliance copy. That would be too reasonable.
At a basic level, setup costs are spread across fewer units when the order is small, so unit pricing rises. That is why 2,000 bags rarely price like 20,000 bags. Print coverage matters too. A spot logo usually costs less than a full-background design because the press time and ink usage are lower.
Proof revisions can affect both cost and schedule. A simple copy change may only need a revised proof. A layout change, though, can trigger new setup work or a full reproof. Suppliers do not all bill revisions the same way, so it helps to ask for a quote that separates tooling, printing, proofing, shipping, and any added work such as sorting or bundling.
| Cost driver | What changes | Typical impact |
|---|---|---|
| Order volume | Setup spread across more or fewer bags | Lower unit cost at higher quantities |
| Print coverage | Amount of ink and press time | Full coverage costs more than spot print |
| Material spec | Gauge, clarity, recycled content | Premium films can raise pricing |
| Proof changes | New revisions or setup changes | May add time, and sometimes cost |
Typical custom poly bag orders can range widely depending on size and complexity. A simple printed run at volume may land in a much lower per-unit range than a thick-gauge, high-coverage bag with multiple print elements. The exact number depends on quantity and spec, not wishful thinking.
If your team is comparing packaging formats, it can help to line up garment bags against other options. The Custom Poly Mailers page is useful when outer shipping and garment protection need to be planned together rather than as separate random decisions.
Lead time and approval timing
Lead time is often controlled more by approvals than by machine capacity. If the proof sits in someone’s inbox for two days, the whole schedule moves. That matters for seasonal drops, retail launches, and any program with a fixed delivery window.
Late changes are the other schedule killer. Swap a SKU, revise a barcode, or change compliance text after proofing, and the job may need another review cycle. That is normal, but it should be planned as part of the timeline rather than treated as a surprise.
Custom Printed Poly bags usually move through separate artwork, proof, and production stages, and each stage needs a realistic window. For many standard jobs, the production window after final approval often lands around 12 to 15 business days, though heavier gauges, special materials, or more complex artwork can push longer. Rush work is sometimes possible, but it narrows flexibility and leaves less room for correction.
A clean internal setup helps more than people admit. One approval owner, one backup reviewer, and a clear cutoff for changes usually works better than five people commenting in different directions. The latter is not collaboration. It is a delay factory.
Common proofing mistakes to avoid
Low-resolution logos still show up constantly. The file may look fine on a laptop and then fall apart when enlarged. Fonts are another common issue, especially if they were not outlined or embedded correctly. When the software substitutes a font, the proof can change in ways nobody intended.
Barcodes and QR codes are another frequent miss. Put them too close to a fold, a seal, a glossy reflection zone, or a highly transparent panel and scanning gets unreliable. That creates receiving problems, retail problems, and sometimes returns that could have been avoided with a better layout.
Approving on a phone screen is a weak habit. Tiny copy, thin rules, and fine warning text can look acceptable at thumbnail size and still be wrong at production size. A full-size review catches issues much faster.
Color is the last place teams get caught off guard. A digital proof is a reference, not a promise. Clear and frosted film change perceived color, and different ink systems behave differently on different substrates. If color matters, the approval should include a tolerance note or a clear internal standard before the run is released.
Most of the time, the biggest errors are boring ones: wrong file version, wrong revision date, wrong bag spec, wrong barcode data. Boring mistakes cost real money.
Practical tips for cleaner, faster approvals
Use one checklist across the team. Not three versions in email threads and one in a spreadsheet that nobody opens. The best checklist covers artwork, dimensions, material, closure, count, packaging orientation, and compliance copy in one place.
Compare the proof against a real folded garment whenever possible. A layout can look balanced on screen and still feel awkward once it wraps a heavier hoodie or a compact knit. Physical context catches proportion problems early.
Keep a master artwork file with version numbers and revision notes. If a change is intentional, it should be obvious. If it is not intentional, version control helps you catch it before production starts.
Standard templates help too. If a brand orders similar bag formats for tees, knits, and outerwear, it is smarter to build repeatable templates than to start fresh every time. That reduces reproofs and keeps the garment poly bags for apparel brands artwork proof checklist process from turning into a guessing game.
Before release, ask for a final recap that matches the approved proof, spec sheet, and purchase order. When those three documents line up, the order usually moves without friction.
Buyer’s takeaway: a good proof process is less about speed and more about certainty. A careful twenty-minute review can prevent a week of rework.
If the process stays boring, it usually stays on budget. One file. One template. One owner. One sign-off. That is not glamorous, but it prints better than chaos.
FAQ
What should be on a garment poly bags for apparel brands artwork proof checklist?
At minimum, the checklist should cover bag size and film spec, artwork placement, spelling, logo scaling, barcode, SKU, size details, compliance text, print colors, proof version, and final approval sign-off. If the bag has a special closure, seal, or hang hole, include those too.
How do I know if my artwork is print-ready for garment poly bags?
Files should be high resolution or vector-based, fonts should be outlined or properly embedded, colors should match the bag template, and margins should keep text away from seals and folds. If the art was built quickly in a presentation file, it probably needs a prepress review before approval.
Why does the proof color look different from the final bag?
Digital proofs are not exact simulations of the final substrate. Clear or frosted film can change contrast and perceived color, and ink coverage or print method also affects the result. If color is sensitive, agree on an acceptable tolerance before signing off.
What slows down approval and increases turnaround on custom poly bags?
Common delays include unclear file instructions, missing source files, repeated revisions after the proof is created, multiple approvers giving conflicting feedback, and late changes to copy, size codes, or barcode content. A single approval owner usually keeps the process moving better than a committee.
Can I reduce cost without hurting the artwork quality?
Yes. Simplify print coverage where possible, use fewer colors, standardize bag sizes across SKUs, and approve accurate files early to avoid reproof charges and schedule slips. Clean artwork usually prints better anyway, so simplicity often helps both cost and presentation.


