For event crews, the right Garment Poly Bags for event teams print placement guide is not just a design aid; it is the difference between a shirt that gets identified in seconds and one that disappears in a stack of similar-looking packs. When hundreds of folded tees, polos, or hoodies arrive at check-in, the logo, size, or role marker either reads instantly or gets buried under a flap, a crease, or the wrong side of the bag.
That is why print placement affects more than branding. It changes how staff sort inventory, how fast volunteers find their size, how sponsor merch looks on a table, and how cleanly the whole operation moves when the pressure is on. In practice, a poly bag is doing three jobs at once: protection, identification, and presentation.
Custom Logo Things works with buyers who need packaging that performs on the floor, not just on a proof. So the details matter: where the artwork sits, how the bag folds, whether the film is clear or frosted, and whether the finished pack will be hung, boxed, or handed out flat.
Why Print Placement Matters on Event Garment Poly Bags
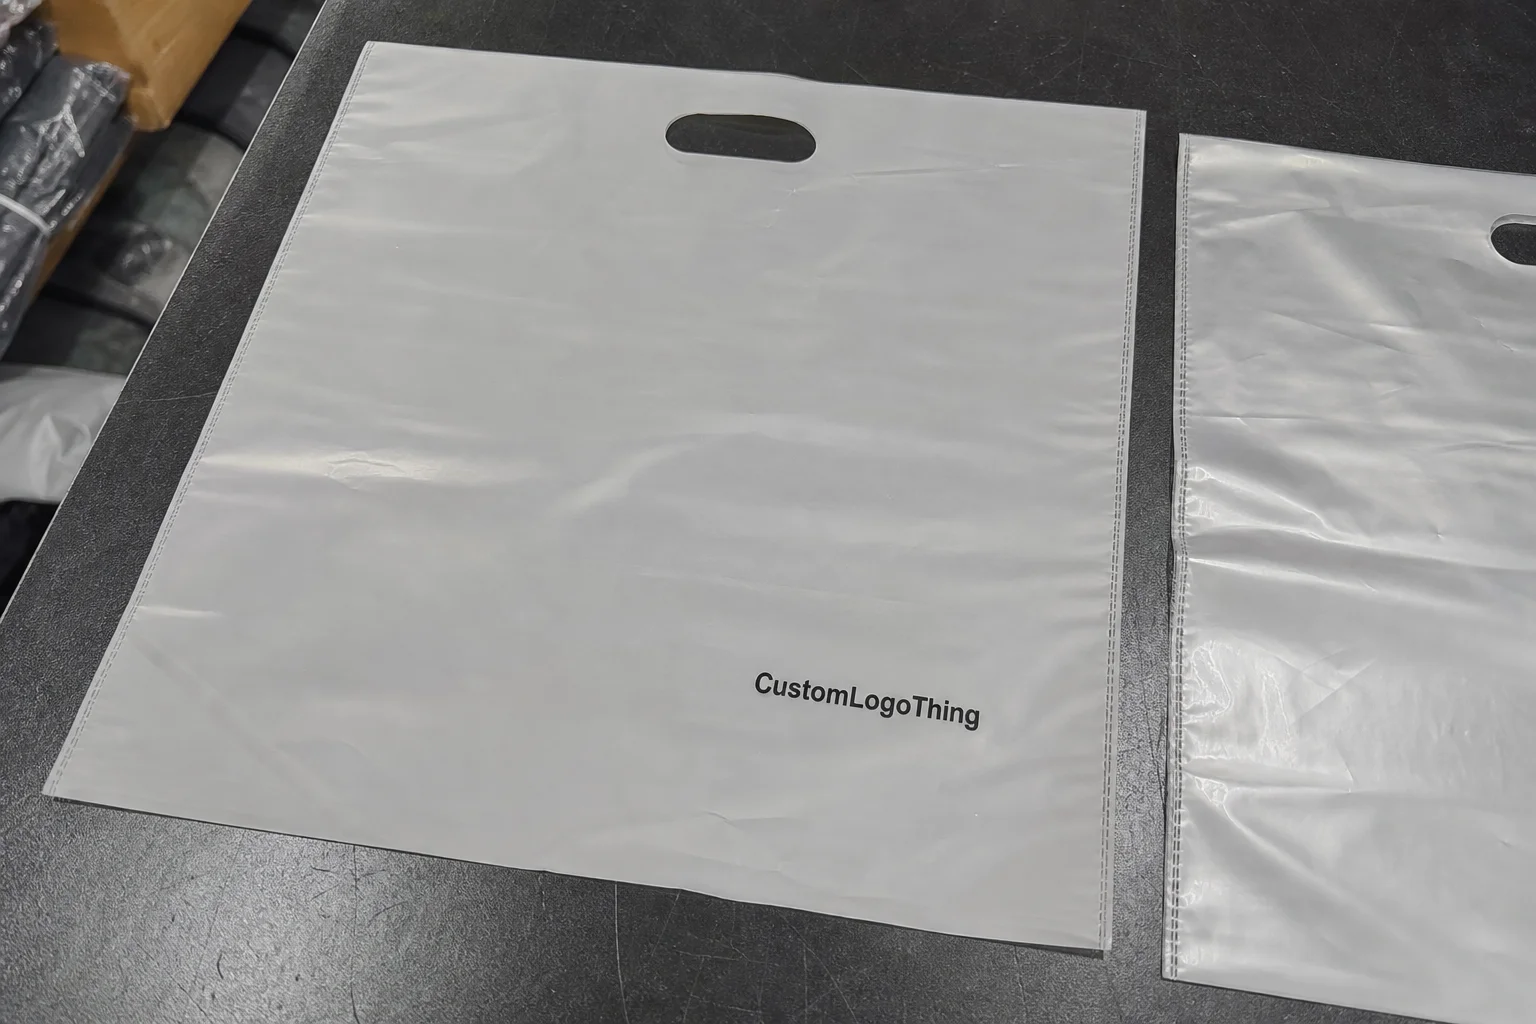
The most common mistake is treating the bag like a blank sleeve. It is not. It is a visible surface that people read while moving, reaching, sorting, and stacking, and those few seconds of visibility can decide whether the print does its job. For Garment Poly Bags for Event teams print placement guide planning, the best placement starts with real handling conditions, not just artwork centered on a screen.
If a logo sits on the front panel, it may be seen immediately when the pack is laid flat on a registration table. If the same logo is pushed too low, it can vanish behind the folded garment. If it sits too close to the top seal, the print may distort, especially on thinner film. That is the practical side of placement: visibility changes with orientation, stack height, and the way staff grab the bag.
The typical print zones are straightforward:
- Front panel for first-glance branding and sorting.
- Back panel for secondary details, instructions, or sponsor lines.
- Header area for lightweight branding when the bag hangs on a peg or rack.
- Gusset for narrow marks, size cues, or simple repeat identifiers.
Where the artwork goes also depends on the fold. A compact fold for a polo behaves differently than a bulkier hoodie fold, and a flat-packed event kit changes the visible area again. From a packaging buyer’s point of view, placement has to work across the actual fill state, not just on an empty bag.
If the first person at the table cannot read the bag in one second, the placement is probably too busy, too low, or too close to the seal.
How Print Placement Works on Poly Film and Bag Construction
Most Garment Poly Bags are printed before the bag is fully formed, especially on roll-fed film used in flexographic printing. That means the artwork has to line up with the repeat length, the seal lines, and the conversion process that turns flat film into a finished bag. Sometimes buyers assume the print can be placed anywhere, but on poly film, the machine governs much of what is possible.
There are a few production realities to keep in mind. Bottom seals take up room. Side seals reduce the usable edge. Perforations can interrupt the clean field. Adhesive flap zones and resealable closures also steal space from the artwork. If the design ignores those areas, the finished bag may look off-center or, worse, cut into the print after conversion.
Film type matters just as much. Clear film gives a clean retail-style look, but every alignment issue shows. Frosted film softens the appearance and can hide tiny imperfections, while tinted film changes contrast and may require darker artwork or stronger outlines. When buyers compare CMYK process work with a simple spot color logo, the difference in legibility can be dramatic on thin poly.
On the production side, the print method can be one of three main approaches:
- Flexographic printing for efficient long runs and repeat artwork.
- Digital printing for short runs, test versions, or faster artwork changes.
- Offset printing for related carton or insert components, though not usually for the bag film itself.
The important part is not just the method, but the safe margin around seals and folds. A good prepress team keeps text away from the edge, avoids crowding the flap, and sizes logos so they still read after the garment is inserted. Thin lines and tiny type can disappear quickly on glossy polyethylene, especially under bright venue lighting.
For broader packaging research and material context, the EPA recycling guidance and the technical resources at the Packaging Machinery Manufacturers Institute are useful references for how film and packaging systems are handled and recovered.
Key Spec Factors That Shape the Final Layout
No print placement guide is complete without the spec sheet. Bag size, film thickness, closure style, and garment dimensions all shape what the final layout can actually do. A design that looks perfectly centered on a flat proof can sit awkwardly once a hoodie is inside, because the bulk shifts the visible panel upward or inward.
Mil thickness is a good example. A 1.5 mil bag feels lighter and more flexible, but it can also wrinkle more and show more light distortion. A 2.0 or 2.5 mil bag feels stiffer, stands up better on a table, and often gives a more premium presentation. That said, thicker is not automatically better. For large event packs, too much stiffness can make packing slower and create a bulky footprint.
The closure style affects the artwork zone too. Open-top bags offer the most freedom. Adhesive flap bags need room for the peel-and-seal area. Zip-style closures and suffocation warning flaps can block the top band if the layout is not planned carefully. If the bag also carries a compliance message, that text usually has to live in a fixed location, which reduces the creative space.
Audience matters more than many buyers expect. A backstage crew kit does not need the same presentation as a VIP merchandise pack. Volunteer uniforms often need large size identifiers and simple role labels, while sponsor giveaways may need a cleaner retail look. Mixed-use packs can work well, but only if the hierarchy is planned from the start.
| Event Bag Option | Typical Use | Approx. Unit Cost at 5,000 | Print Placement Notes |
|---|---|---|---|
| Clear open-top poly bag, one-color print | Volunteer shirts, basic sorting | $0.12-$0.18 | Best for a simple front-panel logo and size mark |
| Frosted adhesive flap bag, 2-color print | VIP kits, sponsor giveaways | $0.18-$0.28 | Keep art clear of flap area and seal margin |
| Custom-sized bag with full-panel graphics | Retail-style event merch | $0.24-$0.40 | Higher coverage, more setup, tighter registration control |
Those numbers move with quantity, number of colors, and whether the bag is stock conversion or fully custom. If you are also looking at other packaging formats, the broader selection at Custom Packaging Products and the related Custom Poly Mailers category can help you compare structure, print coverage, and handling style.
Step-by-Step Print Placement Process
A clean result usually comes from a simple, disciplined workflow. Here is the practical sequence I recommend for Garment Poly Bags for Event teams print placement guide planning.
- Define the fold and fill. Decide how the shirt, polo, or hoodie will be folded, and measure the final stack height. A bag should be sized around the packed garment, not just the flat item.
- Choose the viewing direction. Ask where the bag will be seen first: on a rack, in a tote, inside a box, or laid on a check-in table. That answer determines which panel deserves the main logo.
- Set a visual hierarchy. The brand mark usually comes first, followed by event name, then role or size. Secondary copy should not compete with the main identity.
- Map the safe zones. Mark seal lines, flap edges, perforations, and any warning text area. Keep graphics inside those boundaries with enough breathing room.
- Proof against the real bag size. Do not approve artwork only on a generic PDF. Compare it to the actual width, length, and folded silhouette so the print lands where it should.
- Review a sample or prepress proof. Confirm logo size, legibility, and orientation before the full run starts. A small sample catches expensive mistakes early.
That process sounds basic, but it prevents the two issues I see most often: artwork that is too low, and artwork that is too close to the seal. Both problems are avoidable if the proof is tied to actual dimensions rather than a decorative mockup.
If a barcode, size code, or role label is part of the pack, test that too. In event packing, labels are not decoration; they are labor-saving tools. A misplaced code can cost minutes across hundreds of units, which adds up quickly at load-in.
Cost, Pricing, and MOQ Choices for Event Runs
Pricing for event Garment Poly Bags depends on several concrete variables: bag size, film thickness, number of print colors, print coverage, and whether the job uses a standard stock size or a custom conversion. More coverage usually means more ink, more setup attention, and more control needed in registration. That is why full-panel designs cost more than a simple one-color mark.
For smaller runs, the unit cost climbs because setup time, plate cost, and press calibration are spread across fewer bags. A 1,000-piece order often looks very different from a 10,000-piece order, even when the layout is the same. Buyers sometimes focus only on the per-unit price, but the real comparison should include all-in cost, including proofs, plates, and freight.
MOQ also matters for event teams that need multiple sizes or multiple roles. If you need men’s, women’s, and youth sizing, or separate packs for crew, VIP, and sponsors, bundling the artwork system can save money. The trick is to keep the layout structure consistent while changing only the variable text. That reduces confusion and keeps the print run more efficient.
Here is the simplest way to think about cost:
- Cheaper: one-color mark, standard size, light coverage, open-top structure.
- Mid-range: two-color print, frosted film, adhesive flap, modest branding area.
- Higher cost: multiple colors, custom sizing, heavy coverage, special labeling, or compliance text integration.
Honestly, many event buyers over-specify the bag. They ask for premium finishing when a clean one-color print on the right panel would perform better on site and cost less. The better question is not “How fancy can this be?” It is “What do staff need to see and do in under two seconds?”
Timeline and Production Steps From Artwork to Delivery
The normal path starts with artwork review and bag spec confirmation. After that comes proofing, then plate preparation for flexographic work or file setup for digital printing, followed by printing, conversion, packing, and shipment. The run is straightforward when the buyer provides clean files and exact requirements early.
Lead time expands when the artwork needs repositioning, when the team wants color matching for a sponsor logo, or when compliance text has to be inserted in a fixed zone. A clean vector file helps a lot. So does a clear folding method and accurate garment dimensions. If those arrive late, the proof cycle slows down and the schedule starts to slip.
Typical custom packaging timelines for this kind of work often land around 12-15 business days from proof approval for standard runs, though larger quantities, special film choices, or a custom closure can extend that. Rush freight can rescue a deadline, but it also adds cost and leaves less room for rework if anything changes.
Build in time for a physical sample whenever the bag will be handed directly to attendees or shown in a high-visibility sponsor setting. A sample is the closest thing to truth you can get before the full run starts. It shows the glare, the fold interaction, and the actual impact of the print size.
For teams concerned about shipping, handling, or recovery questions tied to packaging materials, the FSC resources are also useful when paperboard inserts or mixed-material presentation components are part of the kit.
Common Print Placement Mistakes to Avoid
The biggest placement errors are usually not dramatic. They are small miscalculations that become obvious once the bags are filled and stacked.
- Placing art too close to seals. The print can distort, trim awkwardly, or disappear into the edge after conversion.
- Using tiny type. What looks readable on a laptop can vanish on glossy film under venue lighting.
- Hiding the message behind the garment fold. This happens often when the visible area is not mapped against the packed shirt.
- Ignoring glare. Clear poly reflects hard light, which can wash out pale inks and thin strokes.
- Overloading the panel. Too many logos, sponsor lines, and labels make the bag harder to scan quickly.
The last point is the one buyers underestimate. Event staff are not reading the bag like a brochure. They are scanning it while moving fast. If the most important details do not read in less than a second, the layout needs simplification.
That is also why print finishing choices matter. Glossy film can look sharper, but it may reflect too much. Frosted film lowers glare and often improves readability. Matte-like surfaces can help some graphics, but they should still be tested against the exact lighting conditions of the venue.
Expert Tips for Cleaner Branding and Faster Sorting
A strong layout uses a clear visual hierarchy. Brand first. Event second. Role or size third. If everything is equally loud, nothing is easy to find. The best bag designs work because the viewer does not have to think about them.
High-contrast colors help more than decorative detail. Dark ink on clear or frosted film usually reads better than pale ink on glossy material. If the bag will move across a table or hang on a rack, assume the viewer will see it at an angle, with some glare and motion. That is a tough environment for delicate lines.
For crews handling multiple categories, a consistent system helps tremendously. Use one placement pattern for all sizes, then vary only the size label or role code. That way, the packing team learns the layout once and moves faster on every batch. I have seen simple systems save serious labor because nobody has to stop and decode each bag.
Here are a few practical rules that hold up well:
- Keep the logo large enough to read from arm’s length.
- Leave white space around the main mark so it breathes.
- Use one strong message instead of three competing ones.
- Ask for preproduction checks if the bag doubles as an inventory tool.
- Match the bag finish to the venue lighting whenever possible.
Packaging note: if your event kit includes inserts, folded cards, or stackable carton components, make sure the bag layout still works after the insert is added. The visible panel can shift more than you expect once extra materials go inside.
FAQs
What is the best print placement for garment poly bags for event teams?
The best placement usually puts the main logo or event name on the most visible flat panel, facing outward when the bag is stacked or handed out. Secondary details like size, role, or sponsor text should stay lower or off to one side so they do not compete with the main mark.
How do I choose print placement for clear garment poly bags?
Use high-contrast artwork and keep important text away from folds, seals, and flap edges because clear film makes every alignment issue more noticeable. Also think about how the folded garment will sit inside the bag, since the garment itself can partially block the art if the placement is too low.
Does print placement affect the price of event garment poly bags?
Yes, larger print areas, multiple colors, and complex layouts can raise setup and production cost. Simpler placements with fewer colors and standard panel coverage usually keep pricing more efficient.
How long does production usually take for custom printed poly bags?
Timeline depends on artwork readiness, proof approval, bag spec confirmation, and the quantity ordered. Clean artwork and early approval usually shorten lead time, while revisions, sampling, or rush scheduling can extend turnaround.
What should event teams send for a better print placement proof?
Send the garment dimensions, folding method, artwork in vector format, preferred logo hierarchy, and any required labels or compliance text. Including the actual use case, such as retail handout, volunteer kit, or VIP giveaway, helps position the artwork correctly.
For event buyers, the smartest garment poly bags for event teams print placement guide is the one that matches the real job: the fold, the lighting, the sorting speed, and the way the pack will be handled from packing table to guest handoff. Get those details right, and the bag does its job quietly, which is exactly what good packaging should do.


