Performance Golf Caps Sample Approval Checklist work is where a good program gets protected. A cap can look crisp on a desk, then start twisting, riding up, or showing the wrong logo balance once heat, sweat, motion, and sunlight get involved, so the approval step has to mimic real wear instead of relying on a pretty photo.
From a buyer’s point of view, the sample is not just a sample; it is the last cheap place to catch a fit issue, a stitch problem, or a decoration mismatch before dozens or thousands of pieces are cut and packed. That is why this kind of review is really a cost-control step, not just a quality check.
Why one sample can save a full golf-cap run

In practice, golf caps fail in subtle ways. The crown might be half an inch too tall, the brim may curve a little too sharply, or the closure can be tight enough to feel fine for five minutes and annoying for a full round. Those details matter because golf buyers are not only judging comfort; they are also judging how the cap sits in photos, at the tee box, and under a clubhouse light.
What looks like a small design tweak can change the whole wearing experience. A seam shifted a few millimeters can push the front panel away from the forehead, which then changes the logo angle and makes embroidery read smaller from a distance. Brim length and brim curve also matter more than many teams expect, because a cap that shields the eyes well on-course can still look awkward if the bill stands too flat or drops too low.
The real risk is approving a cap because it feels acceptable for a quick try-on. A better review mimics a real round: a walk, a few swings, a little heat, maybe some moisture on the sweatband, and then a second check after the cap has settled into shape. That is usually where the weak points show up.
Honestly, this is why the first sample should be treated like a decision tool. It tells you whether the pattern, the fabric, the closure, and the decoration are all working together, or whether one of them is going to force a late-stage correction that costs more time than the cap itself is worth.
If the sample only looks right on the bench, it is not approved yet; it has to survive movement, heat, and a second look in daylight.
Performance golf caps sample approval checklist: what to inspect first
The cleanest way to use a Performance Golf Caps Sample Approval Checklist is to inspect the physical shape first, then the fabric behavior, then the branding. That sequence matters because a beautiful logo cannot rescue a cap that fits poorly, and a perfect fit still fails if the decoration looks fuzzy or sits in the wrong zone.
- Crown shape: check whether the front panel keeps the planned structure and whether the profile matches the tech pack, especially on low-profile golf builds.
- Panel symmetry: compare left and right seams, center-front alignment, and back opening placement so the cap does not look off-balance.
- Brim length and curve: confirm the brim sits at the specified length, usually around 2.75 to 3 inches for many performance golf caps, with the intended curve.
- Closure tension: test snapback, hook-and-loop, strap, or stretch fit so the adjustment holds without pinching or leaving a bulky tail.
Then move into fabric behavior. A good performance cap often uses polyester performance twill, textured poly knit, or a poly-spandex blend with moisture-wicking properties, a breathable sweatband, and enough recovery to hold its shape after wear. I like to look for the way the material feels after a few minutes on the head: does it stay light, does it trap heat, does the inner band stay comfortable, and does the crown collapse when the wearer looks down?
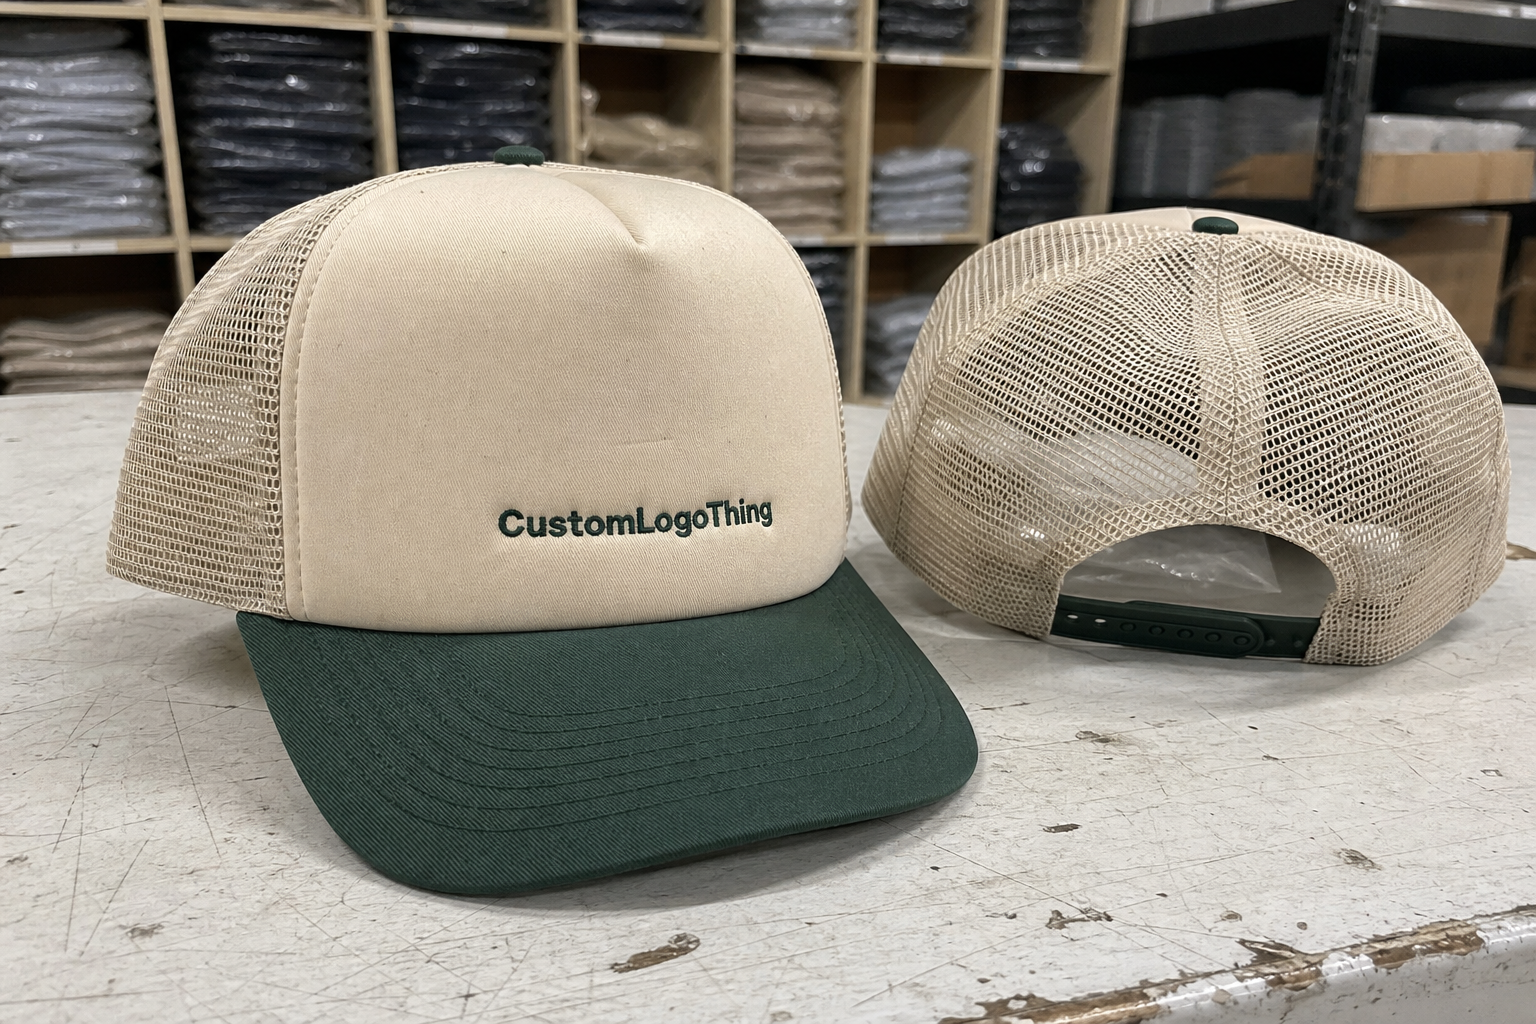
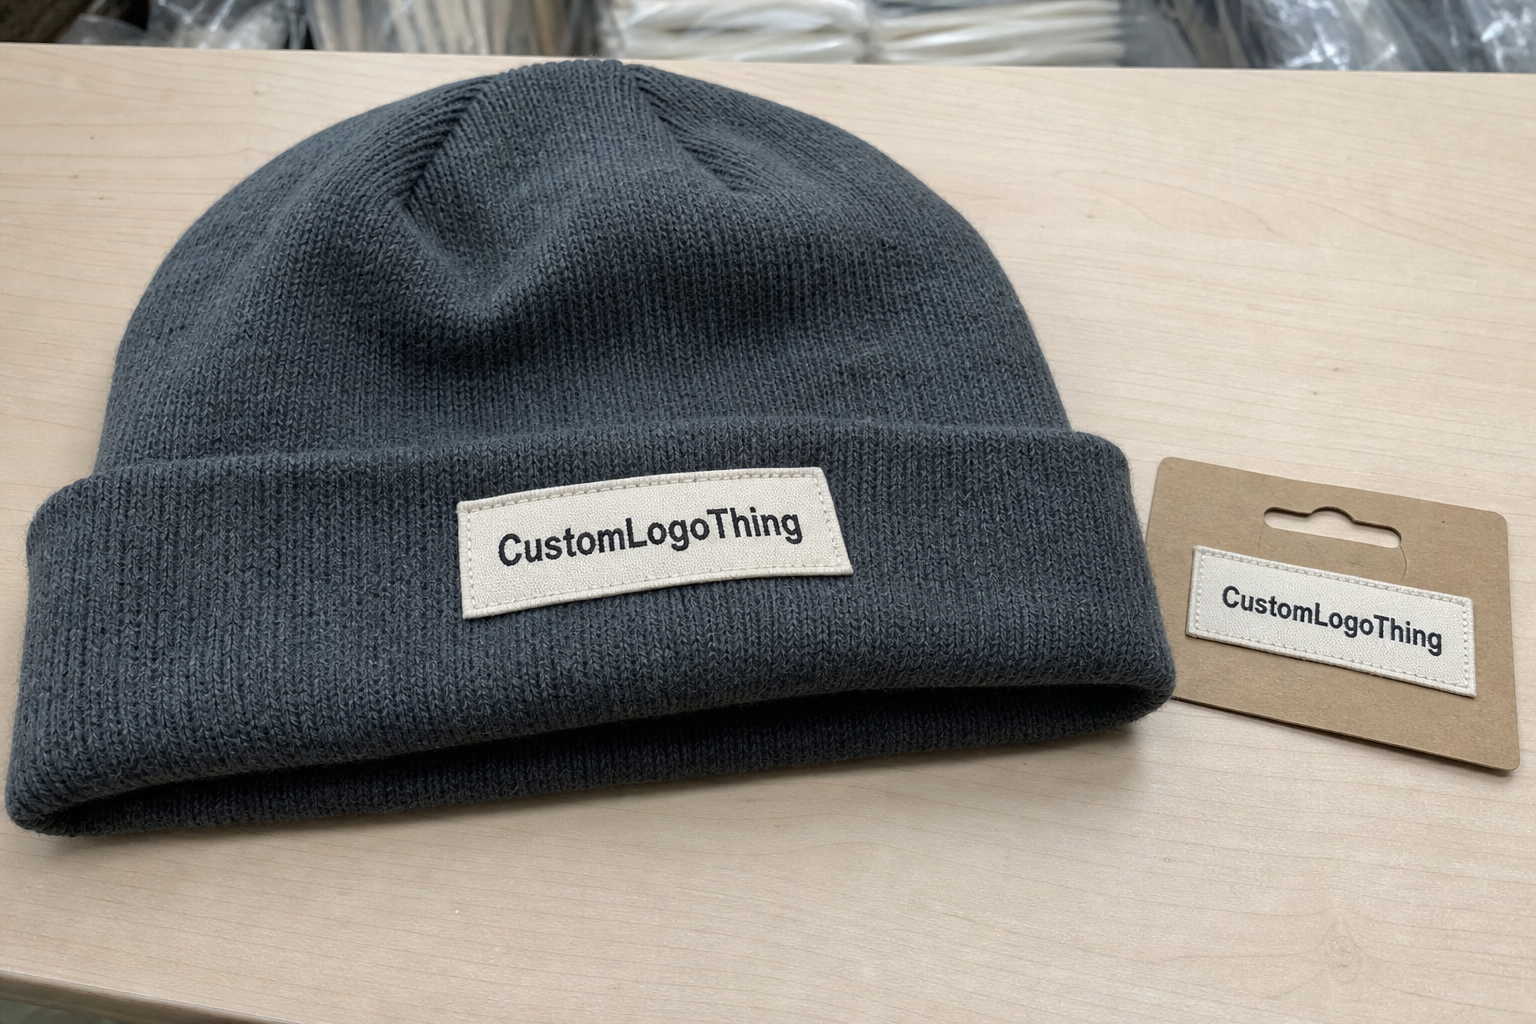
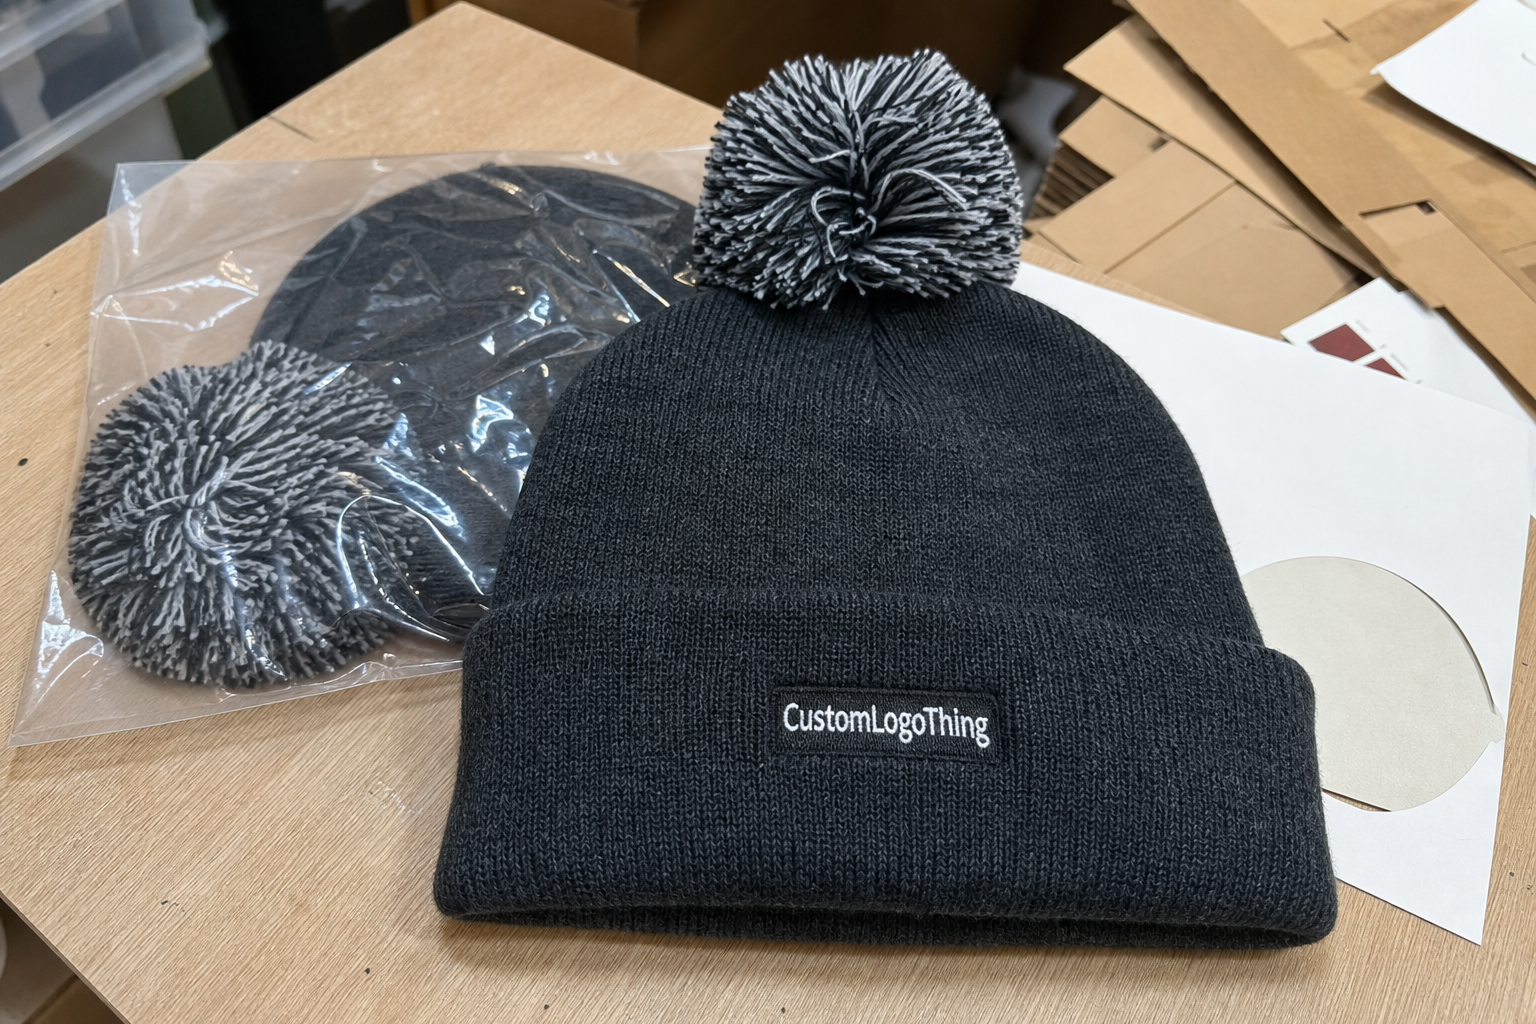
Branding deserves the same discipline. Check logo size, embroidery density, patch edge quality, print sharpness, and whether the mark still reads cleanly from several feet away. If the cap uses a woven patch, ask whether the edge is sealed or turned cleanly; if it uses 3D embroidery, watch for fill density that is too tight, because that can distort a fine logo line.
Small finish items matter too. Thread trimming, seam tape, sweatband softness, color consistency, and the absence of scratchy stitches all affect whether the wearer keeps the cap on for an 18-hole round. That is the part a photo never tells you.
Process and timeline for sample approvals
A sensible approval flow starts with a spec sheet, artwork files, Pantone references, and a clear note on the build: structured or unstructured, mesh back or solid front, snapback or stretch, and what kind of sweatband is required. From there, the factory usually makes a prototype sample, then a revised sample if needed, and sometimes a preproduction sample if the program is more exacting or the decoration is complicated.
Lead time slips usually happen for predictable reasons. Artwork is late, the fabric chosen in the quote is not the same fabric that was approved verbally, or the first sample reveals that a logo placement note was vague enough to be interpreted two different ways. If a cap uses a special closure, a custom patch, or a narrow shade match, sourcing can also slow the cycle because one missing component blocks the whole sample.
The best protection is a single feedback window. Gather comments from merchandising, marketing, and quality control, then send one consolidated note instead of three partial ones spread across email, chat, and a phone call. I have seen more time lost to conflicting direction than to actual sewing issues.
Version control is not glamorous, but it saves projects. Save dated photos, mark the sample with notes, and keep one clearly labeled master reference. If the factory sends a revised cap, compare it against the same master every time so everyone is approving the same object, not a memory of one.
For shipping and packaging checks, it helps to think beyond the cap itself. Carton size, folding method, inner bagging, and master carton count can all affect how the product arrives; if you want a useful reference for parcel and distribution test methods, the ISTA standards library is worth a look.
Cost, pricing, and MOQ checkpoints before signoff
Before you approve anything, separate the sample fee from the production price. Some factories charge a one-time prototype fee, some credit that fee back after order confirmation, and some keep it separate no matter what. That difference sounds minor, but it changes how the buyer evaluates the whole project, especially if two or three revisions are likely.
| Sample option | What it usually confirms | Typical charge | Typical timing |
|---|---|---|---|
| Prototype sample | Basic construction, fit, and first artwork placement | $45-$90 | 7-12 business days |
| Revised sample | Corrections to shape, logo, or closure details | $35-$75 | 5-10 business days |
| Preproduction sample | Final reference before bulk release | $60-$120 | 7-14 business days |
Those ranges can move up or down depending on the build. A simple embroidered polyester cap is usually less expensive to sample than a cap with a custom woven patch, laser-cut perforation, or special stretch closure. The main price drivers are fabric grade, decoration method, crown structure, trim complexity, and whether the sweatband needs a custom treatment such as extra softness or stronger moisture control.
MOQ deserves equal attention. A supplier may quote a low sample cost but require 100 to 300 pieces per color, or a higher minimum if the cap uses a unique fabric and decoration combination. Packaging can also affect the quote; if the buyer wants individual polybags, size stickers, barcode labels, or retail-ready inserts, the unit cost can rise even when the cap itself is straightforward.
Ask about extra charges early. Freight, duty, rush production, and each additional sample round can all add cost. A lot of buyers only discover that after the revised sample is already in motion, which is the wrong time to be negotiating the math.
Common mistakes that cause avoidable re-samples
The most common mistake is approving from photos alone. Lighting can soften a harsh stitch line, make one shade look closer than it is, and hide a fit problem that only appears when the cap is actually worn. A screen also cannot show how the brim feels when it is flexed or whether the sweatband starts to irritate the skin after a short wear test.
Another easy miss is checking the logo but not the wear path. A cap can have perfect branding and still fail because the crown rides high, the brim is slightly uneven, or the back closure pulls the cap backward during movement. I have also seen sweatbands sewn too low, which makes the cap feel fine in a static try-on and wrong during a full round.
Color issues hide in plain sight. Pantone drift, fabric sheen, and thread contrast can look minor on a laptop and obvious in person, especially under daylight. If the cap includes a matte fabric with glossy embroidery thread, the contrast needs to be deliberate; otherwise the logo looks louder than the rest of the cap.
Packaging mistakes are part of the same problem. A perfect cap sample can still generate trouble if the folding method changes the brim shape, the polybag tears too easily, or the master carton count does not match the shipping plan. For pack-out programs that need paper inserts or printed cards, FSC-certified paper may matter to the retailer, and the FSC site explains chain-of-custody basics clearly.
One more thing buyers often skip: carton and labeling verification. If the label location, barcode placement, or folding sequence is not approved, bulk can be technically correct and still land wrong at receiving.
Expert review tips for fit, comfort, and branding
The most useful review happens in motion. Have someone wear the cap for a walk, a few practice swings, and a short period in warmer conditions if possible. That is usually enough to expose whether the cap stays put, whether the sweatband manages moisture, and whether the crown remains comfortable after the first burst of heat.
Compare the sample in at least two light sources: workbench lighting and natural daylight. Indoor light can flatter a cap that actually has a shade mismatch or a shinier surface than expected. Daylight is less forgiving, which is exactly why it is useful.
Use a simple scorecard so reviewers stop arguing from gut feeling alone. A four-point sheet works well: fit, comfort, finish, and branding. Give each category a pass, revise, or fail note, then add measurements or a close-up photo if anything is not a clear pass. That keeps the feedback practical and easy for the factory to act on.
Keep one signed master sample and store it with the artwork files, spec sheet, and Pantone references. If a revision is small, ask for close-up photos or a video walkaround before reshipping the cap. That saves time when the change is limited to thread color, patch edge cleanup, or a minor closure tweak.
The strongest reviews are calm and specific. “Feels tight” is not enough. “The back opening pulls the crown forward by about 6 mm after ten minutes of wear” gives the factory something usable.
How to handle revisions without losing your launch date
Revision control starts with priorities. Split the notes into must-fix issues and nice-to-fix comments. A logo sitting 4 mm too low, a crown that is visibly skewed, or a closure that fails to hold are must-fix items. A slightly softer hand feel or a small trim preference might be nice-to-fix, depending on the launch schedule.
Write notes like you expect someone to sew from them, because someone will. Use measurements, arrows, photo markups, and sample marks so there is no guessing about which panel, seam, or stitch line needs attention. If the cap has multiple colors or a tonal patch, name the exact area instead of saying “adjust the front a little,” which is too vague to act on cleanly.
There is a point where resampling makes sense and a point where it does not. If the issue affects fit, logo quality, or color accuracy, request a new sample. If the issue is purely cosmetic and low risk, some buyers approve with a documented minor adjustment in bulk, but only after they understand the tradeoff and the factory confirms the change can be controlled in production.
Timing should be confirmed before the revised sample is started. A two-day tweak and a two-week tweak are very different things, and either one can affect your launch window if the order has a firm ship date. The same is true for cost: a new trim, a new closure, or a second decoration setup can reset the quote.
If you want the fastest path, keep the feedback clean, grouped, and decisive. A performance golf Caps Sample Approval Checklist is only useful if it produces one clear round of changes instead of a trail of half-finished notes.
Final approval steps before you release production
Before release, line up the approved sample, the spec sheet, the artwork files, Pantone references, packaging details, and final carton count. Then confirm that the buyer, merch team, and quality contact are all looking at the same master reference. If one person is still thinking about an older version, the production file is not ready.
Have every stakeholder sign off in writing, even if the final decision is just an email chain with a clear approval note. Archive the marked-up photos, measurements, and sample comments so you have a record if bulk ever needs to be compared back to the approved reference. That paper trail is worth keeping.
Also confirm the shipment setup. A cap sample can be approved in isolation and still create issues if the bulk will be packed differently, folded differently, or labeled differently. If you need a carton spec that stands up to distribution handling, ask whether the shipper uses relevant parcel testing or internal compression checks, because the box is part of the product journey too.
Once all the pieces line up, release the order with confidence. That is the actual payoff of a disciplined performance golf caps sample approval checklist: fewer surprises, cleaner timing, and a production run that matches what was approved in hand, not just what looked good on a screen.
What should be on a performance golf caps sample approval checklist?
Fit, brim shape, closure, and crown structure should be checked against the tech pack, not just judged visually. Review fabric feel, moisture management, logo placement, color match, and seam finish in hand and under daylight. Confirm packaging, carton count, and any special labeling so the approved sample matches the final shipping setup.
How many sample rounds are normal for custom golf caps?
One prototype and one revision is common for straightforward designs, but custom decoration or specialty materials can need another round. Complex embroidery, unique closures, or exact color matching often add time because the first sample is mainly a technical check. A clean tech pack and consolidated feedback usually reduce the number of rounds needed.
What affects the cost of performance golf cap samples?
Fabric selection, decoration method, and whether the sample uses standard or custom trims are the biggest price drivers. Extra revisions, rush service, and freight can add cost even when the cap itself is simple. Ask early whether the sample fee is credited back against the production order.
How long does the sample approval process usually take?
Timing depends on material availability, artwork approval, and how quickly feedback is returned after the sample is received. Simple revisions can move fast, but sourcing a special fabric or changing decoration details can extend the lead time. The fastest approvals usually come from one clear decision-maker and one consolidated round of notes.
What should I do if the approved golf cap sample and production run differ?
Compare the production piece against the signed master sample, spec sheet, and artwork files immediately. Document the difference with photos and measurements before the order continues further down the line. Pause release if the change affects fit, logo quality, or color accuracy, because those issues are harder to correct later.