If you are ordering branded packaging for a retail product, the retail Frosted Zipper Bags packaging insert checklist is where the details either hold together or fall apart. The insert is not just a card inside a bag; it has to fit the pack, read cleanly through a softly translucent film, and still look intentional after handling, shipping, and shelf display. That is why a good retail Frosted Zipper Bags Packaging Insert checklist starts with fit, contrast, and production reality, not with artwork alone.
From a packaging buyer's point of view, the insert might be a brand card, care instructions, a barcode label, a QR code, a promo insert, or a compliance panel. Each one has a different job, but all of them have to work inside the same retail packaging system. If the bag is frosted, the visual rules change a little. Fine lines soften, pale type can wash out, and weak layout choices show up faster than they do in clear poly. That is exactly why this checklist matters.
Here is the practical goal: reduce rework, avoid surprise costs, and protect the first impression. Good packaging design is not only about looking attractive on screen. It is about whether the insert sits flat, whether the zipper closes cleanly, whether the print still reads when the bag is stacked in a carton, and whether the final product packaging feels ready for a store buyer to trust.
Retail frosted zipper bags packaging insert checklist basics
The first thing to settle is what belongs in the bag and what belongs on the bag. In a retail frosted zipper bag, an insert can mean a simple brand card, a care and use card, a product story panel, a hang tag folded to fit, a SKU or barcode label, a QR code that points to instructions, or a promotional insert tied to a launch. The key is to keep the content purposeful. If a message can live on the exterior seal area, or on a separate header card, it does not always need to occupy precious space inside the pouch.
A strong retail Frosted Zipper Bags packaging insert checklist starts with the physical basics: finished insert size, bag size, zipper location, and the usable viewing area behind the frosted film. I like to think of that area as the stage. You can design a beautiful insert, but if it sits behind a zipper track, a fold, or a gusset line, the message gets compromised before the customer even opens the pack. That is true whether you are using simple retail packaging or more specialized branded packaging for a launch set.
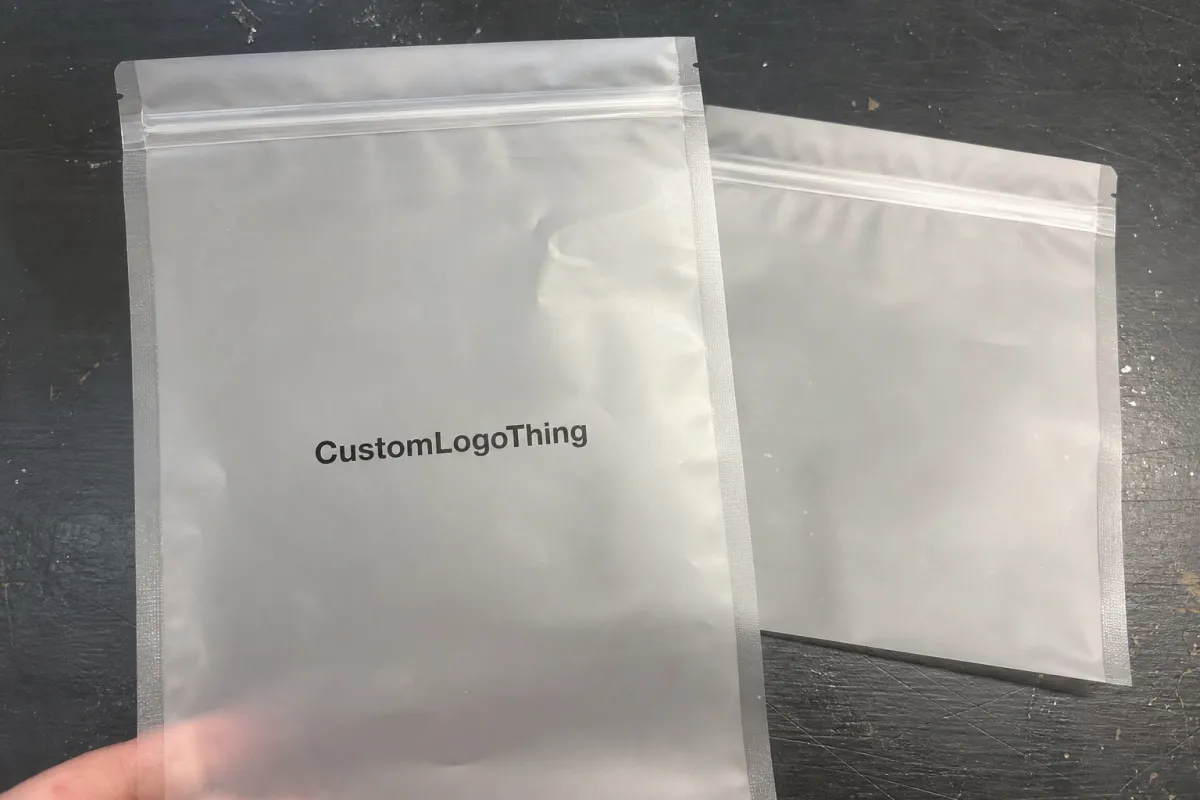
The frosted surface changes the presentation problem in a very real way. The film diffuses light, which can be attractive, but it also softens edge definition. Thin type, low-contrast logos, and pale tints can look weaker than expected. For that reason, the insert should be designed with deliberate weight: stronger contrast, clear hierarchy, and enough breathing room around the core message. A lot of people expect the bag to act like a neutral frame. In practice, it is more like a filter.
A frosted zipper bag can make great print look better and weak print look worse. The difference is usually not the paper alone; it is the contrast, scale, and fit.
It also helps to define the order of operations. The insert should be checked against the bag spec before print approval, not after. That means confirming if the final use is retail display, e-commerce fulfillment, or a mixed channel where the same package has to survive transit and still look sharp on shelf. If the insert doubles as a product information card, that content needs to be readable at arm's length, not only under a close desktop review.
For teams comparing packaging options, a good starting point is the right product family. If you need related materials beyond inserts and bags, browse Custom Packaging Products and compare formats before you lock the structure. In many cases, the best answer is not the most complex one; it is the one that keeps the pack clean, legible, and inexpensive enough to repeat across a line.
How the insert and bag work together on shelf and in transit
The insert and the bag should behave like one system. That sounds simple, but it is where many retail packaging jobs get awkward. A frosted zipper bag usually has a defined zipper line, heat-sealed edges, and sometimes a hang hole or euro slot. Those details affect where the insert can sit and how much stiffness the paper stock can tolerate before it starts to curl or bridge across the inside of the pouch. If the insert is too stiff, it can fight the bag instead of sitting flat.
Light diffusion is the other variable. With clear film, most of the artwork reads exactly as printed. With frosted film, the image is softened by the material itself. That means a design that looks elegant on a PDF may lose punch when viewed through the bag. In practical terms, you usually want stronger black density, deeper brand colors, and a larger type size than you would choose for a flat postcard. White space still matters, but it should support a deliberate visual hierarchy rather than carry the entire design.
Handling matters just as much as appearance. During packing, inserts can pick up moisture, gain curl, or shift off-center if the carton is overfilled. If the insert is wider than the natural internal width of the pouch, it can bow against the side seams. If it is too tall, it can press into the zipper path and create a lumpy seal. Small issues like that often get discovered by the warehouse team, not the designer. By then, the print is already approved.
From a transit standpoint, the pack should pass a simple common-sense test. Does it stay presentable after vibration, carton compression, and repeated handling? For some categories, especially gift items and lightweight accessories, teams also look at basic transport standards such as ISTA drop and vibration testing. For recycled or fiber-based components, there may be environmental or sourcing expectations to check against FSC documentation or related material policies. If you need a starting point for standards and sourcing references, the resources at ISTA and FSC are both useful.
One helpful habit is to review the pack in the same sequence a buyer would see it: carton opening, bag removal, shelf placement, and then product reveal. That sequence exposes weak points fast. If the insert disappears behind glare, if the bag wrinkles around the edge, or if the brand mark looks too delicate through the frosted front panel, the issue is usually structural, not artistic.
Cost, pricing, and MOQ factors that move the quote
Pricing for an insert-and-bag job usually comes down to a handful of variables that buyers can control if they ask the right questions early. The biggest ones are insert size, stock choice, print side count, color count, coating, finishing, and whether the order is being packed in bulk or kitted individually. A simple 4 x 6 inch insert on coated 14 pt stock with one-sided CMYK printing is a very different job from a two-sided, variable-data insert with a barcode, foil detail, and folded presentation inside each pouch.
The MOQ matters because setup cost is often the same whether you print 500 or 5,000 pieces. Press make-ready, plate work if applicable, trim setup, and proofing all sit in the background. At lower counts, those costs are spread over fewer units, which pushes the unit price up. That is why you may see a range like $0.18-$0.28 per insert at 5,000 pieces for a straightforward build, while a smaller run can land much higher per piece. Once you add specialty finishes, multiple versions, or hand packing, the number moves again.
There are also hidden cost pressures that are easy to overlook. Multiple artwork versions for different SKUs add proof and setup time. Barcode changes can trigger a prepress check. Tight brand color matching can require extra proofs or press adjustments. Rush service is expensive, especially if a retail launch date is already locked and the bag supplier, insert printer, and fulfillment team all have to move at once. A quote can look attractive until one of those details appears late in the process.
Honestly, the cheapest quote is not always the best value. If the insert wrinkles, if the color density is too light, or if the bag and insert are slightly misaligned, the first production pass can fail the shelf test. Then the apparent savings disappear into rework, replacement, and schedule pressure. I would rather see a buyer pay a little more for accurate sizing and clean proofing than chase a bargain that forces a second run.
| Option | Typical Use | Price Pressure | Best For |
|---|---|---|---|
| Simple one-sided insert | Brand card, care card, basic promo | Lowest | Clean, repeatable retail packaging |
| Two-sided branded insert | Story, instructions, QR code, SKU info | Moderate | Stronger package branding and content depth |
| Variable-data insert | Batch codes, unique offers, multi-SKU packs | Higher | Complex product packaging or campaign work |
| Inserted and kitted set | Pre-packed bag with product and insert | Highest | Launch kits and hand-assembled retail programs |
When comparing quotes, ask what is included in the scope. If the supplier only priced printing, but not folding, packing, or final carton prep, the unit number can be misleading. A clean retail Frosted Zipper Bags Packaging Insert checklist should make those line items visible before you approve the order.
Production steps and turnaround for insert-ready bags
The cleanest jobs start with a complete spec package. That means artwork, bag dimensions, insert dimensions, quantity, desired finish, target ship date, and any special handling instructions should all be on the table before production begins. Once those pieces are clear, the workflow is usually straightforward: artwork intake, dieline confirmation, structural review, proofing, production, finishing, packing, and shipment.
An insert-ready order is more demanding than a standard print job because the dimensions and visual placement matter as much as the color. The team has to verify that the insert fits the interior space and that the main message lands in the visible area behind the frosted film. If there is a hang hole, zipper, or seal zone to avoid, that has to be built into the proof. A pretty mockup is not enough. The proof should tell you whether the piece can actually be used.
Turnaround usually breaks into checkpoints. First comes the file review, where obvious issues like missing fonts, low-resolution images, or incorrect bleed get flagged. Then comes the proof, digital or printed, depending on the job. If the package is sensitive to color, a revision round may be needed. After that, the order moves to press or print production, followed by cutting, coating, or any special finish. Even a modest change at proof stage can push the schedule by several business days, which is why approvals should be collected early.
A realistic lead time for a well-prepared job can often run 12-15 business days from proof approval for standard production, though that depends on quantity, complexity, and whether the order needs insert kitting. More intricate work can take longer. If the launch date is fixed, I always recommend building in a little buffer for transport, carton prep, and final receiving. Those last steps are where many schedules get squeezed.
Good production discipline also means deciding how the bag and insert will arrive. Will they ship separately for final pack-out, or will the supplier insert them before shipment? Will cartons be labeled by SKU, or by assortment? Those decisions affect labor, freight, and the chance of miscounts. The earlier they are settled, the smoother the order usually runs.
Spec factors that affect fit, durability, and print quality
This is where the checklist gets specific. Finished insert dimensions should be based on the real internal space of the bag, not the nominal outer size on a spec sheet. Safe margins matter too. If the design reaches too close to trim, it can look cramped once the piece is cut and inserted. A good rule is to leave enough interior breathing room so the card sits flat without forcing the sides open. For folded inserts, the fold line should be planned so the visible panel carries the most important information.
Substrate choice changes both feel and performance. Coated paper stocks give sharp print and a smoother visual finish. Heavier cardstock adds body, which can help the insert feel more premium but may increase curl if humidity changes. Synthetic stock can be useful when moisture resistance or tear resistance matters, especially for retail packaging that may sit in a display area with repeated handling. The right choice depends on where the pack lives, not just how it looks on a sample sheet.
Finish choices should solve an actual problem. Matte reduces glare and can make text easier to read through a frosted pouch. Gloss intensifies color and can help graphics feel brighter, though it may reflect light under store fixtures. A soft-touch coating or similar protective layer can be useful if the piece is touched often, but it adds cost and can slightly mute contrast. That tradeoff is worth discussing before the print run starts.
There are also technical details that shape usability:
- White ink can improve visibility on dark or translucent layouts, but it adds a separate print consideration.
- Rounded corners help reduce snagging when the insert slides into the pouch.
- Perforations are useful for tear-off coupons or detachable promos.
- Variable data supports batch coding or customized offer versions.
- Barcode placement should stay clear of folds, glare, and edge trims.
If the insert is part of a larger product packaging system, make sure the visual language matches the rest of the line. A mismatch between the bag, insert, and outer carton can make the whole set feel disconnected. That is especially true if you are pairing the bag with custom printed boxes or other branded packaging components. The pieces should feel like they belong to the same family.
For buyers who want a cleaner approval path, the smartest move is to lock the spec sheet before art gets too far along. That way the artwork team is designing to reality, not to assumptions. A well-built retail Frosted Zipper Bags Packaging Insert checklist should always include the spec sheet and the final bag image together.
Common mistakes to avoid before approving the insert
The most common error is treating the artwork file as if it were the finished object. Screen size, trim size, bleed, and fold allowances are not the same thing. A design can look balanced in software and still fail once it is cut, inserted, and viewed through frosted film. If the edges are too tight, the type can feel crowded. If the bleed is misread, the layout can shift enough to look off-center in the pouch.
Another frequent problem is using type that is too thin or too light. Frosted film softens the image behind it, and that effect is unforgiving to delicate details. Light gray text, script fonts with thin strokes, and small reversed-out copy are all risky. Stronger type weight usually performs better. So does a cleaner layout with fewer competing elements. This is not the place to chase decorative complexity.
Zipper clearance deserves more attention than it often gets. If the insert is tall, rigid, or oversize, it can interfere with the seal path and make the bag look poorly packed. Even a small amount of friction inside the pouch can create a slight bow or wrinkle that is visible on shelf. For a retail buyer, that wrinkle can be enough to make the pack feel less finished.
Do not skip the physical proof if you can avoid it. A PDF cannot show you curl, translucency, or the way a card reads once it sits behind the bag panel under store lighting. A flat proof is helpful, but a real sample is better. If you are testing a launch, ask for at least one actual assembled piece before you green-light the run. That one step can save a lot of headache later.
It also helps to compare the insert against the broader merchandising plan. If the display fixture is crowded, the card needs to carry the message faster. If the bag hangs on a peg hook, the top third of the insert becomes more important. In other words, the packaging design should match the sales environment, not just the artwork concept.
A disciplined review against the retail frosted zipper bags packaging insert checklist usually catches these problems before they become production waste. That is the real value of the checklist: not paperwork, but fewer surprises.
Next steps to finalize the checklist and place the order
Start by gathering the facts that a supplier actually needs: exact insert dimensions, bag size, material preference, quantity, print sides, finish, and target delivery date. Once those are fixed, the quote becomes much easier to compare because every supplier is pricing the same scope. If any detail is still floating, write it down as an assumption so nobody confuses an estimate with a final spec.
Next, review the artwork with the bag in mind. Make sure the type hierarchy is easy to follow, the contrast is strong enough for frosted film, and the required barcode or compliance copy has a dedicated spot. If the insert includes a QR code, leave enough quiet space around it so the scan area stays clean. If the layout uses a brand color that is already weak on screen, consider strengthening it before proofing.
Then ask for a quote that clearly states pricing, MOQ, proofing, turnaround, and any extra charges for revisions, kitting, or rush service. A transparent quote is easier to manage than a low opening number with add-ons hidden in the back end. For repeat buyers, this is also where you can compare suppliers on responsiveness and accuracy, not just on unit cost.
Finally, do a last pass that ties the proof, carton plan, and ship date back to the retail frosted zipper bags packaging insert checklist. If the proof is approved, the box count is right, and the delivery window still fits the launch, you are in good shape. If one of those pieces is off, it is much cheaper to fix it before print than after cartons are already in motion.
What should a retail frosted zipper bags packaging insert checklist include?
It should include finished insert size, bag size, artwork requirements, stock choice, finish, barcode or compliance needs, quantity, and delivery timing. It should also confirm whether the insert needs a loose fit or a tighter fit, because that changes trim allowance and the risk of curl inside the pouch.
How do frosted zipper bags affect packaging insert readability?
Frosted film softens contrast, so light type, thin strokes, and pale colors can become harder to read. Bold type, darker inks, and clean spacing usually perform better behind the translucent surface, especially under retail lighting.
What affects pricing for insert-ready retail zipper bag packaging?
Price is shaped by size, stock, print complexity, finishing, quantity, proofing needs, and whether the order requires multiple versions or kitting. MOQ matters too, because smaller runs carry more setup cost per piece.
How long does the process usually take for packaging inserts and bags?
Turnaround depends on proof approval, artwork readiness, production method, and whether samples are needed first. The fastest jobs are the ones where specs are final before quoting and no revision cycle is needed.
What is the most common mistake on a frosted zipper bag insert order?
The most common mistake is approving artwork without checking fit, contrast, and zipper clearance in a real sample or proof. That usually leads to inserts that look good on screen but disappoint in the finished bag.
If you keep the structure simple, confirm the specs early, and review the sample under real lighting, the retail frosted zipper bags packaging insert checklist becomes a practical buying tool instead of a last-minute rescue plan. That is usually the difference between packaging that merely ships and packaging that actually sells.


