Retail Launch Custom Poly Mailer Quality Checklist
The retail launch Custom Poly Mailer Bags production quality checklist matters because launch problems usually come from details, not from the creative concept. A mailer can look polished on a screen and still arrive with weak seals, a barcode that scans badly, or a size that chews through margin the moment the first carton is packed. To a packaging buyer, that is not a design miss. It is a product and operations miss, and those are expensive in very ordinary ways: rework, delays, repacking, and awkward first impressions.
That is why the checklist belongs next to the packaging brief, not after it. The right review protects branded packaging, keeps the launch calendar honest, and gives operations something concrete to judge against handling, scanning, and shelf presentation. It also makes it easier to compare Custom Poly Mailers with other formats, including Custom Packaging Products and custom printed boxes, without confusing visual appeal with performance.
"The highest unit price is not always the costliest mailer. The costlier one is usually the bag that passes creative review and fails once the warehouse starts moving product."
Retail launch custom poly mailer bags: what fails first
Most first-run problems are small enough to miss in a mockup and large enough to hurt a launch. A film gauge that feels fine by hand can split under conveyor pressure. A logo that looks centered in PDF can drift enough in production to feel off. A clean-looking bag can still arrive with a seal that peels at the edge after a few handling cycles. None of those failures are dramatic, which is exactly why they slip through.
The hidden cost is often bigger than buyers expect. If the bag is oversized, it wastes shipping air and makes the package feel loose. If it is too tight, it wrinkles, stresses the closure, and makes the product look packed in a hurry. In retail, presentation and function are not separate tracks. They travel together, and the customer sees both.
Launch teams also underestimate how quickly one weak approval can create a chain reaction. A late color correction pushes sampling. A sampling delay pushes production. Production pushes freight. Suddenly the warehouse has pallets arriving after the receiving window, and the merch team is choosing between a delayed launch or a rushed compromise. That is why a production quality checklist is not paperwork. It is a control system.
The bag itself also has a few predictable failure points. Seal temperature can be slightly low and still look acceptable on inspection, then fail in real handling. Print contrast can pass on a bright monitor and fail under warehouse lighting. Film opacity can hide contents in theory, then look patchy once folded and stacked. A good checklist catches those before they turn into customer complaints.
One more thing: retail mailers are often judged beside the rest of the package system. If the apparel bag, shelf carton, and insert card all feel like they came from different projects, buyers notice immediately. That is not a branding theory. It is an operational truth that shows up in receiving rooms, on sales floors, and in online unboxing clips.
How custom poly mailer production actually works
Production usually starts with artwork and dieline review, then moves into film selection, printing, cutting, sealing, and carton packing. The chain sounds simple. The quality drift does not. Plate setup can shift color density. Registration can slide a few millimeters and make a logo look slightly tired. Seal temperature can run low enough to create a bond that survives inspection but not warehouse handling.
The material spec matters early. Most retail mailers are based on LDPE or a co-extruded film, often in the 2.5 to 4.0 mil range depending on the product weight and the amount of abuse the bag will see. A light apparel SKU may do fine with a thinner structure. Heavier inserts, boxed goods, or products that travel through more touchpoints usually need more film and a wider seal. Stronger is not always better, though. Overbuilding a bag can make it bulky, harder to fold, and more expensive to ship.
A disciplined supplier usually builds three layers of control into the run. First is prepress proofing, where the artwork is checked against the dieline, bleed, and safe areas. Second is the physical sample, which shows how the bag behaves with actual product inside. Third is in-line inspection, where operators check trim tolerance, seal uniformity, and print consistency as the order runs. Retained samples matter too. Without them, later reorders turn into memory contests.
It helps to distinguish between a digital mockup, a pre-production sample, and the mass run. The mockup confirms layout. The sample confirms fit and finish. The production order reveals the variables that really matter: ink load, press speed, heat, packing method, and carton count discipline. A buyer who understands those stages can ask better questions and spot shortcuts before they become expensive.
For brands that also buy custom printed boxes, the standard should not change just because the format changes. The graphics may move from paperboard to film, but the expectation around tolerances, receiving checks, and documented sign-off should stay the same. A launch is only as stable as its least-controlled component.
Good launch buying is less about finding a vendor who says yes and more about finding one who can explain where defects usually show up.
Cost, MOQ, and unit cost drivers for first orders
First-order pricing is driven by a few levers that buyers can actually control. Film thickness is one of the biggest. Size is another. A small mailer with one-color print may sit near the low end, while a larger format with full coverage, custom tint, and heavier gauge moves up quickly. Closure style, opacity, surface finish, and pack-out method also matter. A retail-ready pack often costs more than loose bulk packaging because it needs tighter count control and cleaner carton labeling.
For planning, many buyers see a range like $0.18 to $0.26 per unit for a simple 5,000-piece order, $0.22 to $0.34 for a semi-custom build, and $0.28 to $0.45 or more for heavier film, more colors, or special finishes. Those numbers are not universal. Freight, tariffs, reruns, and rush production can move them. Still, they are useful for early budgeting. A lower unit price does not automatically reduce risk if the spec is underbuilt.
| Option | Typical unit cost at 5,000 pieces | What you get | Best fit |
|---|---|---|---|
| Stock-style mailer with light customization | $0.18-$0.26 | Limited print area, standard dimensions, faster setup | Fast tests and cautious launch budgets |
| Semi-custom retail mailer | $0.22-$0.34 | Custom size, branded print, stronger presentation control | Most retail launches |
| Fully custom premium mailer | $0.28-$0.45+ | Heavier gauge, wider print coverage, finish upgrades, tighter specs | High-visibility retail packaging |
MOQ changes the economics quickly. A supplier may quote a lower per-unit price at 10,000 pieces, but storage, cash flow, and launch uncertainty can erase the savings if the spec is not proven. Then there are the quiet extras: tooling, samples, freight, palletization, rush fees, and reprints. The quote is only part of the bill. The landed cost is the number that matters.
There is also a subtle pricing trap. A supplier can quote a low base cost and recover margin through repeated revisions, freight markups, or a vague definition of what counts as approved artwork. If the line items are not explicit, the total cost can drift fast. Strong buyers ask what is included before they compare cents per unit.
Process, timeline, and lead time checkpoints
A retail launch calendar should run backward from the ship date. Start with the launch date, then subtract transit time, warehouse receiving, production, and sample approval. If a supplier says 12 to 15 business days after proof approval, that does not include artwork back-and-forth, a size change, or a new sample request. Buyers who build only one deadline usually discover too late that there were four.
The cleanest timeline has visible checkpoints. Artwork handoff first. Proof review next. Physical sample review after that. Then production approval, run confirmation, and final transit to the warehouse. Each step should have a named owner and a date. If purchasing, creative, and operations are looking at different calendars, the launch can slip without anyone seeing the whole picture.
Receiving time deserves its own buffer. Barcode testing, quantity count checks, carton inspection, and pallet verification often happen after freight is already moving. That is where a weak process becomes expensive. A mailer that passes prepress but fails on scan readability can still cause a receiving delay. For performance-sensitive programs, a few days of slack between arrival and launch is not wasteful. It is insurance.
The supplier’s method matters too. Ask how they handle color approval, what happens if the seal test fails, and whether retained samples are kept by lot. A good partner should be able to describe the process without turning every answer into a sales line. If they also reference recognized transit methods such as ISTA transit testing methods, that is a useful sign that they think about shipping reality instead of just artwork.
For launches with multiple package components, the schedule gets fragile fast. Inserts, hangtags, labels, and mailers do not all move at the same speed. If one item is late, the whole pack can stall. That is why lead time has to be planned as a system, not as isolated purchase orders.
Retail launch custom poly mailer bags production quality checklist before you approve proofs
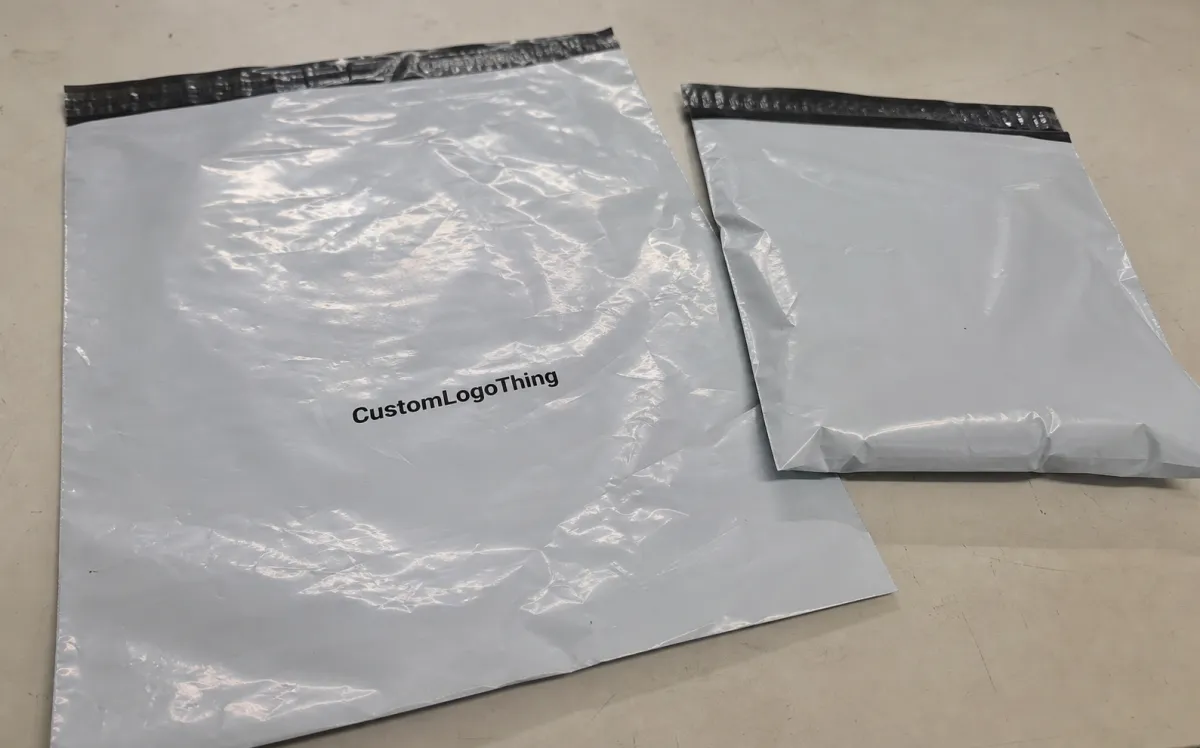
A retail launch Custom Poly Mailer Bags production quality checklist only works if each item has a measurable owner. Start with artwork. Confirm logo placement, barcode contrast, legal copy, and bleed zones against the dieline, not just against a rendered image. Then check the sample with the actual product inside, because a bag that fits an empty insert can fail once the SKU, card, and closure are all in place.
After that, inspect the mechanics. Seal performance should be tested under real lighting and with real handling. Check edge trim. Measure print alignment. Confirm that the adhesive or seal strip closes without lifting at the corners. If the mailer is meant to protect apparel or lightweight accessories, test it after a few open-and-close cycles. Small flaws usually show up there first.
- Artwork and compliance - logo, barcode, copy, and bleed zones must match the dieline.
- Dimensional fit - the product should slide in without wrinkling the face or stressing the seal.
- Film spec - confirm thickness, opacity, and material type before approval.
- Print quality - check color, registration, and legibility under warehouse lighting.
- Seal integrity - confirm adhesion, peel resistance, and closure consistency.
- Carton instructions - verify pack count, labeling, and master carton marks.
- Receiving readiness - check if the bag scans, stacks, and stores cleanly.
Spec language matters here. Film gauge, seal width, opacity, and print area should all be written down. For lighter apparel, a 2.5 to 3 mil bag may be enough. Heavier SKUs may need more. A wider seal can improve shipping durability without making the bag look clumsy. A more opaque film can protect presentation, but too much opacity can flatten the visual effect. The point is not to chase the strongest spec. It is to match the spec to the channel and the handling pattern.
Print tolerances deserve the same clarity. If the brand color is sensitive, define an acceptable range before the run starts. If the barcode matters for retail receiving, specify its placement and quiet zone. If the bag will sit on a shelf or appear in photography, judge the finish under the same light the customer will see. A good checklist does not rely on taste. It relies on known thresholds.
If your brand uses a broader packaging system, compare the mailer against shelves, inserts, and custom printed boxes so the finish level feels intentional. Package branding should look like one decision, not a collection of unrelated buys. That consistency is one of the easiest ways to raise perceived value without changing the product itself.
Before final sign-off, write down who approves design, procurement, and operations. Then make one person responsible for the last yes. The checklist breaks down when approval gets spread across too many people and nobody owns the outcome.
Common mistakes that derail first shipments
The most common mistake is approving a proof that looks close instead of specifying tolerances. Close enough works poorly in print production. A slightly muted logo may not matter on a desktop screen, but on a crowded retail peg it can make the entire package feel cheaper. If color matters, define acceptable variance before the run starts.
Size mistakes are just as common. A bag that looks economical on paper can create wrinkles, overhang, or wasted void fill once the product is packed. That extra movement can damage the customer experience and raise damage rates. An undersized mailer does the opposite: it stresses the seal, makes packing slower, and can raise returns. Either way, the mistake hits margin.
Barcode and scannability issues deserve special attention. A glossy finish can create glare. A light ink color can reduce contrast. A barcode placed too close to the fold or seam can read badly at receiving. Those are operational errors, not aesthetic ones. They slow inventory control and can create friction with the retailer before the product ever reaches the floor.
Another trap is vague lead time language. If the quote does not clearly separate proofing, sampling, production, and freight, the schedule is probably not as clean as it sounds. A skipped sample stage can save days up front and cost weeks later. The same goes for pilot runs. A small pilot is cheaper than a large repack.
There is also a habit that causes trouble later: changing too many variables at once. If the size, print coverage, seal, and carton count all change together, troubleshooting becomes guesswork. A better method is to lock the base structure, then test one variable at a time. That sounds slower. In practice, it is faster because the failure is easier to isolate.
For brands that care about disposal and recovery, the material story should not be an afterthought. Ask whether the film choice aligns with the way the package will be handled after delivery and whether it fits local recycling guidance where that matters. That does not replace performance testing, but it does keep the team honest about the package’s full life cycle.
Expert tips and next steps before launch
Request three things every time: a physical sample, a production proof, and one retained reference sample. Those three items make future reorders easier and give the team something real to compare against when a supplier changes film, ink load, or seal behavior. Without that benchmark, people end up debating memory instead of evidence.
Ask your supplier for a written QC checklist with pass/fail criteria. Broad promises are cheap. Measurable checks are useful. If they can tell you the acceptable color variation, seal tolerance, barcode readability standard, and carton pack count, you have a better read on their process maturity. That matters whether the order is for branded packaging, a seasonal launch, or a broader retail reset.
Lead time works best when the order is placed earlier than the marketing date, not on it. A few extra days can absorb reproofs, warehouse delays, and freight disruption. That buffer becomes even more valuable when the same launch also depends on inserts, hangtags, or other product packaging components. The more touchpoints in the system, the more fragile the schedule becomes.
One practical habit is to turn the retail launch Custom Poly Mailer Bags production quality checklist into a supplier scorecard. Score the next reorder on fit, print, seal, timing, and communication. Over time, that simple document becomes a faster approval tool than any sales pitch. It also helps the team compare mailers and other Custom Packaging Products without guessing which vendor is actually consistent.
Another useful discipline is to record what failed, even when the issue is minor. A tiny registration shift today may point to a setup problem that becomes a major problem on the next run. A slightly weak seal may be acceptable for one shipment and unacceptable for another. In packaging, small deviations tend to repeat unless someone writes them down.
My view is simple: protect the launch window first, then polish the presentation. The checklist exists to keep both goals in view, and the brands that use it well usually move faster on the next order because they spent the first one getting the fundamentals right.
FAQ
What should I check first on a retail launch custom poly mailer bag sample?
Confirm size fit, seal strength, and print placement before judging aesthetics. Test the sample with the actual product and any insert, not an empty bag, because compression and closure pressure change the result.
How do I compare quotes for custom poly mailer bags?
Compare the same size, film thickness, print coverage, MOQ, and freight terms. Ask whether tooling, samples, and rush production are included or billed separately, because those line items can change the real landed cost quickly.
What causes lead time to change during production?
Proof revisions, color adjustments, and spec changes are the most common delays. Rush requests and unclear approval ownership can also extend the schedule, especially if the supplier has to stop and wait for a sign-off that should have been assigned earlier.
How can I reduce unit cost without hurting quality?
Standardize dimensions, limit print complexity, and increase order quantity if storage allows. Avoid late spec changes because they often trigger re-setup costs, and those costs can erase the savings from a lower base quote.
What is the most common quality mistake before a retail launch?
Approving a visual mockup without testing the actual physical sample is the biggest one. If you skip barcode, seal, and carton-pack checks until the shipment is already moving, the retail launch Custom Poly Mailer Bags production quality checklist has already done too little, too late.

