A retail merch caps Sample Approval Checklist is not paperwork for its own sake. It is the short list that keeps a six-panel cap from becoming a six-figure problem. A style can look right in a render, then fail in hand because the crown sits too high, the brim curve is off by a few degrees, the logo shrinks once it is stitched, or the color shifts under retail lighting. Those are not cosmetic annoyances. They are the kinds of misses that change sell-through, returns, and how a brand reads on shelf.
Sample approval is the last low-cost checkpoint before bulk production locks in the error. If the first approved sample is wrong, every unit after it inherits the mistake. That is why buyers, merch teams, and factories rely on a structured review process for caps, especially for retail programs where fit, finish, packaging, and presentation all have to hold up together.
Caps are simple only until you start measuring them. A 2 mm logo shift can look minor on a tech pack and obvious in person. A slightly heavier stitch count can flatten a panel. A closure that works on a sample may loosen once production trim changes. Good teams know that the sample is not a formality. It is a rehearsal.
Why one bad cap sample can derail a retail run
Retail caps sit in a strange space between apparel and packaging. They have to fit a head, carry a logo, and still look consistent from one unit to the next. That sounds straightforward until you account for fabric stretch, embroidery density, panel shape, brim stiffness, and the way the cap is packed before shipping. One small change in any of those areas can move the product out of spec.
The practical risk is bigger than rework. A rejected sample can trigger a fresh strike-off, new shipping time, and a chain of approvals that pushes a seasonal launch past the window that actually matters. Freight costs rise fast when someone tries to recover time. So do internal costs: extra review cycles, re-mocking, and revision management that should never have been needed.
There is also the shelf problem. A cap approved by image alone may still look wrong next to neighboring SKUs. Retail buyers rarely approve one isolated item; they are approving a visual system. That means the cap must fit a color story, packaging standard, and display logic. A style that looks acceptable on a desk can still fail on a peg hook or under harsh store LEDs.
One millimeter on a logo or brim angle can feel harmless in a spreadsheet and obvious in a store.
The cleanest approval habits treat every sample as a production test, not a sample of convenience. That means checking the actual fabric, the final decoration method, the real closure, and the packaging format that will ship. A retail merch Caps Sample Approval Checklist should capture all of that before anyone signs off.
How the sample approval process and timeline works
Most cap programs begin with a spec pack. The useful versions are very concrete: artwork files, Pantone references, cap silhouette, structure level, fabric weight, closure type, size range, label placement, carton pack, and any retail packaging requirements. If one of those items is vague, the sample usually comes back with a guess baked in.
For basic custom caps, the first round often takes 5 to 10 business days after the factory has clear instructions. Complex decoration can stretch that. Embroidery with layered patches, mixed materials, specialty fabrics, or retail-ready packaging may add several days. Shipping time is a separate variable, and overseas lanes can dominate the schedule. A buyer who assumes sample development is the only wait usually underestimates the project by a week or more.
A realistic workflow looks something like this: confirm artwork and specs, make the sample or strike-off, ship it, review in hand, redline changes, then repeat only the sections that need revision. The fastest approvals happen when one person owns the final decision. Three parallel reviewers with different preferences can turn a simple cap into a moving target.
The Retail Merch Caps sample approval checklist should resolve the basics before any production release: Is the silhouette correct? Does the crown height match the intended fit? Is the closure functioning smoothly? Are the colors within tolerance? Does the packaging protect the brim? If the answer to any of those is unclear, approval is premature.
Factories also need decision discipline. A cap sample that is “pretty good” but not signed off can still create confusion if the supplier treats silence as acceptance. Written feedback matters because cap programs move through multiple hands: design, merchandising, QA, operations, and sometimes a retail partner. Each handoff is an opportunity for drift.
Cost, pricing, MOQ, and sample fees to watch
Sample fees and bulk pricing do not move together as neatly as buyers hope. A low-cost sample can hide a more expensive production method, and a higher sample fee can reflect better setup, more accurate trim, or a tighter pre-production process. The only fair comparison is spec-for-spec: same fabric, same decoration, same closure, same packaging, same delivery terms.
For basic custom caps, sample fees often land around $35-$60 for a blank fit sample and $60-$120 for a decorated pre-production sample. Retail-pack samples usually run higher, often $75-$150, because barcode placement, hangtags, polybags, and carton labels add labor and materials. More complicated builds can go past that, especially when embroidery, woven patches, faux leather patches, or specialty closures are involved.
Bulk pricing is equally range-bound. A simple promotional-style cap may sit around $2.10-$3.20 per unit at higher volume, while a retail-oriented cap with better fabric, cleaner construction, and more elaborate decoration can move into the $3.50-$5.80 range or higher. At smaller MOQs, unit cost rises quickly. A 200-piece run usually costs more per piece than a 2,000-piece run, even if the style is nearly identical.
| Option | Typical sample fee | What usually changes | Best for |
|---|---|---|---|
| Blank fit sample | $35-$60 | Shape, depth, brim curve, closure function | Early fit and silhouette review |
| Decorated pre-production sample | $60-$120 | Logo placement, stitch density, patch finish, color match | Final approval before bulk release |
| Retail-pack sample | $75-$150 | Polybag, barcode, hangtag, carton labeling, shelf presentation | Programs with store-floor presentation requirements |
MOQ matters because it shapes the economics of the whole program. A low minimum can help a retailer test a design, but it often brings a higher unit cost, less favorable freight ratios, and less room for packaging upgrades. For fully custom retail caps, 300-500 pieces is a common practical floor, while some simple programs can start at 100-300 pieces. The right number depends on decoration complexity, trim selection, and the level of finish expected.
There are also hidden cost drivers that show up only after the quote looks approved: revised artwork, additional strike-offs, rushed freight, upgraded packaging, and extra QA handling. The easiest way to lose budget is to compare quotes that are not built on the same spec sheet. If one supplier assumes twill and another quotes mesh-back construction, the numbers cannot be compared honestly.
Step-by-step review of the cap sample
A disciplined review starts at the top and works outward. Begin with the crown. Check whether the panels are symmetrical and whether the top button sits cleanly at the seam intersection. On structured caps, confirm that the front panels hold the intended shape without buckling. On unstructured styles, the cap should still sit with controlled softness instead of collapsing.
Move next to the brim. The curve should match the intended silhouette, and the brim length should sit within the tech pack tolerance. A flat brim reads differently from a slightly curved one, even if the difference looks small on paper. In retail, those details often separate a lifestyle cap from something that feels more promotional.
Then look at fit and closure. A snapback should adjust smoothly across the full range. A strapback should not twist or fray at the end. A fitted cap has no closure issue, but it demands tighter sizing control. The sweatband should feel clean, not scratchy, and the inside finish should not leave loose thread, hard edges, or visible glue marks. These are small misses, but they are the sort that show up in customer returns.
- Crown shape: Confirm depth, panel balance, and front structure.
- Brim curve: Check shape consistency from side to side.
- Closure: Test adjustment range and hardware finish.
- Decoration: Inspect centering, legibility, and edge cleanup.
- Measurements: Compare crown height, brim length, and panel width to the tech pack.
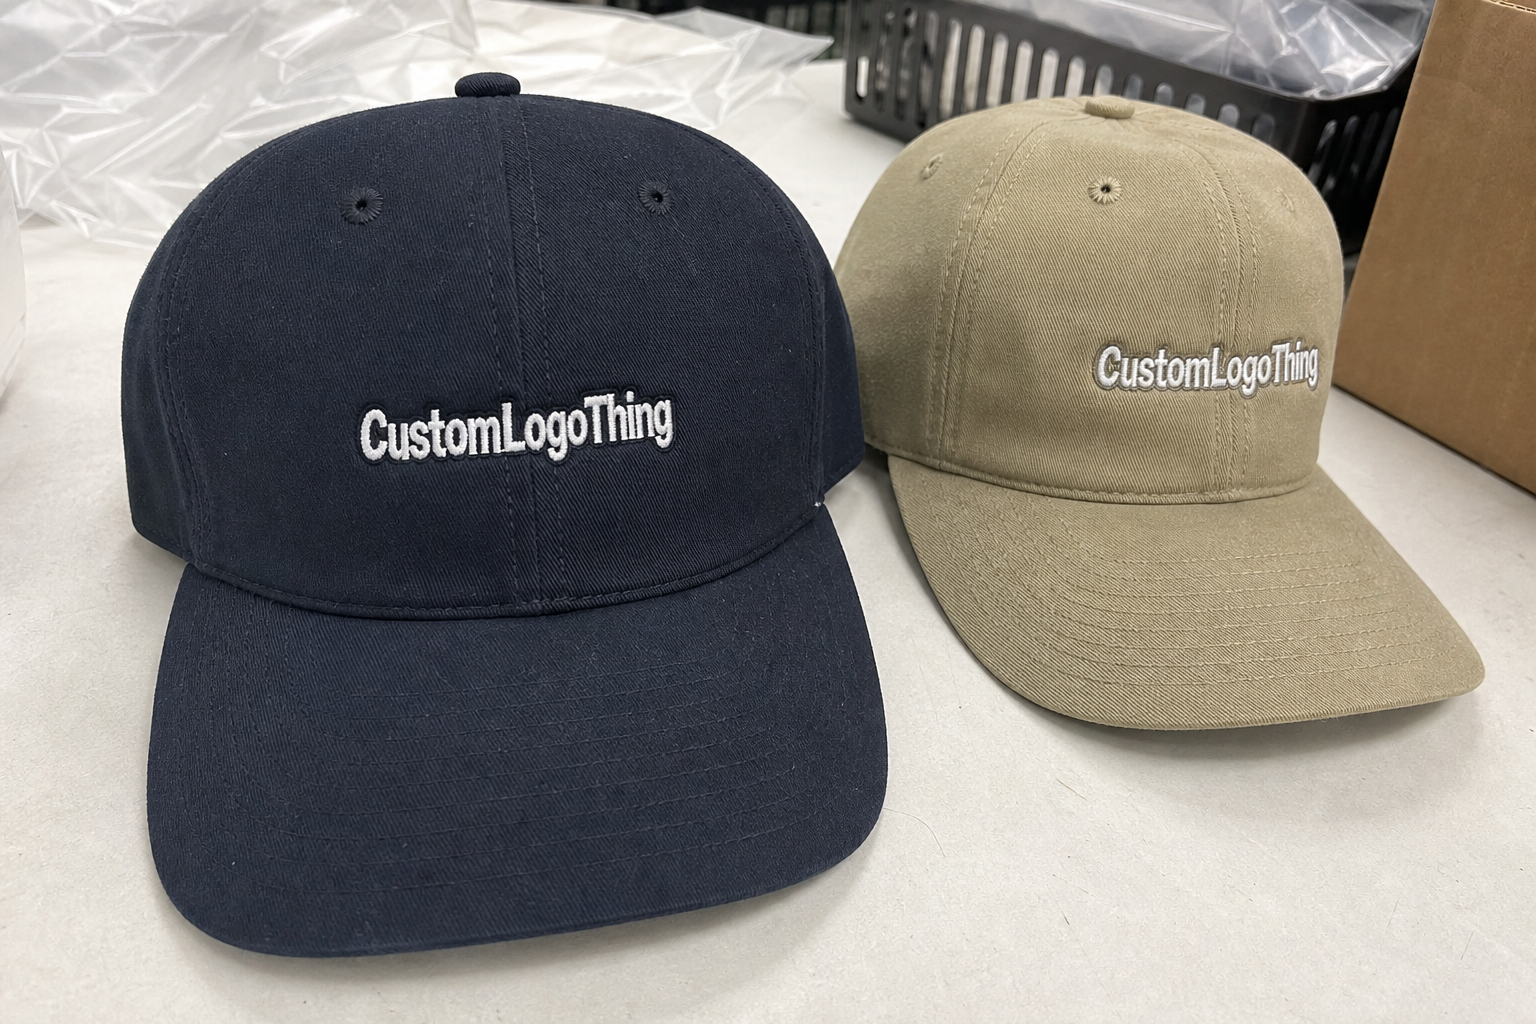
Decoration deserves a separate pass because that is where many caps drift. Embroidery should hold its shape without turning dense areas into raised lumps. Patch edges should be clean and consistent, with no lifting corners. Print needs crisp edges and the right level of saturation. If the logo is intended to be read from 6 to 10 feet away, check it at that distance. A mark that looks fine close up may disappear on shelf.
Measurements matter more than subjective reactions. Use a ruler or tape measure, not memory. Compare the sample against the approved spec, not against what someone thinks the previous cap looked like. If the program uses multiple size blocks or different crown depths across colors, record each one separately. Cap programs become messy when one version is treated as the reference for all others.
Finally, document the pass/fail outcome. Written notes prevent a supplier from guessing what “almost right” means. Annotated photos help, but they should support, not replace, clear notes. A Retail Merch Caps sample approval checklist works because it creates one source of truth before the factory starts cutting bulk fabric.
Color, decoration, and packaging checks that prevent store-floor surprises
Color is one of the easiest places for a cap program to drift. Digital mockups are useful for direction, not for proof. Even a clean lab dip can shift once the fabric is cut, sewn, heat-pressed, and handled. Store lighting makes the problem more obvious. Warm light can deepen navy, flatten black, and push certain reds toward brown. Fluorescent lighting can do the opposite and make a muted shade feel colder.
Fabric choice changes the result too. Brushed cotton, chino twill, polyester mesh, and performance fabrics all take color differently. A matte fabric absorbs light. A slight sheen changes how deep the same color looks. Thread and patch materials complicate things further. Embroidery thread can look brighter than the fabric around it, and a woven patch can read darker because of weave density.
Packaging is part of product quality, not an extra. Check polybag clarity, barcode placement, size stickers, hangtag attachment, carton marks, and whether the brim is protected well enough to arrive in shape. A cap that ships with a crushed brim or a bent front panel failed in transit, even if the cap itself was well made. For some programs, the packaging standard matters as much as the product standard because it affects replenishment speed and store presentation.
If your retail channel has handling expectations, packaging should be tested against them. Programs that move through distribution centers or need shelf-ready presentation may require stronger cartons, cleaner labeling, or insert protection. Some buyers also reference transportation test standards such as ISTA protocols when packaging needs to withstand more than simple parcel handling. For paper-based hangtags or cartons, FSC sourcing can matter if the brand has sustainability requirements tied to print stock or inserts.
These details are easy to overlook because they do not show up in a hero shot. In a store, they show up immediately.
Common mistakes that slow approval or trigger rework
The biggest mistake is approving from photos. Images flatten texture, mask small misalignments, and make the logo appear more centered than it is. A photo can support the review, but the physical sample is the proof. If the cap feels off in hand, production will usually make that problem more visible, not less.
Vague feedback is another time sink. Comments like “improve the look” or “make it cleaner” force the supplier to interpret intent. That kind of ambiguity often leads to a revision that fixes one issue and introduces another. Buyers move faster when they specify the change in measurable terms: reduce the patch by 4 mm, lower the crown by 5 mm, shift the logo 3 mm to the left, or soften the brim curve one step.
Late artwork changes are expensive. A small edit after sample approval can still trigger a new strike-off, a new pre-production sample, and a new review cycle. For seasonal programs, that can push the product out of the selling window entirely. A Retail Merch Caps sample approval checklist should freeze artwork before final approval whenever possible.
Another common drag comes from too many decision owners. Merchandising wants one thread shade. QA wants a tighter tolerance. Marketing wants a bigger logo. If those notes arrive separately, the supplier gets three versions of the brief. The result is avoidable churn. One final approver is faster, and usually clearer.
Package checks also get skipped more often than they should. A cap can pass on fit and decoration, then fail because the barcode is wrong, the hangtag is upside down, or the carton count does not match the purchase order. That kind of error costs more than the fix itself because it creates downstream receiving issues. The better habit is to treat packaging as part of the product, not a last-minute add-on.
Tolerance is the last trap. A single cap sample can look close enough, but repeated across an order, a small deviation becomes a pattern. If the logo is 2 mm low on every unit, the line will notice. So will the buyer. The retail merch caps sample approval checklist exists to catch that pattern before it is multiplied.
Expert tips for a retail merch caps sample approval checklist
Fast approvals usually come from structure, not speed pressure. The first step is to name one final approver. That does not mean others cannot comment. It means someone has authority to make the call and stop the loop. Without that, every review round can reopen settled questions.
Keep a simple template for every cap style. It should list fit, crown shape, brim curve, closure function, decoration, color tolerance, packaging, carton labeling, and required photos. A reusable template reduces missed checks and makes the supplier’s job more predictable. The value is not only speed. It is consistency across programs.
Use a physical reference sample whenever possible. Memory is unreliable after two or three revision rounds. Side-by-side comparison is better than trying to reconstruct what was approved last month. If the team keeps an approved master sample, label it clearly and store it with the tech pack so the next order does not rely on someone remembering details.
Annotate changes directly on photos or PDFs and keep a single change log. That matters more in offshore programs because a string of short emails can turn into contradictory instructions by the time they reach production. Clear handoffs reduce assumptions, and assumptions are where most sample errors begin.
One practical rule keeps the process honest: approve only when the sample matches the intended retail use. A cap can be acceptable for a trade show, a giveaway, or an internal review and still be wrong for store shelves. The retail merch caps sample approval checklist should reflect the actual channel, not just a general sense that the cap “looks good enough.”
Quality control also improves when teams inspect the same points in the same order every time. That habit catches trends. If a supplier keeps missing brim curvature but nails decoration, the review should focus there first. If the packaging is strong but the closure finish keeps slipping, the checklist should reflect that pattern on future orders.
Next steps after approval: lock specs, release production, and plan replenishment
Once the sample is approved, keep the record tight. The final spec sheet, the approved physical sample reference, and written signoff should live in one place. Scattered version control is a common reason production drifts. If the buyer, merch team, and factory are all looking at different files, the approved sample no longer controls the line.
Do not release production until decoration method, packaging format, carton pack, and ship date are confirmed in writing. That avoids the familiar problem where everyone agrees verbally but no one can prove which version was approved. A pre-production checkpoint is worthwhile on larger orders or on styles with dense embroidery, specialty patches, or fragile packaging.
Replenishment planning deserves the same discipline. If a cap becomes a winner, the next order should not require a full rediscovery process. Save the approved measurements, thread references, fabric details, packaging specs, and carton marks. That shortens the second round and reduces the risk of a subtle mismatch between first run and reorder.
When the style changes, rerun the checklist. New color, new logo, new fabric, new closure, new packaging. Same process. That sounds repetitive because it is. It also keeps the program honest. The retail merch caps sample approval checklist is valuable precisely because it prevents teams from assuming that a previous approval covers a new variation.
Strong cap programs are built on boring discipline. Not flashy language. Not a pile of approvals. Just a clear sample, measured against the right spec, in the right packaging, reviewed by the right person, at the right time. That is how a retail launch stays clean, margin survives, and the product on the shelf looks like the one everyone signed off on.
What should be included in a retail merch cap sample approval checklist?
Fit, crown shape, brim curve, closure function, color accuracy, logo placement, stitch quality, packaging, carton markings, and written pass/fail notes should all be included. Photos help, but they should support the physical sample review rather than replace it.
How long does cap sample approval usually take?
Basic sample development often takes 5 to 10 business days, plus shipping and review time. More complex decoration or overseas transit can add several days. Revision rounds are the main source of delay, especially when feedback is vague or multiple teams review separately.
What affects pricing most on custom retail merch caps?
Fabric choice, decoration method, closure type, packaging, and order quantity usually affect pricing the most. MOQ can move unit cost quickly, and retail-ready packing adds labor and materials. Rush timelines and extra sample rounds often add another layer of expense.
Can I approve a cap sample if the color is slightly off?
Only if the difference stays within documented tolerance and the sample still holds up under the same lighting used for review. If color is central to the brand or collection, a corrected strike-off is usually the safer path.
What is the biggest mistake buyers make during sample review?
Approving from photos instead of the physical sample is the most common error. Vague feedback and skipped packaging checks come next. A structured retail merch caps sample approval checklist reduces both problems before production starts.