Trade show Frosted Zipper Bags packaging insert checklist sounds long because the job itself has a lot of moving parts. The bag is the item people notice first at the booth. The insert is the piece they actually read after they walk away. If the fit is off, the copy is crowded, or the materials feel flimsy, the whole kit drops in perceived value fast. A good package is not a pile of branded items. It is a sequence that holds together under show-floor pressure.
Trade Show Frosted Zipper Bags Packaging Insert Checklist: start with fit
Start with dimensions. That sounds basic, but basic errors are expensive. A trade show Frosted Zipper Bags Packaging Insert checklist should begin with the actual bag size, the finished insert size, and the thickness of every item going inside. If the kit includes a brochure, a product card, a sample packet, and a QR card, the insert has to accommodate that stack without fighting the zipper or bulging at the seams.
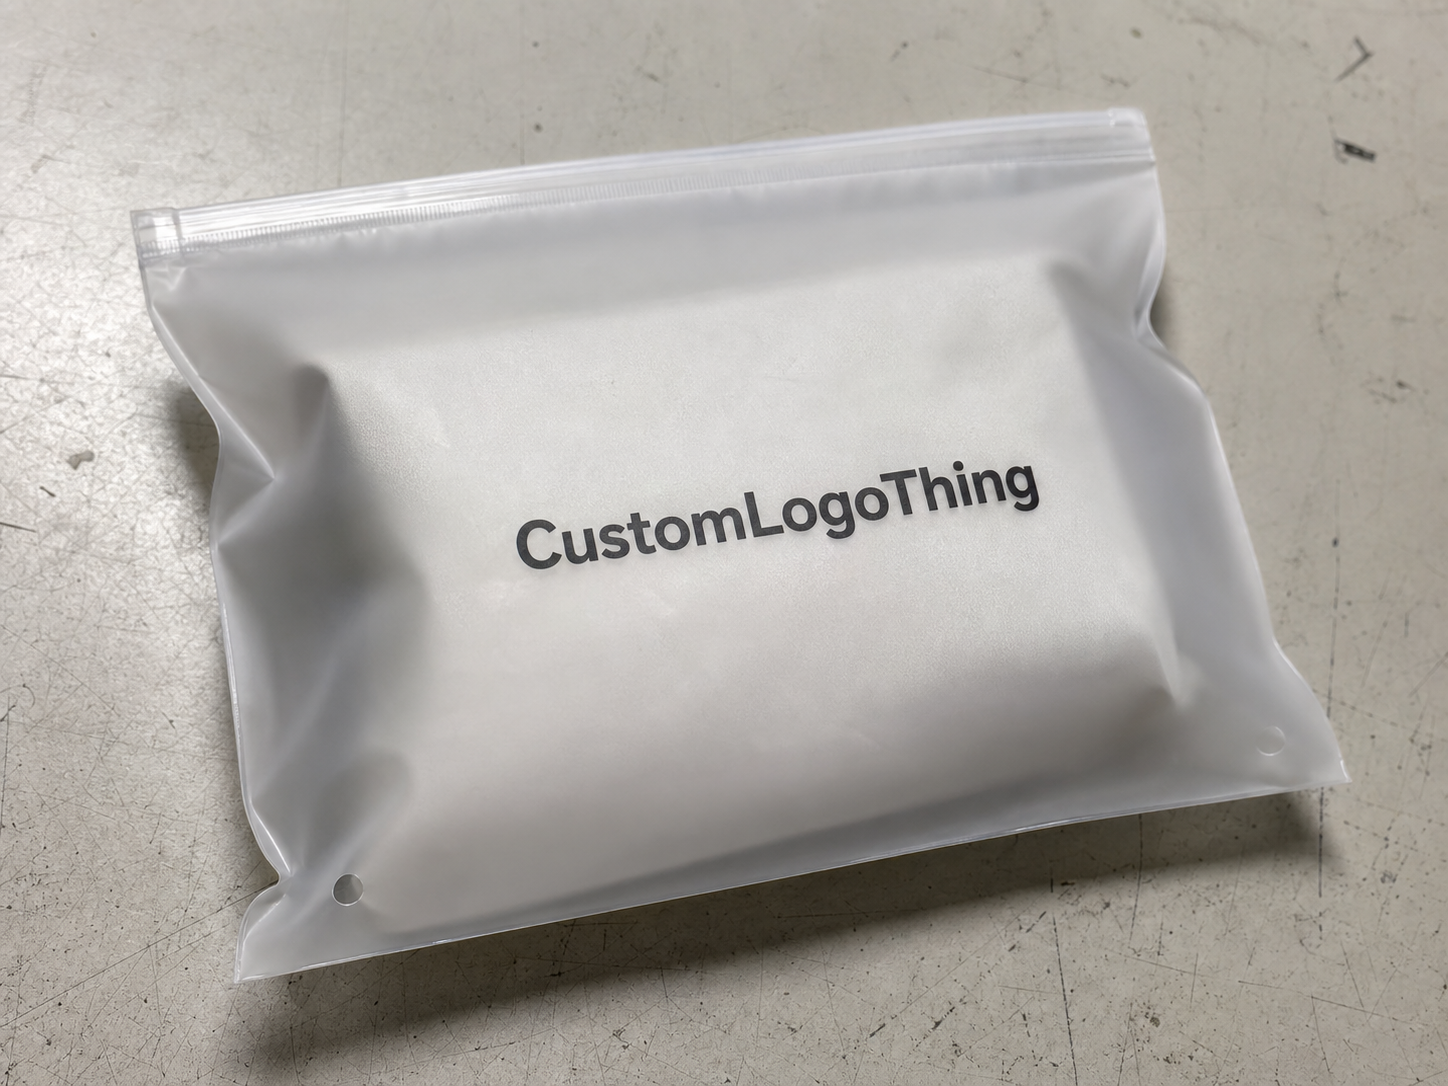
The frosted finish changes how the content reads. Clear bags show everything with little effort. Frosted film softens contrast and blurs fine detail, so the insert has to do more of the work. Thin gray type, hairline fonts, and busy backgrounds can disappear faster than people expect. The issue is not taste. It is visibility through a matte surface that lowers sharpness by default.
Before asking for quotes, lock these points:
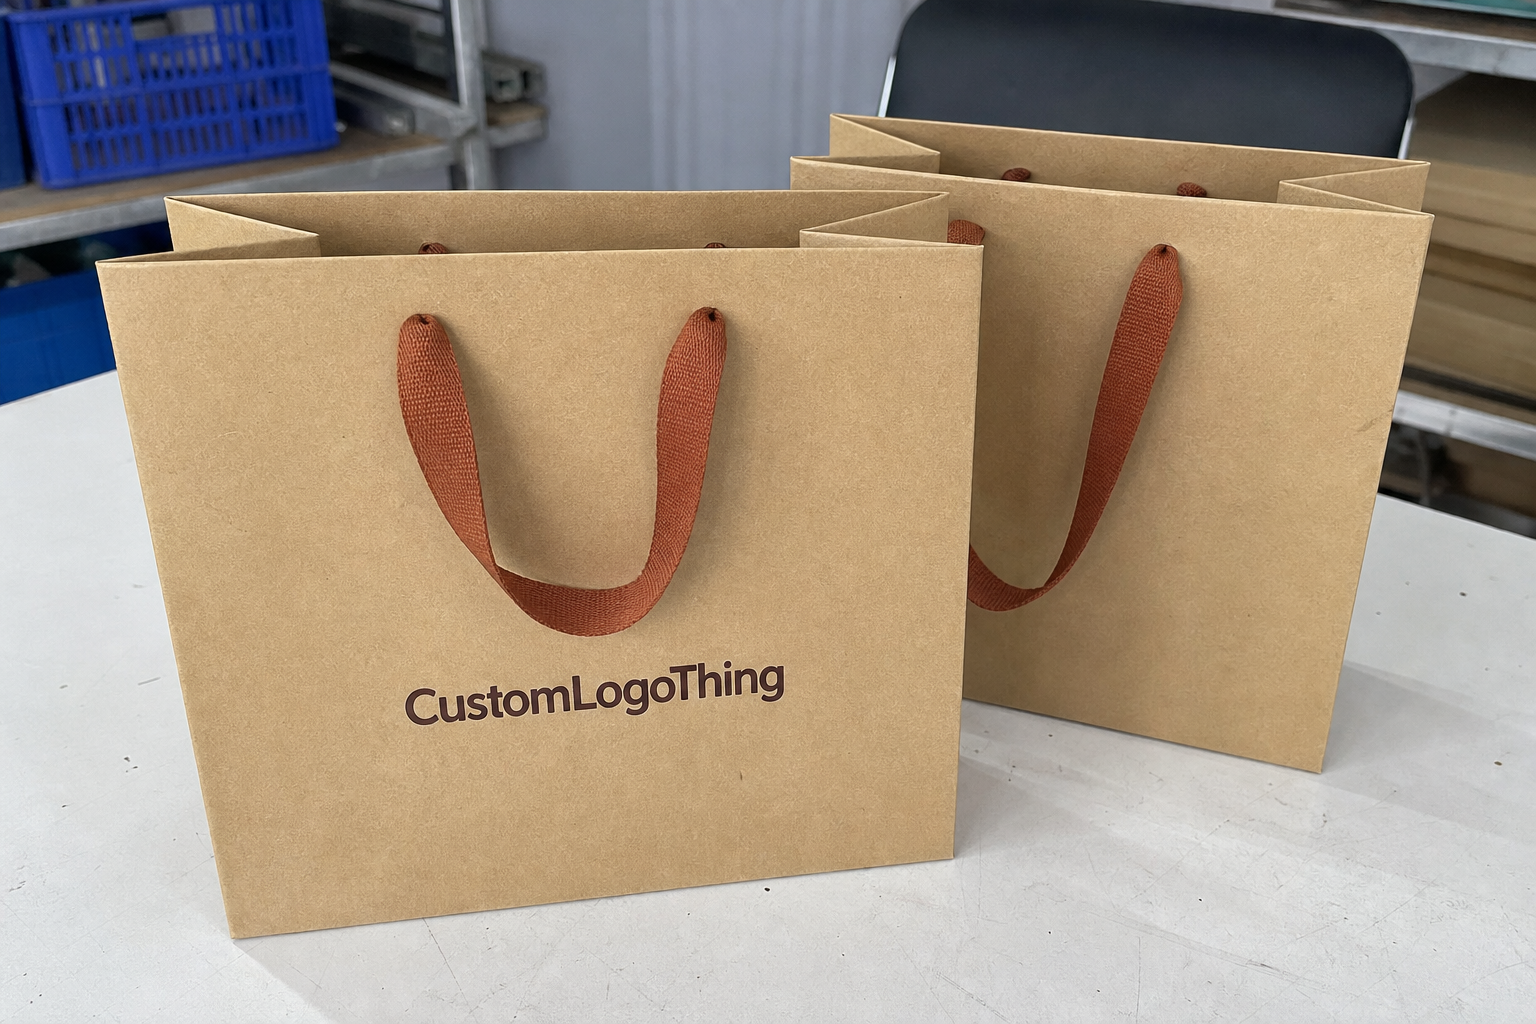
- Bag size: confirm flat width, gusset depth, and zipper placement.
- Insert size: match the largest flat item, then leave room for easy insertion.
- Print coverage: decide whether the bag, the insert, or both need branding.
- Content order: headline first, offer second, contact details third.
- Handout method: decide whether staff hand out finished kits or add inserts later.
That list is less about design taste and more about avoiding preventable waste. A bag that is too small can force a redesign. An insert that is too large can wrinkle, curl, or make the kit hard to close. A handout sequence that is not planned can turn a polished package into a stack of parts that does not feel intentional. For buyers comparing product packaging options, those differences matter more than most marketing decks admit.
How the bag, insert, and handout flow work together
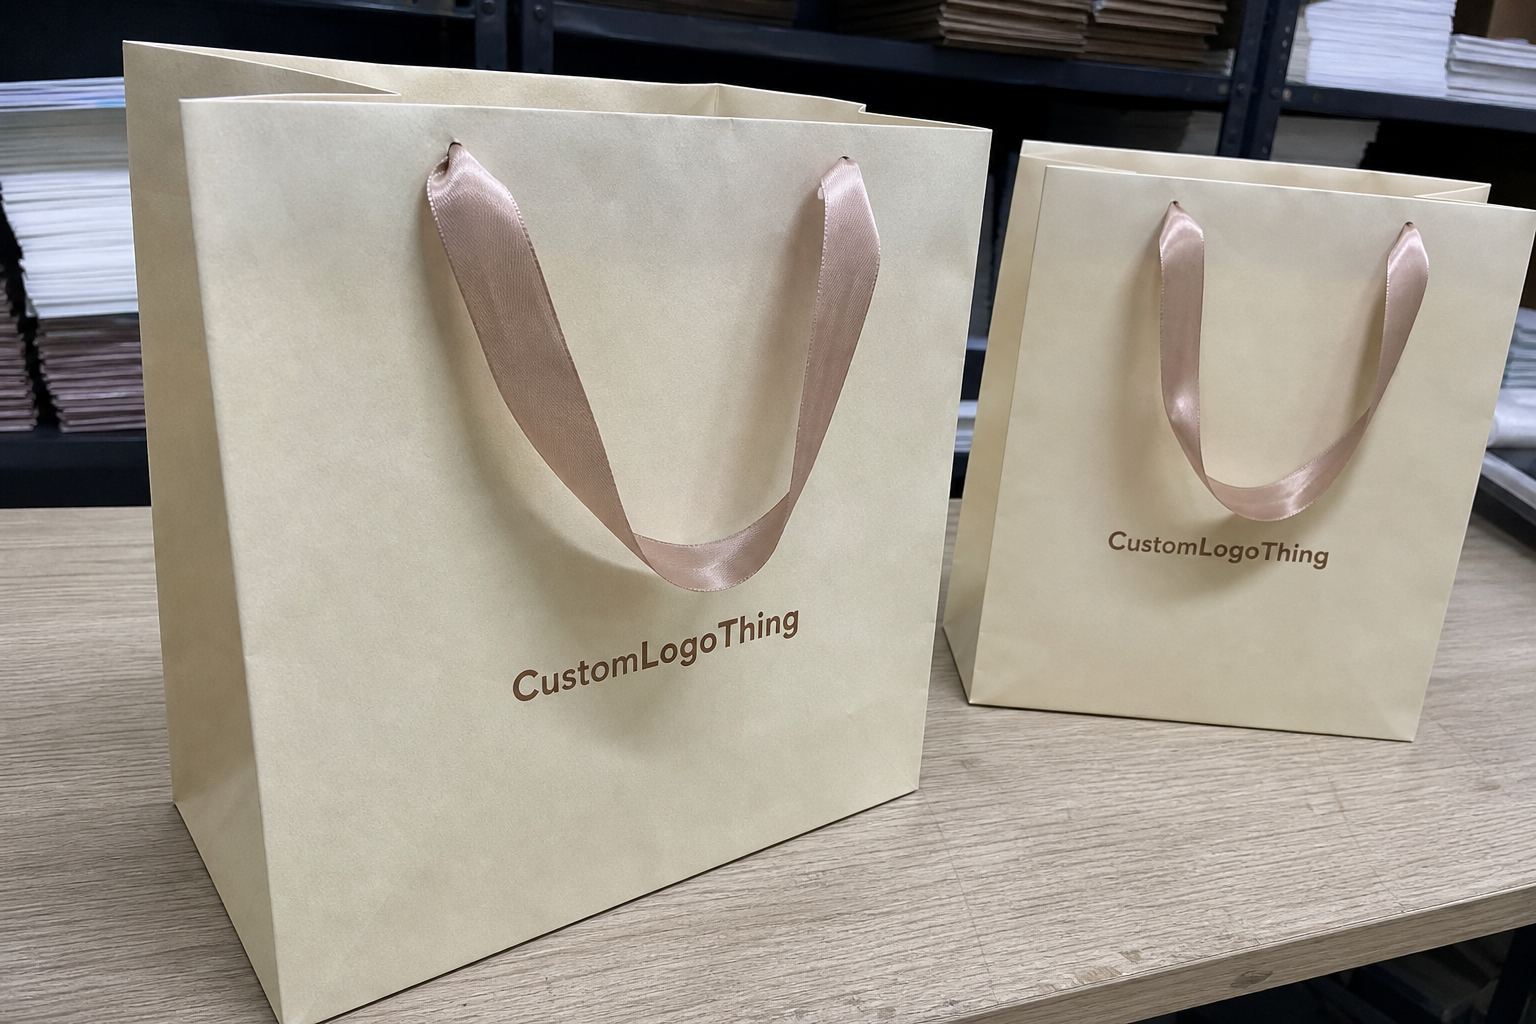
The bag, insert, and handout behave like one system. The Frosted Zipper Bag protects the contents, keeps the booth handoff cleaner, and gives the insert a controlled backdrop. That backdrop is more important than it looks. A loose flyer in a plain tote gets ignored. A correctly sized insert inside a frosted bag looks planned, which usually reads as higher quality even before anyone checks the specs.
Hierarchy should stay simple. The headline needs to be readable in three seconds. The core offer, product message, or event hook should land next. Contact details should be easy to find without competing with the main point. QR codes work well only if they are placed where the eye naturally lands. If the code is crowded by a logo, a stock photo, and six lines of copy, the design is doing too much and none of it well.
Orientation affects readability. Portrait inserts work for one-sheet product stories, appointment details, or a short service menu. Landscape layouts can be better for comparison charts, product grids, or schedule cards. Neither is universally better. The right choice depends on what the booth team needs the recipient to do next, and how fast that decision needs to happen.
Stock choice changes the feel too. A heavier card stock insert can make the kit look more premium, which supports retail packaging energy and a cleaner sense of package branding. But thicker stock also adds weight, raises freight costs, and slows packing. Too stiff, and the insert can make a small bag feel overstuffed. Too light, and it bends in the hand. That usually reads as budget, even if the print itself is good.
For teams using other assets like Custom Packaging Products or custom printed boxes for samples, the same rule applies: every component has to earn its place. Good-looking pieces that do not work together are just expensive clutter.
"The best trade show kit is the one that looks easy to understand before the badge scan even happens."
Transport deserves attention as well. Kits that survive the layout stage can still fail in transit if the cartons are weak or the stack is packed badly. For general packaging and shipment testing, the ISTA test standards are a useful reference point. They are a lot more grounded than guessing what "durable" means.
Cost, pricing, MOQ, and quote drivers
Pricing gets messy when buyers ask for a quote without defining the job. For a trade show frosted zipper Bags Packaging Insert Checklist, the biggest cost drivers are bag size, zipper quality, film thickness, print coverage, insert size, insert stock, and whether the order needs assembly or kitting. Leave out one of those details and the quote can swing more than expected.
Small orders usually absorb more setup and proofing cost per unit. Larger orders improve the unit price, but that introduces storage and cash flow pressure. That tradeoff is simple and hard to avoid: pay less per piece now, or hold more inventory later. If the event date is firm, ordering the right quantity is usually smarter than chasing a slightly lower unit cost and running short two days before the show.
Insert complexity changes pricing quickly. A one-color insert on standard stock is one thing. A folded piece with heavy ink coverage, coating, foil, or tight registration is another. If the insert also has to match other packaging design assets, proofing time tends to rise because color, placement, and brand consistency need more review. That extra time is often justified. The rough edges show up in the final handoff, not in the file preview.
Some suppliers bundle the bag and insert into one kit price. Others separate them. Separate line items are easier to evaluate because they show where the money goes. A low total can hide assembly, freight, or overage assumptions. Ask for pricing on the bag, the insert, assembly, and shipping on separate lines. That gives you something real to compare.
| Option | Typical spec | Typical unit price | Best for |
|---|---|---|---|
| Basic kit | Frosted zipper bag, one-color insert, standard stock | $0.45-$0.85 at 1,000 units | Simple event handouts, low-content promos |
| Mid-tier kit | Printed bag, full-color insert, cleaner paper stock | $0.85-$1.60 at 1,000 units | Branded packaging with stronger visual impact |
| Premium kit | Heavier insert stock, detailed print, assembly, freight-ready packing | $1.10-$2.10 at 1,000 units | High-visibility launches, polished booth giveaways |
Those numbers are only ranges. Quantity, artwork coverage, assembly location, and shipping destination all move the price. If the project needs FSC-certified stock, bring that up early. The FSC label can matter for sustainability claims, but it can also change sourcing, availability, and lead time. Better to account for that before the quote is built.
MOQ behavior matters too. A supplier may set one minimum for the bag and another for the insert. If the kit is bundled, the minimum can rise because the vendor wants enough volume to justify setup and assembly. That is normal. What is not useful is a quote that hides the real counts behind one blended number. Compare line items, not just the total.
Process and timeline: from proof to packed cartons
A clean production flow saves more time than last-minute coordination ever will. The usual sequence is straightforward: confirm dimensions, finalize artwork, review a digital proof, approve a sample if needed, run production, assemble kits, and pack for shipment. Skip a step and the schedule starts slipping.
Most delays happen before printing, not during it. Missing artwork specs. Late copy changes. Unclear insert quantities. A QR code that points to the wrong landing page. The print run is rarely the real problem. The inputs are.
For standard orders, a practical planning window is roughly 10-15 business days after proof approval, with shipping added on top. If the job is rushed, the review window shrinks and the risk of errors rises. Rush production can be done, but it usually costs more and leaves less room for correction. That is not a vendor flaw. It is a timing issue.
Assembly can become the bottleneck. If the bags and inserts must arrive pre-packed, the kitting schedule matters as much as the print schedule. If a supplier packs 5,000 units but the insert count was off, the booth team gets to sort paper by hand just before the event. That is the kind of failure that feels small in email and huge on the show floor.
Shipping should be treated as part of production, not an afterthought. If cartons miss the freight cutoff, the order is late. A nice proof does not help if the physical kit lands after booth setup. For trade shows, timing and print quality are tied together. One without the other is incomplete.
Step-by-step setup for the insert and bag specification
Start by listing everything the kit has to hold. Brochure. Product card. Promo flyer. Sample packet. Appointment slip. QR code sheet. The insert should support those items, not compete with them. If the goal is lead capture, the insert needs a clear action and a clear route to follow. If the goal is product education, the content should guide the eye in a sane order instead of dumping every message onto one page.
Then measure the finished insert size with enough margin for clean insertion and easy reading. Tight fits wrinkle. Oversized cards slide around and look sloppy. A little breathing room on all sides helps the bag close neatly and keeps the insert from curling after a few dozen handoffs on the show floor.
Choose the bag dimensions around the largest item, not the prettiest one. That sounds obvious, yet projects still get spec'd around the brochure and forget the sample packet or thicker card. The zipper has to close without crushing the contents. If the kit is thick, a slightly larger gusset is often better than forcing everything into a format that is too small.
Print placement should be decided early. If the logo, event message, and contact details all need space, reserve it before the layout gets crowded. This is where product packaging thinking helps. You are not just making an insert. You are building a handoff tool. Good branded packaging tells people what to do next without making them work for it.
Before approval, build a mockup. A paper dummy or a simple digital layout usually catches proportion issues, awkward spacing, and weak hierarchy. The mockup should show the insert inside the actual bag size, not floating on a white artboard. If something looks off there, it will look worse in production. That is one of those practical truths that saves money if people listen to it.
- Confirm content: list every item going inside the bag.
- Set dimensions: size the insert and bag to the largest item.
- Lock layout: place logo, message, and QR code before polishing visuals.
- Proof the mockup: review the insert inside the bag, not alone.
- Approve the run: only after counts, stock, and shipping details are clear.
If the order is part of a larger branded set, check whether the insert language matches the booth graphics, sample packaging, and any mailed materials. A kit feels more credible when the visual system is consistent. That kind of consistency is what makes package branding work in real life.
A useful quality-control pass goes beyond artwork. Check zipper movement, bag clarity, print rub resistance, carton count, and whether the insert can be removed without bending. If a proof looks clean but the zipper snags or the ink scuffs, the package will not hold up on the floor. A five-minute check can prevent a much longer problem later.
Common mistakes that make the kit look cheap
The fastest way to downgrade a frosted zipper kit is to overload the insert. Too much copy. Too many promises. Too many fonts. If the insert tries to explain everything, nothing gets read quickly. The bag cannot rescue that. Good materials do not fix weak hierarchy.
Weak contrast is another classic mistake. Light gray type, thin fonts, and busy backgrounds are risky inside frosted packaging because the film already softens the view. Darker type, stronger spacing, and simpler imagery usually perform better. The goal is clarity, not visual gymnastics.
Count mismatches create more stress than many teams expect. Ordering the wrong number of inserts versus bags leads to hand-assembly problems and rushed reprints right before the event. If 1,000 kits are shipping but only 950 inserts are printed, somebody ends up counting paper by hand. That is a bad use of time and a predictable source of errors.
Handling matters too. If the insert is flimsy, bent, or too slick, it slides around and makes the kit feel underbuilt. A slightly heavier stock often solves that. Not always, but often enough to be worth testing. For buyers trying to make retail packaging or event collateral feel more premium, paper weight can do real work.
Last-minute content changes are the final trap. Moving the offer after proof approval is the quickest way to break the schedule and raise the cost. It also invites tiny mistakes that are easy to miss under pressure. If the event date, booth number, or QR destination is still changing, hold the run until it settles.
Sustainability claims need the same discipline. If you want recyclable materials, FSC paper, or lower-waste packaging, the supplier needs that brief before quoting. Sustainable choices are not automatic. They still depend on spec control, availability, and the real tradeoffs between stock, weight, and lead time.
Expert tips and next steps before you request a quote
Ask for a sample or digital proof that shows the insert inside the bag, not just the insert on its own. That is where most visual problems appear. Scale, contrast, and dead space are much easier to judge when the pieces are together. A flat insert proof can look perfect and still fail once it sits behind frosted film.
Request separate line items for the bag, insert, assembly, and freight. That makes supplier comparison clearer, especially if one vendor bundles everything and another quotes each piece separately. A low total is useful only if the assumptions behind it are visible.
Prepare a one-page spec sheet before contacting a manufacturer. Keep it short and specific:
- Dimensions: bag size, insert size, and thickness if relevant.
- Stock: paper weight, film thickness, finish, and any FSC requirement.
- Print count: one-color, two-color, or full-color coverage.
- Quantity: exact units for bags, inserts, and assembled kits.
- Delivery date: shipping deadline and booth receiving window.
- Assembly: packed loose or kitted before shipment.
Then run an internal approval check. Who signs off on artwork? Who receives the shipment? Who packs the booth materials? Missing one owner usually creates the delay, not the printer. That part is mundane, but it is where a lot of show problems start.
From a buying point of view, the trade show Frosted Zipper Bags packaging insert checklist is really about removing avoidable mistakes. Lock the fit. Lock the content order. Lock the quote lines. Lock the delivery date. Do those four things and the bag looks more premium, the insert reads faster, and the booth team has one less problem to solve on show morning.
One final buyer check: ask whether the kit needs to survive one handoff or three. A bag that leaves the booth and gets tossed into a carry-on has different requirements than a bag that sits in a visitor's hand for ten seconds. The first asks more of the zipper and stock. The second asks more of the first impression. That distinction changes the spec more than most people realize.
What size insert works best for trade show frosted zipper bags packaging?
Match the insert to the largest flat item in the kit, then leave enough margin so the card slides in cleanly and reads without crowding. A test fit with the actual bag is better than guessing from a dieline alone, because frosted film changes how the contents appear.
How much does a frosted zipper bag with an insert usually cost?
Price depends on bag size, film thickness, print coverage, insert stock, and whether the order is packed as a kit. A basic setup might land around $0.45-$0.85 per unit at 1,000 pieces, while a more finished kit can sit around $1.10-$2.10. Ask for separate pricing on each component so you can see what is driving the total.
What file setup should I use for the insert artwork?
Use the supplier's preferred dieline or template, and keep text and logos inside the safe area. Final print files should be clean, high resolution, and approved after proof review. If the insert sits inside frosted packaging, make sure contrast is strong enough to survive that softer visual field.
How long does production take for trade show packaging inserts and bags?
Standard orders need time for proofing, production, and shipping, and assembly adds more time if the kit is packed before delivery. A common planning window is about 10-15 business days after proof approval, but rush jobs are possible. They usually cost more and leave less room for corrections.
Can I put multiple inserts or samples inside one frosted zipper bag?
Yes, but the bag size, zipper strength, and insert layout need to support the full load without bulging. If the kit gets too thick, you may need a larger bag or a simpler contents mix. Overstuffed trade show packaging almost always looks less premium than a cleaner, tighter set.